
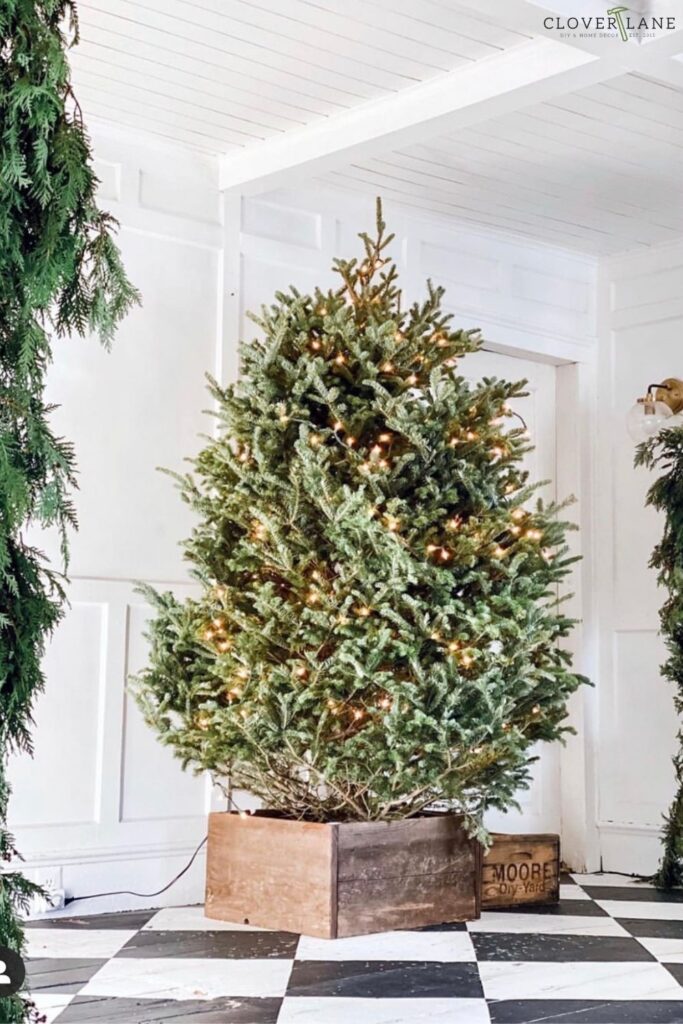
Build a rustic box for your Christmas tree with that leftover lumber you have hanging around! An easy and inexpensive way to dress up your Christmas tree for years to come!
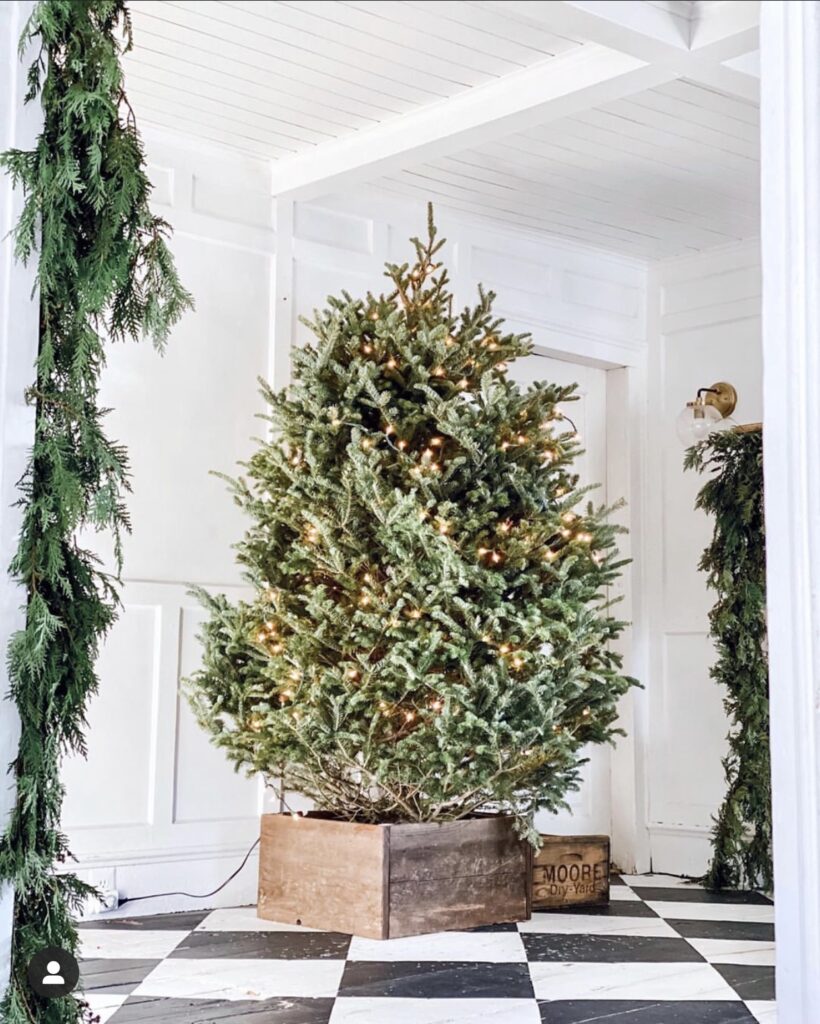
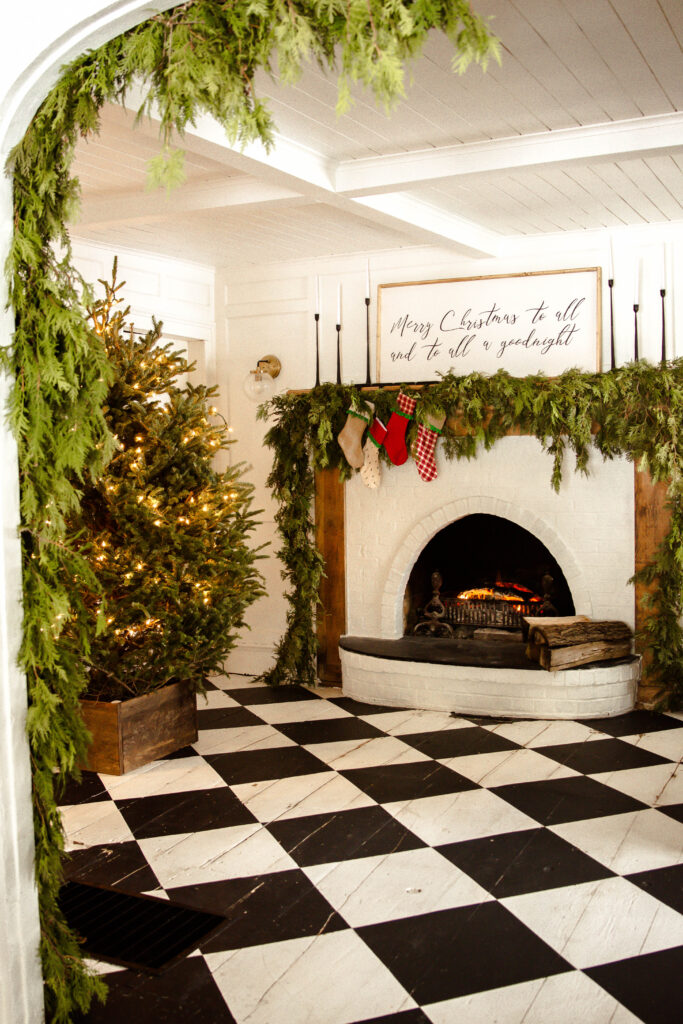
I LOVE free or nearly free DIY's. This DIY rustic Christmas tree box was something I made on a whim about 4 years ago and it was made from leftover fence boards I got for FREE off of Craigslist. Without a doubt, this is my most favorite addition to my Christmas decor.
I love the galvanized buckets for Christmas trees, but I haven't been able to find one at the price I was willing to pay.
Because of this, I was led to build this DIY rustic Christmas tree box out of reclaimed fence boards (that I got for free).
It's super easy to make and I love the way it turned out!
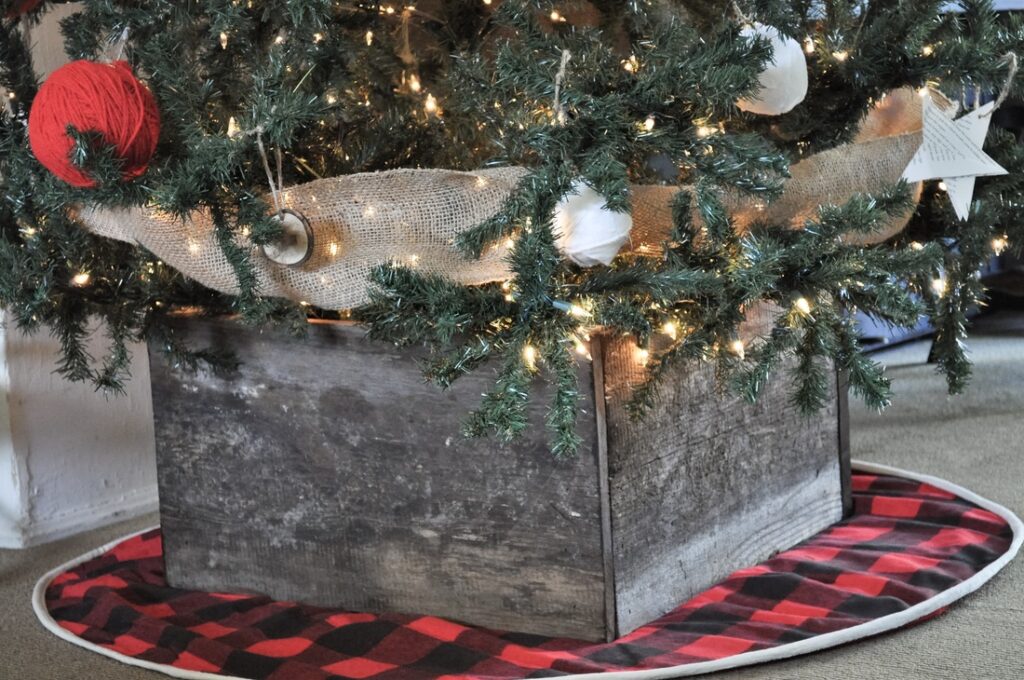
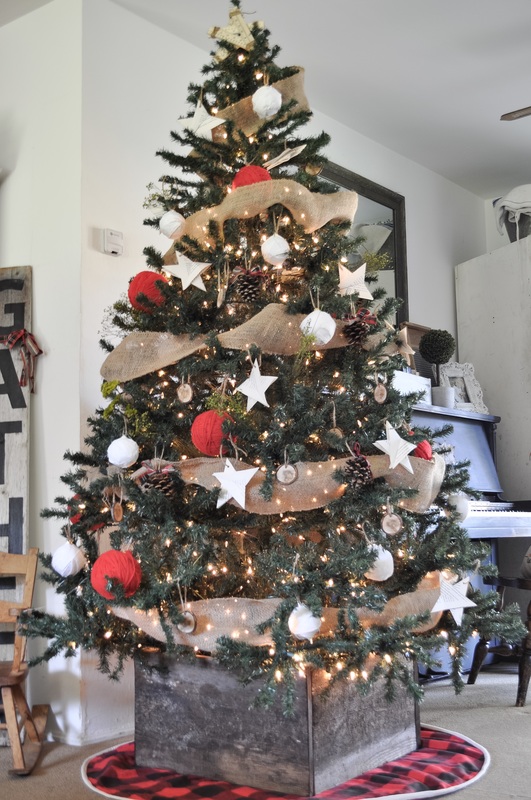
FIY-- My tree skirt is from Target years ago. Here is a similar one on Amazon. Cuter than mine too if I might add!
How to build a rustic Christmas tree box
The fence boards I used were really wide at 12". If you are wanting tall sides too, use (2) 6" wide fence boards stacked on top of one another.
The first step:
So, you'll want to figure out how big your box needs to be to house your tree stand. Because of my specific Christmas tree stand dimensions, I cut my pieces at the following:
Side Panels-
(2) 22 1/4 in. long
(2) 21 in. long
Framing pieces-
(4) 2x2's @ 12 in.
Other Supplies-
Saw to cut your boards
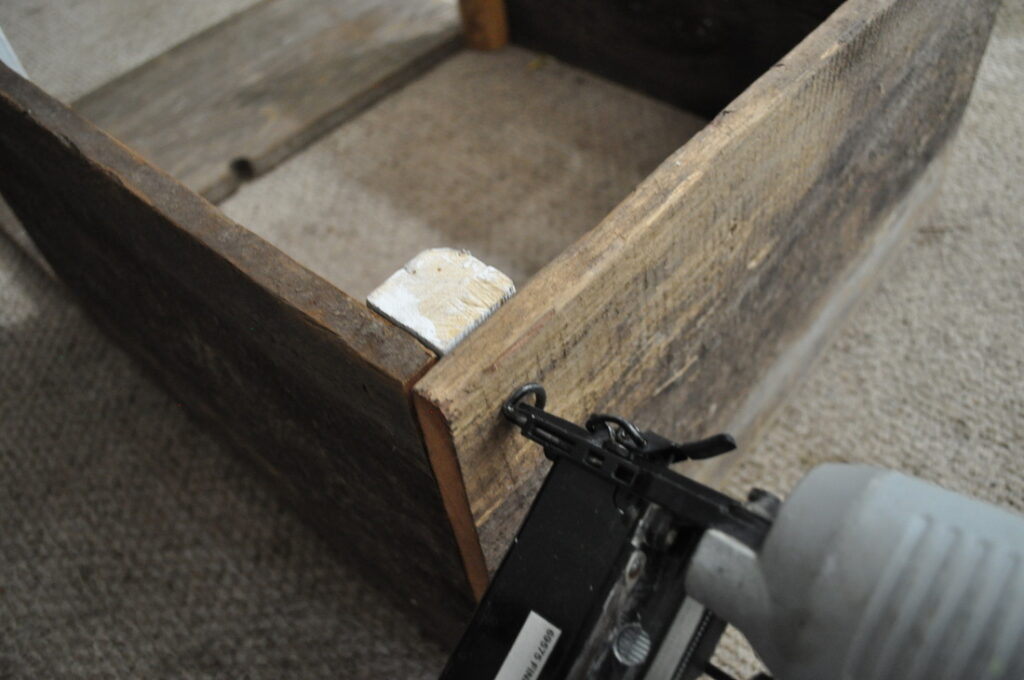
Nail gun
My nail gun takes 18 gauge nails PSA-- If you live in California, you will pay an arm and a leg for nails, buy them online! $4 for a pack of 1000 online, and $12 for a pack of 1000 at Home Depot. Crazy!
What holds the boards together?
The (4) 12 in. 2x2's are for the inner corners of your box. This stabilizes and gives you something to nail each of the four sides to.
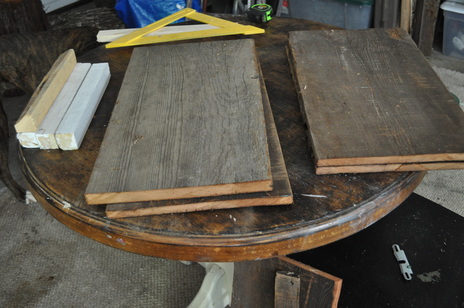
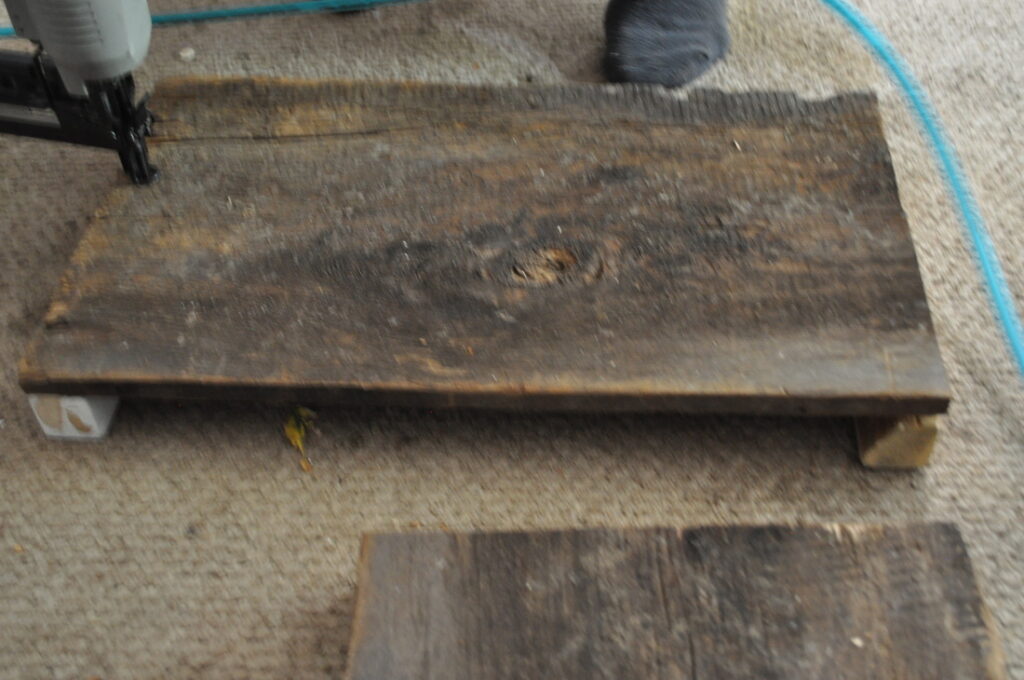
Pictured below are the wood panels I have cut and prepared for this project. Each piece happens to be a remnant from past projects!
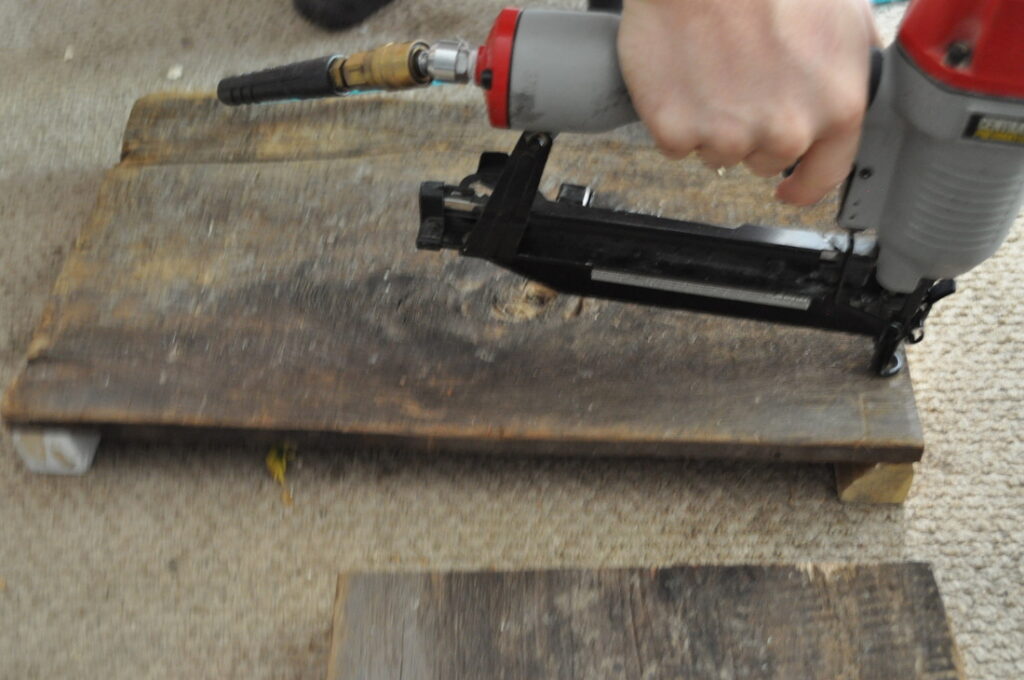
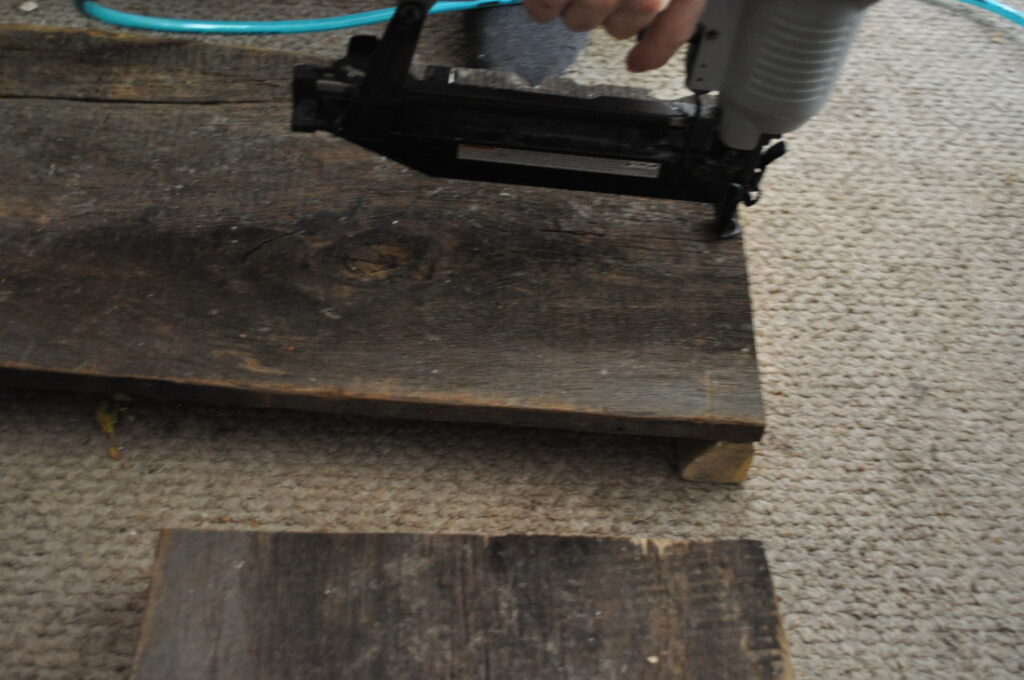
To start assembly, lay 2 of your side panels on the ground with the 2x2's placed evenly underneath, flush with the outsides of the board. Next, you'll nail the board to the 2x2's, but, be sure to add enough nails so that it feels secure.
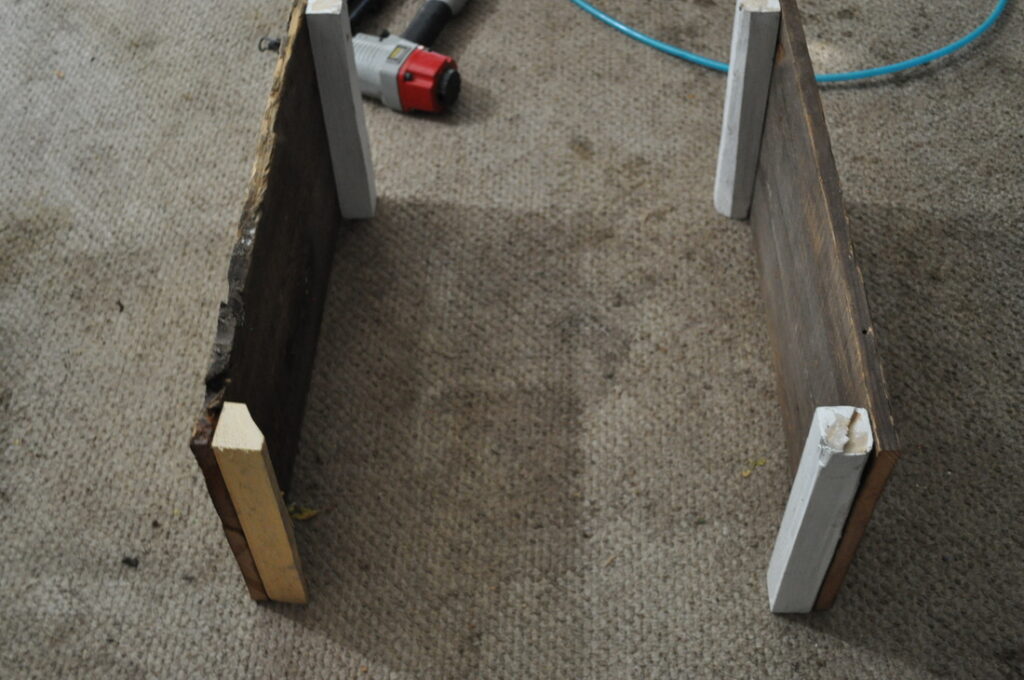
Now that both sides of your boards are nailed to the 2x2's, it should look like this.
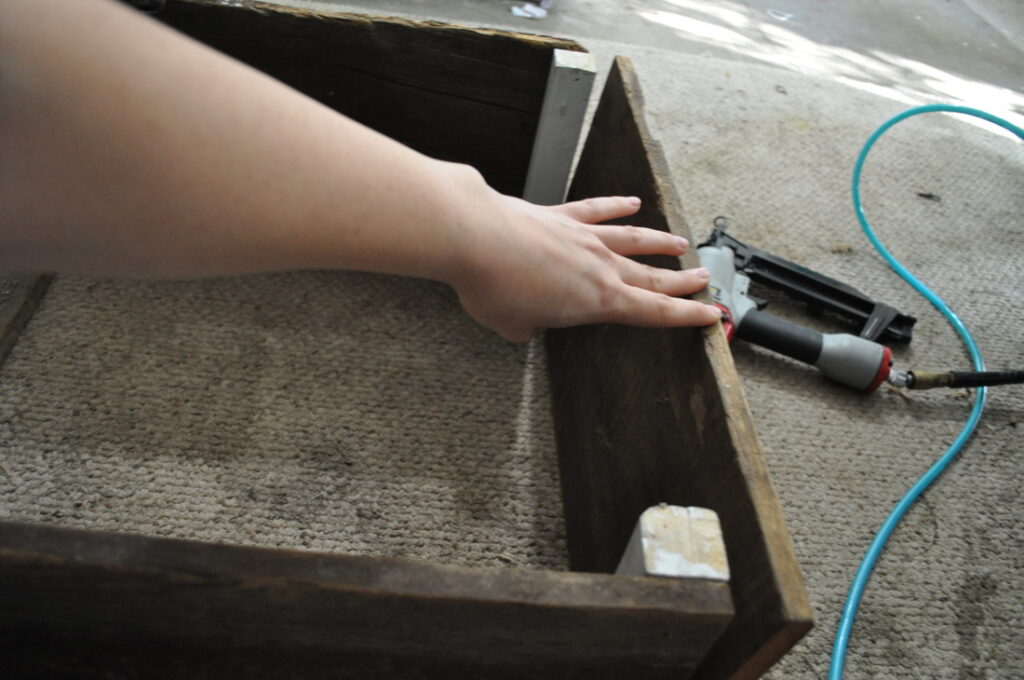
Finally, nail your remaining 2 boards to the boards nailed to the 2x2's to create your box. Obviously, all side panels of your box should be flush so it looks clean and uniform.
Nail all 4 sides, and you are done!
At this time, you can add a bottom to your box if you'd like. First, measure how wide and long your box is. Next, nail your panels of wood to the bottom of your box after it is assembled.
**Please note that I did not add a bottom to mine because I did not feel it necessary.
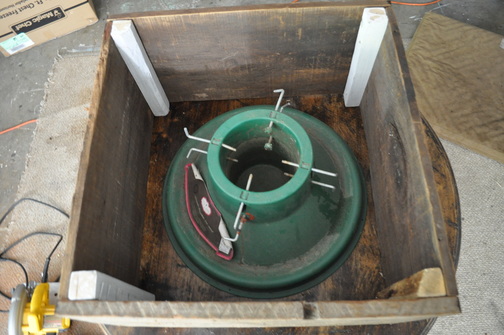
You will want to leave a couple of inches leeway around your Christmas tree stand for ease of getting the stand in and out.
This simple, DIY rustic Christmas tree box can be customized to fit your style and the size of your tree and tree stand. Any stain colors would look beautiful along with a variety of paint colors!
Pin it!

- Simple Christmas Decor
- DIY Rustic Deer Plaque
- Rustic Noel Porch Sign
- Homemade Christmas Ornaments
- Christmas Tablescape
- Days of Christmas
- Famous Chocolate Fondue
- EASY Homemade Toffee
- Date Balls
- Caramel Pull-Apart Bread

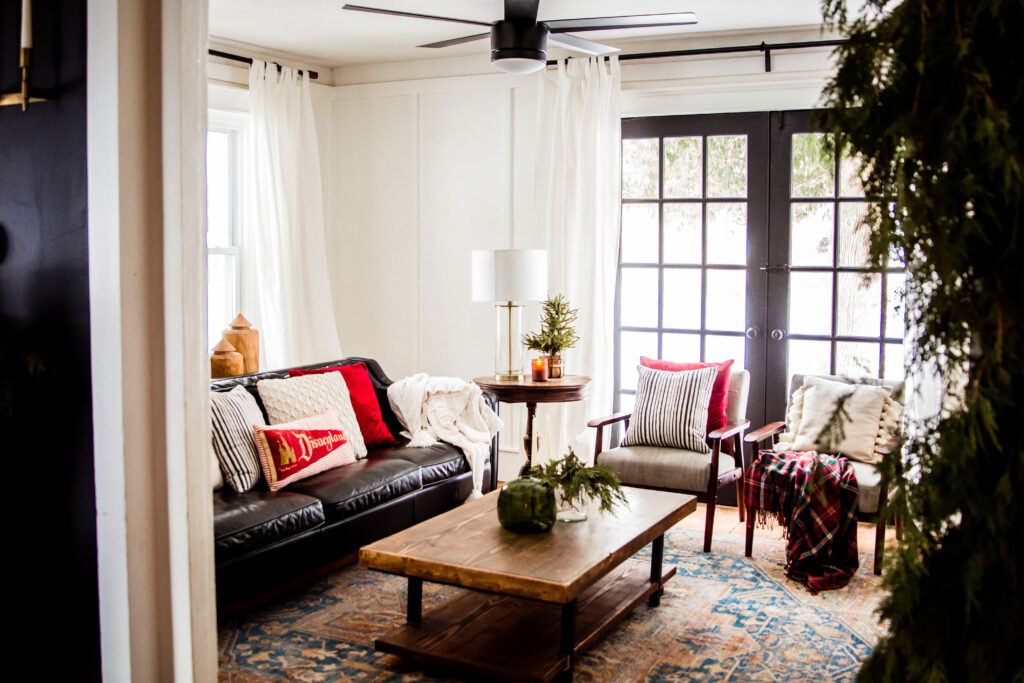
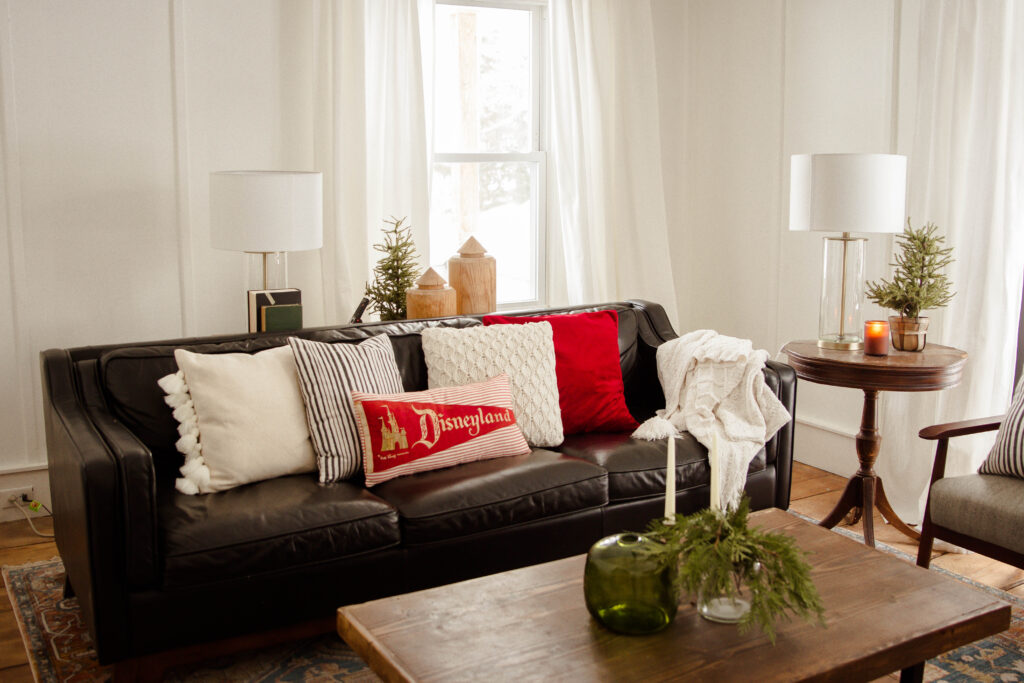
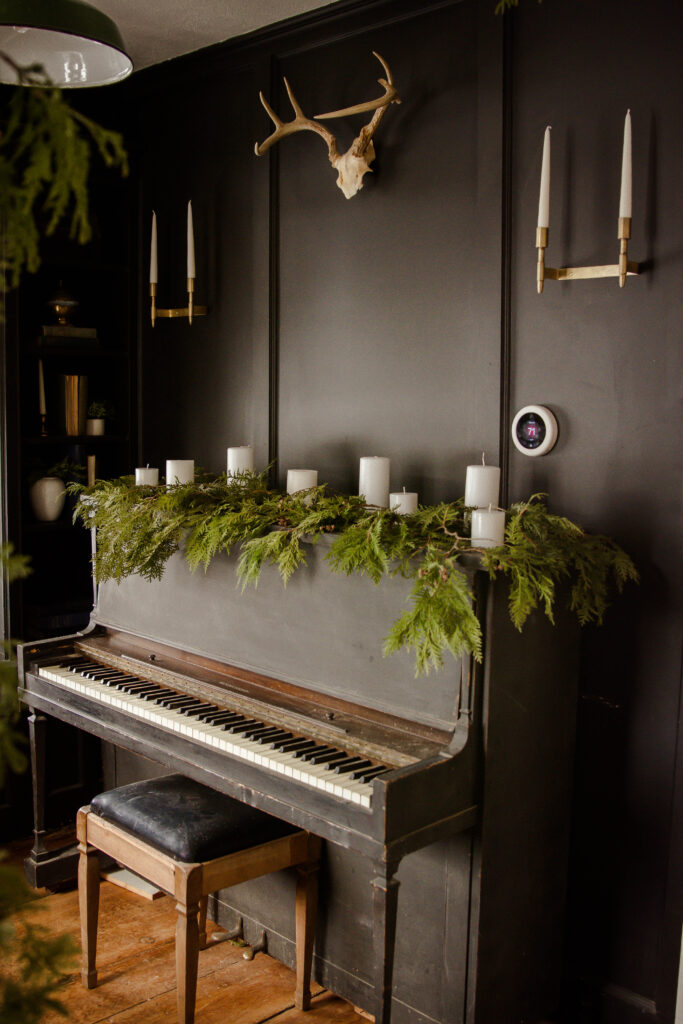
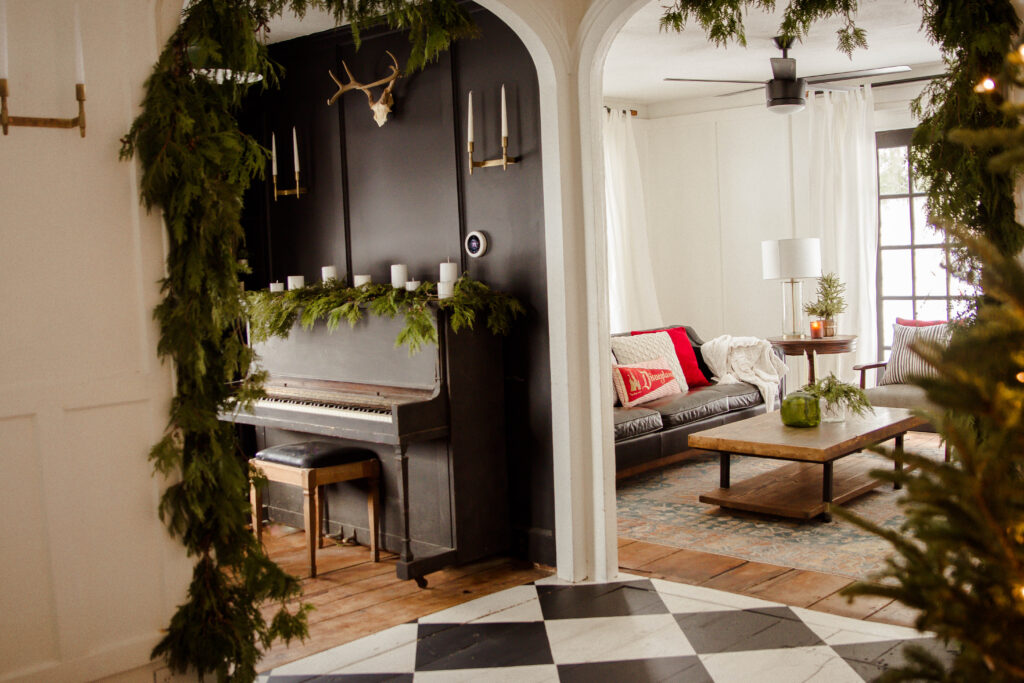
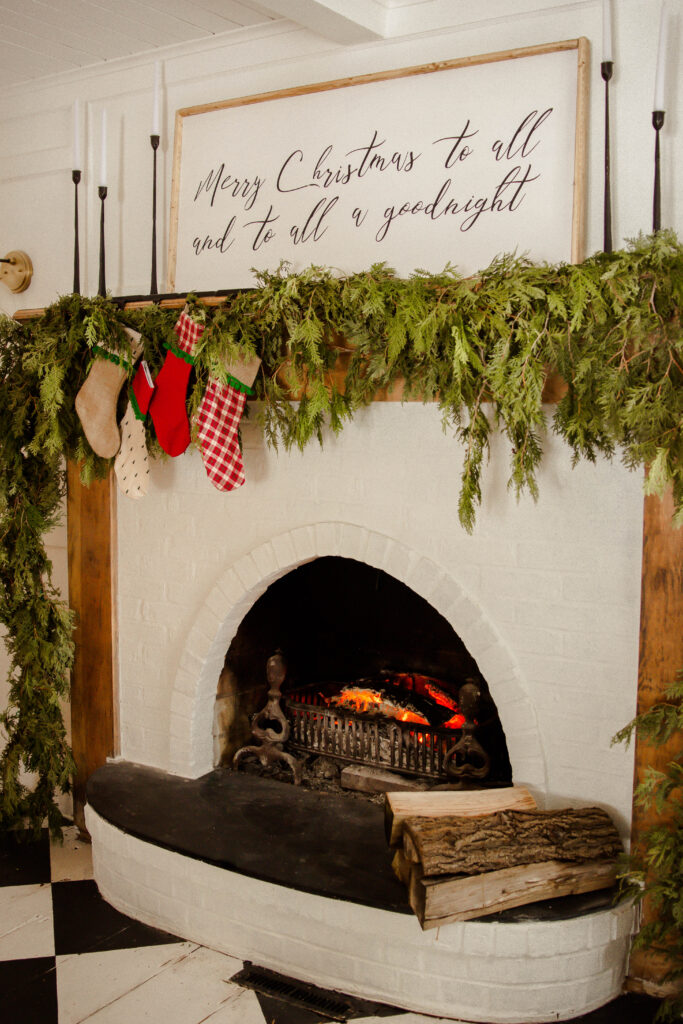
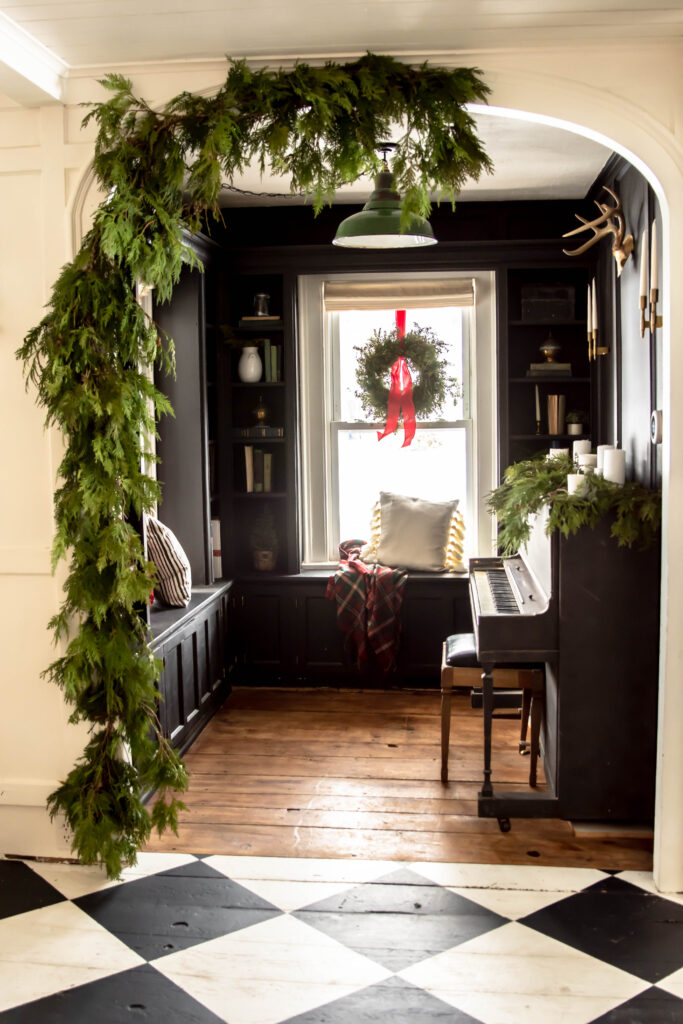
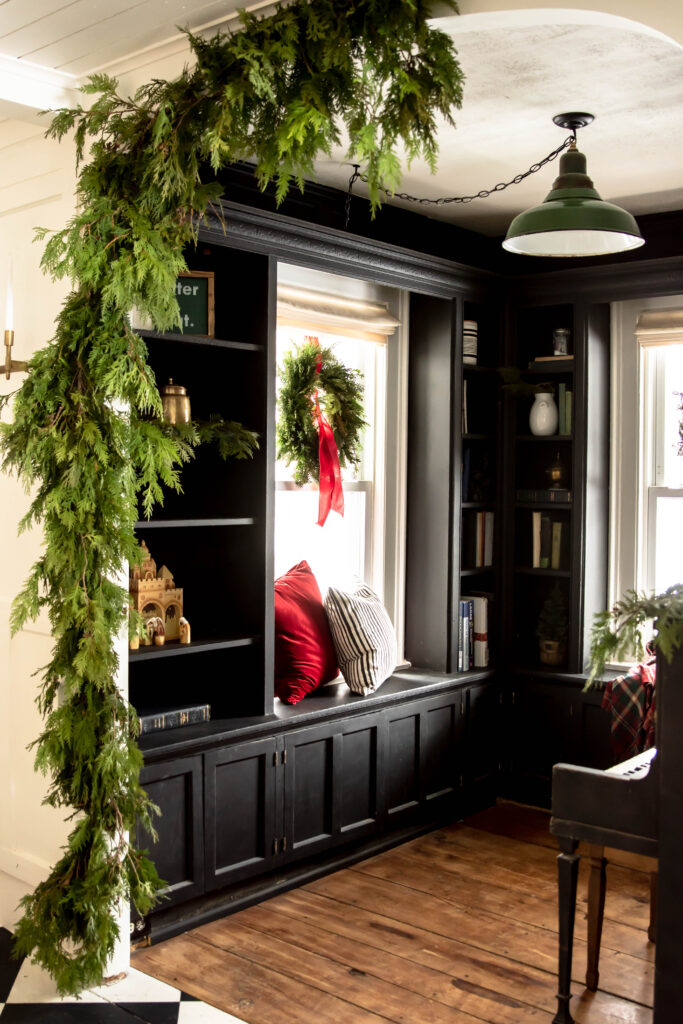
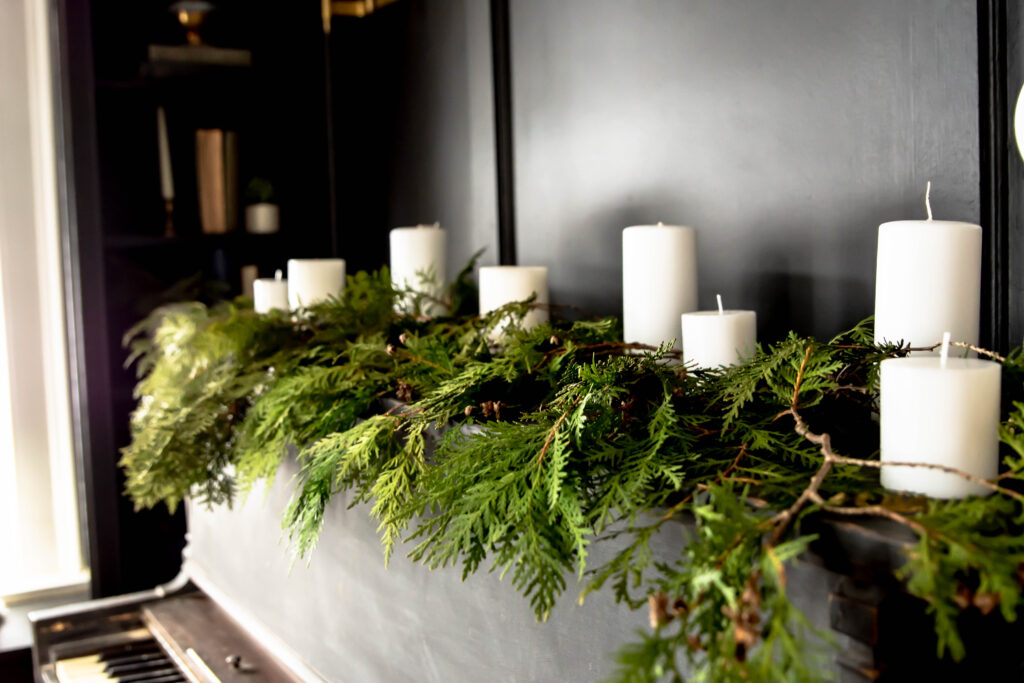
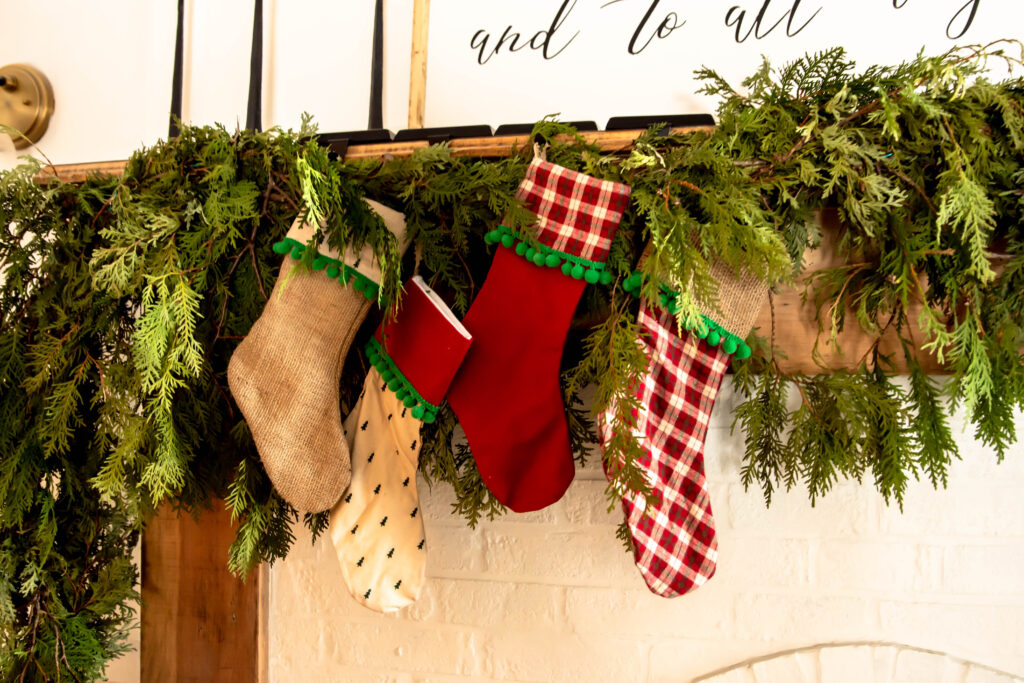
Here's a bit of Christmas decor inspiration from 2019. All of my real greenery was foraged from my yard. I made my own garland, therefore saving me lot's of money!
Thank you for sharing this. I have been scouring Pinterest to find one that I could make AND love. And I love the look and size of your tree collar. I can't wait to get started 🥰. Blessings on your day.
Thanks for stopping by Glenda! I appreciate your kind words. Best of luck on your project!