• Skip to primary navigation
  • Skip to main content
  • Skip to primary sidebar
  • Skip to footer
Clover Lane
  • Home
  • About Clover Lane
    • Legal Disclaimer
  • DIY
  • Home Decor
  • Recipe Box
    • Appetizers
    • Dessert
    • Drinks
    • Entrees
    • Sauces and Dressings
    • Side Dishes
  • Welcome to Clover Lane All Things DIY and Home

Home » DIY Rustic Deer Plaque

DIY Rustic Deer Plaque

February 23, 2016 by Sadie Leave a Comment

Picture
The second I ran across this picture from Design, Dining, and Diapers  I knew I had to do my best to recreate it! I had already started gathering black and white decor, and I wanted the rustic wood element tied in, so I knew this plaque would be the perfect focal point to tie it all together.
Picture

Wood Plaque
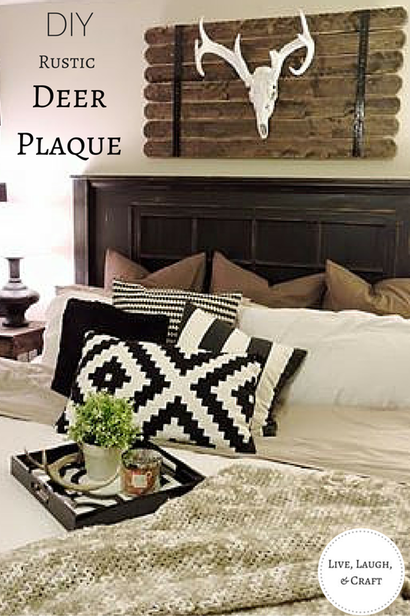
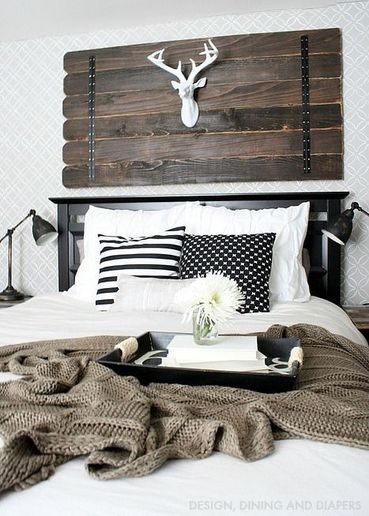
Deer skull (cleaned and spray painted)
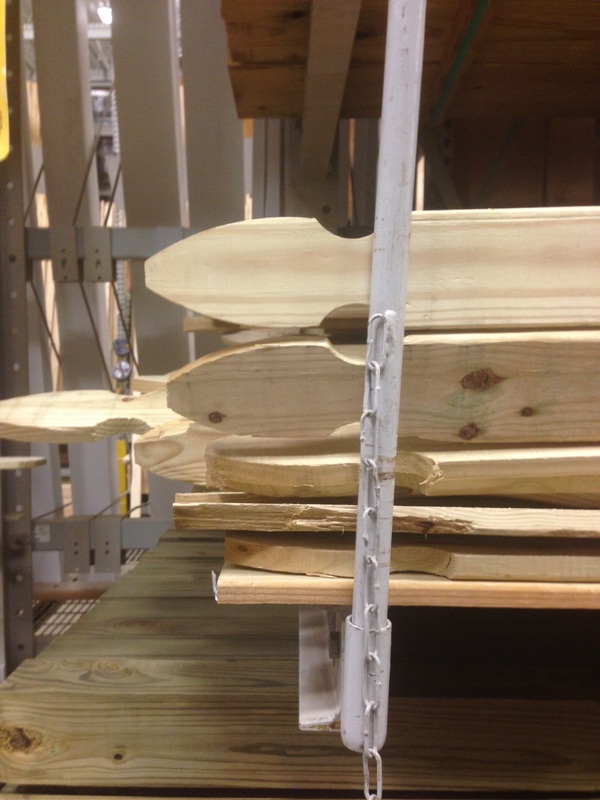
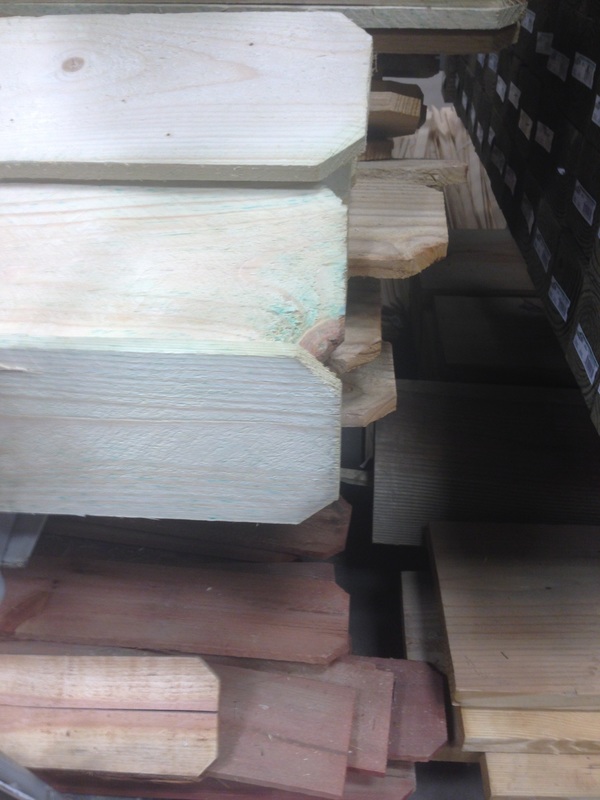
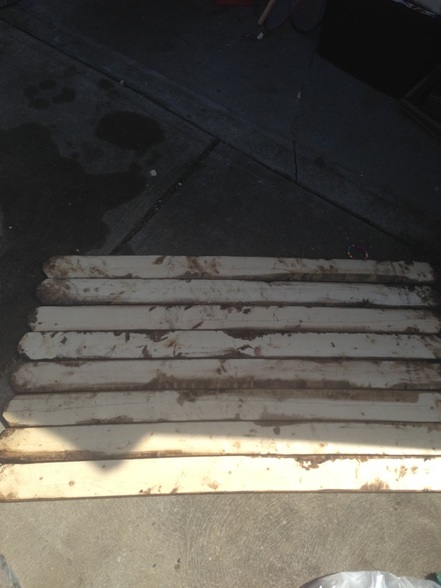
5 (8 foot) 1x4 furring pine boards
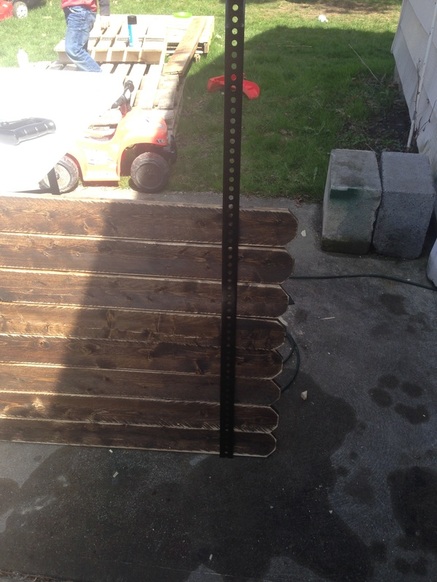
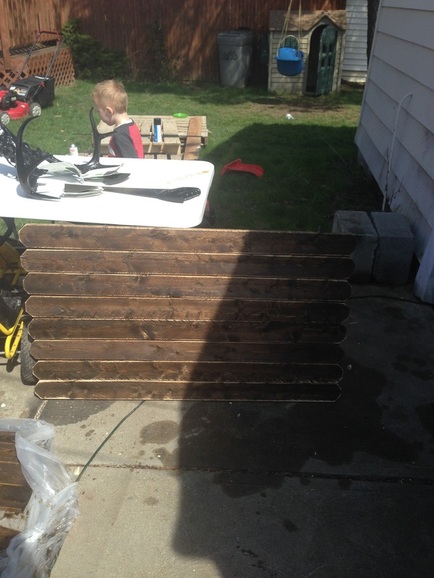
Trim for the black accent piece (I used metal but you can tape on the wood with painters tape and do a faux strip)
Saw
Stain
Sander
Finishing spray
Screws

Cut 4 boards in half giving you 8- 4 foot boards. I took the saw and cut the corners to give me a fence look. I just eyed it so they're all different. Stain and sand each piece. Initially I was going to use all 8 pieces, but it looked off to me so I ended up using only 7 boards. Using the same technique as the fall plank sign here, join all boards together using the 5th furring pine board. Spray with finishing spray. Okay...now to be honest here....I don't love the metal strip I used on mine. I got it from Home Depot. It doesn't stay on my plaque well enough and that bothers me. It is just for looks, but I am on the lookout for a metal strip that I like better. This strip goes 1 1/2" from both sides of the plaque and runs vertically up. I painted mine black to give the plaque that finished look! Now you will mount your deer skull with screws, Rex used 4" screws on ours because it was so large. Hang that beauty up and admire it!

Step-by-step
I fell in love with this deer plaque so I set off to find the best option to recreate it for my master bedroom. I looked at a couple different fence options that I liked. It wasn't completely unreasonable, but I knew I could do better!
Picture

Picture

I picked up 5 8 foot furring pine boards from Home Depot- the uglier the better in my opinion! Cut 4 boards in half giving you 8- 4 foot boards. I took the saw and cut the corners to give me a fence look. I just eyed it so they're all different. Stain and sand each piece. Initially I was going to use all 8 pieces, but it looked off to me so I ended up using only 7 boards. Using the same technique as the fall plank sign here, join all boards together using the 5th furring pine board. Spray with finishing spray. Okay...now to be honest here....I don't love the metal strip I used on mine. I got it from Home Depot. It doesn't stay on my plaque well enough and that bothers me. It is just for looks, but I am on the lookout for a metal strip that I like better. This strip goes 1 1/2" from both sides of the plaque and runs vertically up. I painted mine black to give the plaque that finished look! Now you will mount your deer skull with screws, Rex used 4" screws on ours because it was so large. Hang that beauty up and admire it!
Picture

Picture

Picture

Picture

Filed Under: DIY

Pages

  • About Clover Lane
  • ALL THINGS HOME
  • Legal Disclaimer
  • Privacy Policy
  • Recipe Box
  • Welcome to Clover Lane All Things DIY and Home
  • Welcome to Clover Lane...we're happy you stopped by!

Reader Interactions

Leave a Reply Cancel reply

Your email address will not be published. Required fields are marked *

Recipe Rating


This site uses Akismet to reduce spam. Learn how your comment data is processed.

Primary Sidebar

About Us

Welcome to Clover Lane! We are Cassie and Sadie-- A sister DIY duo with serious "go get 'em" personalities. We take boring rooms and make them not-so-boring by knocking down walls and getting stuff done!! Oh, and we LIVE to eat.

Footer

Copyright © 2023 Clover Lane on the Foodie Pro Theme