
Flaky Pie Crust isn't hard to make. In fact, I have the best flaky pie crust recipe to share with you today. this is the pie crust that gets complimented time and time again.
The Best Flaky Pie Crust
Do you love a good pie crust? How about a pie crust that is so easy to make, you only need a mixing bowl and a spoon? I always forget how good this recipe is until I have a piece of pie from a bakery.....it just doesn't compare to this recipe! My Grandma Arave has been wowing us with The Best Flaky Pie Crust for years and now it's our turn to share it with you!
Step-by-Step
Before beginning this recipe, grab a snack to level out your blood sugar! Now, take a deep breath. Know that practice and grace are key. You are well on your way to being a pro pie crust maker.
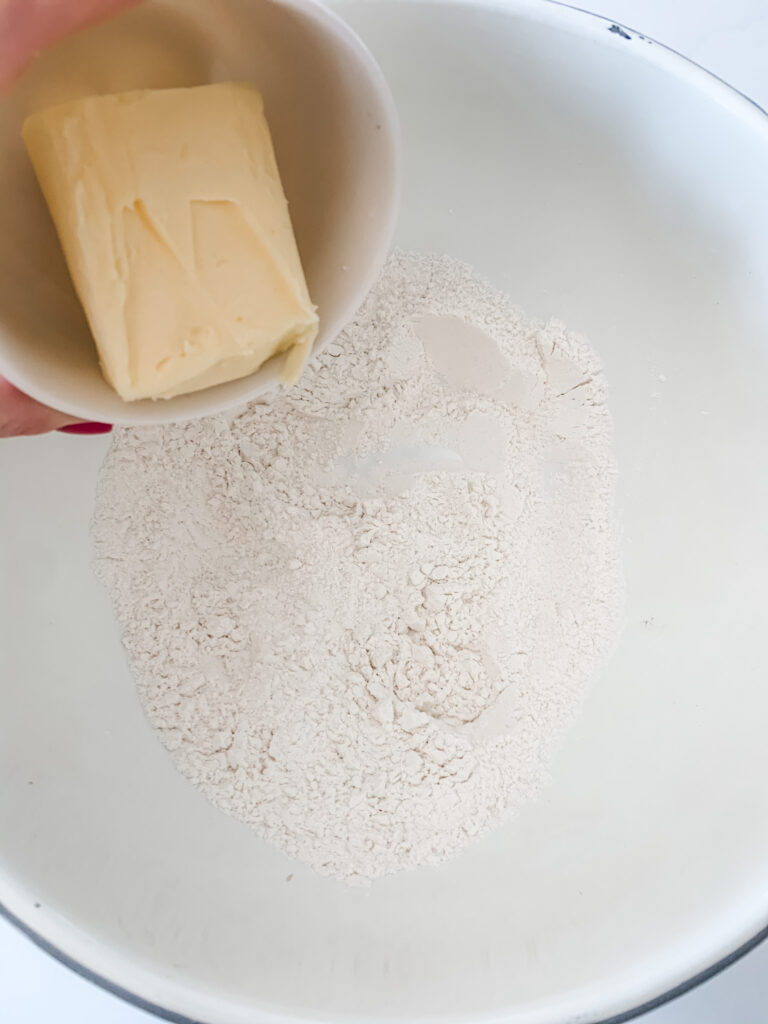
Mixing your dry ingredients-
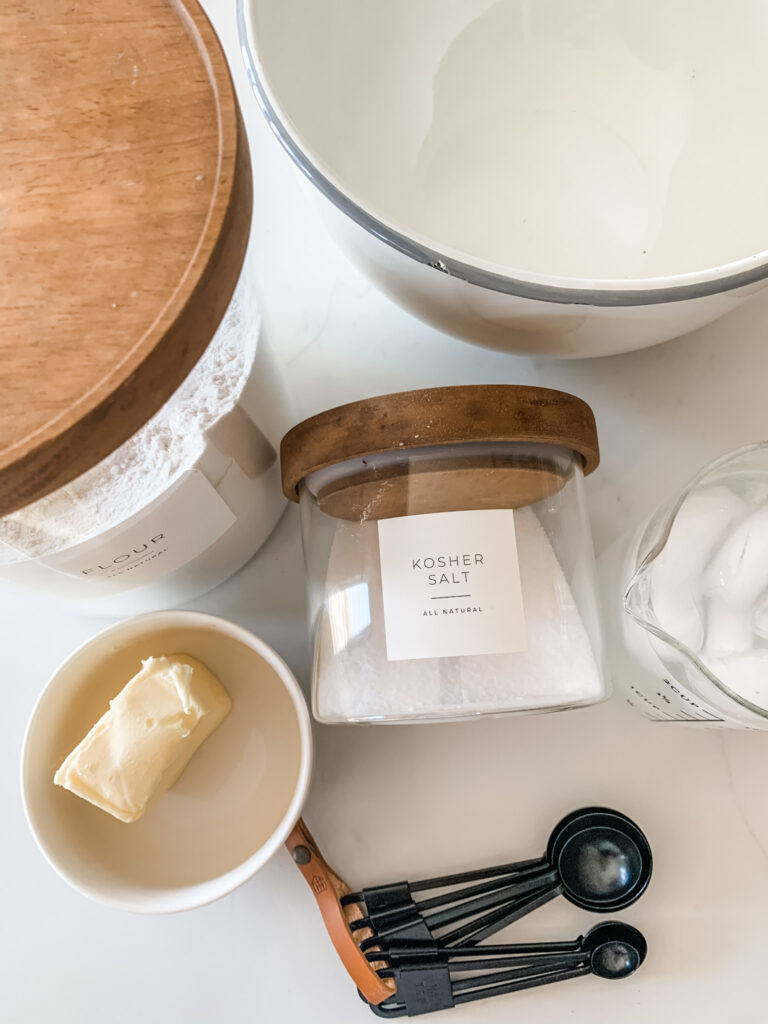
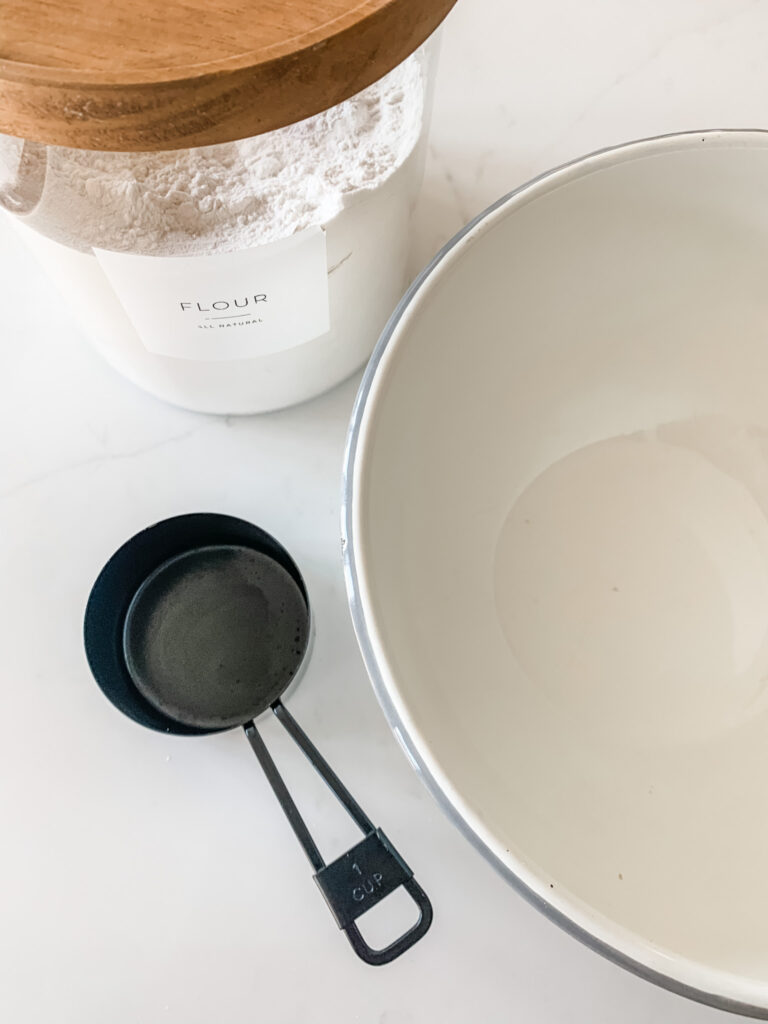
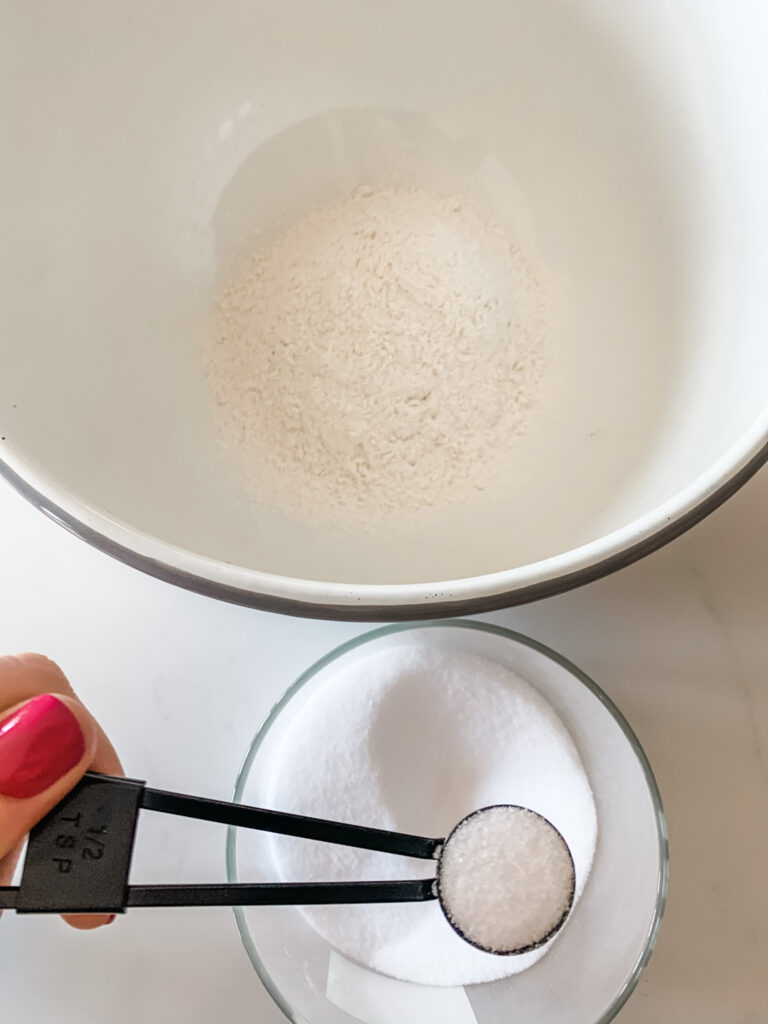
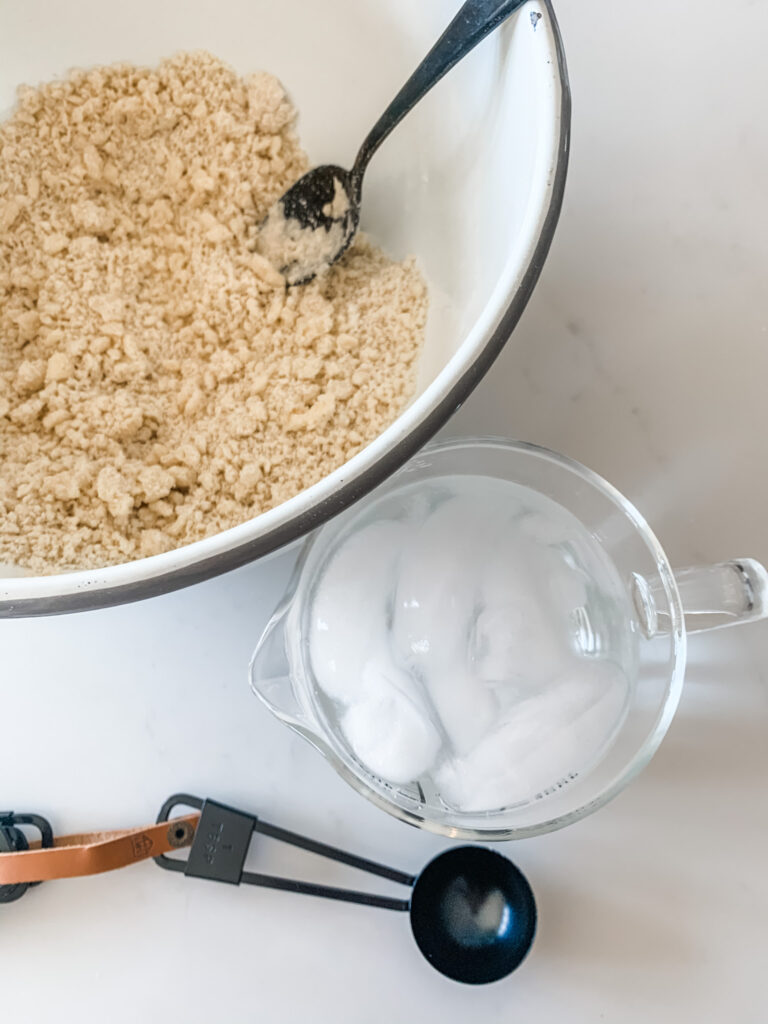
- Put 1 cup flour and 1/2 teaspoon salt in a bowl and mix together with a fork.
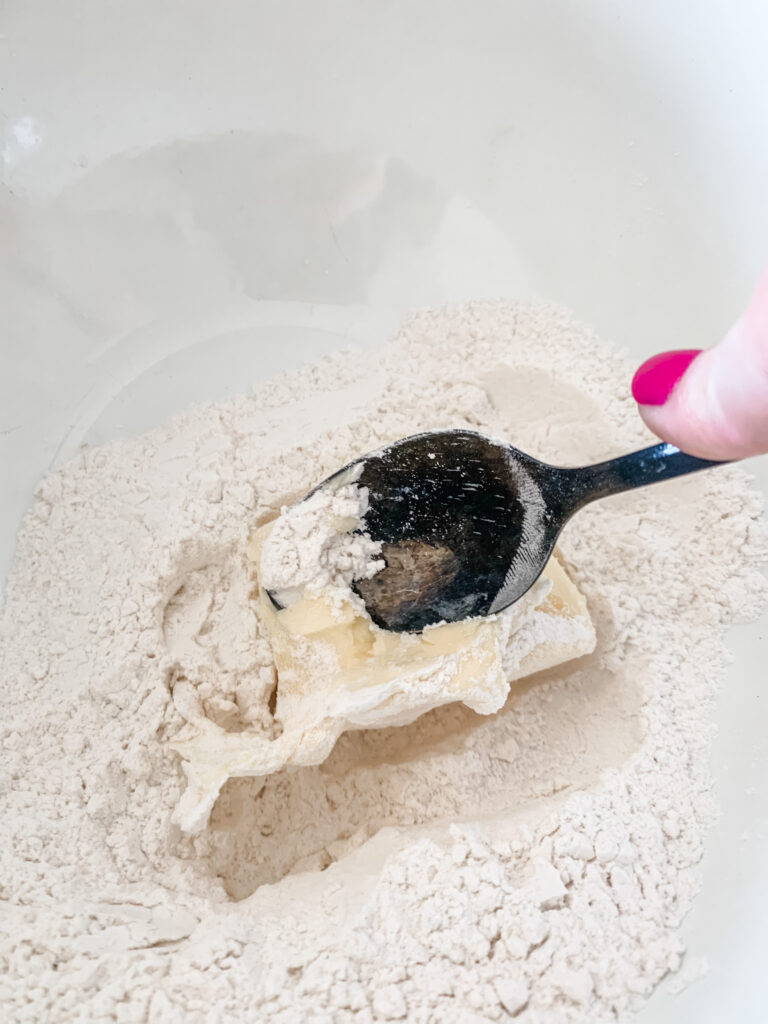
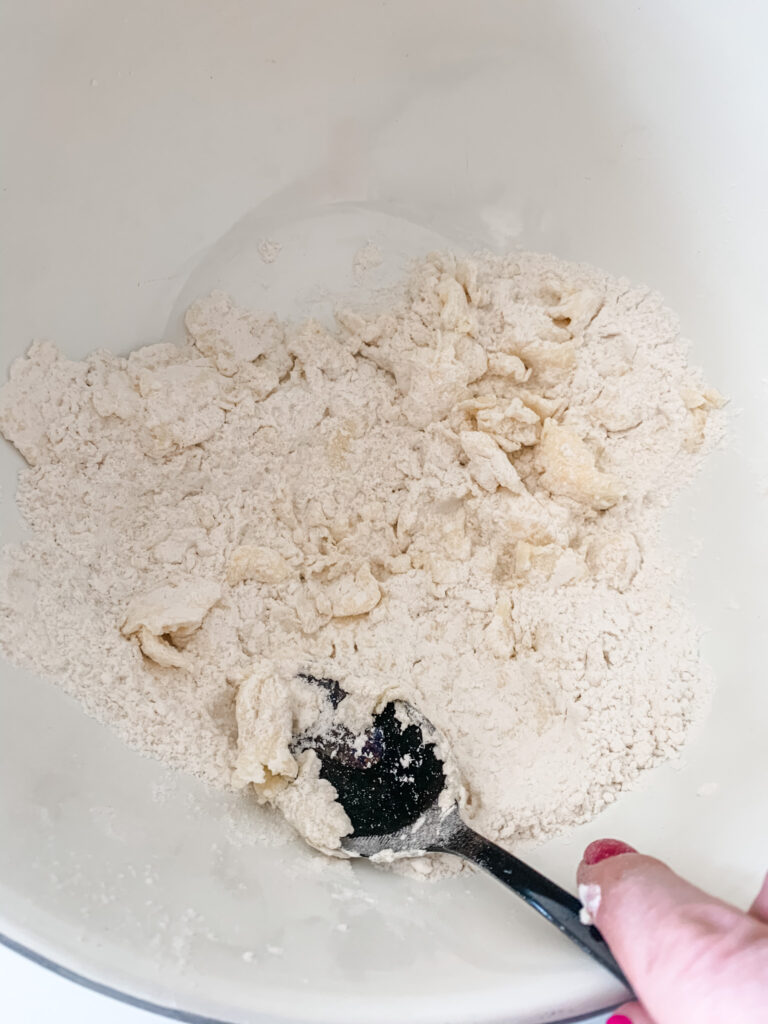
Cutting in the shortening and ice water-
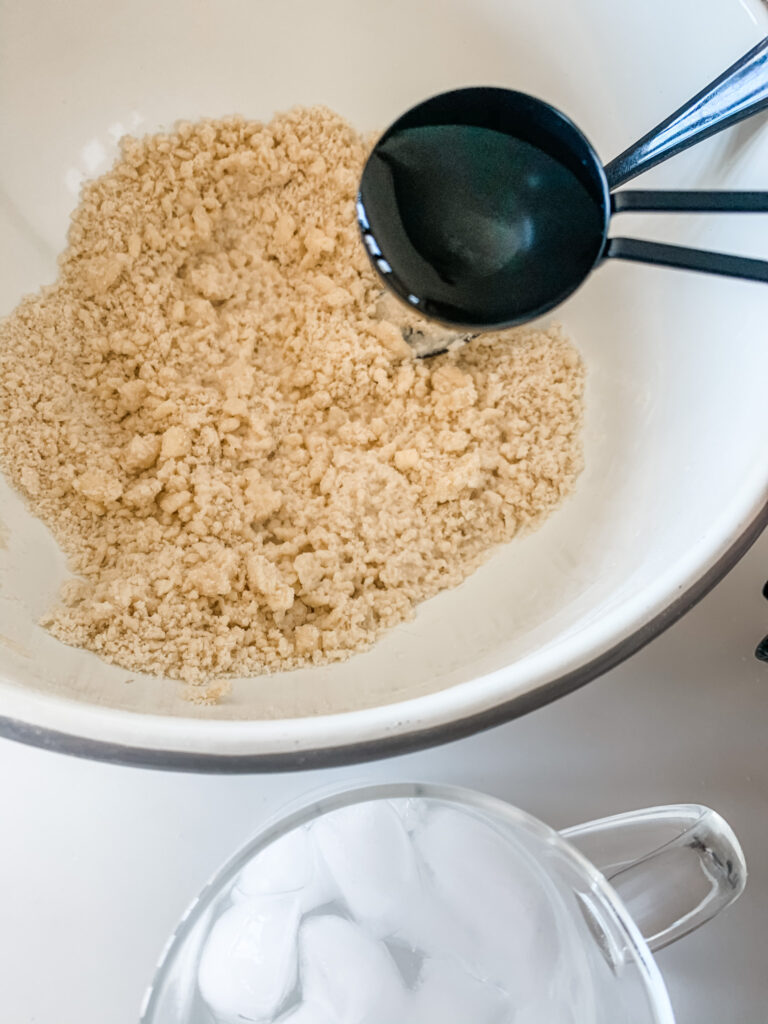
- Add 1/2 cup butter-flavored shortening. Literally, take a spoon and press the shortening and flour mixture together. Completely mix so there's not flour that isn't mixed with shortening.
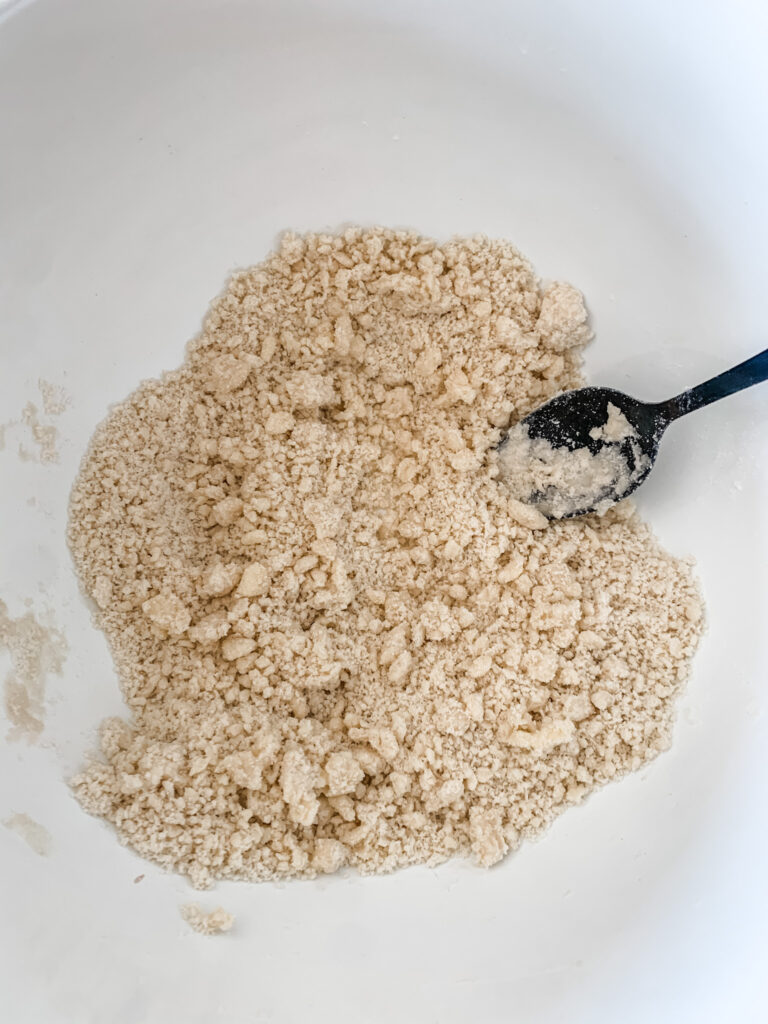
- Add 3 Tablespoons of ice-cold water. Put ice in a bowl and cover with water, then measure 3 Tablespoons from that bowl.
Rolling your crust-
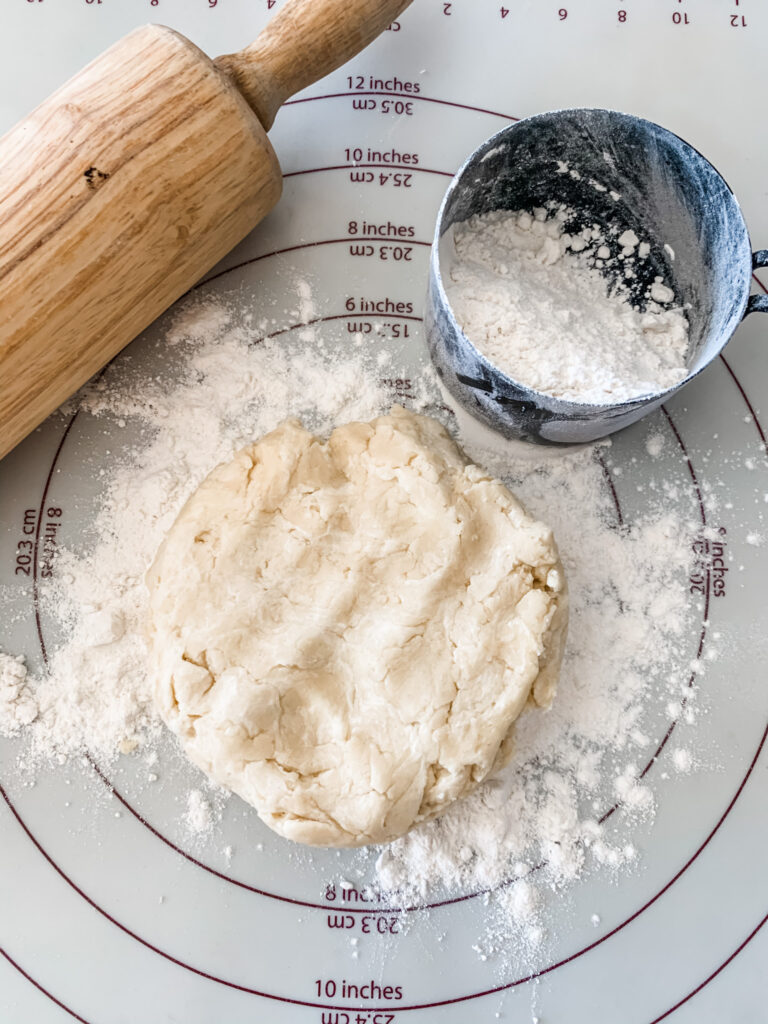
- Grab a spoon and form dough into a ball.
- This little gem pictured below is my silicon mat and it takes all the intimidation of homemade crust away! If you don't have one, buy one. Mine is pampered chef but I'm sure any brand is great!
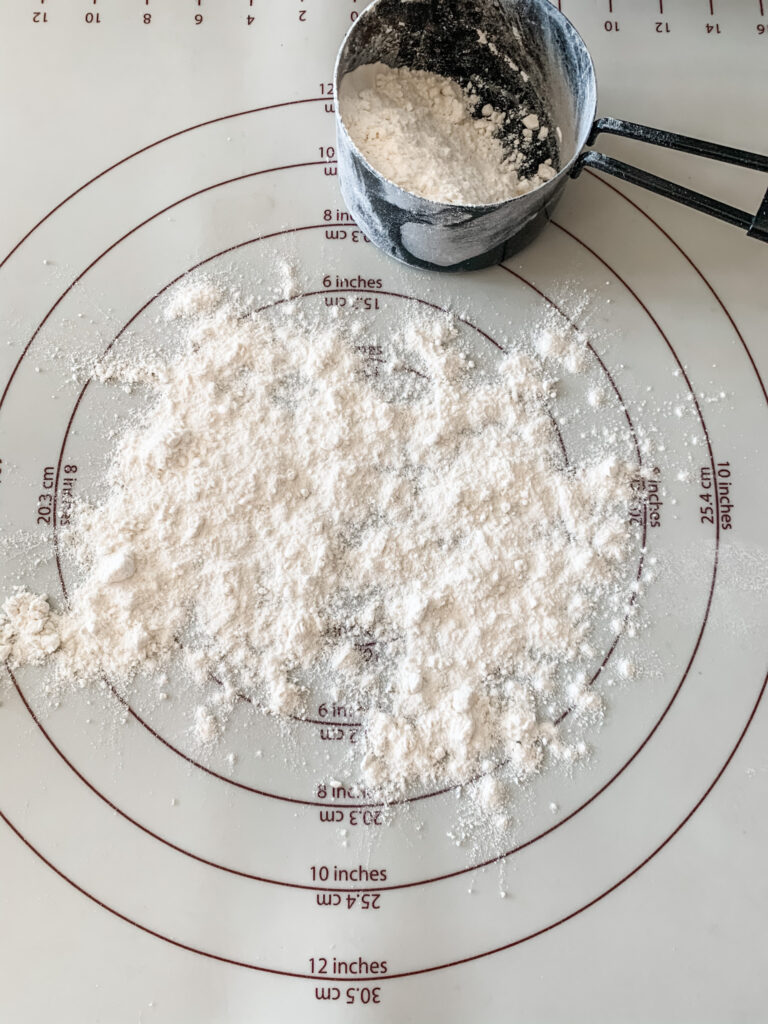
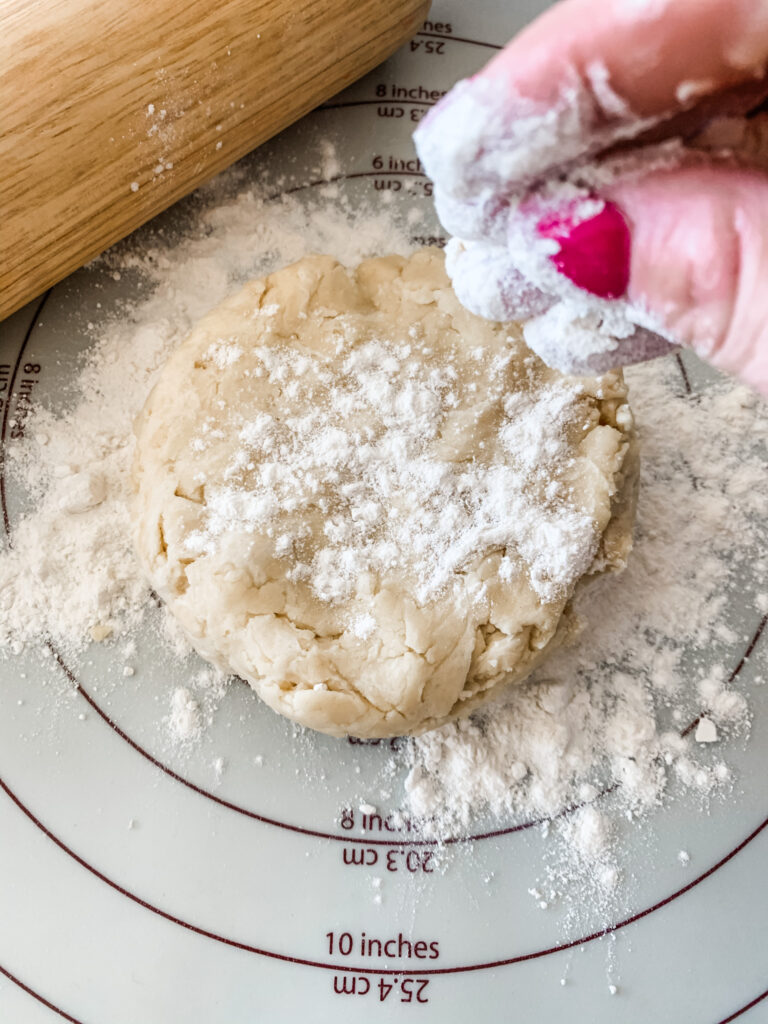
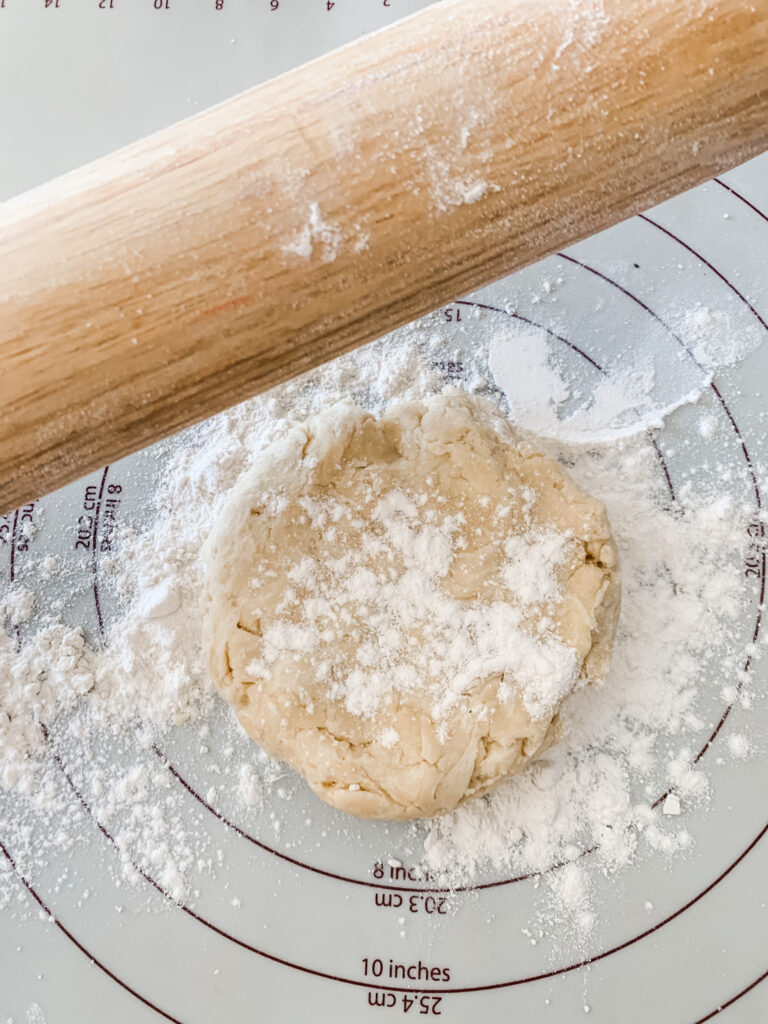
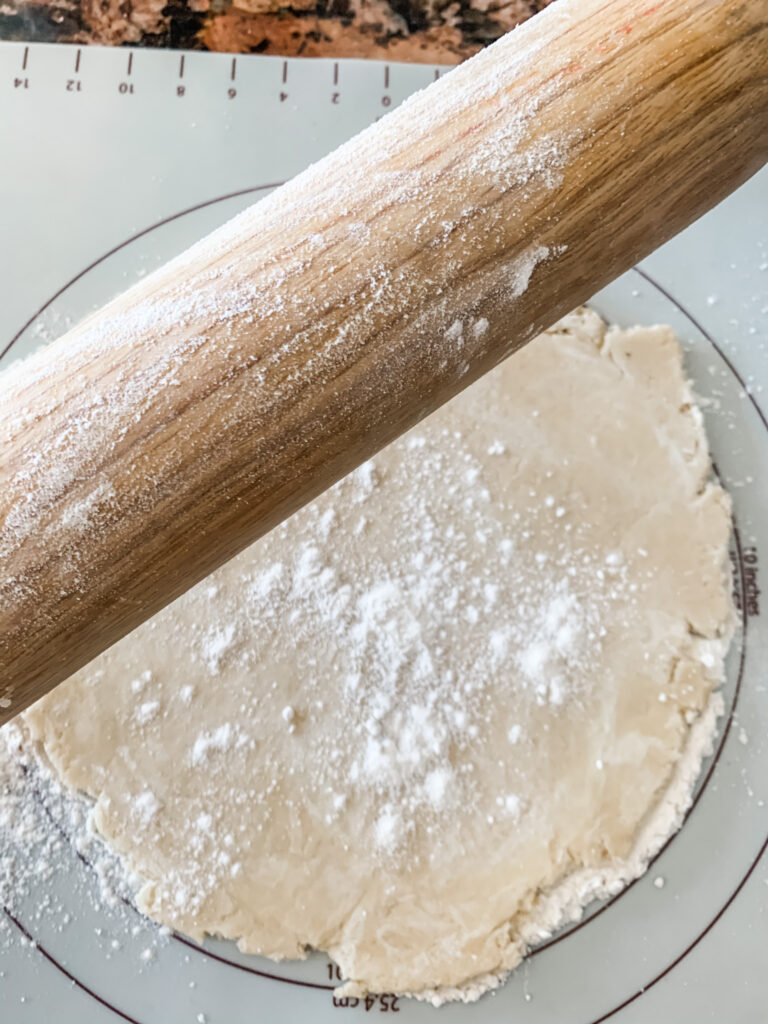
- Sprinkle flour on the rolling mat and place dough in the center circle.
- Lightly rub flour on your rolling pin.
Rolling Technique for the Perfect Crust
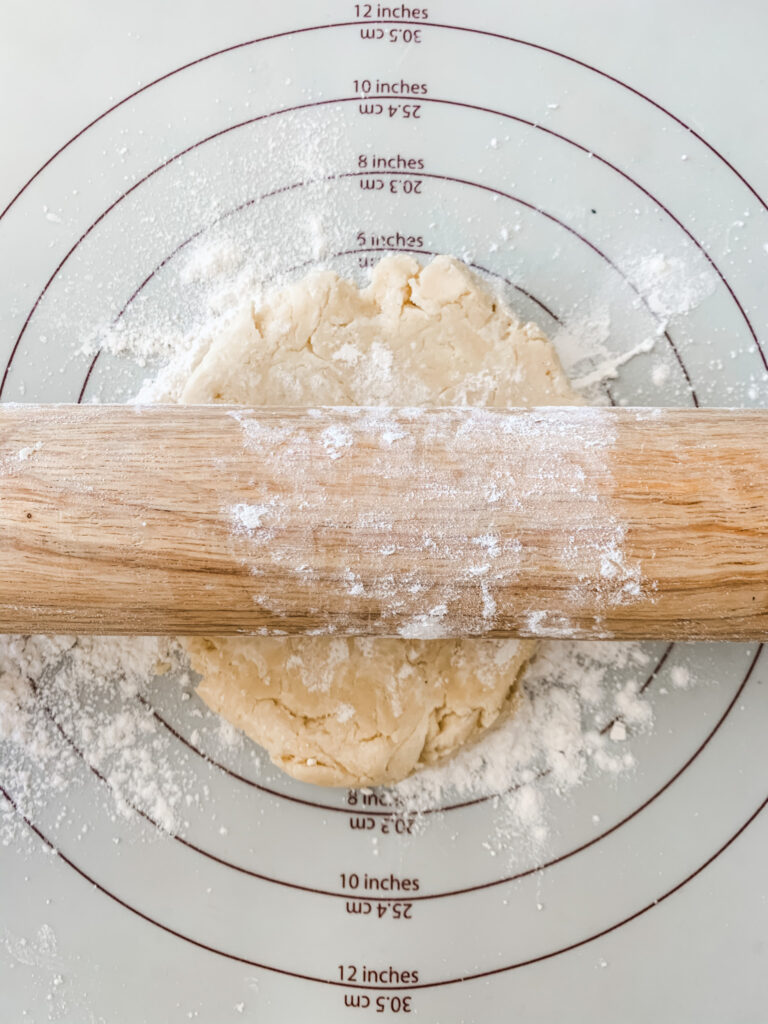
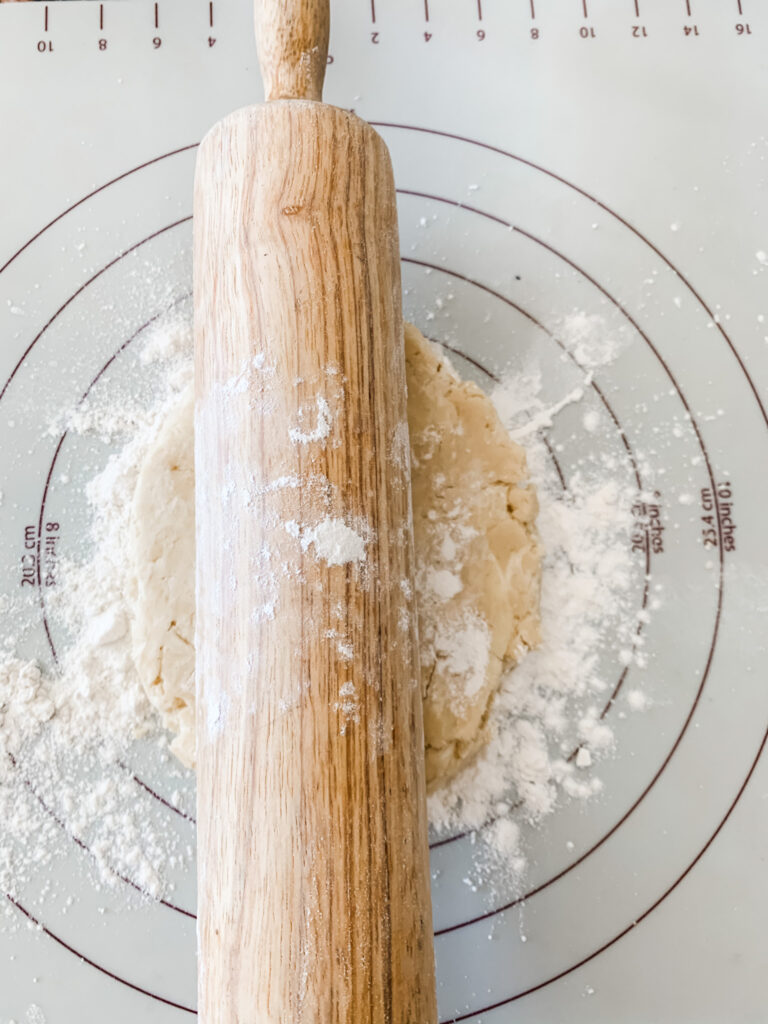
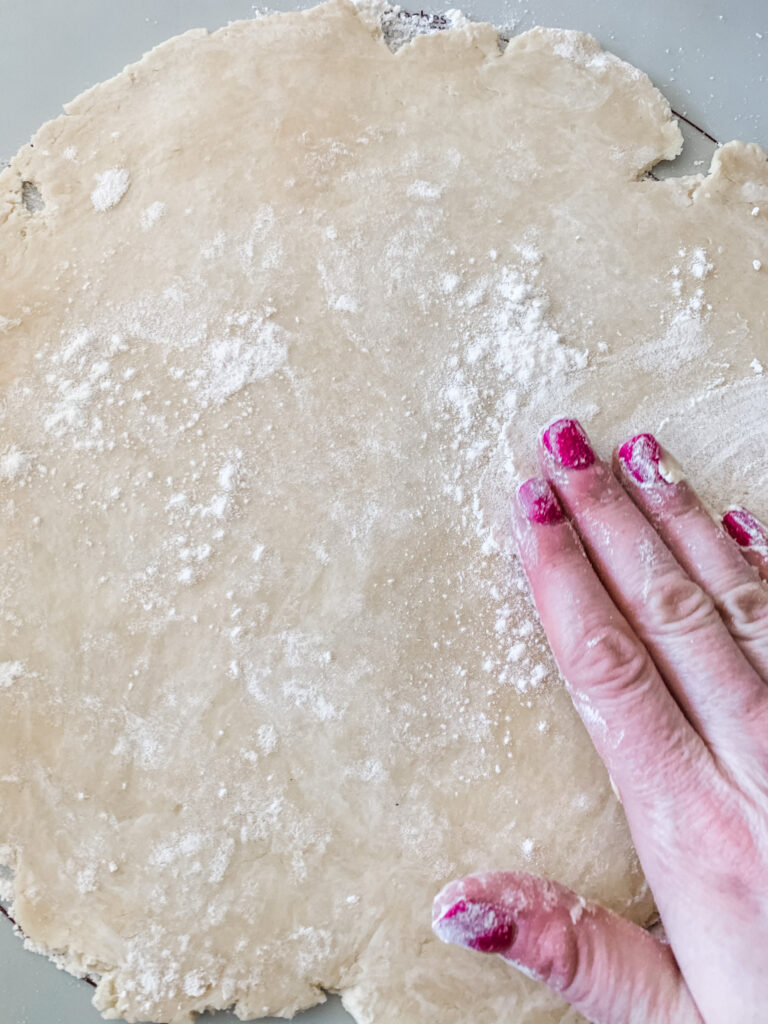
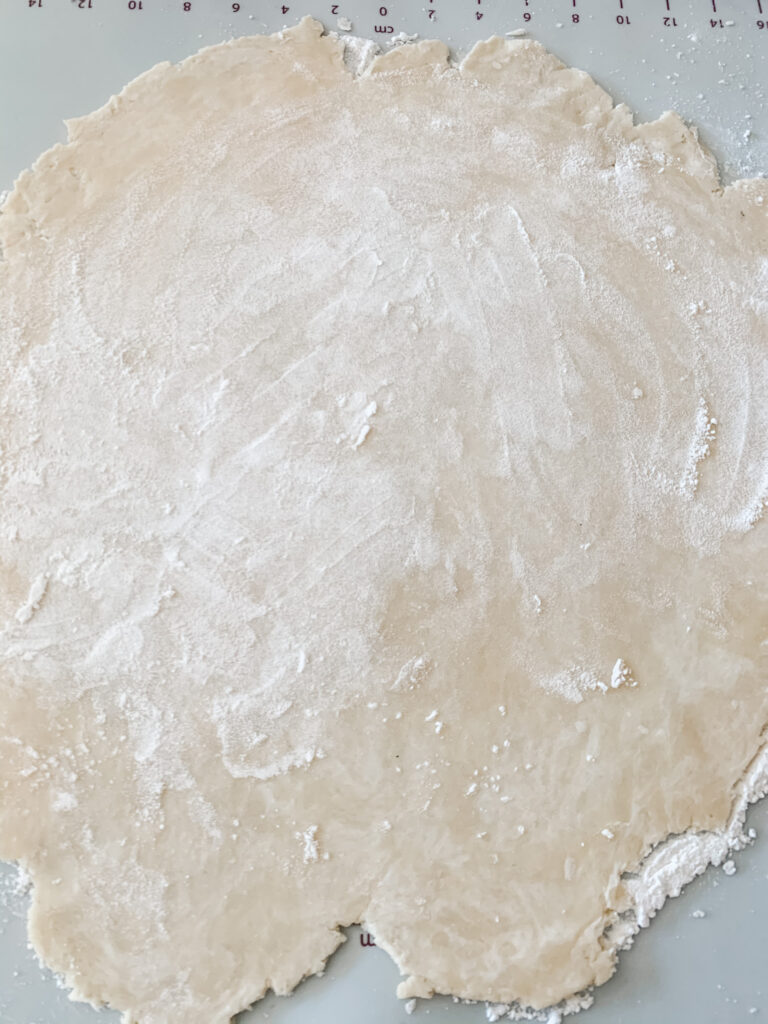
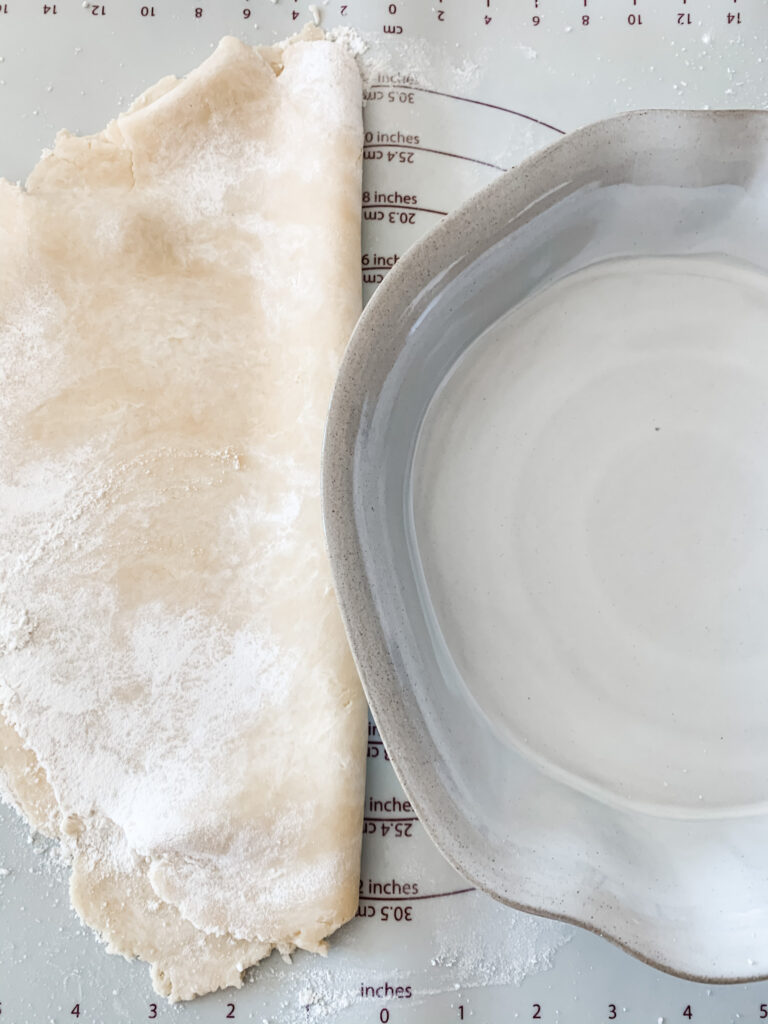
- Begin rolling dough up and down then left to right. Keep working it outwards and work it around the entire ball to form a circle. I roll mine to just outside the 12 inch circle.
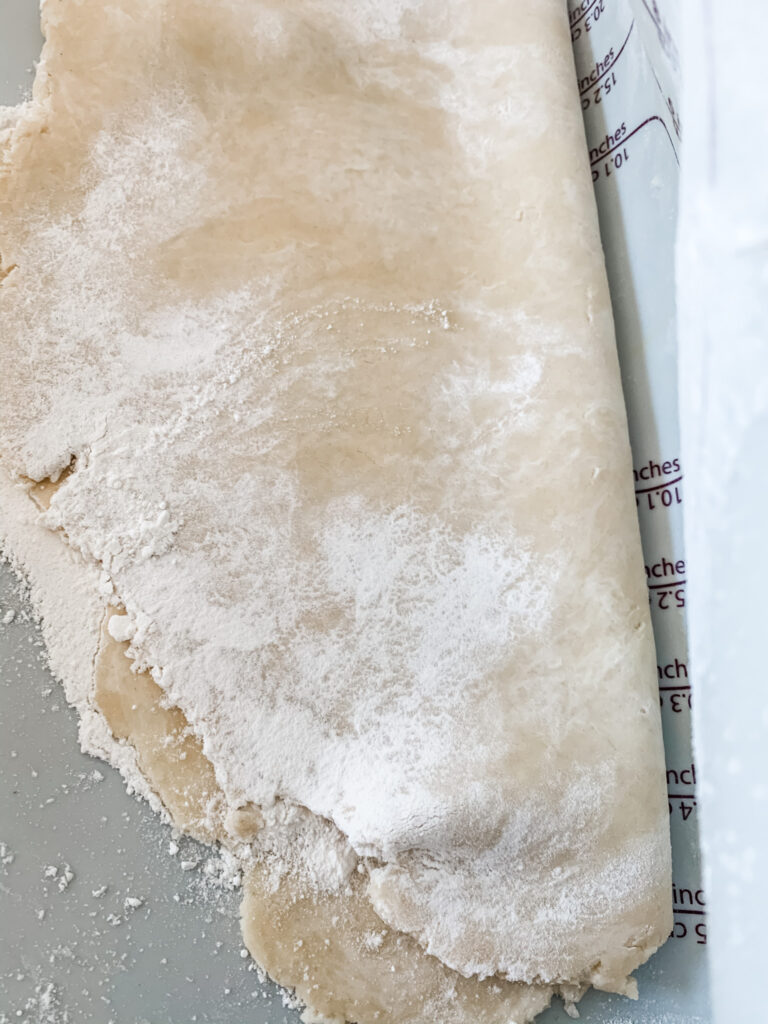
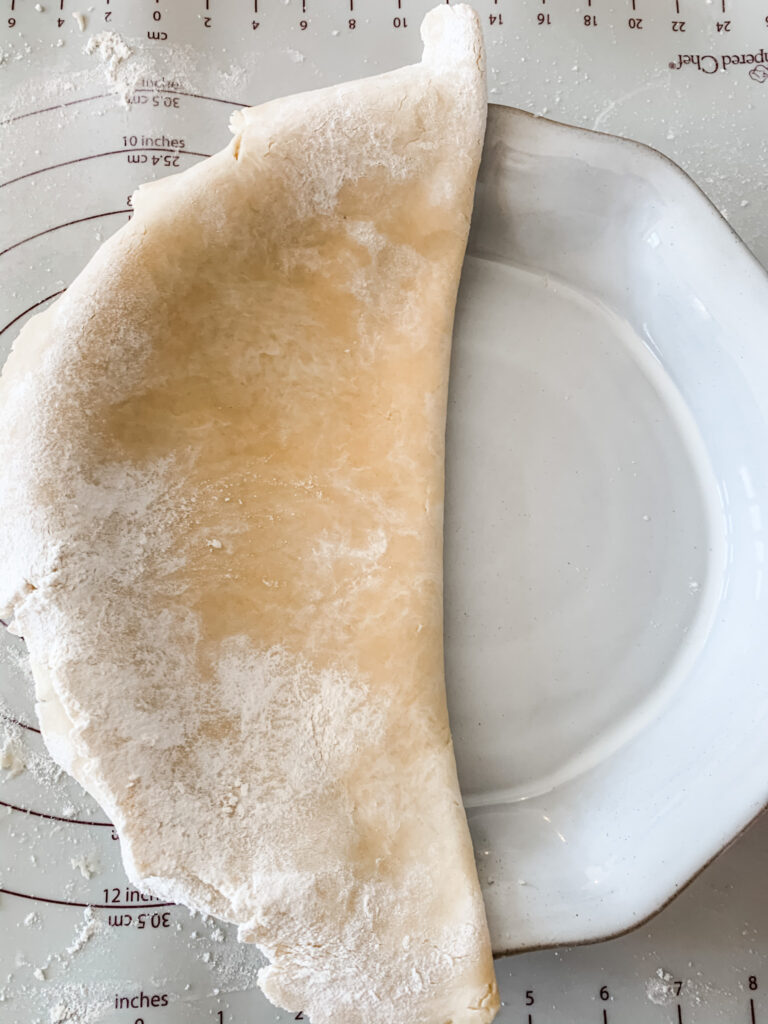
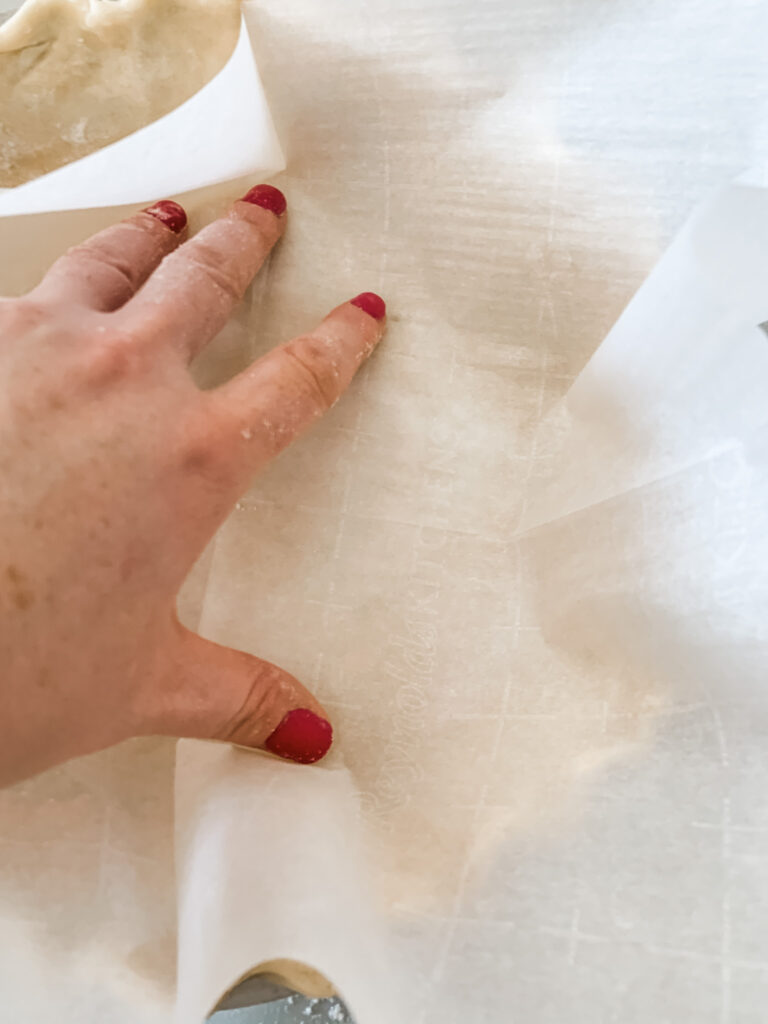
- Sprinkle the crust with a little flour and lift the mat folding the dough in half. Next, fold the dough in half again. Now that the dough is folded into quarters place it in the pie dish and gently unfold it.
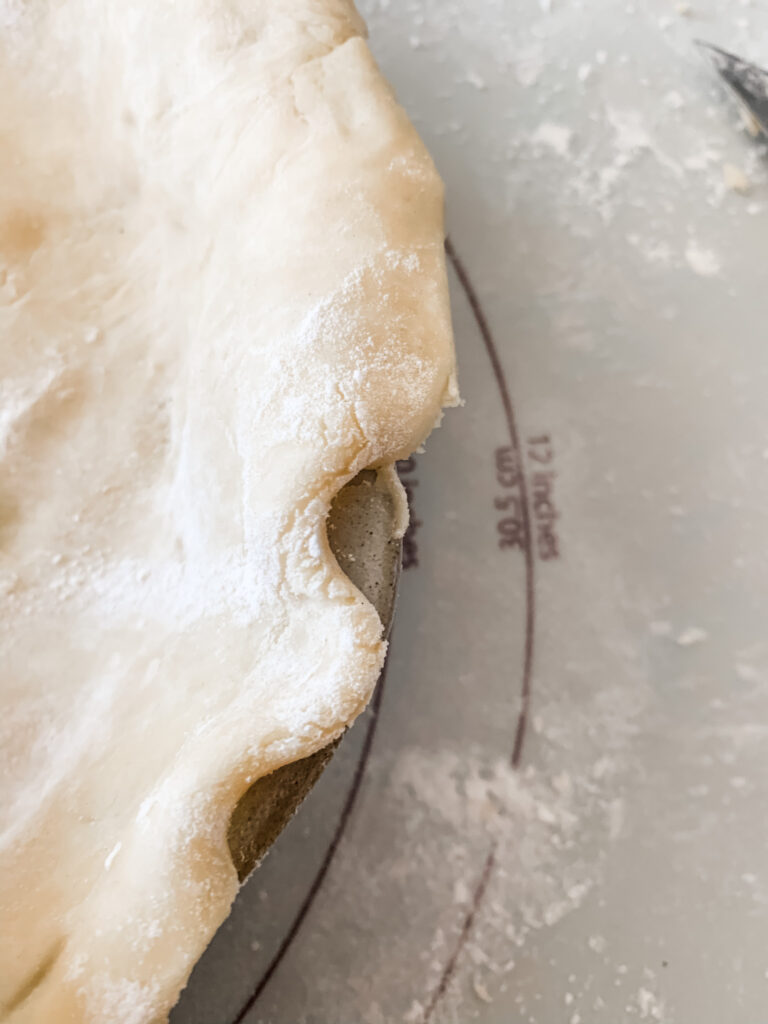
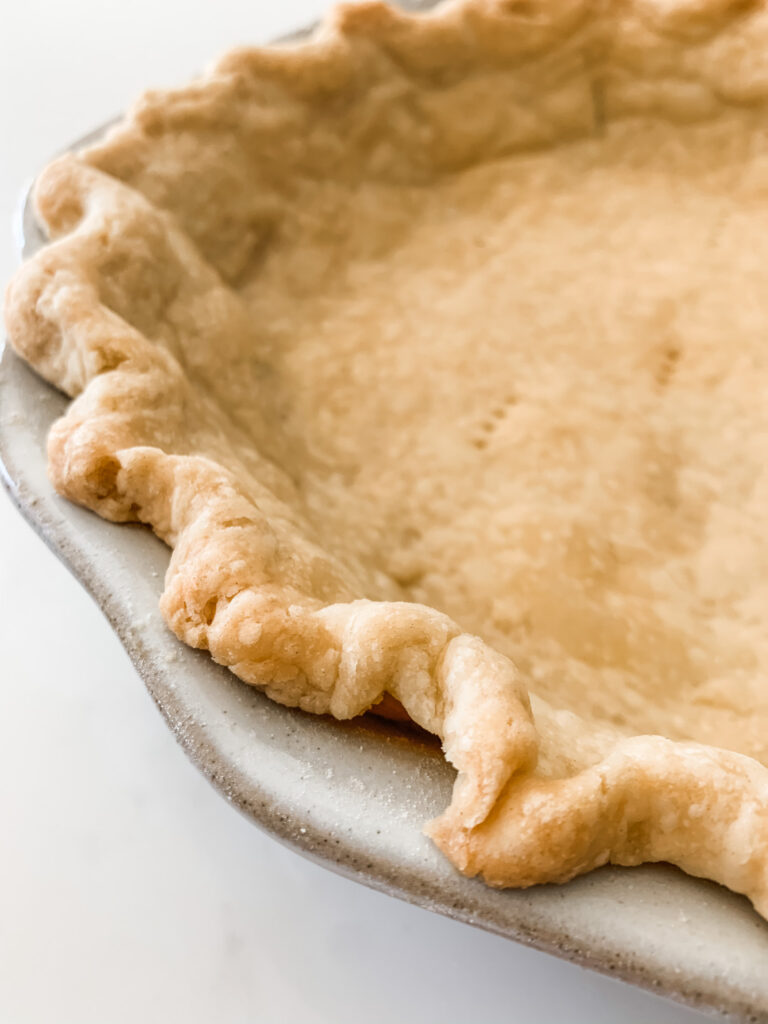
- Once unfolded, trim the pie crust evenly around the perimeter, I typically do half an inch.
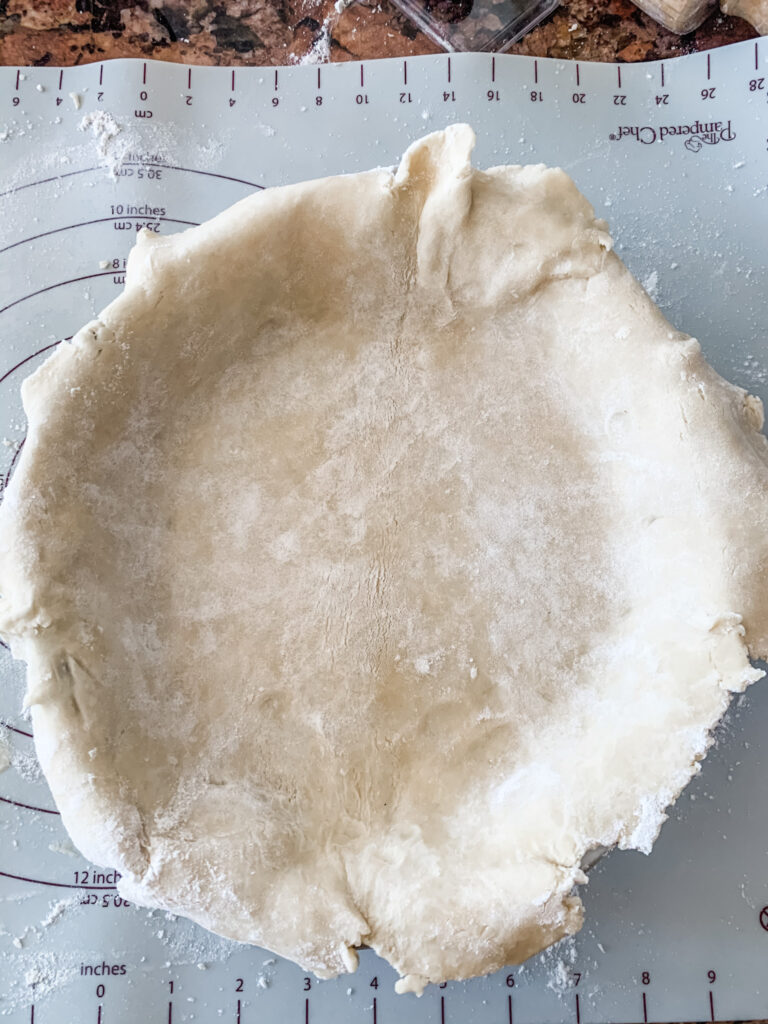
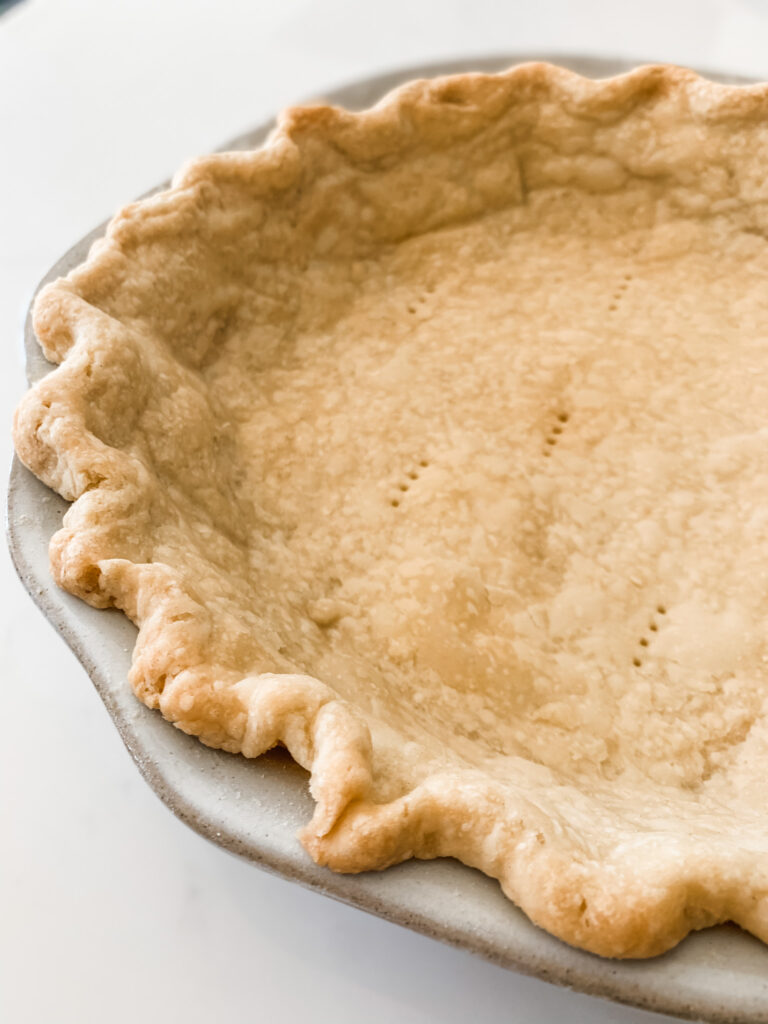
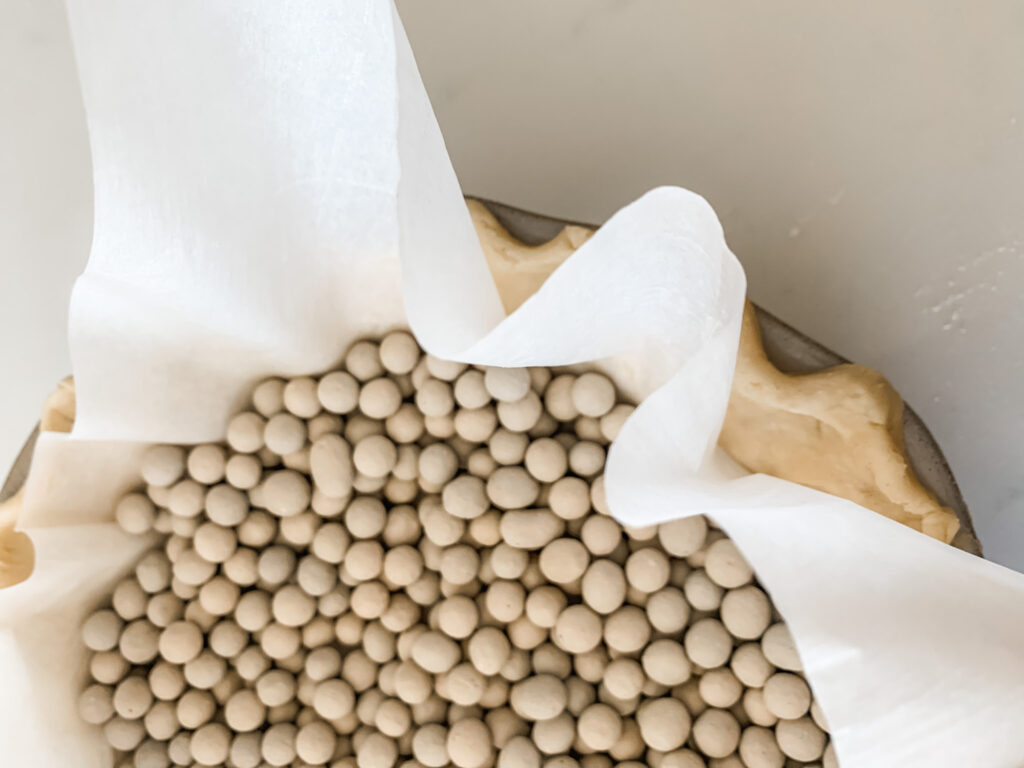
- Finish the edge and poke the crust a few times with a fork to prevent air bubbles.
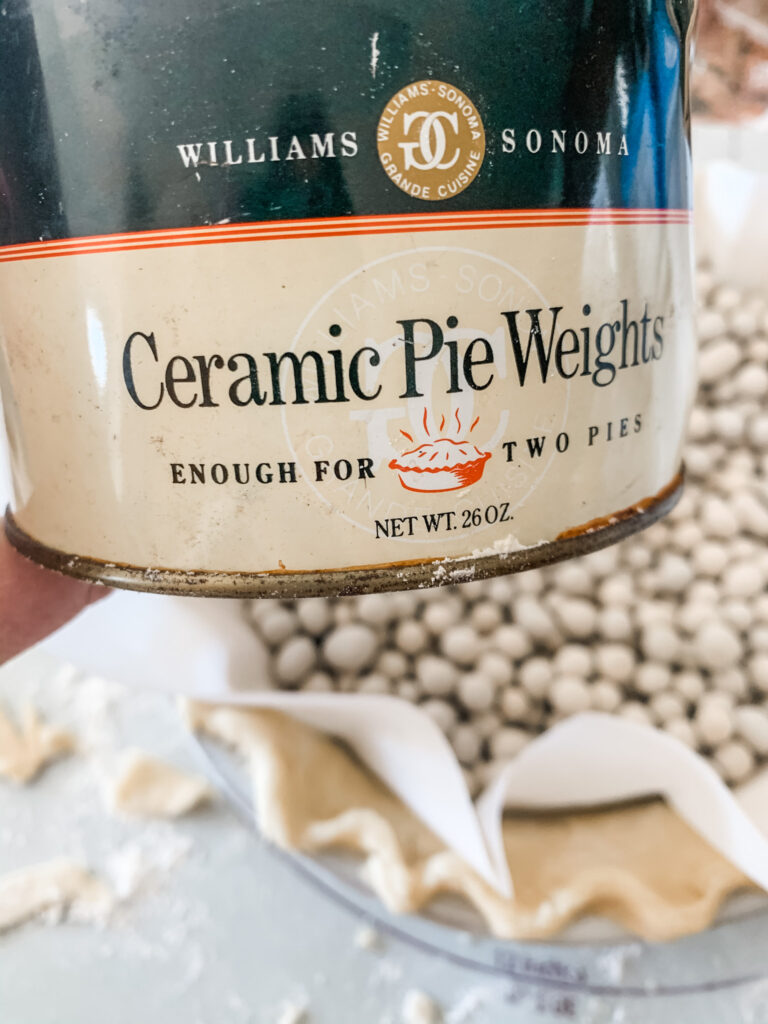
- Then, I highly recommend lining the crust with a piece of parchment paper and adding Pie Weights.
- Pie weights will prevent the crust from "shrinking" in the pan!
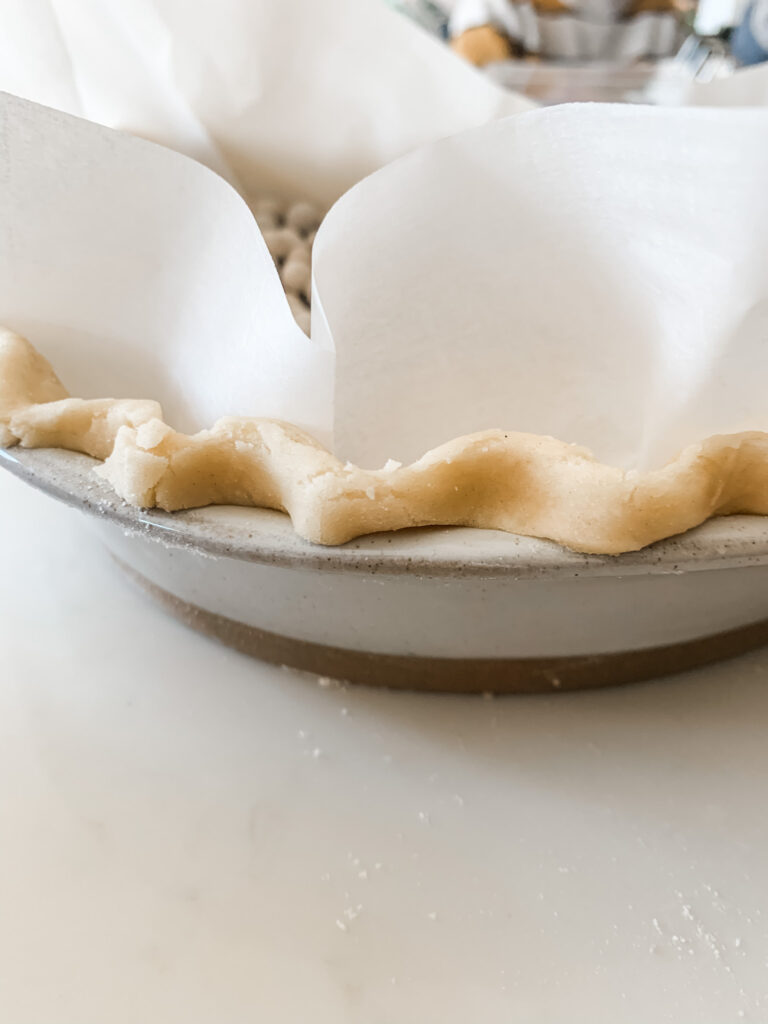
- Bake at 400 degrees for 10 minutes, remove the parchment and weights, then cook for an additional 5-6 minutes until crust is golden brown.
- Pie weights are removed easily by grabbing all four corners of the parchment paper and lifting straight up.
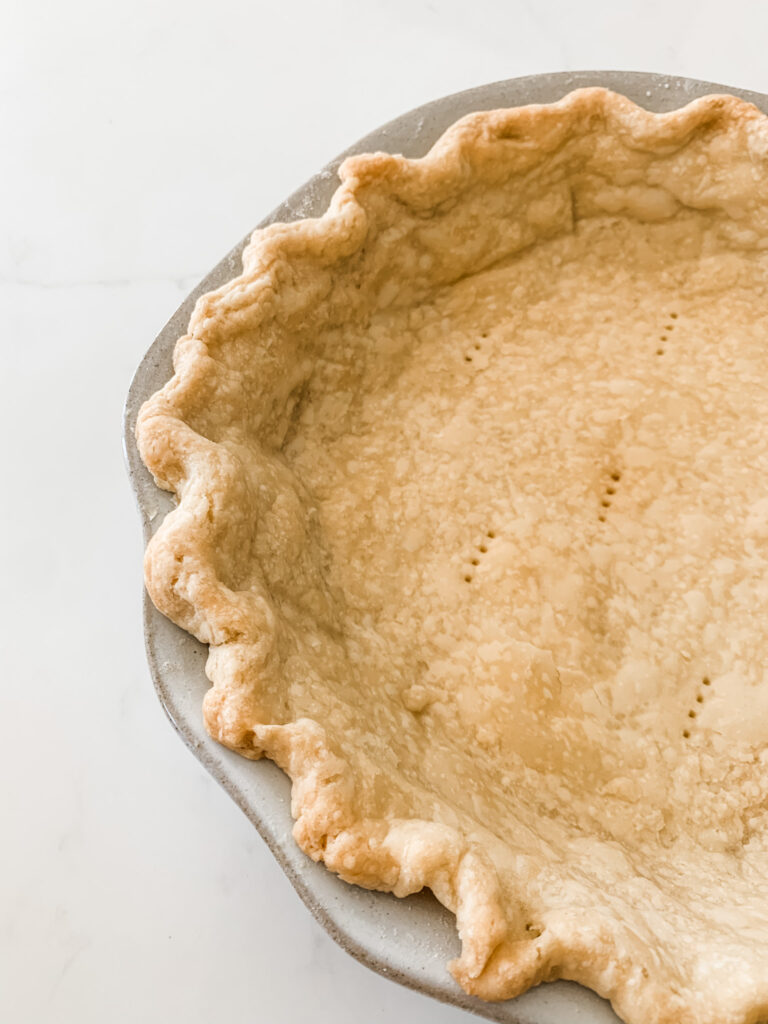
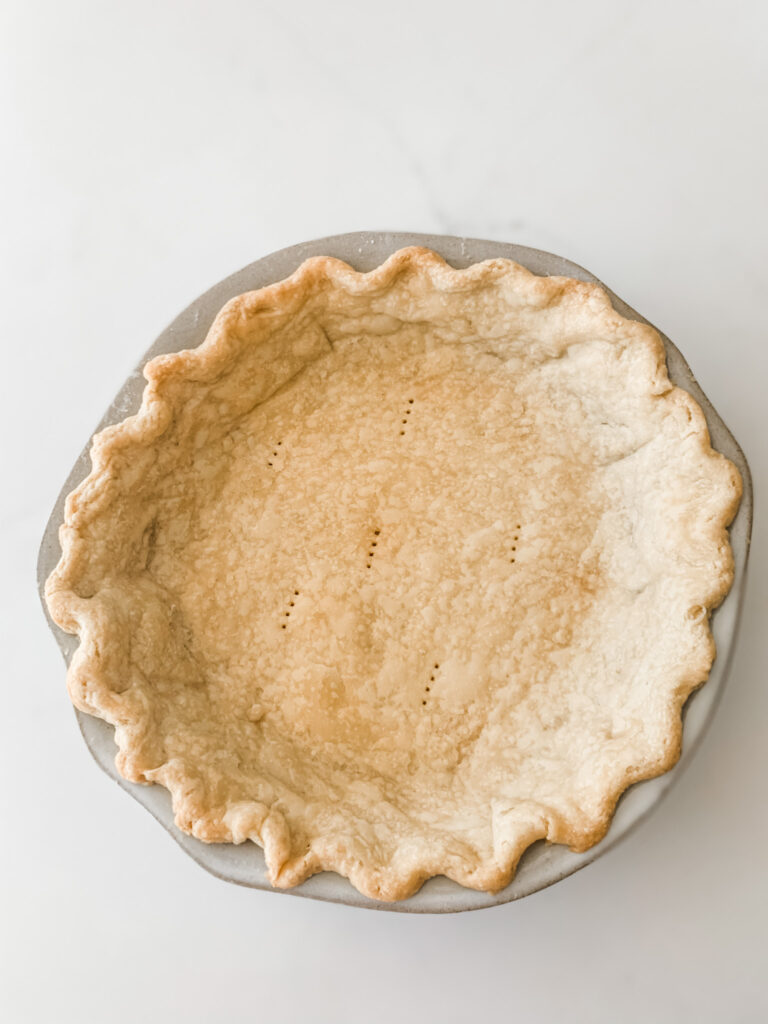
- You are aiming for a golden brown crust. If the crust is too light it wont be flaky!
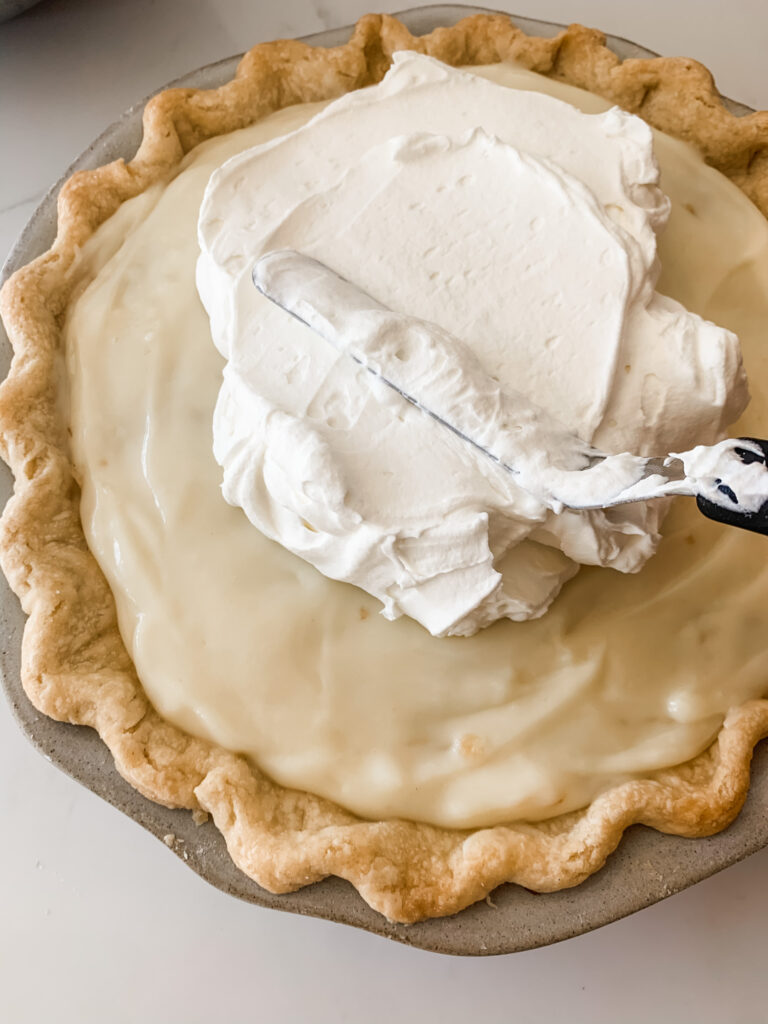
- Once crust is completely cooled, fill with your favorite filling!

- Completely mix flour mixture with shortening when you get to that step.
- Use super cold ice water.
- Bake until golden brown for a flaky crust.
- A silicone pastry mat is highly recommended.
- If making a quiche, be sure to cook your crust for at least ten minutes before adding your filling.
- This crust is perfect for cream pies, fruit pies, quiches, and pot pies!


The Best Flaky Pie Crust
Equipment
- Silicone Pie Mat
- Rolling Pin
- Pie Dish
- Pie Weights
Ingredients
- 1 cup All-purpose Flour
- ½ teaspoon salt
- ½ cup Butter Flavored Shortening
- 3 Tablespoons Ice Cold Water
Instructions
- Put 1 cup flour and 1/2 teaspoon salt in a bowl and mix together with a fork.
- Add 1/2 cup butter flavored shortening. Take a spoon and press the shortening and flour mixture together. Completely mix so there's not flour that isn't mixed with shortening.
- Add 3 Tablespoons ice cold water. Put ice in a bowl and cover with water, then measure 3 Tablespoons from that bowl.
- Grab a spoon and form dough into a ball.
- Grab your silicone mat. Mine is pampered chef, but I'm sure any brand is great!
- Sprinkle flour on the rolling mat and place dough in the center circle.
- Lightly rub flour on your rolling pin.
- Begin rolling dough outwards and work it around the entire ball to form a circle. I roll mine to the 12 inch circle.
- Sprinkle the crust with a little flour and lift the mat folding the dough in half. Next fold the dough in half again .
- Now that the dough is folded into quarters place it in the pie dish and gently unfold it.
- Once unfolded, trim the pie crust evenly around the perimeter, I typically do half an inch.
- Finish the edge of the pie crust and either poke the crust a few times with a fork or use pie weights to prevent air bubbles.
- Bake at 400 degrees for 12-15 minutes. You are aiming for a golden brown crust. If the crust is too light it wont be flaky!
- Once crust is completely cooled fill with your favorite filling!
Hi guys! I would love to pin this. Can't seem to get it done. Love to make this pie crust.