
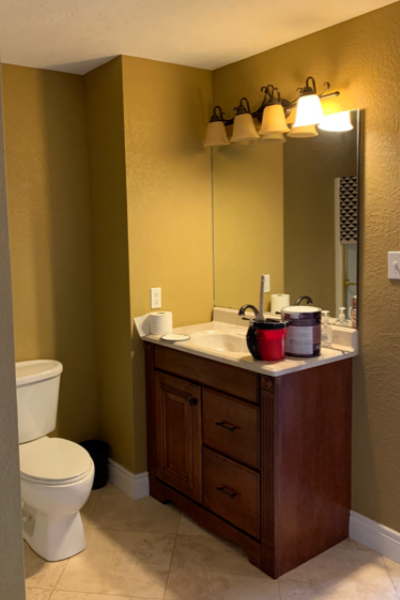
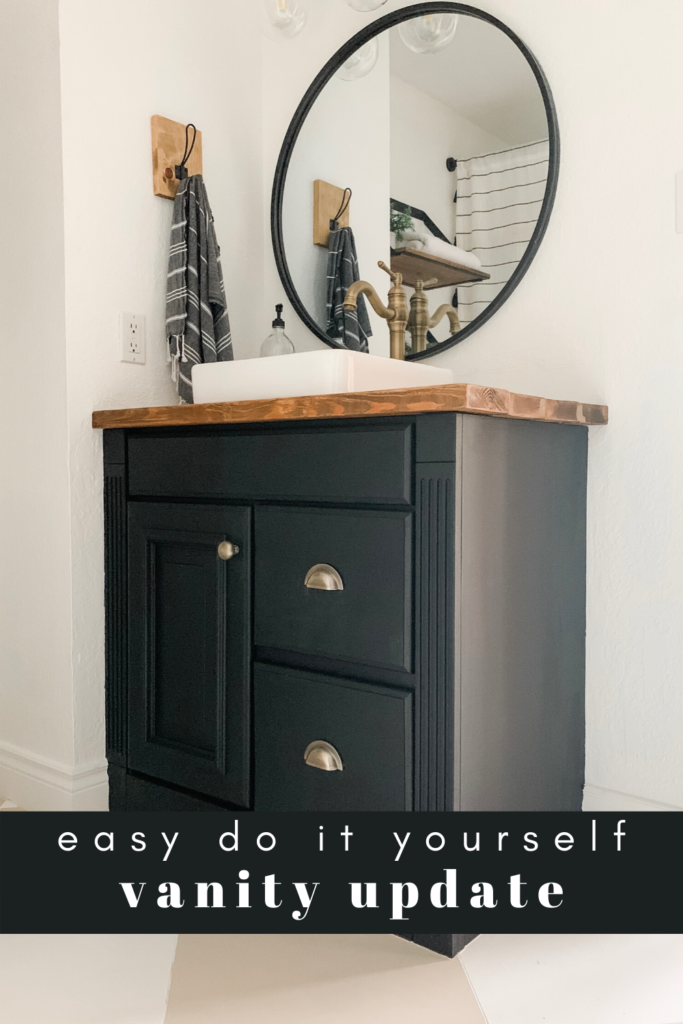
Looking for an Easy Do It Yourself Vanity Update? Look no further! We've got all the details on refreshing your bathroom vanity!
Looking for an Easy Do It Yourself Vanity Update? Look no further! We've got all the details on refreshing your bathroom vanity! There are so many variations and ways you can execute your cabinet transformation, below are the steps I took on mine. It's cost effective and just what this sad little bathroom needed!

Painting Your Vanity
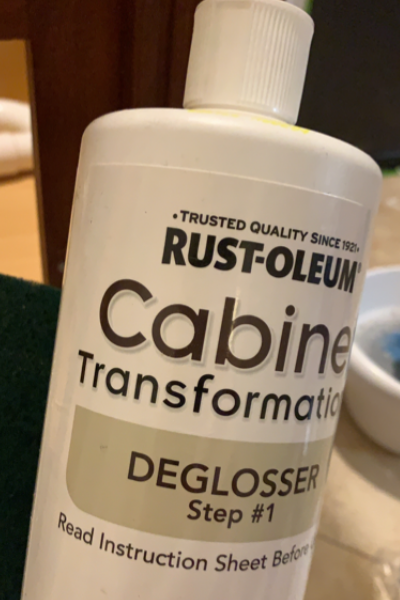
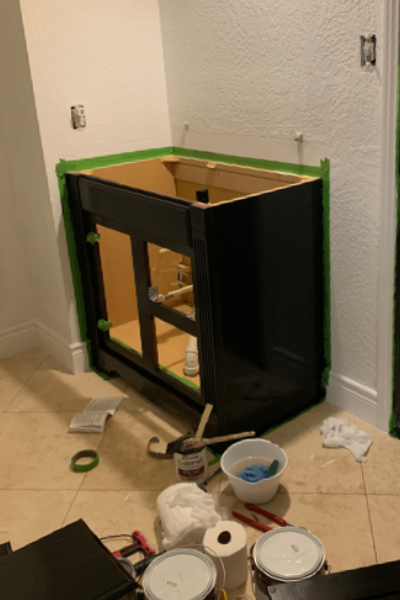
I chose the Rust-Oleum Cabinet Transformation Kit in Black.
The paint is pretty thin and this is the reason I love it so much! There are zero brush strokes and it dries in no time! This kit comes with step-by-step instructions so you'll have no problem transforming your vanity!
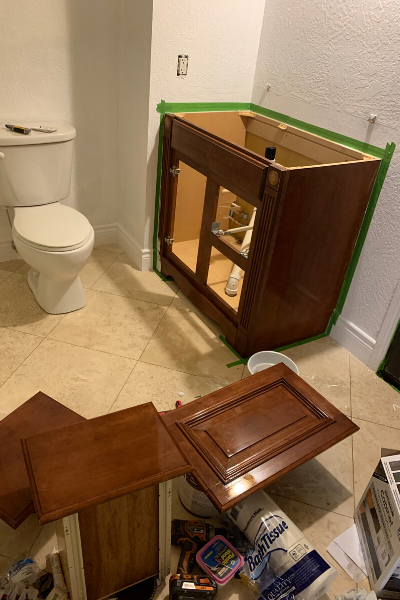
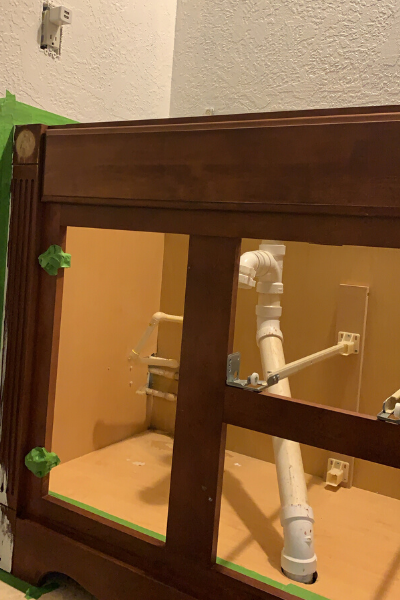
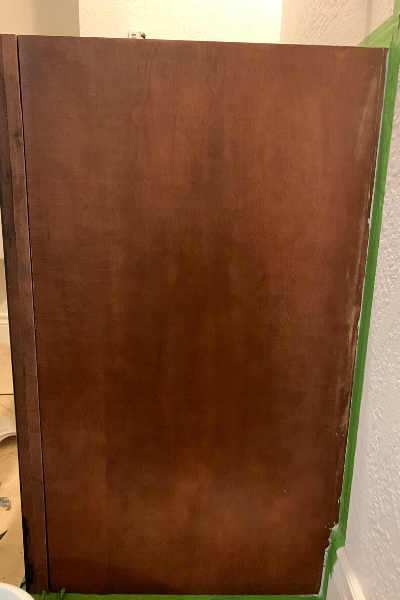
I started by removing all the old and dated hardware. Then using the scrubber included in the kit, I applied the deglosser. Afterwards, I wiped the drawers, cupboards, and cabinet down with a clean damp rag.
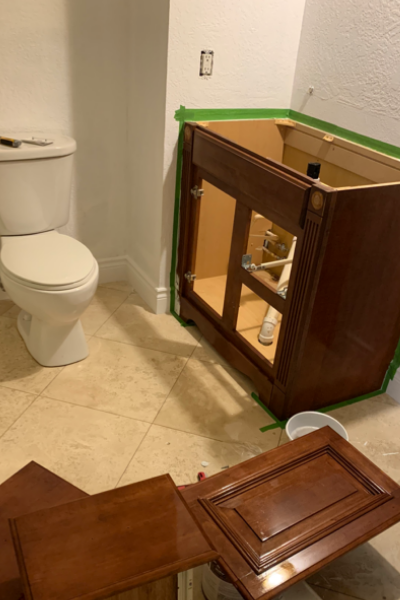
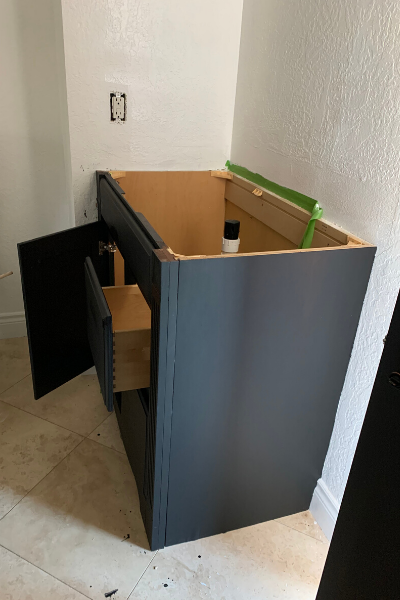
Next you'll paint! Allow a couple hours between each coat. When painting the cupboard doors, start on the backside and finish with the door fronts. I chose not to antique, but that is personal preference. Next you'll seal the paint with the protective topcoat. That's it?
So easy and such a transformation!

How To Video
Below you'll find a "How to" video walking you through the process Cabinet Transformation process by Rustoleum.
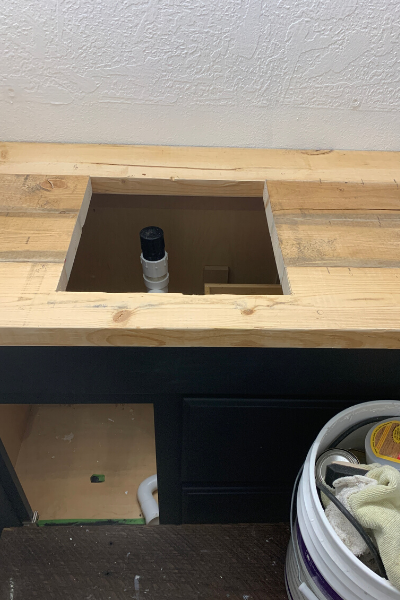
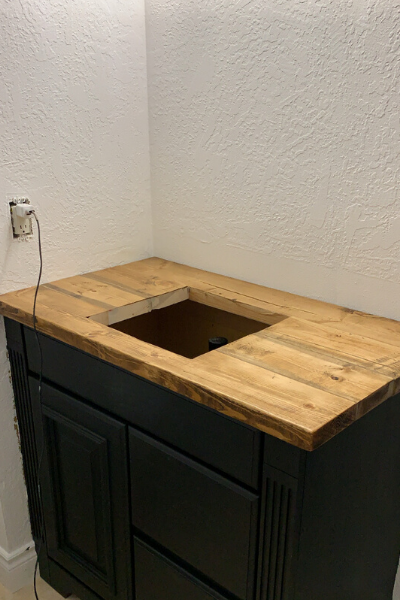
Countertop
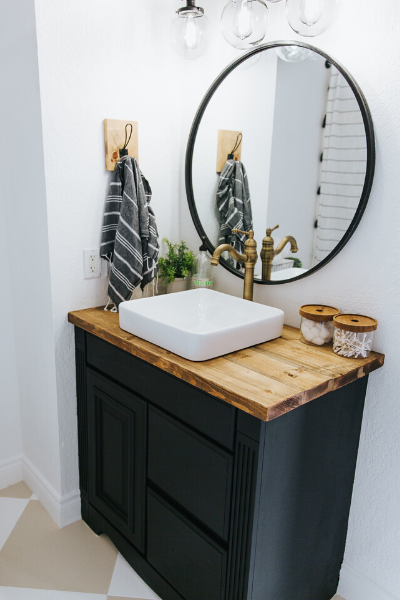
I removed the existing countertop and made a new one using (4) 2x6 boards. I'll link up a more detailed tutorial on the countertops soon! But for now, here are a few pictures for your reference.
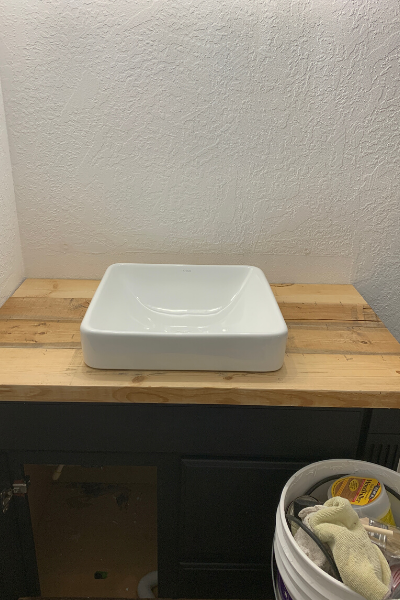
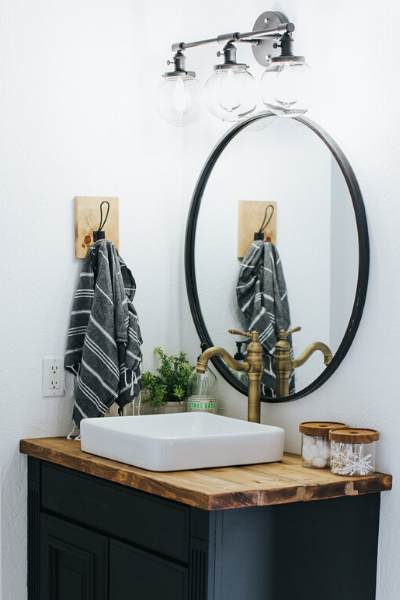
The vessel sink and faucet are the perfect touch in this space! The light fixture brought just the right amount of light to the room>
Adding Beautiful New Hardware
After 24 hours of painting, you can add your new hardware! My new hardware was the same size as the hardware I took removed so that made it super easy to update!
I was able to use my existing holes for my single knob and I drilled larger holes for my pulls. I chose Baldwin Hardware in Satin Brass Black finish. The quality surpasses any hardware I've ever used!
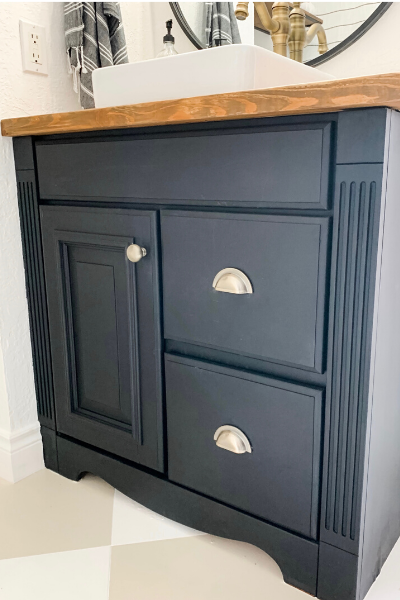

- If changing out your countertop and sink aren't in the budget, new hardware on a vanity will go a long way!!! You'd be surprised at what updated hardware can do for any dresser or cabinet. It's a small investment that makes a big statement. I highly recommend starting there if you just need something "new."
Below are a few shots of the finished vanity and some of the in between! I hope YOU feel ready to tackle your dated vanity. It's so fun creating a space that is unique to your own personal style!
I firmly believe it's worth the time an effort to make a space you love.

Satin Brass and Black Classis Cabinet Knob
Satin Brass and Black 4" Cup Pull
Brass Faucet
Glass Globe Light Fixture
Hand Towel
Square Vessel Sink
Towel Hook (Hook only)
Curtain Rod

DIY White Concrete Countertops
High Quality Kitchen Hardware
Room Refresh in 6 Easy Steps
Budget Bathroom Makeover
Easy and Affordable Bathroom Update
Easy Room Update with Paint
Pin it
Very cool. Huge transformation! Thanks for the great info!
Thank you so much!
I hope this isn't a dumb question, but did you guys do all the plumbing for the sinks yourselves? Also did you guys seal the wood with anything due to water spillage or anything?
Hi Mikela!
My husband does the plumbing! I did seal the countertop with a "Finishing Wax" and it's holding up great! This is a bathroom that isn't used much, I recommend a product called " Waterlox" to really waterproof. Please let me know if you have any other questions!
This looks AMAZING!!! Can you link the faucet? And did you need to use a primer under the paint?
Hi Carolyn,
Thank you so much!! Here is a link to the faucet I used- https://amzn.to/39WoGCO. The Rustoleum Cabinet Transformations kit does not include or need a primer. Please let me know if you have any other questions. Thanks for stopping by!!
-Cassie
Love the update for small cabinet size. I couldn’t find any information about the brand, size of the new sink. Can you list/send the link for the sink or where it is sold at?
https://amzn.to/36g6ggR
Here's that link and thank you for your kind words!!