I've been on the hunt for a big clock FOREVER but let's be honest here, I can't justify spending $200 on a clock, so I made one instead! You are going to be shocked at how easy this DO IT YOURSELF CLOCK FROM AN ELECTRICAL SPOOL is to make!

Do It Yourself Clock from an Electrical Spool
If you're looking for a fun project that's super affordable you've come to the right place! You will love this If you call around to electrical wholesalers or to your local city office, you should be able to get your hands on an old spool! My friend Mikaela found ours and they are perfection! The clock I made for this tutorial is huge, I'm talking 4 feet across huge! With this being said, you'll need to adjust your measurements depending on your size. If you have any questions or need help figuring them out please email or comment below, we're happy to help!!!
Supplies:
Electrical spool, remove the cylinder piece connecting the spool together
Pliers (to remove staples)
Varnish, I used Minwax's Dark Walnut. Looks like this.
Varnishing Supplies- nitrile gloves and an old rag
Paint
Paint Brushes
Pen or Marker
Tape Measure
Number Stencils
Wood Circle (for the face and clock mechanism)
Finishing Spray
Nail Gun
Clock Hands- I used these ones.
**CLOCK HAND SIZE WILL VARY DEPENDING ON THE SIZE OF YOUR SPOOL. AGAIN MY SPOOL HAS A 48 INCH DIAMETER, SO MY CLOCK HANDS ARE 17.75" AND THE MECHANISM IS "HIGH TORQUE".
Determining the Size of Clock Hands
If you are using a spool with a diameter smaller than mine, head HERE to figure out the size of hands you'll need!
Disassembling The Spool
Start by removing the cylindrical piece of the spool. This disconnects the top circle and the bottom circle. It will leave you with two round pieces of wood (so potentially 2 clocks! Grab a friend for this project so they can make the other one!)
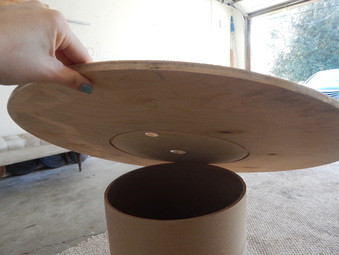
This is Sadie's Clock above. Hers is a lot thinner than my clock. Below is a side picture of my clock to show you how thick it is. Don't separate these two layers of wood. You will just have an extra thick clock! Not all electrical spools are this thick, but if yours is, just leave it!
Prepping Your Spool
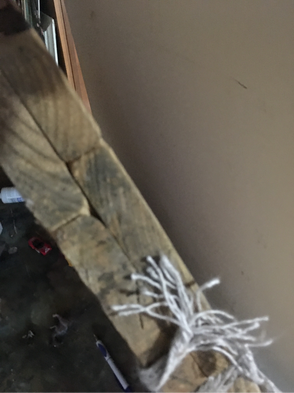
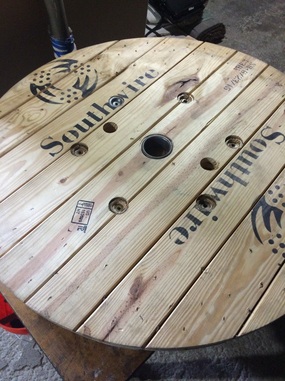
Lay your spool on a flat and sturdy table. Remove all the nails and other things from the spool that you don't want there. This will vary by each spool-- mine had a rope, long staples, and small staples.
Staining Your Spool
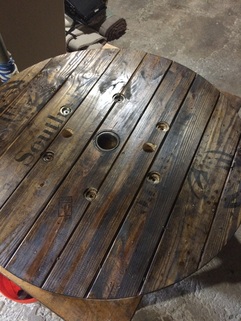
Put on your nitrile or latex gloves to protect your hands. Saturate your old rag in the Minwax varnish and work it into the grooves and across the face of your clock.
Marking your Spool
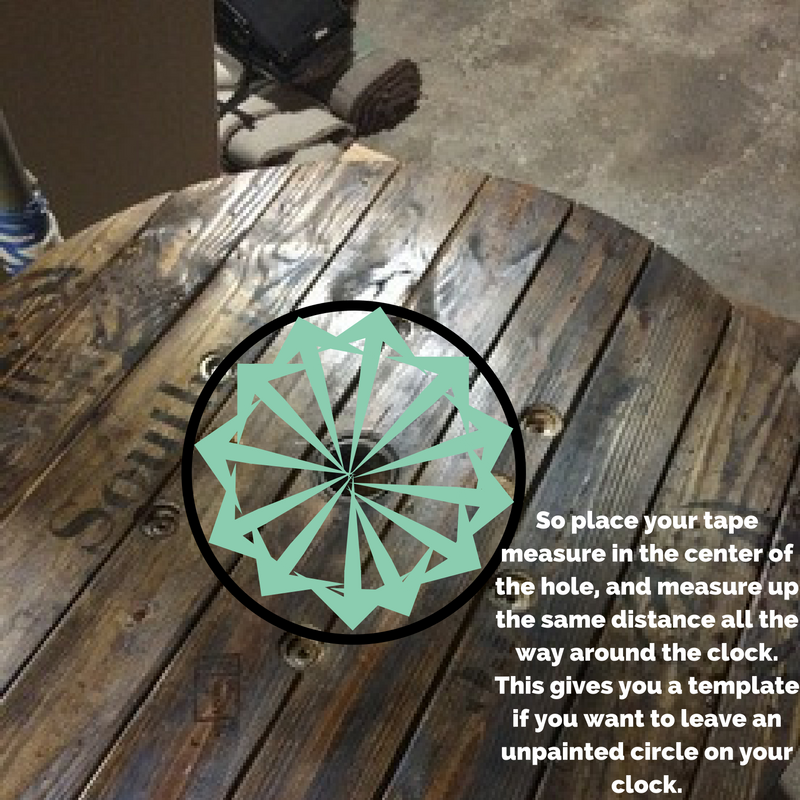
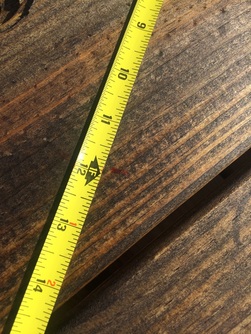
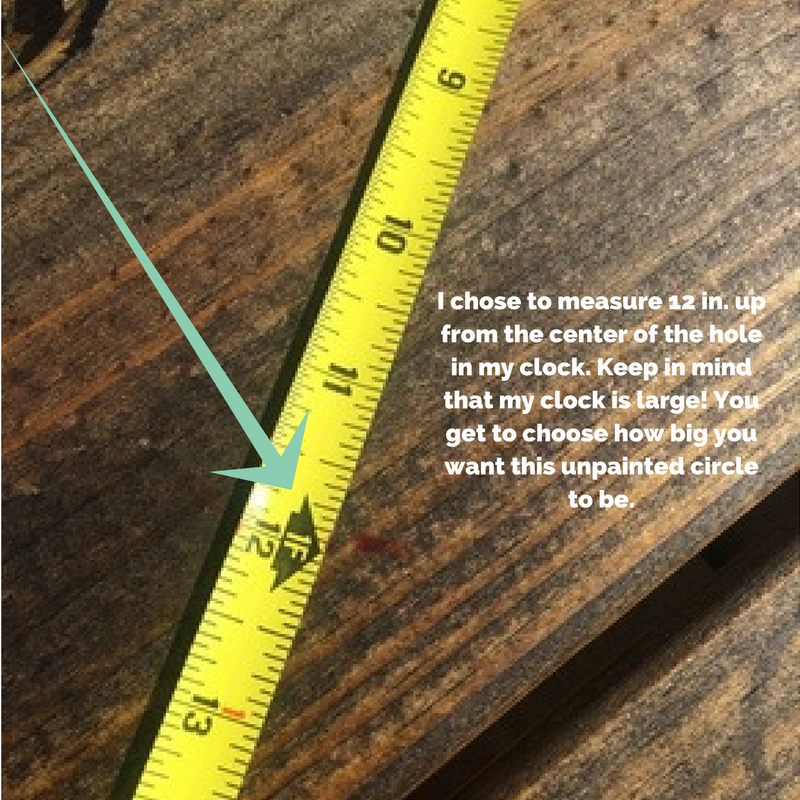
I took a tape measure--and from the center of the clock's middle cut out, I marked 12" every inch or so. This makes a template to create a circle. Then using a bowl or something large and round, start connecting all of your notch marks to make a circle.
Painting Your Spool Clock
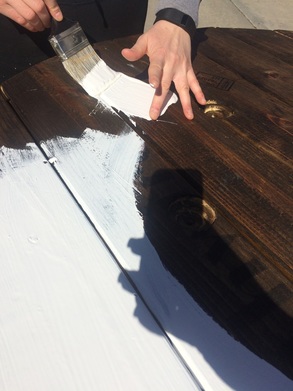
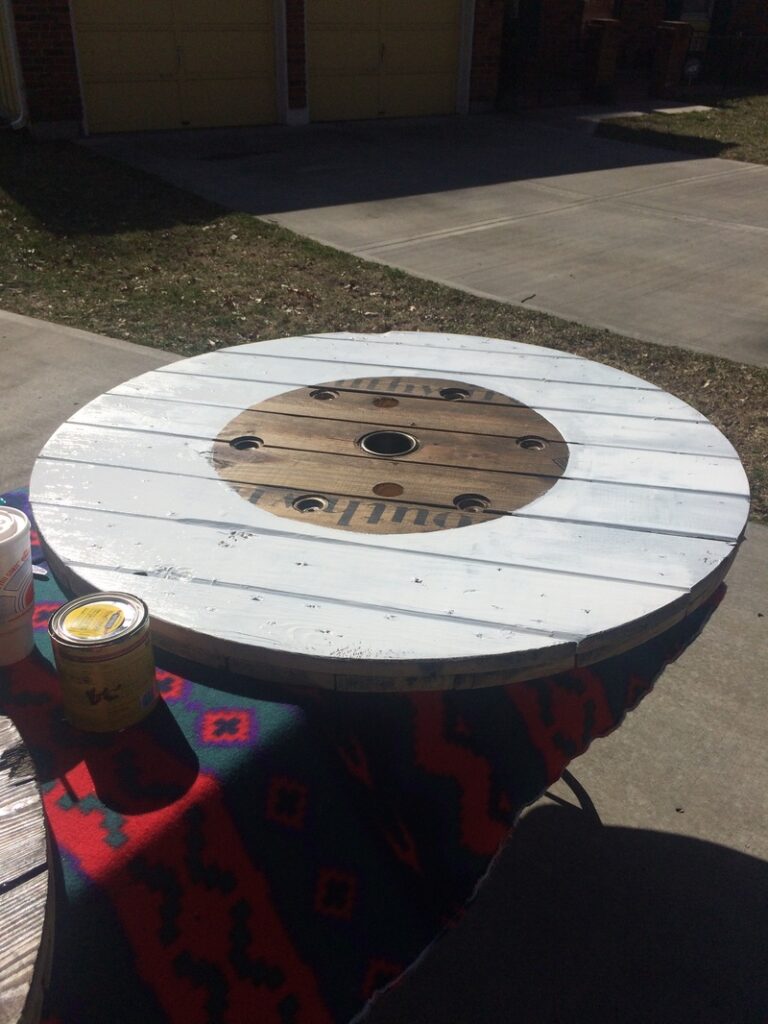
If you choose not to leave a circle unpainted on your clock, you can skip this step and just get to painting your clock. Or, if you just want to stain it and leave it dark, that looks beautiful too! Once the circle was formed I painted the outside along the entire clock face perimeter with white paint.
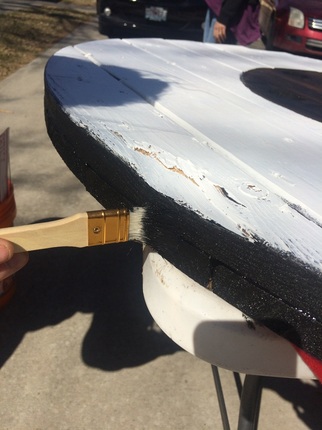
Next, you'll paint the sides of the clock. I chose black to tie in with the numbers and the watch hands.
Sanding Your Spool Clock
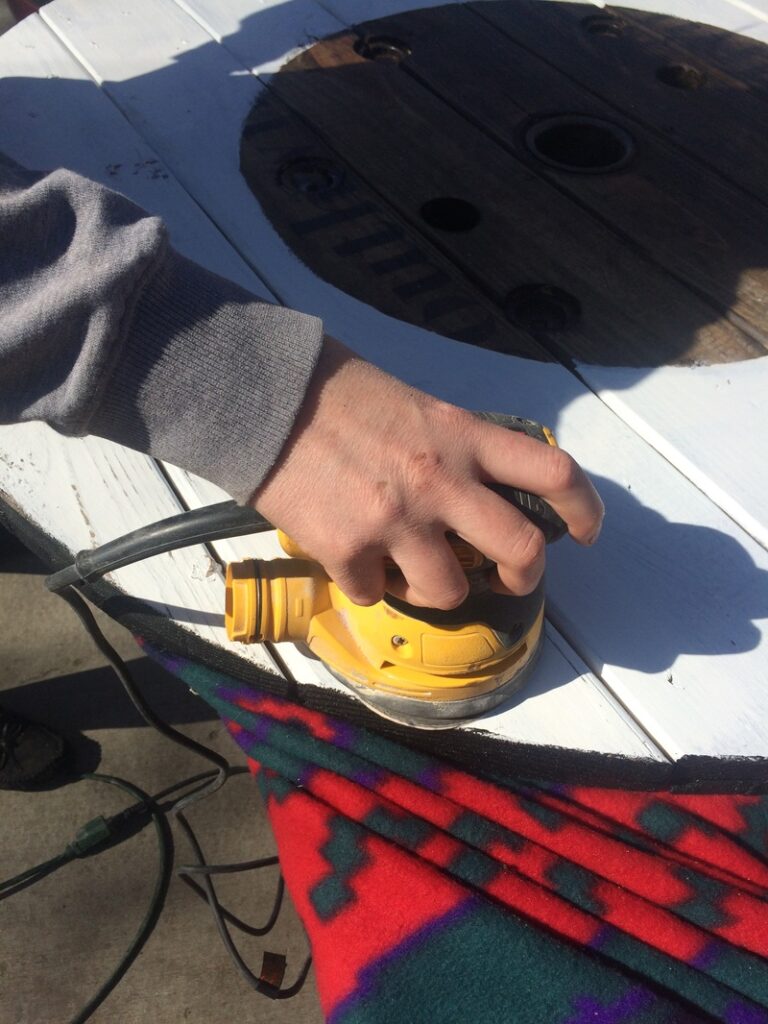
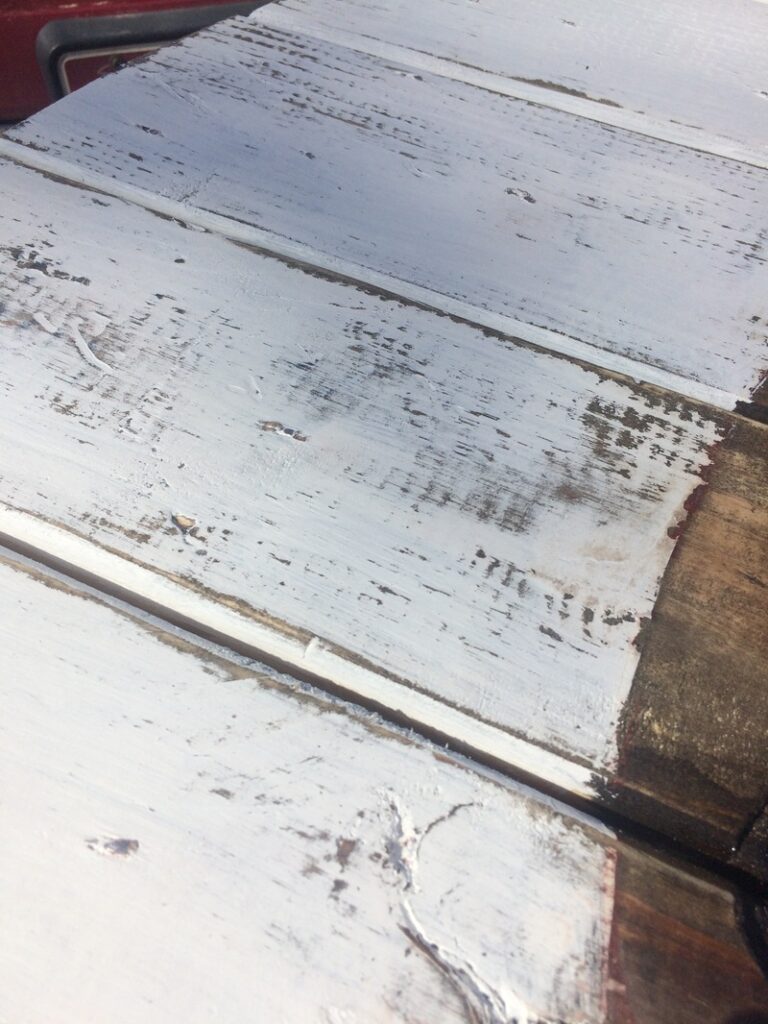
Give it a good sanding.
Number Stenciling
I picked up some stencil paper from Hobby Lobby and traced and cut out Roman Numerals for my clock. When I traced and cut them, I put a thick plastic cutting board under all the stencil and paper layers. Once my stencils were ready to go I marked out my 3 and 9. FYI- My 9 makes me twitch where it crosses over to the other board. Then place your 12 and 6. I found it easiest to trace with a pencil then, paint the black numbers on with a small art paintbrush. All my numbers are 1 inch from the edge of the clock. The 1,2,4,5,7,8,10, & 11 are 1 1/2" long and I just traced a portion of the "l" stencil.
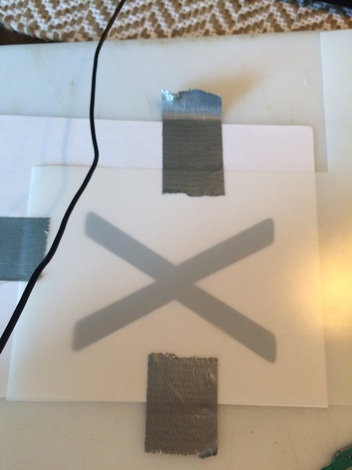
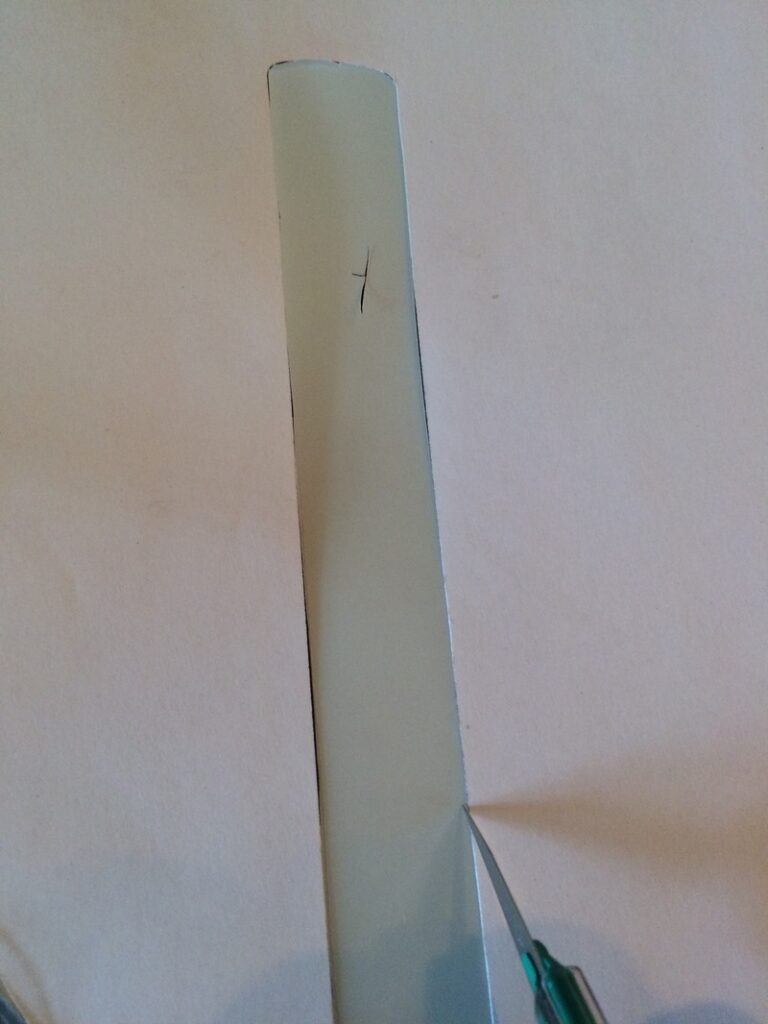
Once the black paint was dry I used 100 grit sandpaper to lightly sand the face a little more.
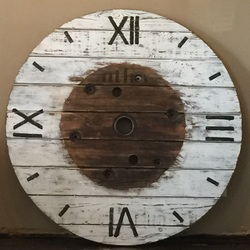
Clock Hand Assembly
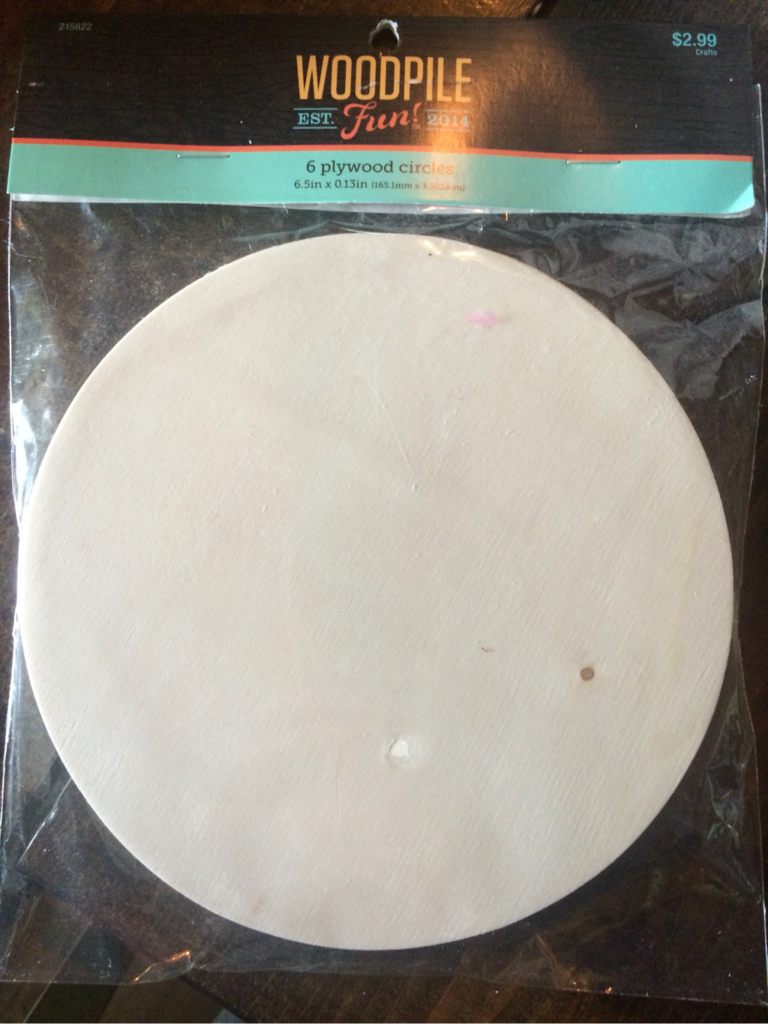
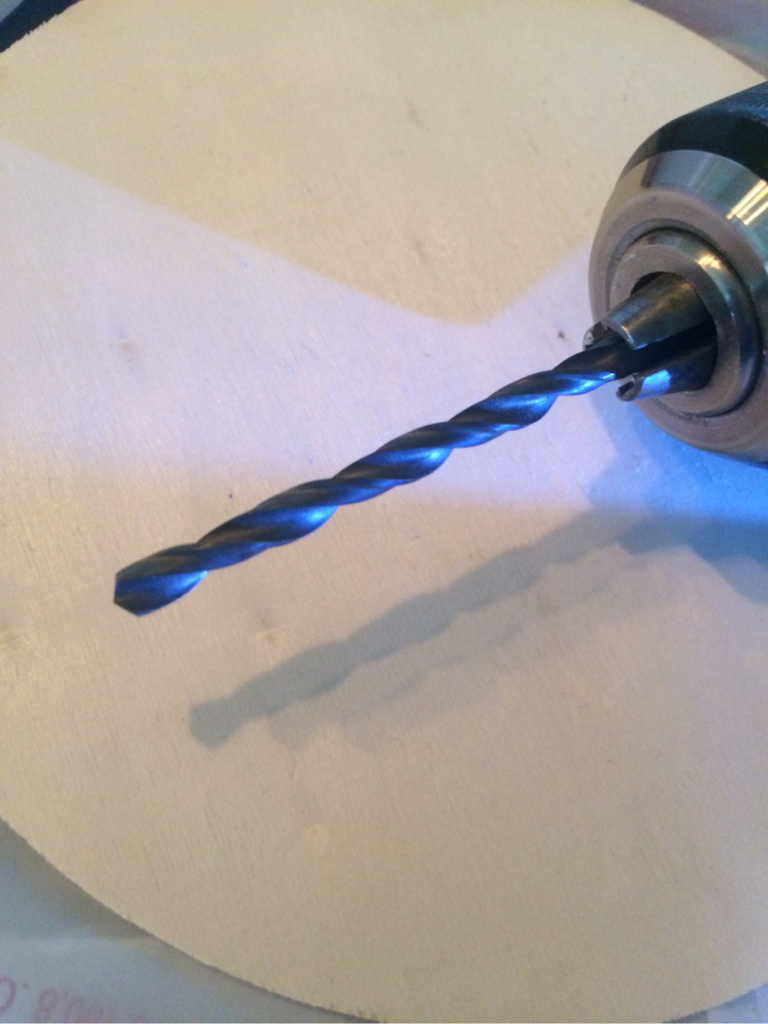
Grab a package of these plywood circles from hobby lobby and drill out a little bit of the center for your mechanism pieces. Paint the circle with the same black paint used for the numbers. Follow the directions for assembling your clock mechanism, then nail the circle in place.
I searched high and low and ended up having to order my clock hands online since my clock is so big. These are the exact ones I used, but again, keep in mind that my clock is HUGE. You will need to order clock hands that are proportional to your clock.


- Find a Spool that isn't water damaged, you want that clock to lay flat against the wall.
- Be sure to use this guide to find the right size hands!

- Clock Hands


How did u hang the clock? Didn’t the clock mechanism (which powers the hands) stick out in the back?
Hi Beth,
We drilled right into our clock directly into the studs. The mechanism does not stick out in the back at all. This could be because my clock is so thick. The mechanism goes right in the center void space and there was plenty of room for it. Please let me know if you need any help or have any other questions. You can even email directly for a more prompt response.
Thanks,
Sadie
[email protected]
Hi there...my spool cable is 22 in. What size clock handles should I get and size of stencils to use? I have 8 to do. Lol. Since I'm on lockdown, I need to do something productive. Thank you so much.
Thank you very much for letting us about do it yourself clock from an electrical spool, it’s difficult for me to get such kind of information most of the time always. I really hope I can work on your tips and it works for me too, I am happy to come across your article. Do check out this viperelectrical.co.nz, it has some great and nice ideas to look for.