
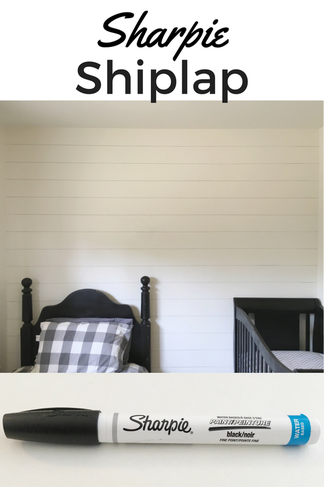
I live in a rental and we can't do much to our house, though we want to! I love the look of shiplap and would have it on every wall if I could. I'm too scared of our landlord to ask for permission (and he'd probably so no anyway right? Lot's of nails in his walls) so I came up with my own alternative. Now I know what you may be thinking, that I am still damaging the wall with a marker. My thoughts were that painting a wall is much different than nailing boards up to it. So, without further ado, I introduce you to Sharpie Shiplap.

This will take no time at all, and it's inexpensive!! Supplies needed:
Sharpie Water Based Paint Pen in Black, Fine Point
Pencil
Straight Edge or Yardstick
Ladder
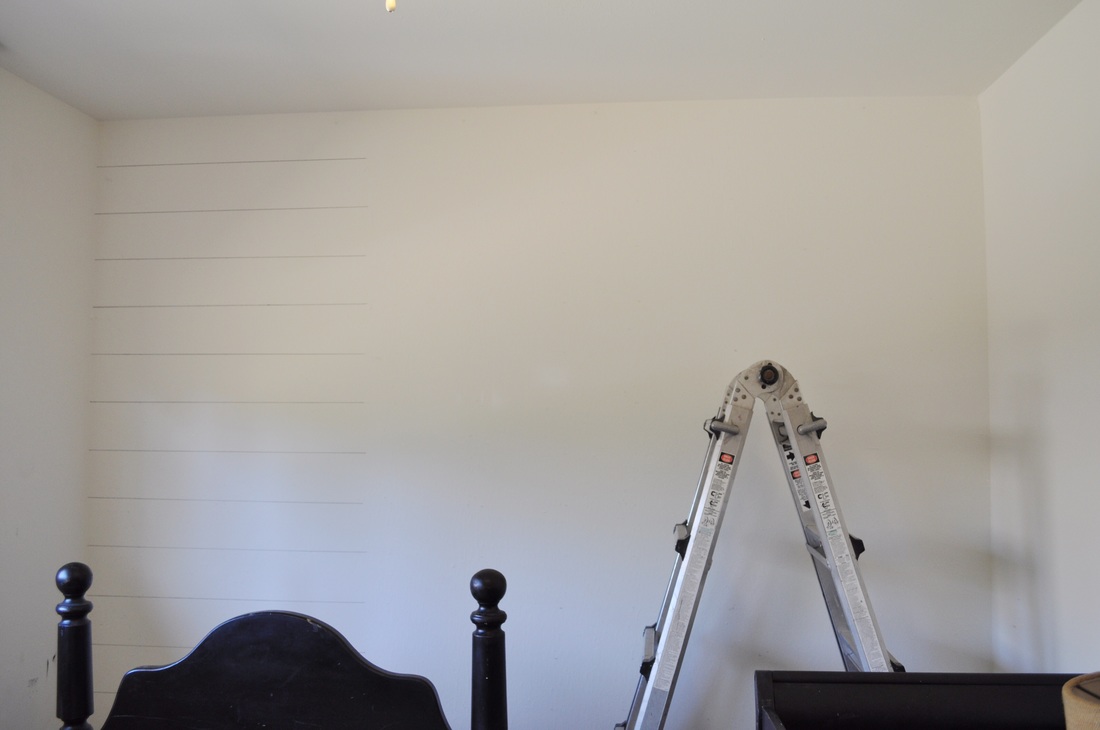
Ok..... so the reason we are using a water based marker is so I can easily paint over the wall when I move. Now....here's how I did my faux shiplap. I pushed my yard stick all the up to the ceiling, and started making small marks with my pencil every 6 in. The reason for 6 in. is that is a typical width of a shiplap board. I repeated this step from ground to ceiling all the way across the wall. I put marks every foot just to be safe I matched my lines up well. This will all make more sense once you take a look at the pictures. Once I had all of my marks made, I laid the yardstick horizontally, and started matching up the marks to make my lines. I was scared of my marker still, so I went through and did this with a pencil to make sure I had straight lines. Then I went through with my marker once I was sure it was straight. Toward the end of the project, I was more confident, and I skipped the step of pre-drawing my line and just did the marker. I peridocially shook the marker to make sure the paint would be applied the smoothest. My wall is 8 ft. tall and 9 ft. wide. I only needed one marker for the job, and it is still going strong.
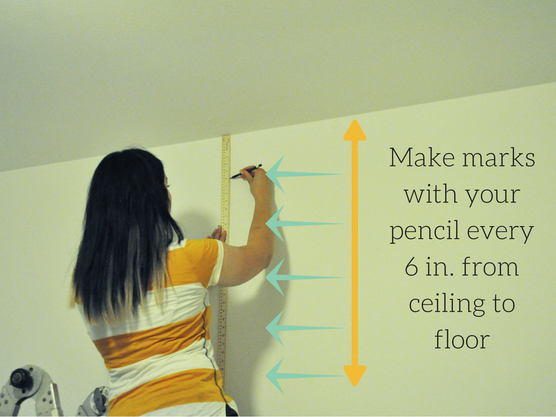
So start by making your marks with your pencil. Your first mark will be 6 in. from the ceiling. Make marks every 6 in. after that till you reach the floor.
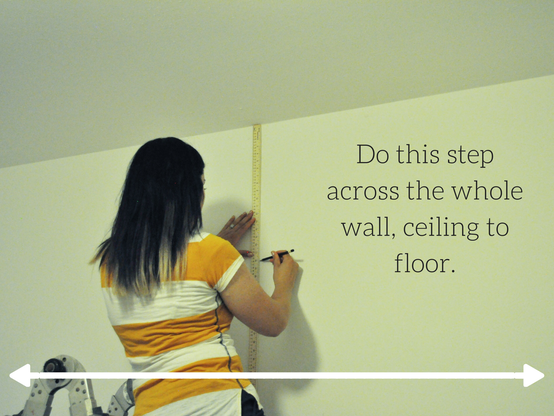
I moved over 1 foot and started making my marks again, starting 6 in. from the ceiling.
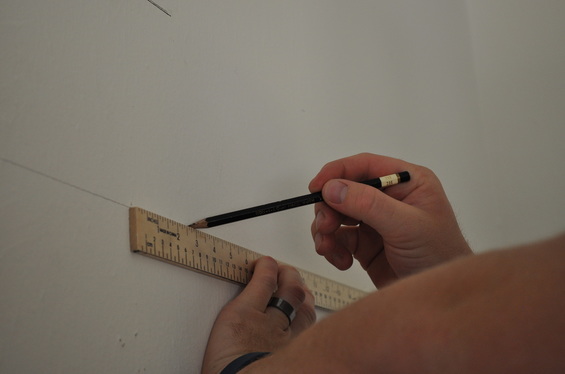
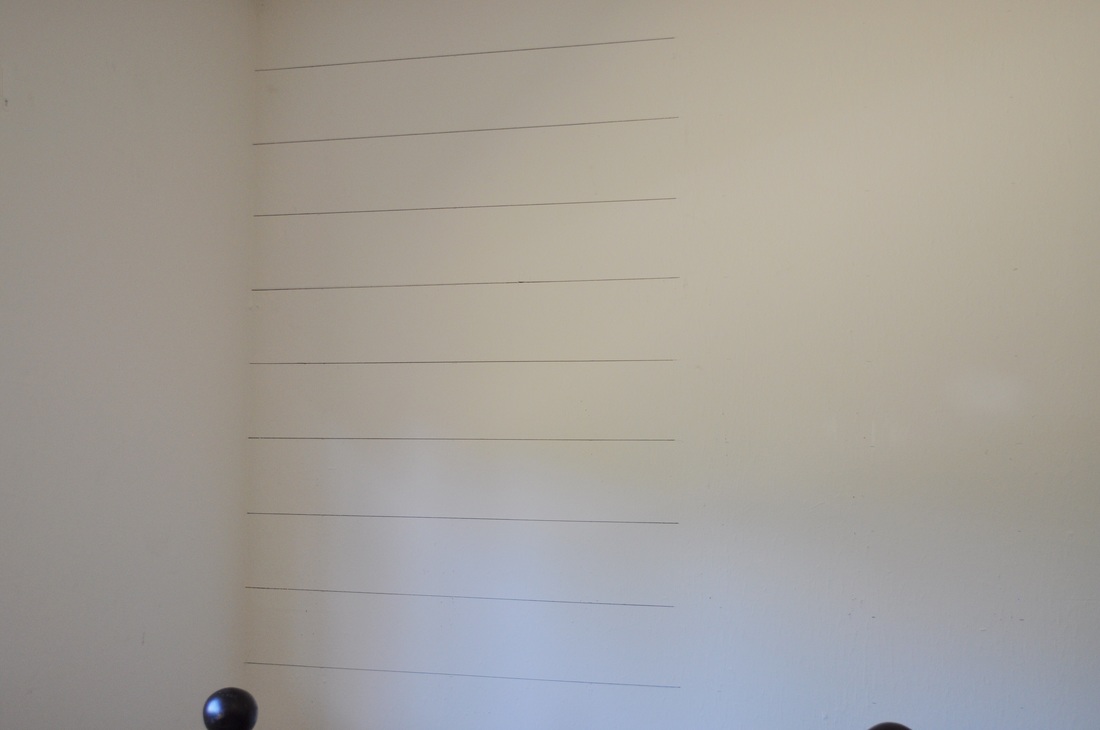
Those masculine hands and arms are my husbands! I do have man hands, but I don't own these man hands pictured here. This step is where I "connected the dots" across the whole room. This step isn't 100% necessary...I was just scared that my lines weren't straight at the beginning.
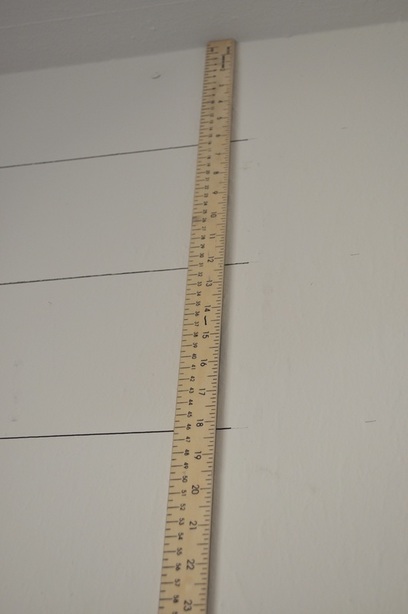
Then I traced over the lines with my marker. The picture above is just showing the 6 in. marks mid project.
|
|
I stepped down from my ladder and admired my work at this point. Now, work your way across the wall, and that is it! It was super easy and inexpensive. This wall took me 1 1/2 hours total.
Here's a video showing the speed I used with the marker step. There is a science to getting your lines to the be the same thickness. You need to have a steady hand and take it slow and easy. Don't press too hard, don't press too light.
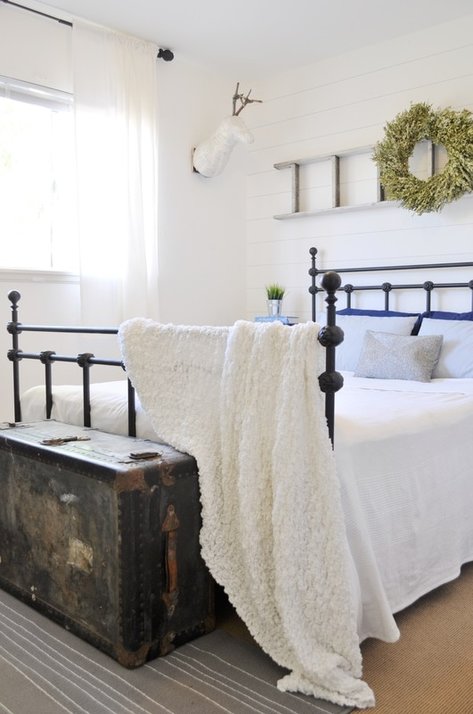
Read about the complete makeover here

Pin it!!
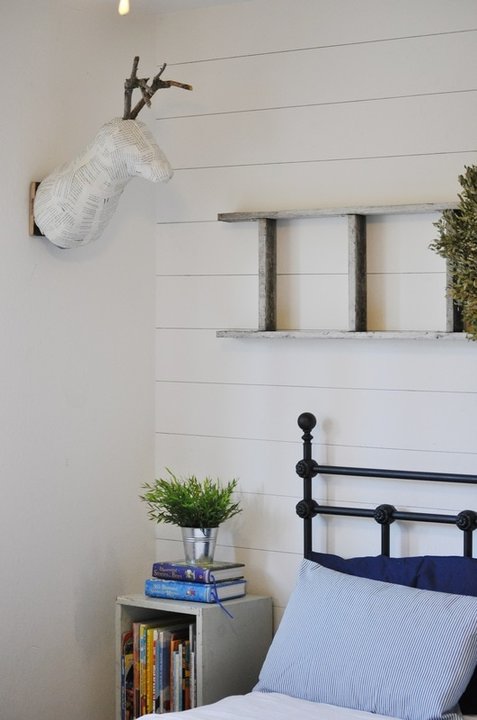
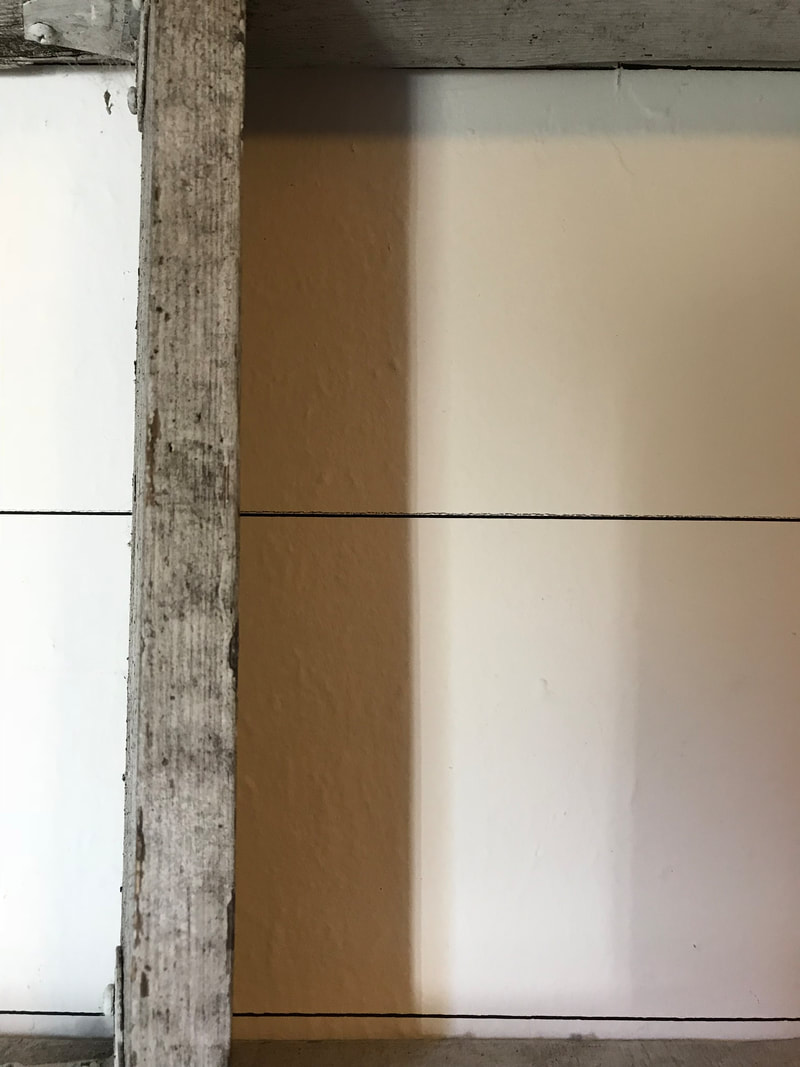
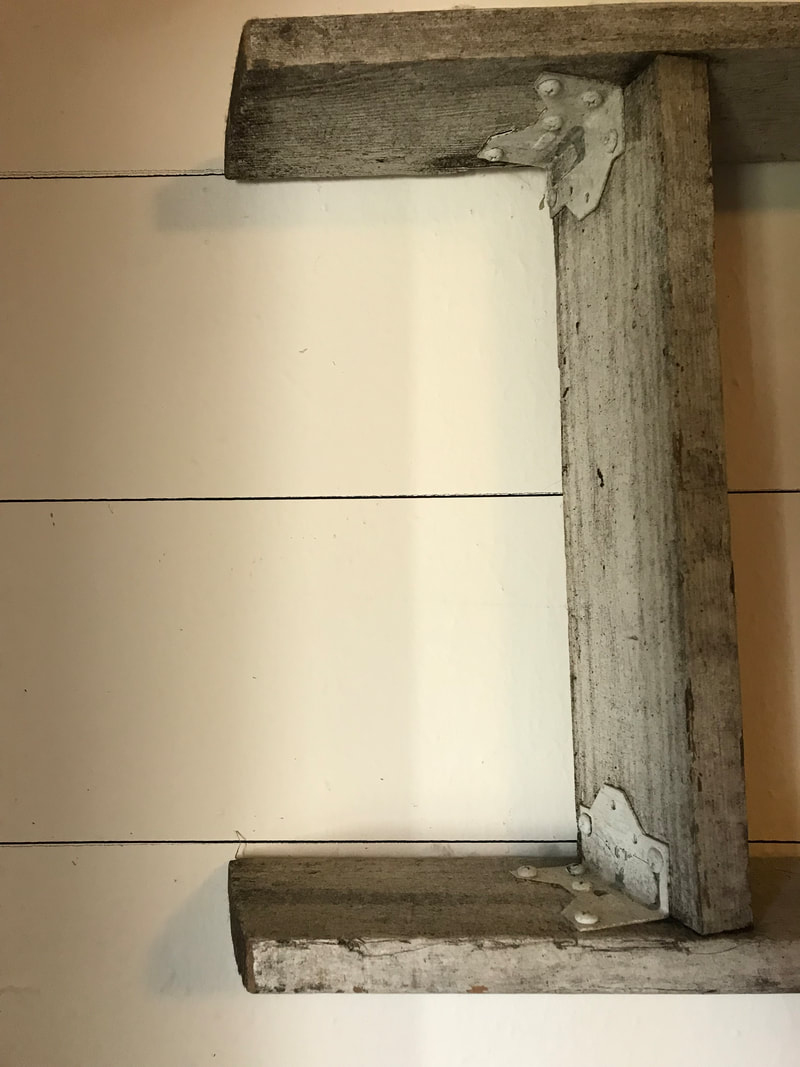
A few have asked for close up photos of the wall. These are unedited in all their glory...enjoy!
|
|
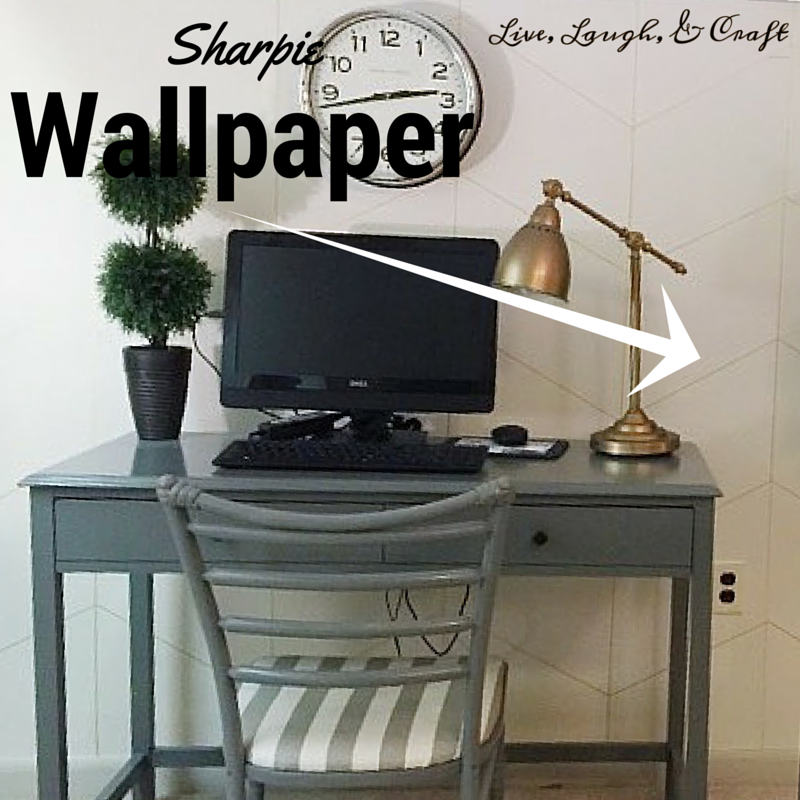
Check out our friend Avery's post on Sharpie wallpaper below.
Most popular post to date!

Hi! Just want to ask, how long the Sharpie shiplap will last and stay on the wall?
Thank you.
Hi there! I would think indefinitely! I have since moved from this house but we had it up for a few years and I didn't notice any issues.
Hi! I love this idea & I’m eager to try it. However, I’m having a difficult time finding the fine tip in the water based Sharpie. It seems to only come in a pack of assorted colors & I would really like the option to buy just 1 or 2 of black only. Where did you purchase yours?
Hello!!!
I apologize for the late reply. I got my marker from Michael's. Let me know if you still can't find it and I'll see what I can do about helping you track one down!!
-Sadie
I want to do this on my stairways. When I am done should I seal it or anything so that I can wash off any future finger prints and such?
Hi Blanche,
That’s a great question. I wouldn't be comfortable recommending a sealer since I haven't tested this myself. Your local paint counter expert might be able to recommend based on the particular product you are using.
My Sharpie paint pen wall didn’t get very dirty because of its location. With that being said, I know for a fact I wiped it down a few times to get off marks from the kids. It didn’t make the Sharpie come off BUT I also didn’t wipe over the sharpie areas hard. In fact, I tried to avoid them. If you have a place to do a test spot where you can try a small part of your design and then try cleaning it off, I would recommend that, as well as asking your local paint counter specialist about sealing.
Best of luck,
Sadie