
2/3 cup warm water (110-115 degrees)
4 1/2 tsp. yeast
1 1/2 Tbsp. sugar
2 2/3 cups milk, scalded
3 cubes Real Butter (10 Tablespoons for the actual dough and the rest is for the rolls before you bake them and after they come out of the oven.)
2/3 cup sugar
2 large eggs
1 Tbsp. salt plus 1/2 teaspoon
9 cups flour
Instructions: Combine the water, yeast, and sugar and dissolve. I let mine sit for at least 5 minutes. Put milk in a microwave safe bowl or liquid measuring cup. Microwave until scalded (I do 5 minutes and it gets me a nice layer of scalded milk on the top.) When you've got the milk scalded, set it on the counter and add 10 tbsp. of butter, and the warm milk will melt it. Now that those two steps are done, put the following ingredients in your mixer-- sugar, eggs, salt, and 4 cups of flour. Mix for just a minute, then add your scaled milk/butter and the yeast mixture. Once incorporated, add in 5 more cups of flour. give or take 1/2 cup depending on your elevation. You want it to be sticky, but not sticking to the sides of the mixing bowl. I hope that makes sense- insert "wide eyed " emoji.
Now that everything is incorporated, you'll set your timer for 5 minutes and let the mixer "knead" your dough on the lowest speed.
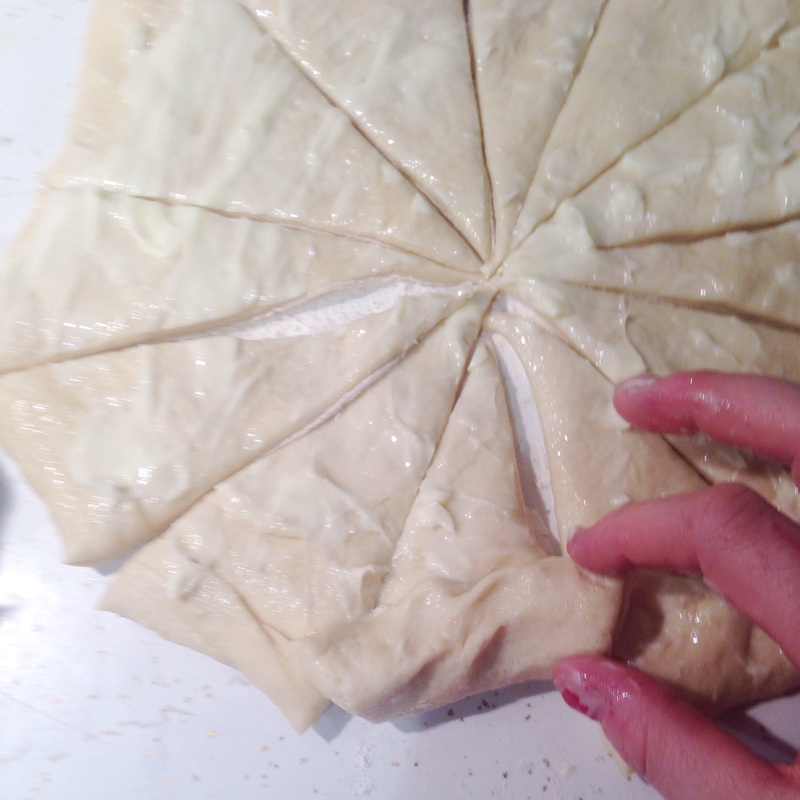
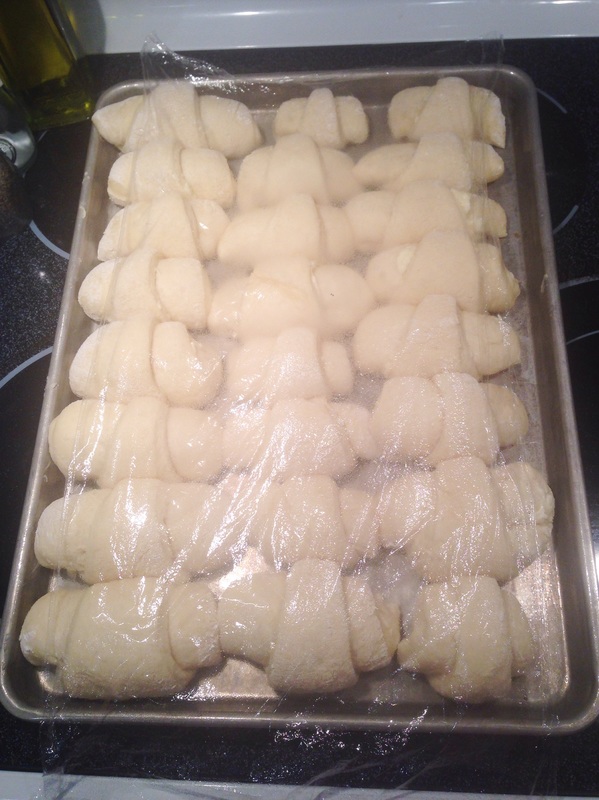
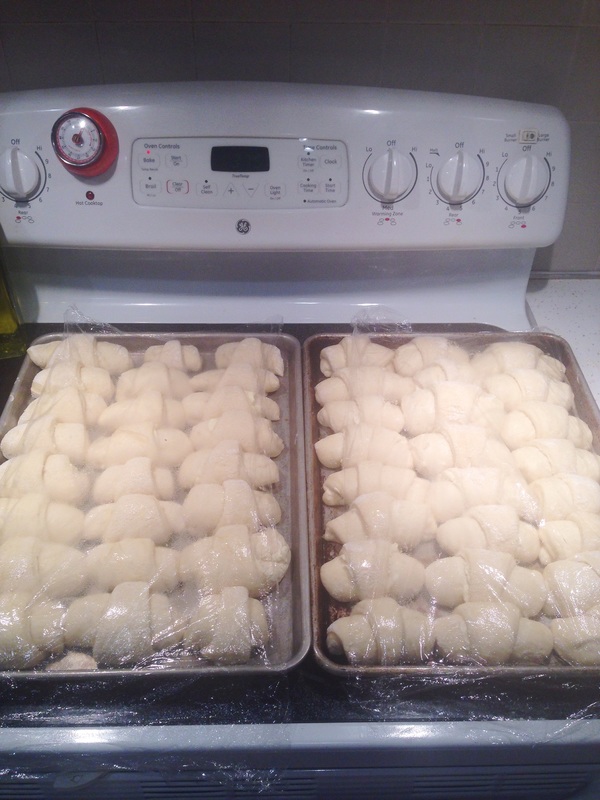
Get a large bowl and add a little cooking oil and rub it up the sides of the bowl. Your hands will have a little oil on them, leave it on and transfer the dough to the oil coated bowl. Spray a piece of plastic wrap with cooking spray and cover the dough bowl. Let the dough raise for 1 1/2 hours. Dough will more than double in size. Punch the dough down, but don't work it too much. Cut the circle of dough into 4 equal pieces. Flour your counter and place one of your dough pieces on it. With your hands or a rolling pin make a circle about 12 inches in diameter. Rub softened butter on it. I usually use about 2-3 tbsp. These rolls aren't healthy, but you won't be making them everyday...so lather that butter on! Cut the circle of dough into 4 equal sections, and then each of those 4 sections into 3 pieces. Begin rolling from the widest part, to the point forming a crescent. Place on a greased jelly roll pan--you'll get 3 rows of 8. Make sure the point is on the cookie sheet so the roll doesn't come apart. Follow these steps to finish the remaining 3 circles. Now that your 2 jelly roll sheets are loaded with 2 dozen rolls each, lightly spray 2 pieces of plastic wrap and loosely cover the baking pans. Let them raise for 1 hour. They should double in size. Bake at 375 degrees for 15-19 minutes (pull them out before the bottom browns up.) Brush the tops with butter after you pull them out of the oven.
4 1/2 tsp. yeast
1 1/2 Tbsp. sugar
Combine the water, yeast, and sugar and dissolve. I let mine sit for at least 5 minutes. If your yeast doesn't look similar to the right picture, the yeast has been killed so start over. Your water was either too warm or to cold so adjust accordingly.

|

|
10 Tbsp. Real Butter (1 cube plus 2 tablespoons)
Put milk in a microwave safe bowl or liquid measuring cup. Microwave until scalded, I do 5 minutes and it gets me a nice layer of scalded milk on the top. When you've got the milk scalded, set it on the counter and add 10 tbsp. of butter, and the warm milk will melt it.

|

|

|

|

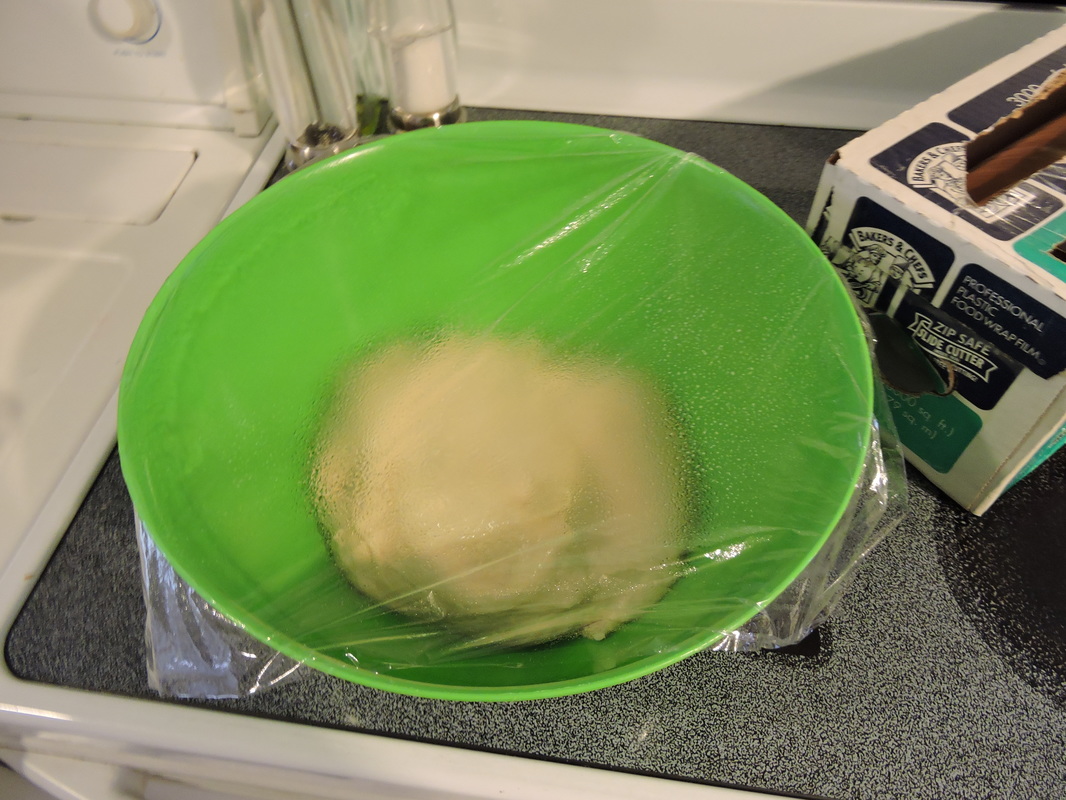
Spray a piece of plastic wrap with cooking spray and cover the bowl of dough. Let rise for 1 1/2 hours. Dough will double in size. Punch the dough down, but don't over mix it.
|

|


|


|
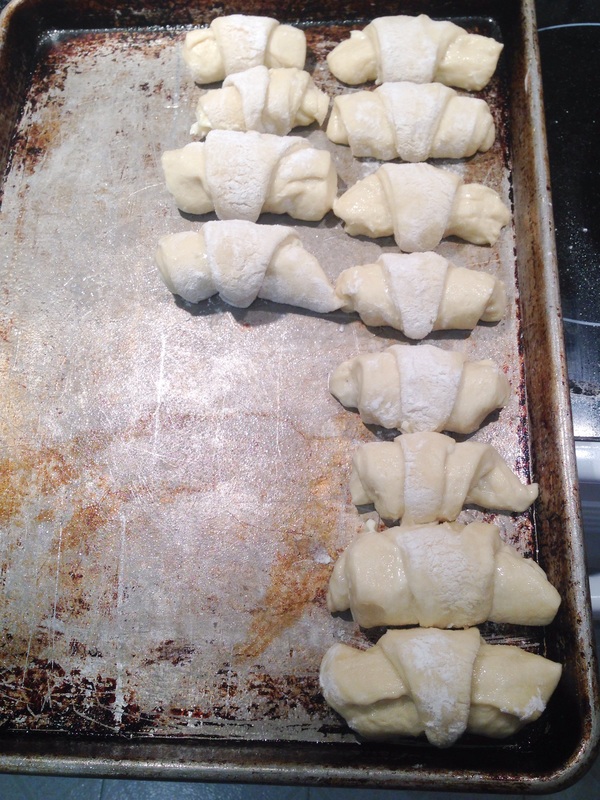
Place on a greased jelly roll pan--you'll get 3 rows of 8. Make sure the point is on the cookie sheet so the roll doesn't come apart. Follow these steps to finish the remaining 3 circles.
|
|

Leave a Reply