Wood Staining 101! Your go to guide with all the information you'll need to tackle your next DIY!
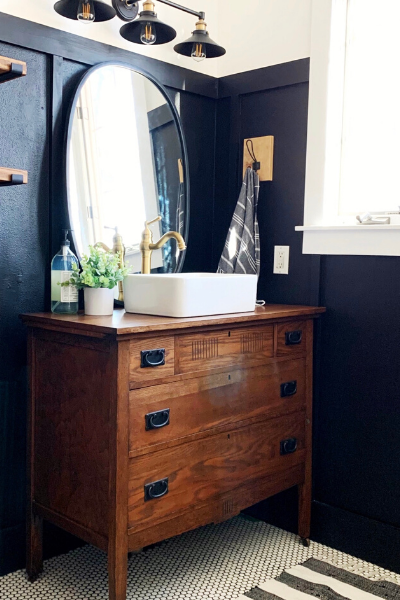
Wood Staining 101
WOOD STAINING 101- Your go-to guide with all of the information you need to tackle your next DIY. You've come to the right place!
If there's one aspect of DIY-ing that I've been doing since the beginning of time, it would be staining. I've not only used this technique on wood hundreds of times, but also on my parents carpet, their front steps leading into their home, and their back patio. The cycle continues as I've passed this horrific gene of spilling stain to my kiddos! Oh the stories I could tell! Don't you fret....I'll share one with you!
The Fateful Friday Morning
I'm actually going to dive right in with the most tragic staining incident to date. When I was in college I came home to help update my parents living room. I decided to get up early on Friday morning to distress the wood box we stored our piano books in. The boxed turned out perfectly.
My parents had left for work and I was hurrying to clean up all the supplies from the many projects that had been completed. I of course wanted to save a trip down to the storage room so I stacked a pile high enough in my arms that would have made "Gus" from Cinderella jealous!
I started down the stairs and wouldn't you know, I didn't close the lid all the way on the barely used quart of stain. Yes! You heard that right. The lid was ever so slightly closed. It was slow motion as it fell from my arms and hit the first stair and proceeded to hit every. single. stair. on its way to the landing in the basement.
As if spilled varnish on every stair wasn't enough it splattered all over the walls and banisters. It wasn't my proudest moment. The dreaded phone call to my mom: I called her and let her know of the situation, thinking she'd handle the news better than my dad..... it caught me off guard when she tensely said, "you need to hang up and call your father, I can't deal with this right now". Yikes! I was terrified!
I should have lost my life that day but my parents were both very gracious. This was the first incident so I broke them in good with this one....the following two didn't even phase them.
They had the carpets cleaned and ended up having to replace them. Through this incident, my parents taught me through example that accidents happen and there's no sense in being upset about it. Boy am I grateful they are such nice people!
Tips and Tricks
A few Tips and Tricks I've picked up over the years!
- Latex or Nitrile Gloves are a must! Unless you like having filthy hands for a few days.
- Lint-free rags are my preferred way to apply stain. Old t-shirts and towels work perfectly for this!
- These brushes or Q-tips are my go to for tight and hard to reach corners.
- When staining, the $1 plastic tablecloths from the dollar store or Wal-Mart work beautifully to protect your work surface.
- Always tightly secure the lid on your can when you are finished using it! Use a hammer!
- Never put stain on the uneven ground while working. Either hold it or set it on a table. If you like spilling stain then ignore that advice.
- Before each use, stir the stain with either an old butter knife or large popsicle stick; mixing the pigment that has settled on the bottom. Don't eat with said butter knife again.
- Always stain in long moving motions that follow the grain of the wood.
Are you freaked out?! Don't be! You've got this. Prepare yourself to create something that's yours. Enjoy bringing life and beauty to fresh raw wood or bringing an old piece back to life!
Step One: Gather Supplies
The item you are staining
Dewalt Orbital Sander
Sandpaper: 120 grit and 220 grit
Rag
Stain: Varathane Classic or Varathane Premium
Top Coat
Plastic Tablecloth
Old Butter Knife or Large Popsicle Stick
Step Two: Pick Your Stain Line and Stain Color
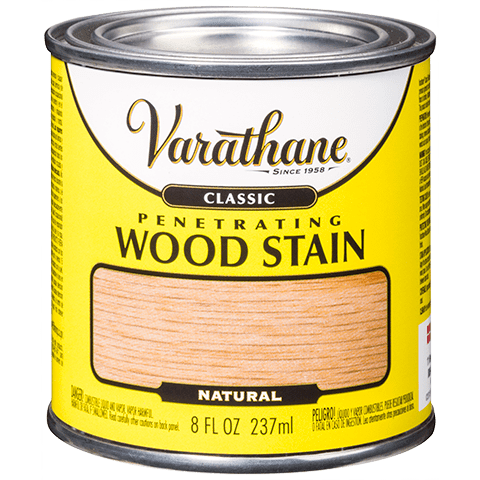
Below you'll find two lines made by Varathane! I've been using Varathane for several years and I know you're going to love it as much as I do! The two lines are Varathane Classic Wood Stain and Varathane Premium Wood Stain.
Varathane Classic Wood Stain 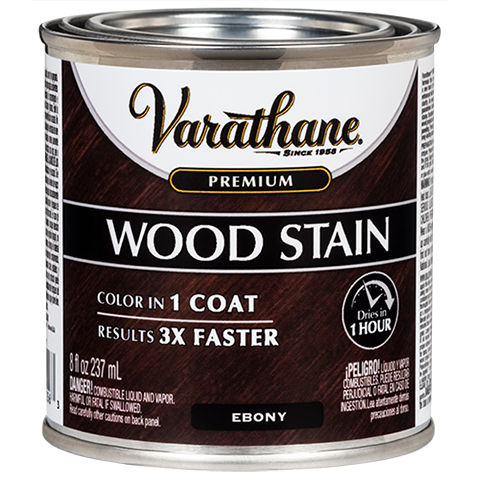
Varathane Premium Wood Stain
Classic Wood Stain
The Classic Wood Stain is my favorite to work with. It is a thinner stain and I can control the color better, which I prefer. I feel like I can get a little more of the wood grain to show when I work with the Classic formula as well. One coat is lighter and I can get my project darker by adding a couple more coats!
A quart of the Classic will stain around 150 square feet. It's recommended that you wait 8 hours before sealing with an Oil-Based Sealer and 24 hours to seal with a Water-Based Sealer.
*I don't think I've ever actually followed this rule of thumb, but know if you don't you will lose some of your color. That was really hard for me to admit as I'm typically a rule follower!
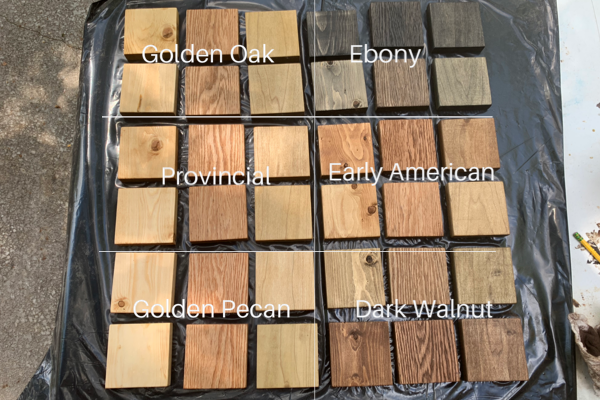
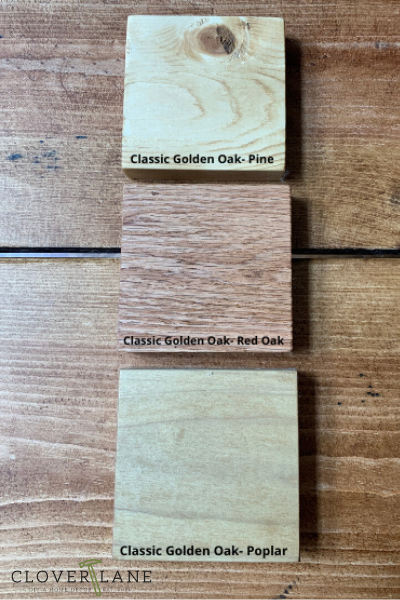
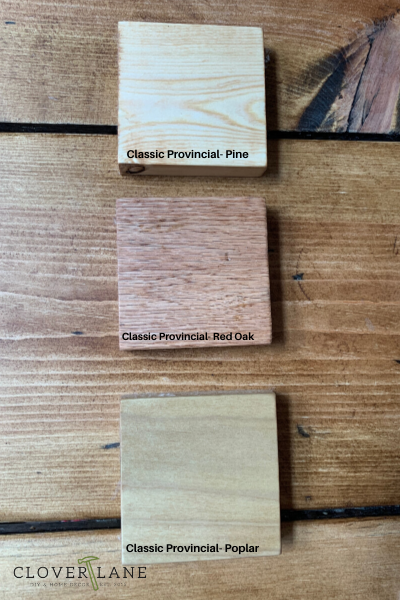
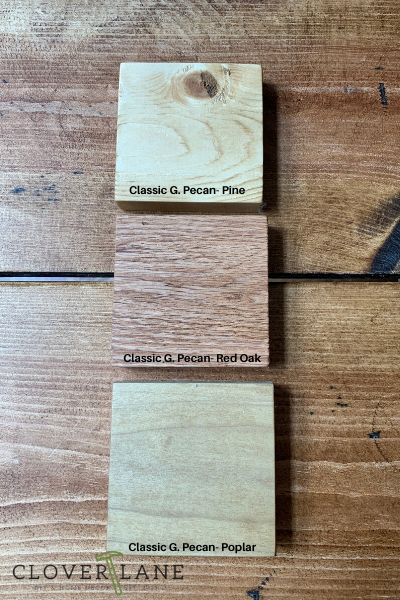
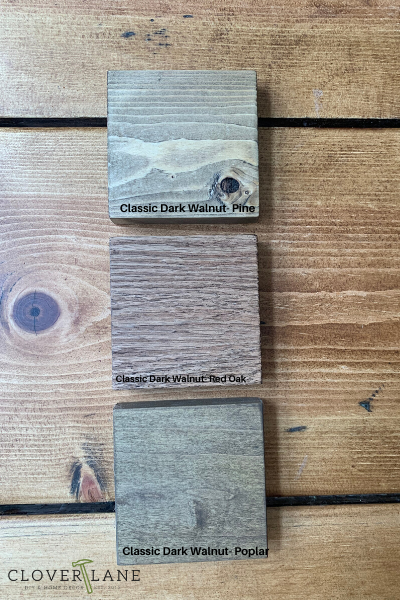
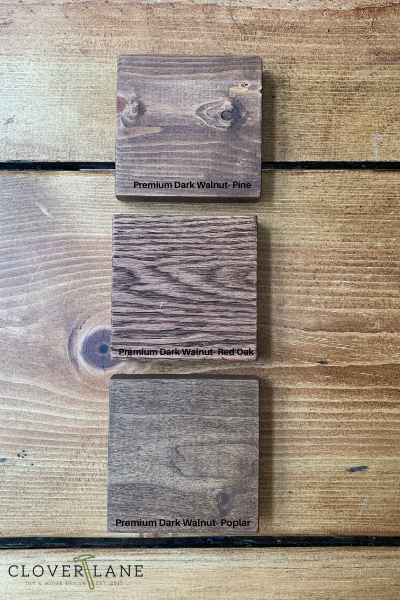
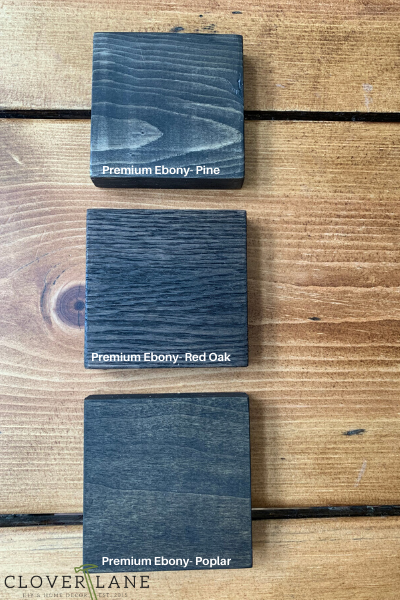
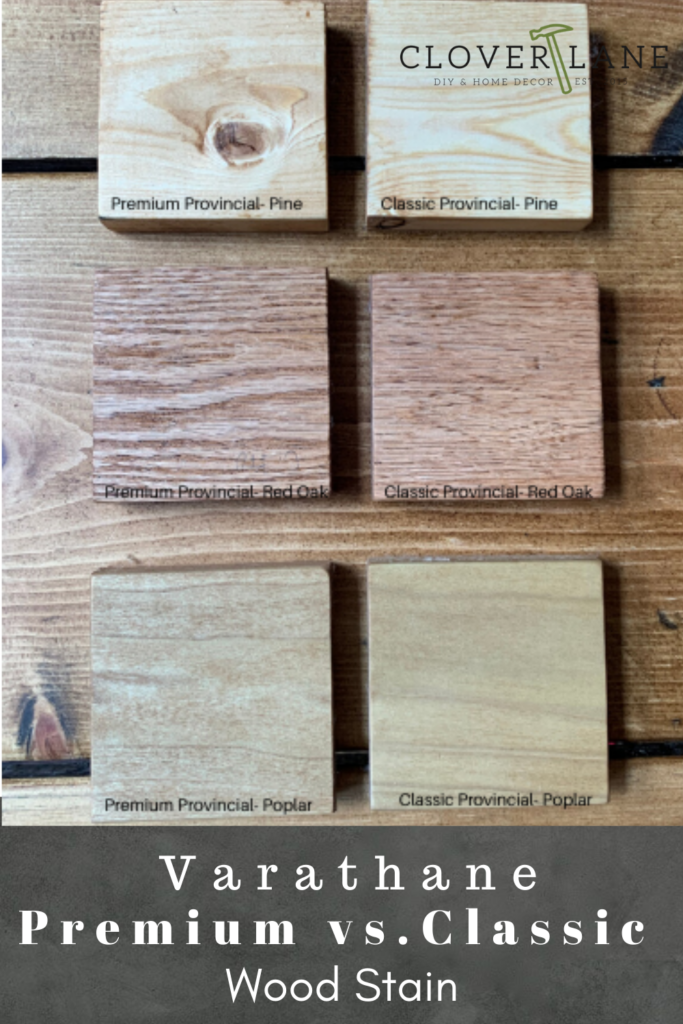
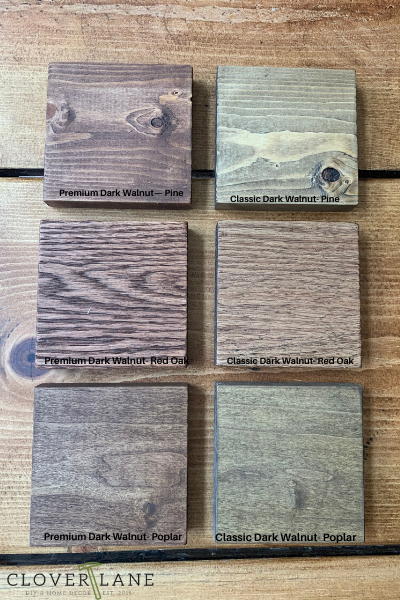
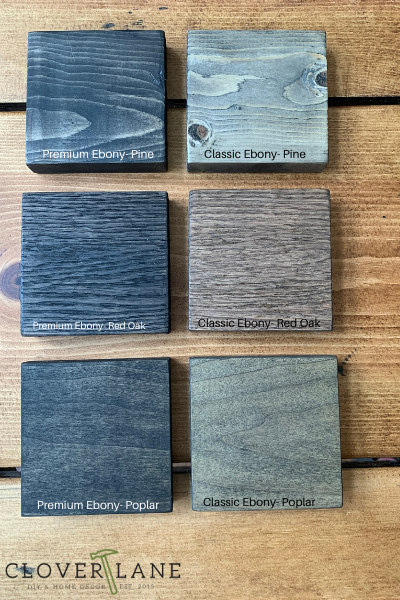
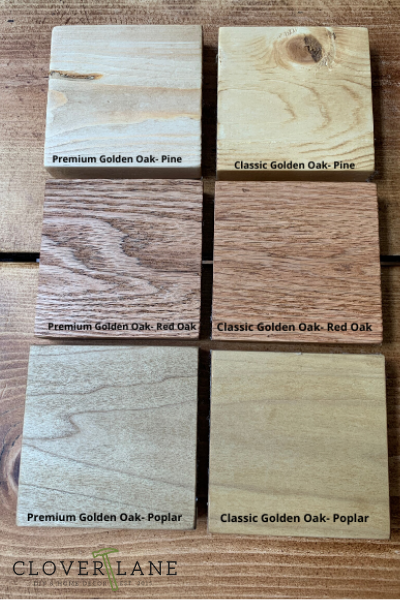
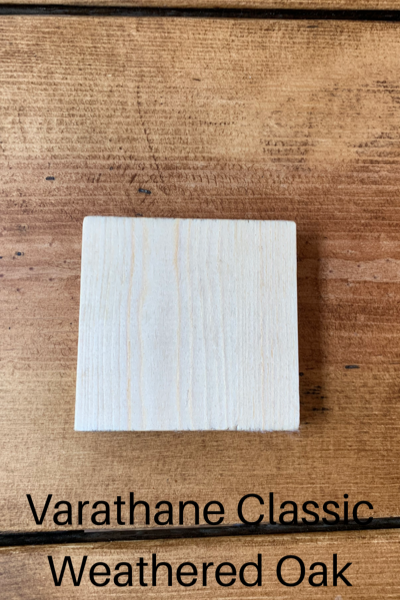
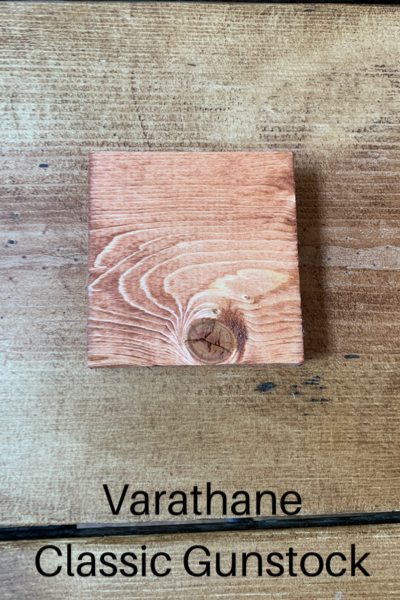
I've tested 6 colors in both the Classic and Premium Lines on three types of wood. For this post, I only applied ONE COAT to all of these samples because I really wanted you to see the difference between one coat in each of the two lines. Here's to hoping you find this resource helpful when picking a stain color for your next project!
Golden Oak- classic
Provincial- Classic
Early American- Classic

Golden Pecan- Classic
Dark Walnut- Classic
Ebony- Classic
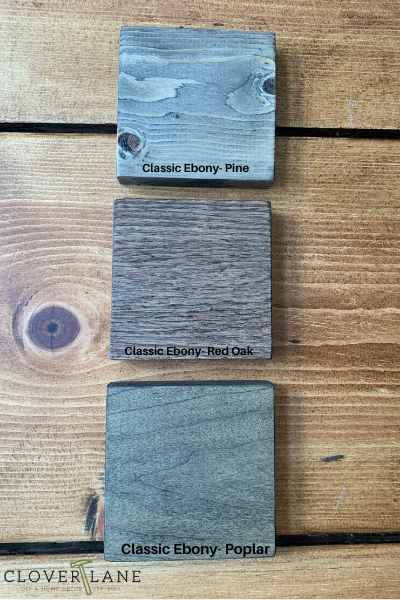
Here are a few other colors from the Varathane Classic line!
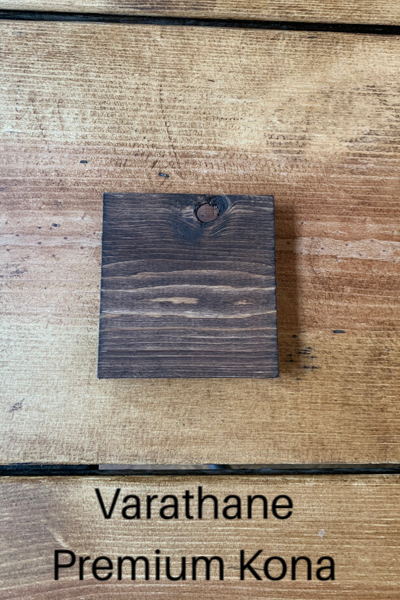
Premium Wood Stain
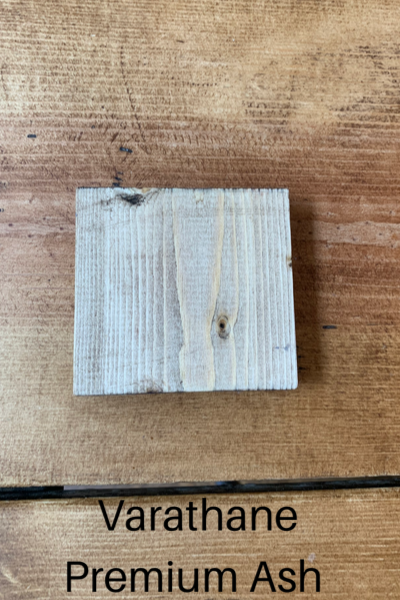
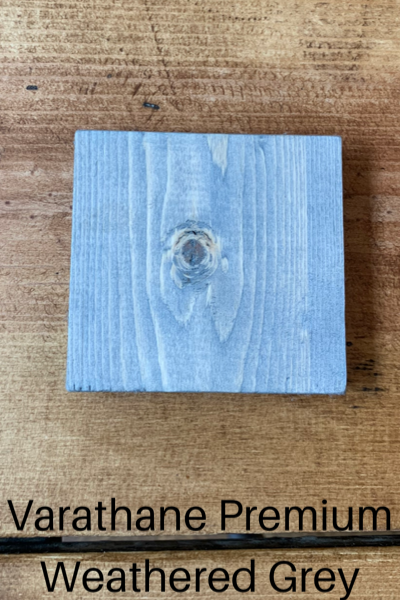
The Premium Stain is also great to work with. It has incredible coverage, literally takes 1 coat, and it dries in 1 hour! A quart of the Premium will stain around 275 square feet. It's recommended that you wait 8 hours before sealing with an Oil-Based Sealer and 24 hours with a Water-Based Sealer.
Golden Oak- premium
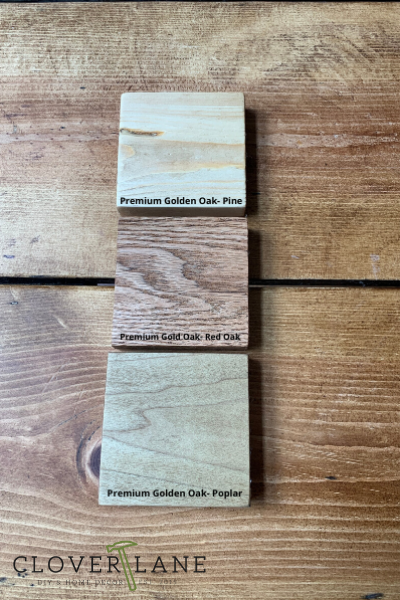
Provincial- premium

Early American- premium
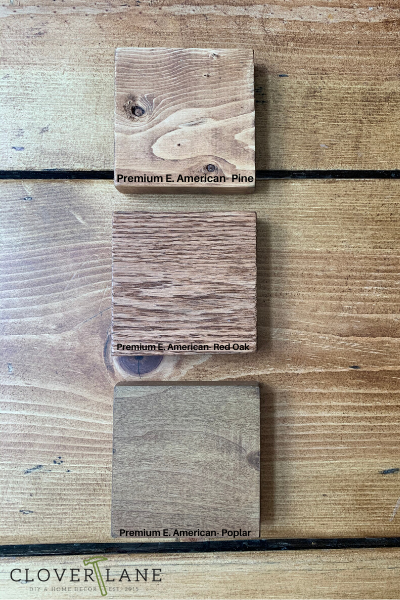
Golden Pecan- premium
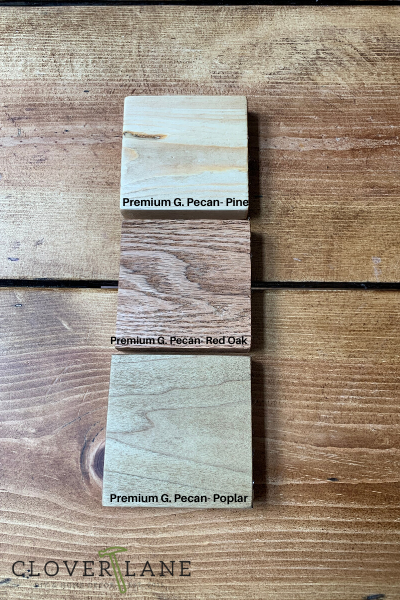
Dark Walnut- premium
Ebony- premium
Here are a few more colors from the Varathane Premium Line!
For even more stain color options visit HERE for Classic and HERE for Premium.
Step Three: Sanding
Thoroughly sand your piece that's being stained. If it is a rough piece of wood then start with 120 grit and finish it with 220 grit. When using an Orbital sander you'll want to move quickly in the same direction as the wood grain. If you don't sand with 220 you will leave the wood porous and the stain will take darker. You will also have a finish that isn't smooth to the touch.
Once you've finished sanding, completely wipe down the piece with a dry rag removing all sawdust.
My favorite sander can be found HERE.
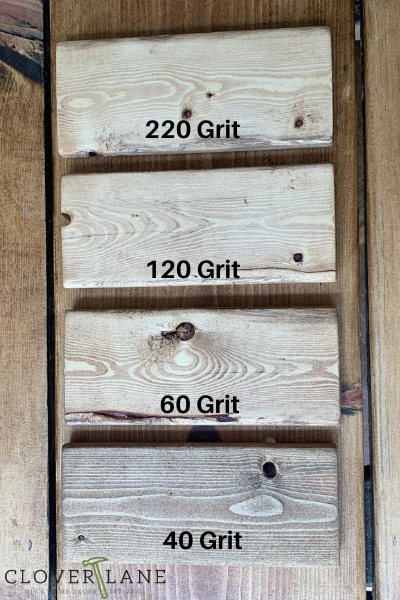
In the photo below, the same color of stain was used on each piece of wood. Crazy!
Below you can see an example of how the wood takes stain differently with each level of sandpaper grit. Notice how much darker the wood is with straight 40 grit. This shows how the wood is more porous, therefore taking in more stain. If you're wanting a darker look like the 40 grit is showing, either apply more layers if using Classic stain or go with a darker color altogether. It is more important to have a smooth work surface than using 40 grit simply to achieve a darker look. As mentioned above, always work your way up to a higher number of grit when sanding for optimal smoothness.
Step Four: Stain Application
Prep work space by laying down plastic tablecloth.
Thoroughly mix stain with an old butter knife or a large popsicle stick.
Cover hands with your latex/nitrile gloves. I'll double layer gloves if I'm staining for a while. If I don't do this I always end up with a stained thumb!
With a lint-free rag, dip into your stain. I have found the best method for me is to work in long sections along the wood grain.
Depending on the stain you pick, you will apply one (premium) coat or up to three (classic) coats depending on the look you are going for.
Once your project has completely dried, apply your top coat.
Here's a video below showing our complete process from sanding to staining.
Below are a few projects where we used Varathane Stain. We hope you feel inspired!

Vanity Countertop 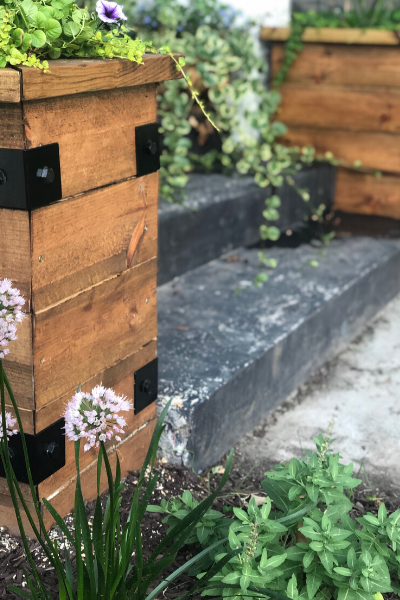
Planter Box 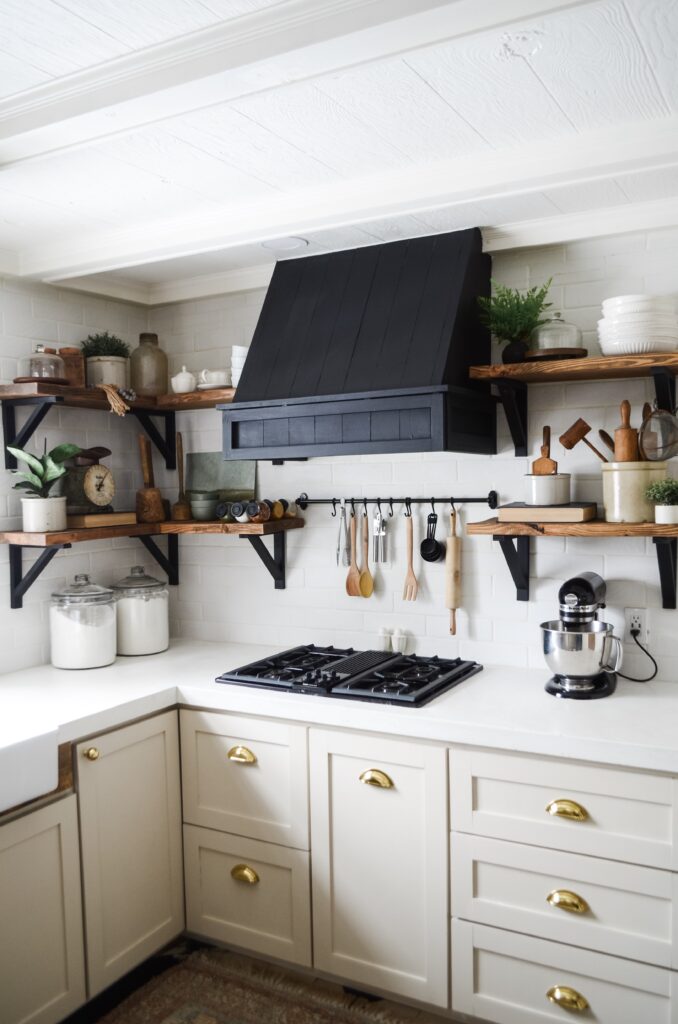
Open Shelving 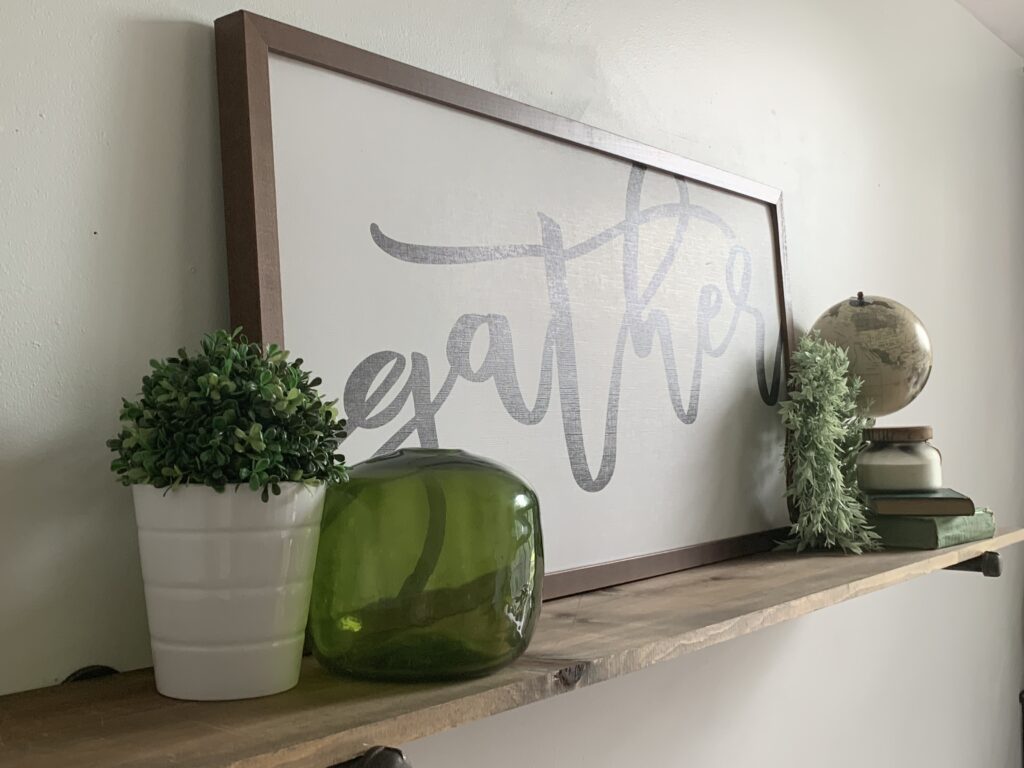
Restoration Knock-off Shelving 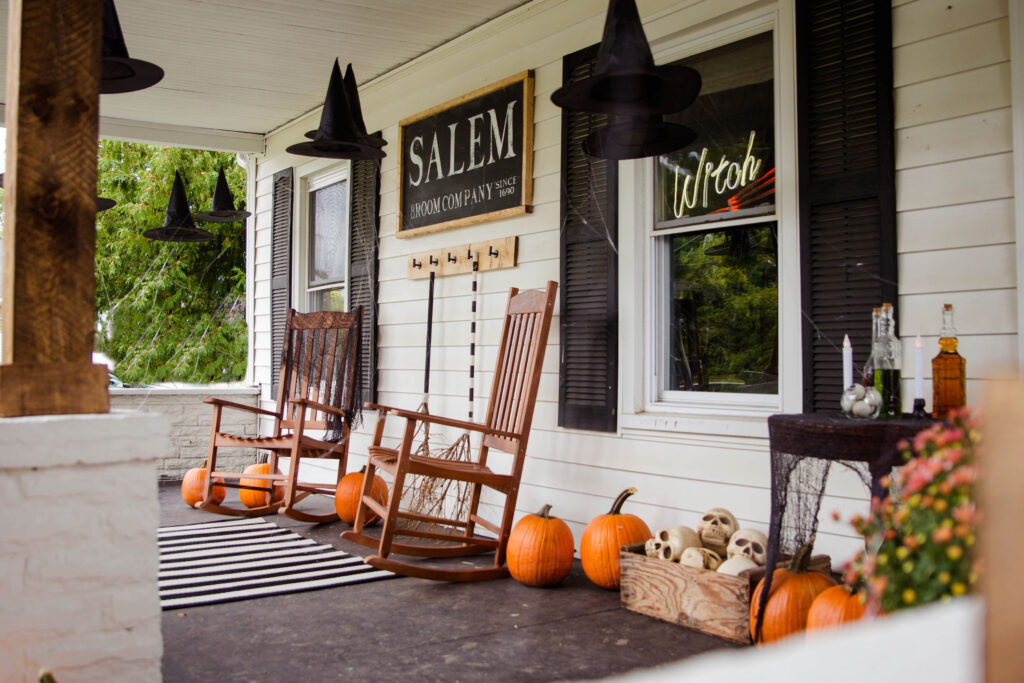
Home Depot Style Challenge 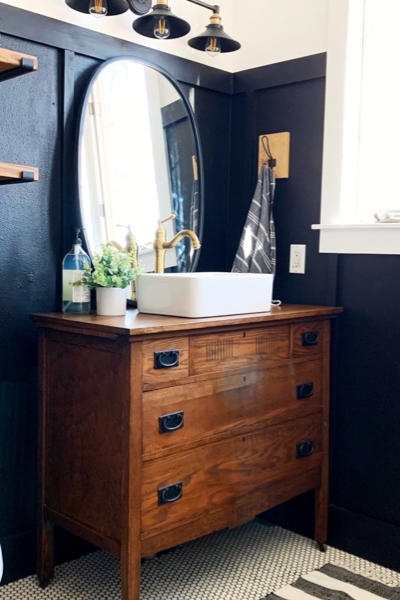
Powder Room Vanity
You can find more details on these spaces here!
Restoration Hardware Knock-off Shelving
Pin it!





It's so hard to find the difference between Classic and Premium Varathane. They both sound great and have similar descriptions. I thought probably they had just updated the label. Now I know that I should find Premium to finish the project that I started with Premium. THANKS SO MUCH!
Hi Bill! Thank you for your comment! Hope your project turned out great!