How to make the prettiest raised planter box on the block. This how to raised planter box tutorial can be adapted to make a variety of styles.
This is a sponsored post written in partnership with National Hardware. All opinions are our own.
How To Build Raised Planter Box
There's a good chance you are here because like us, you already love the look and convenience of raised boxes. That makes my job easy because I don't need to convince you of why you need these beauties all-around your house...you already know that! Let's focus on How To make raised planter boxes. This design can be customized for any type of raised planter you are wanting to build. As you'll see below, we took this basic idea and made 4 different types of planters from it.
Lumber Used
You'll want to stick with cedar, redwood, or any lumber that is suitable for outdoor use. Due to availability, I was only able to get pressure treated lumber in my small town. It will hold up well outside and is a good option if Cedar or Redwood is not readily available in your town.
These garden beds will not only have to withstand the elements but the water they'll be exposed to when you are taking care of the plants that will reside there.
Use screws suitable for outdoor use as well.
Before you can buy your lumber you'll need to decide on the size of planters you would like to build. Here are a few variations on the raised planter, dimensions included:
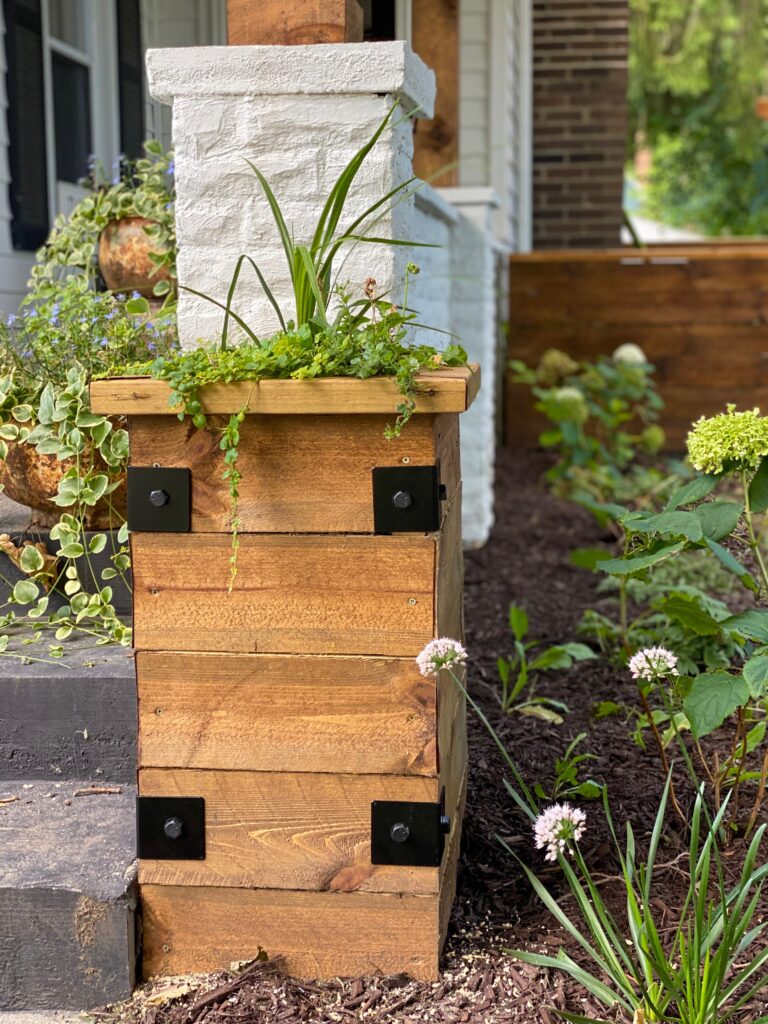
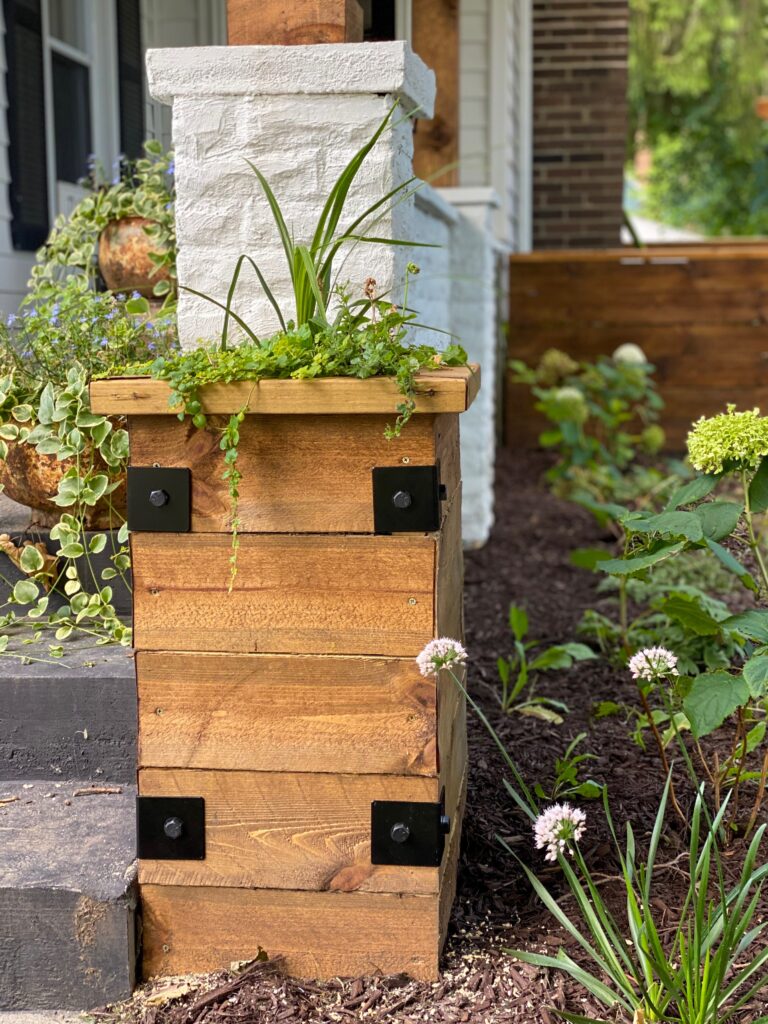
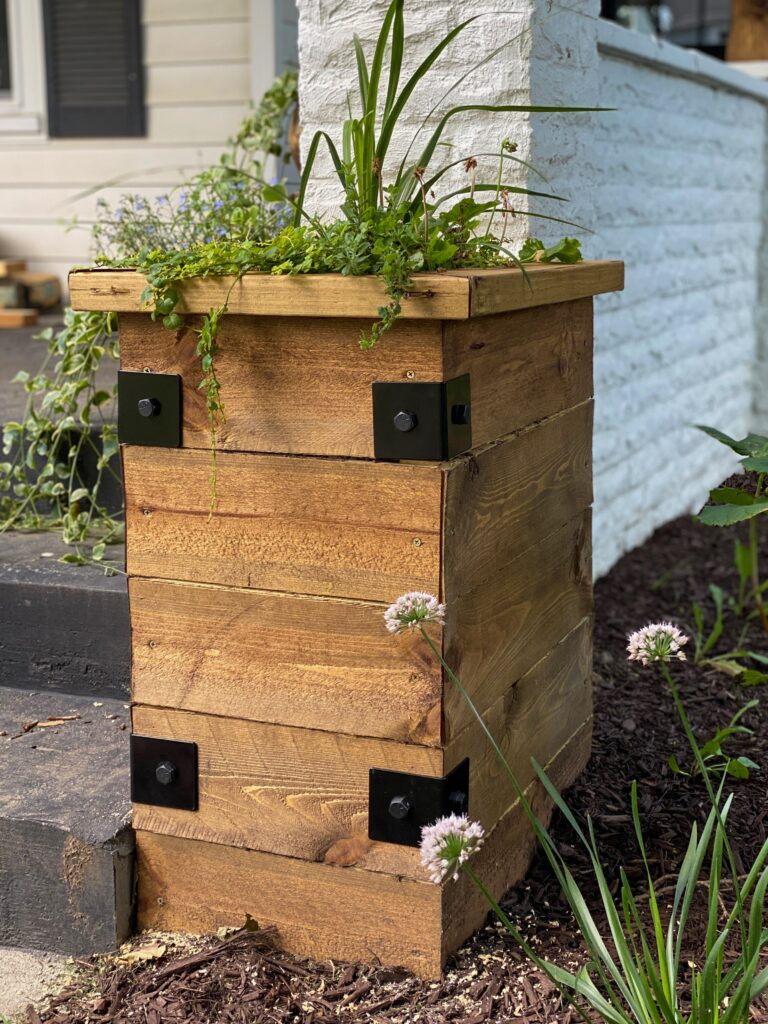
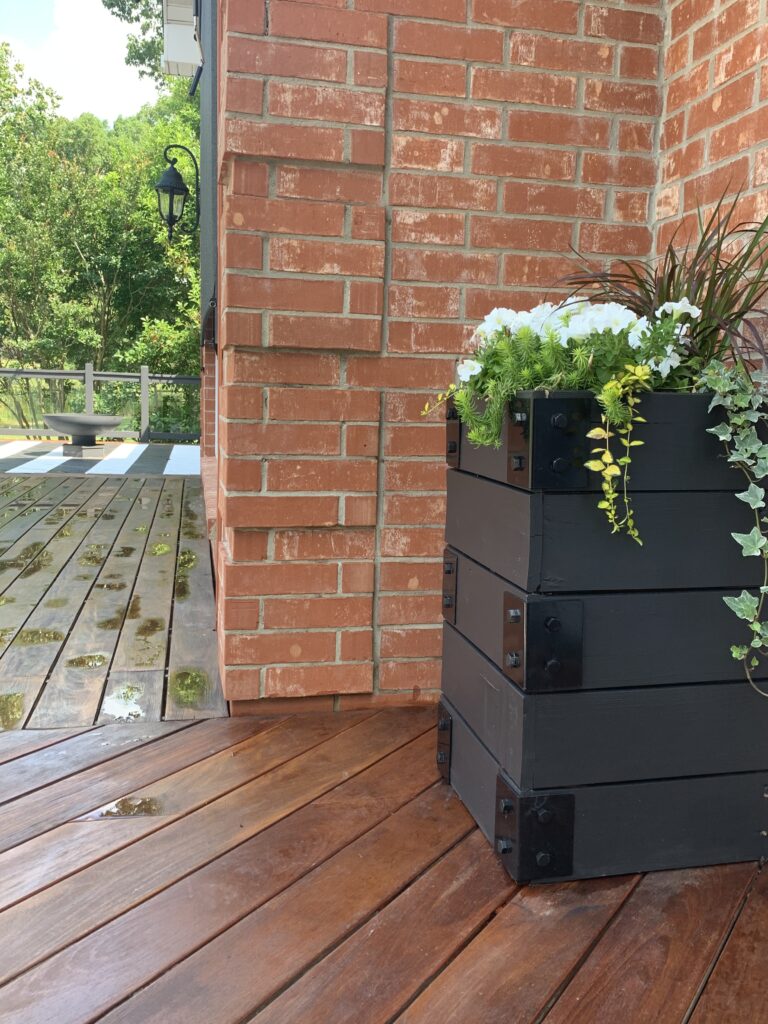
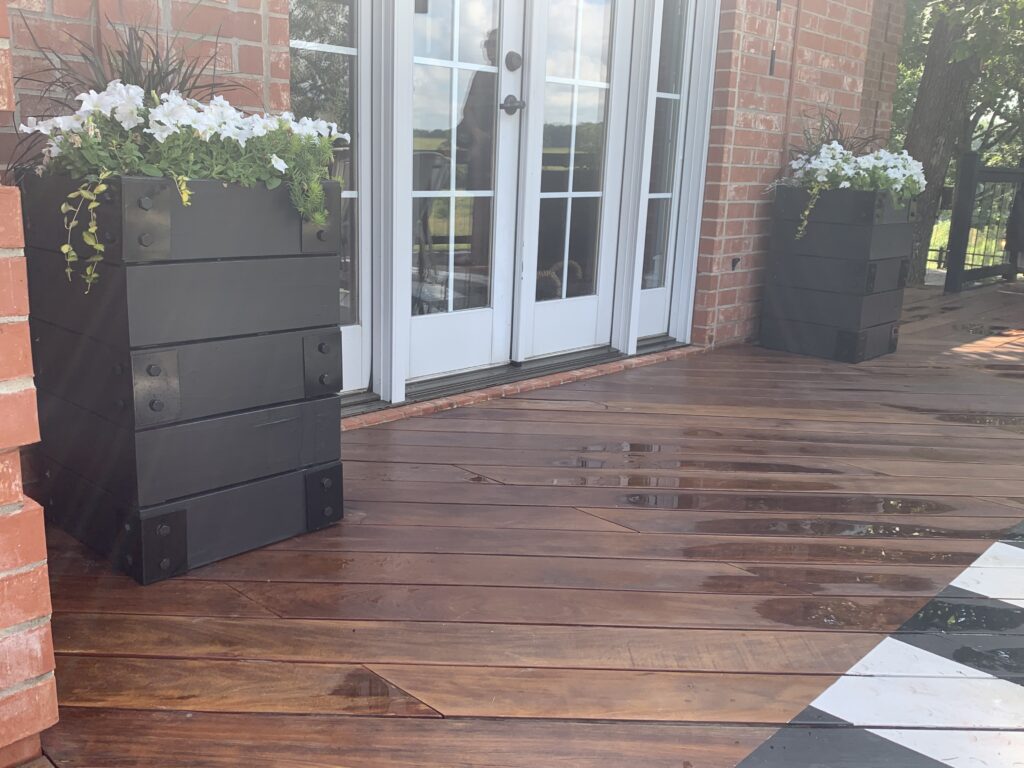
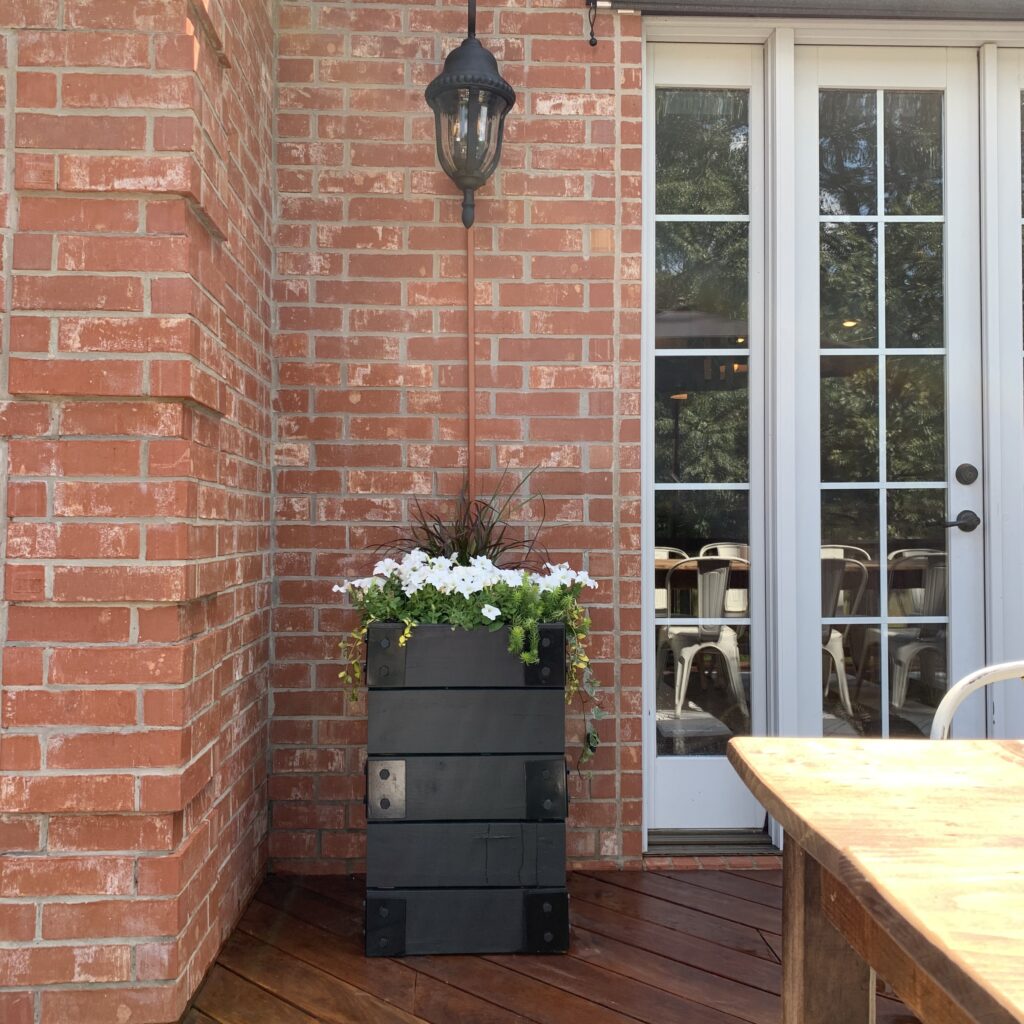
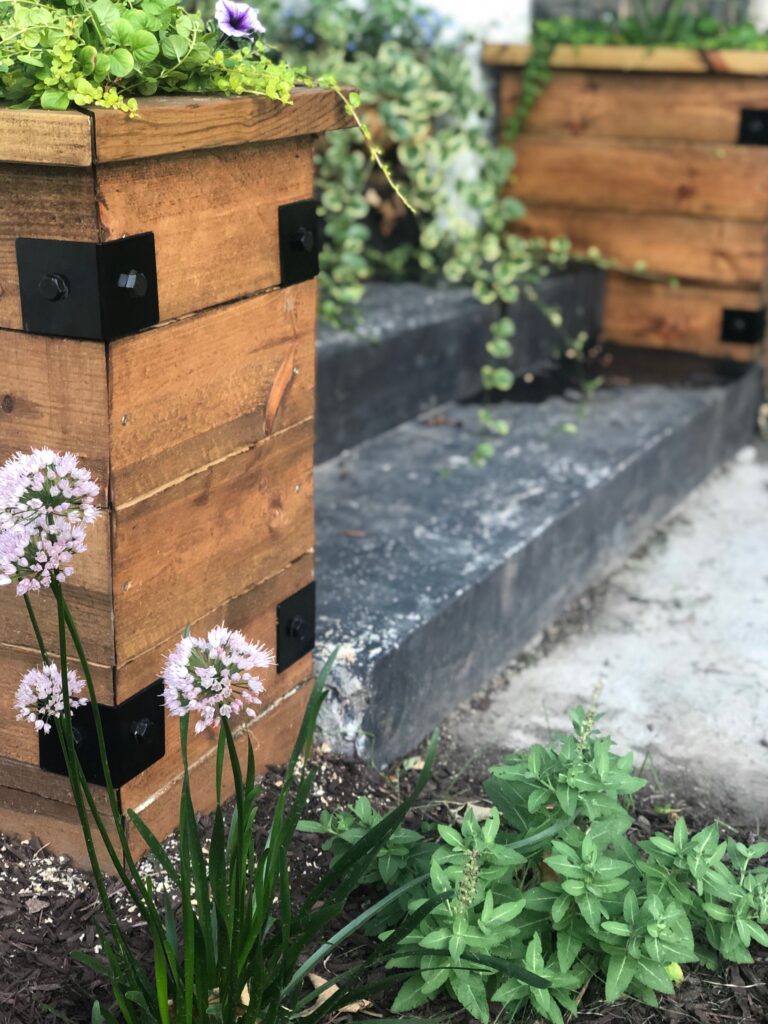
Squared Porch planter boxes 17.5" x 17.5"

Rectangular porch planter boxes 2.5'x1.5'
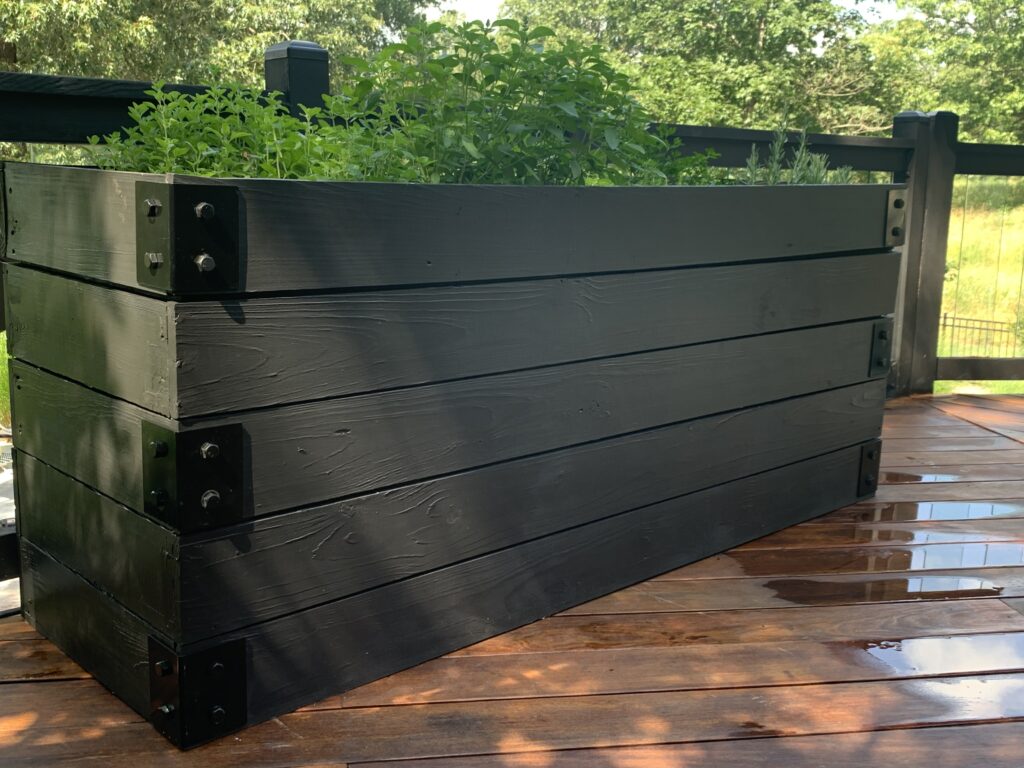
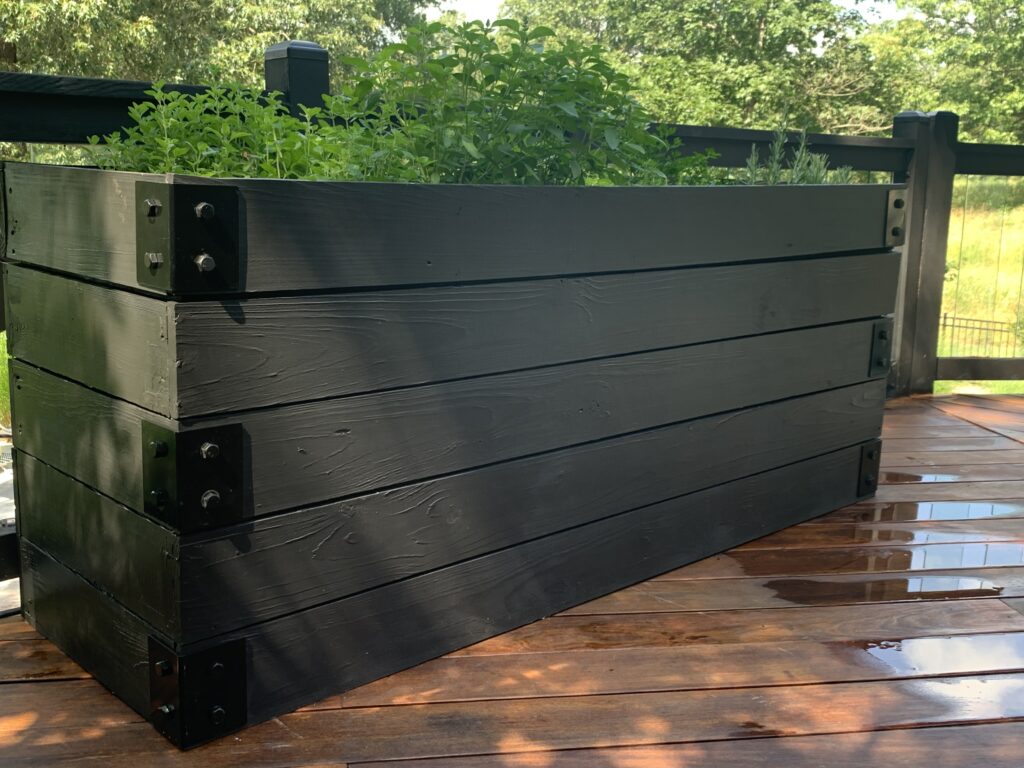
Waist-high garden planter boxes 20"x6'

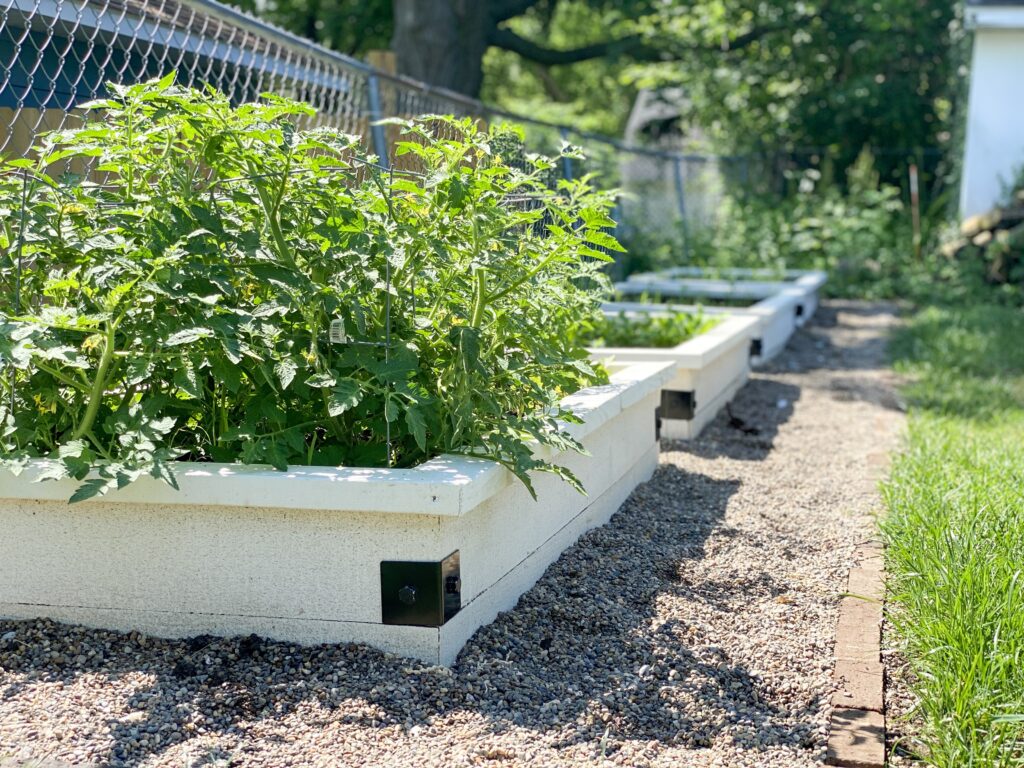
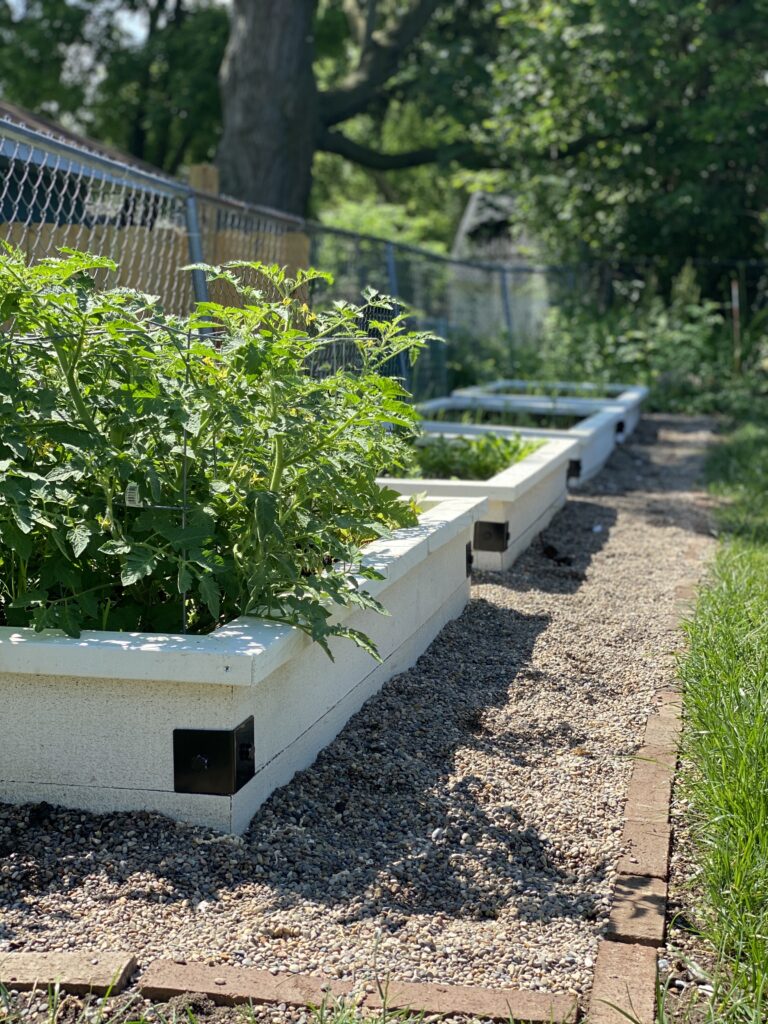
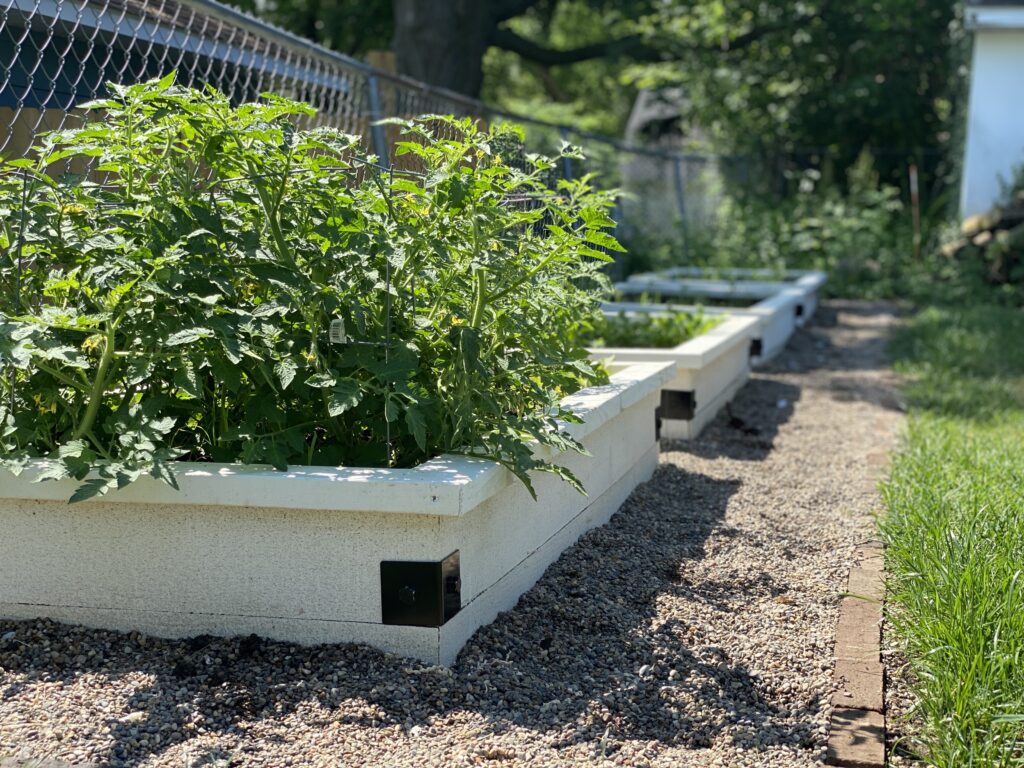
Raised garden bed with no bottom 6'x3'
Supply list for waist-high planter box:
- 1x6 Lumber cut to the size you'd like for your length & width. These will be the plank pieces that make the walls of your planter.
- 2x4 lumber for framing the box. This is what you will attach the 1x6 planks to.
- 1x2 for the bottom of the waist-high planter box. This will create a grate in the bottom of the planter so you aren't filling the entire planter with dirt. Only the top 11'' or so.
- Outdoor screws 1 1/2" OR framing nails (be aware that finishing nails are not sufficient and will result in boxes coming apart)
Step by step instructions:
Be aware that we are showing you how to make a planter with a raised bottom on the inside so you do not have to fill the entire planter with dirt. Not only would this be expensive, but it would also be too heavy for the deck I placed it on. Also, keeps dirt from falling out of the bottom. Skip this step if your planters are not as tall as mine or if you are placing it directly on dirt and have no plans of moving it in the near future.
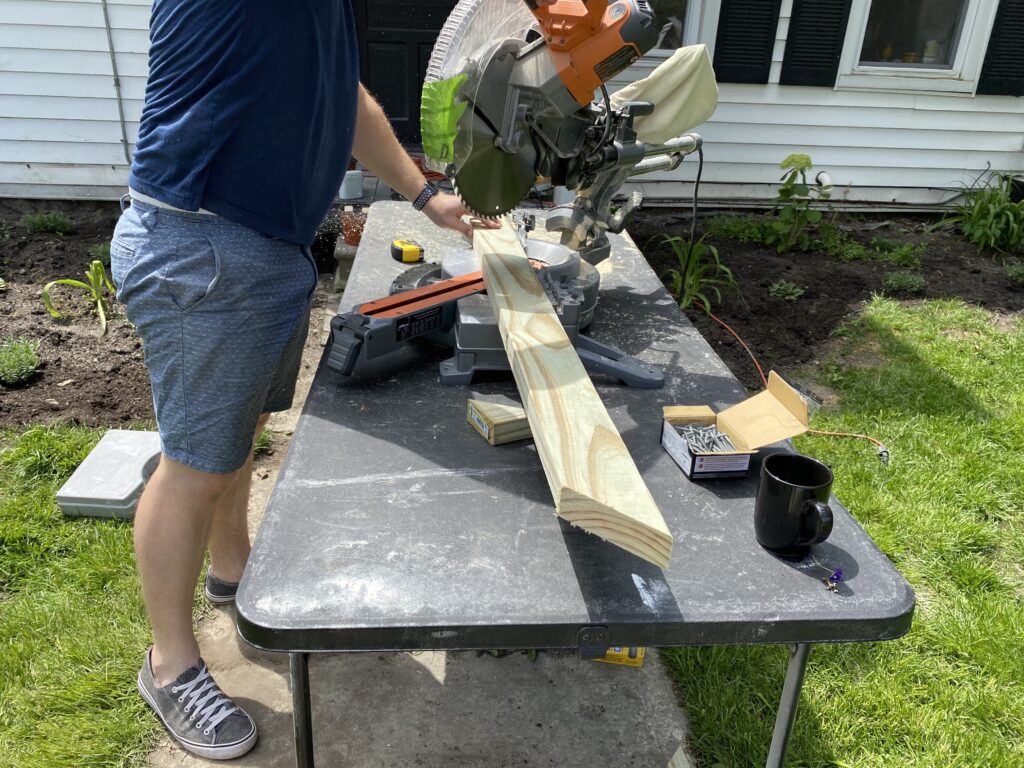
- First, determine the size you'd like your planter to be and cut the wood accordingly. I will be referencing my 17.5" x 17.5" box. You'll need to cut your 1x6 board down to 10 @17.5" and 10 @16". These pieces will make the 4 sides of your planter.
- Next, cut 4 2x4 pieces that will stabilize the horizontal pieces. I cut mine to 27".
- Next, lay 2 of your 2x4 pieces flat and make sure they are square. Start by nailing or screwing your side pieces. For this box, you will start by using the 16" pieces. We used a framing nailer, but outdoor screws will work perfectly as well! When finished with this step, you will have 2 side pieces that measure 16" wide x 29" tall.
Nailing Boxes Together
- Next, you will stand your side piece up and nail your 17.5" piece to the 2x4. Once that first board is secured you will attach that same board to the other side panel. Continue this until you have all 5 front pieces secured to the two side panels.
- Now, apply your finish (outdoor paint, stain, etc.)
- Next, next cut 2x2's and space evenly creating a bottom to your waist-high planter. This is going on my deck so we chose to have a 10.5" depth to avoid too much weight on our deck.
- Place your 2x2's 10.5'' down from the top and nail right through the side of your planter to secure them in place.
- Lastly, coat your planter with an outdoor clear satin finishing spray. This will ensure your finish will last through the years.


Cut your 1x6 pieces for the walls and your 2x4's for the inside framework, 
Lay 2 of your 2x4 pieces flat and make sure they are square. 
Nail or screw your side pieces. For this box you will start by using the 16" pieces. When finished with this step, you will have 2 side pieces that measure 16" wide x 29" tall. 


Next, you will stand your side piece up and nail your 17.5" piece to the 2x4. 
Place your 2x2's 10.5'' down from the top and nail right through the side of your planter to secure them in place.
If you'd like to add another element to your planter like this...
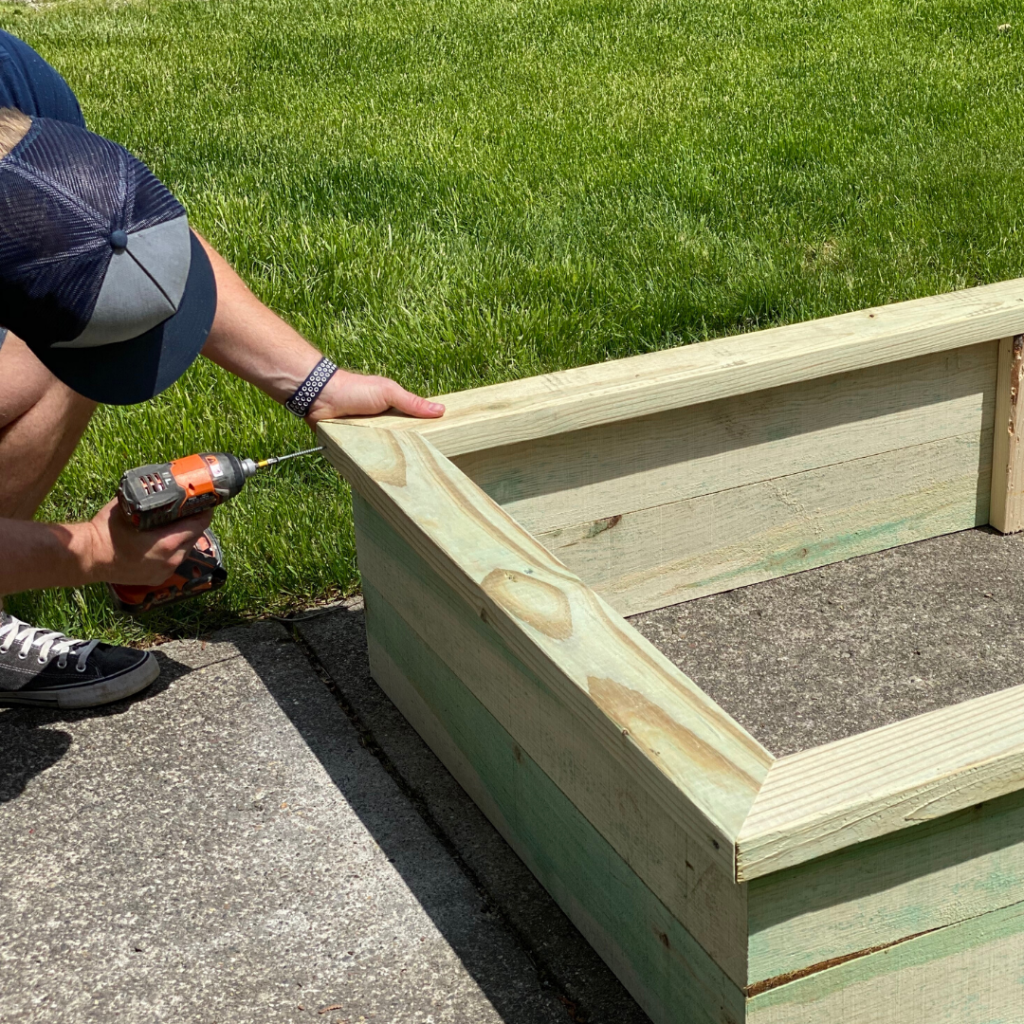
Measure a (2) 2x4 the length of your width and (2) 2x4s the span of your length. Use your miter saw and make angled cuts. Screw the newly cut 2x4's into the "skeleton" of your planter (the 2x4 pieces that you applied your cedar or redwood to). Here are a few photos to illustrate:
How to elevate the design on your planter box
Here's where we get REALLY excited!
Now that you've made your planter box, customize it! This can be done with paint, stain, stencils, shape, and the gorgeous brackets we used to finish off our planters.
There's something about these brackets that just finishes off the look of the planters. I love "elevating" the design on a DIY project to really make it look not so DIY.
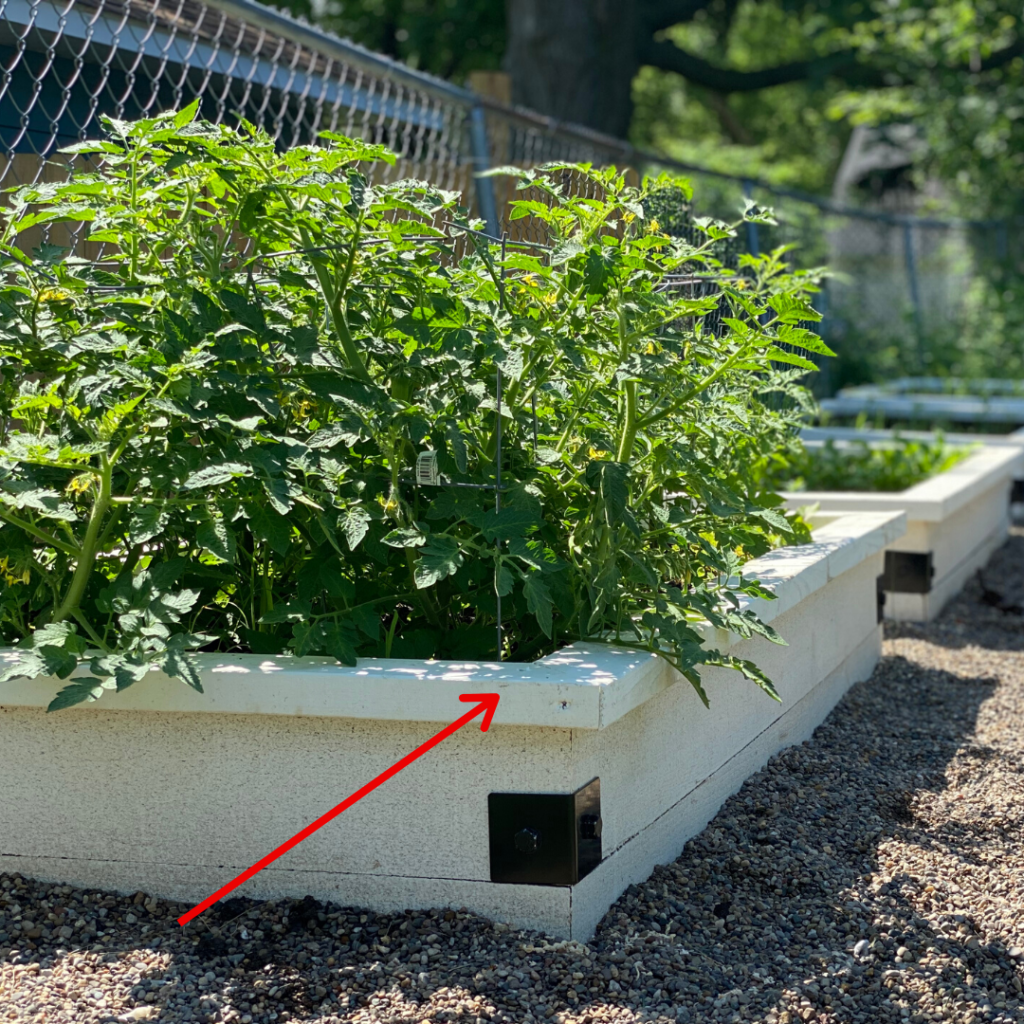
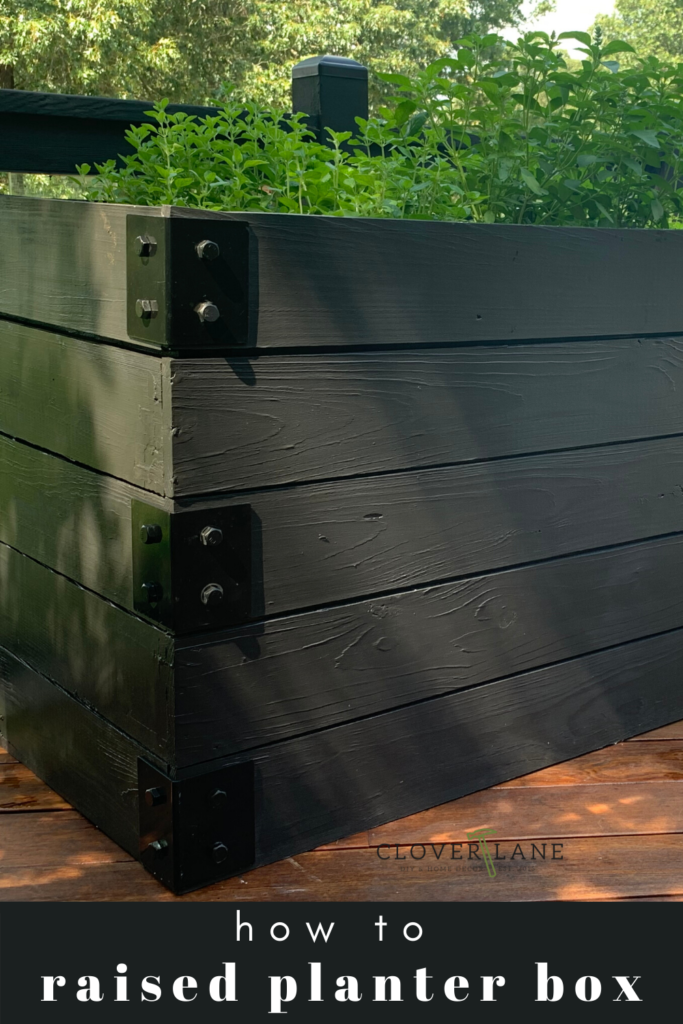
Once you've applied your finish (paint, stain, etc.) add the brackets. These are the Heavy Angle- Indio Collection shown first in the 5" size and followed by the 3" size.

Applying the bracket is easy. Here's what you'll need:
Heavy Angle- Indio Collection brackets
Lag Screws- we used 1/2" x 1 1/2" length
How to Apply brackets
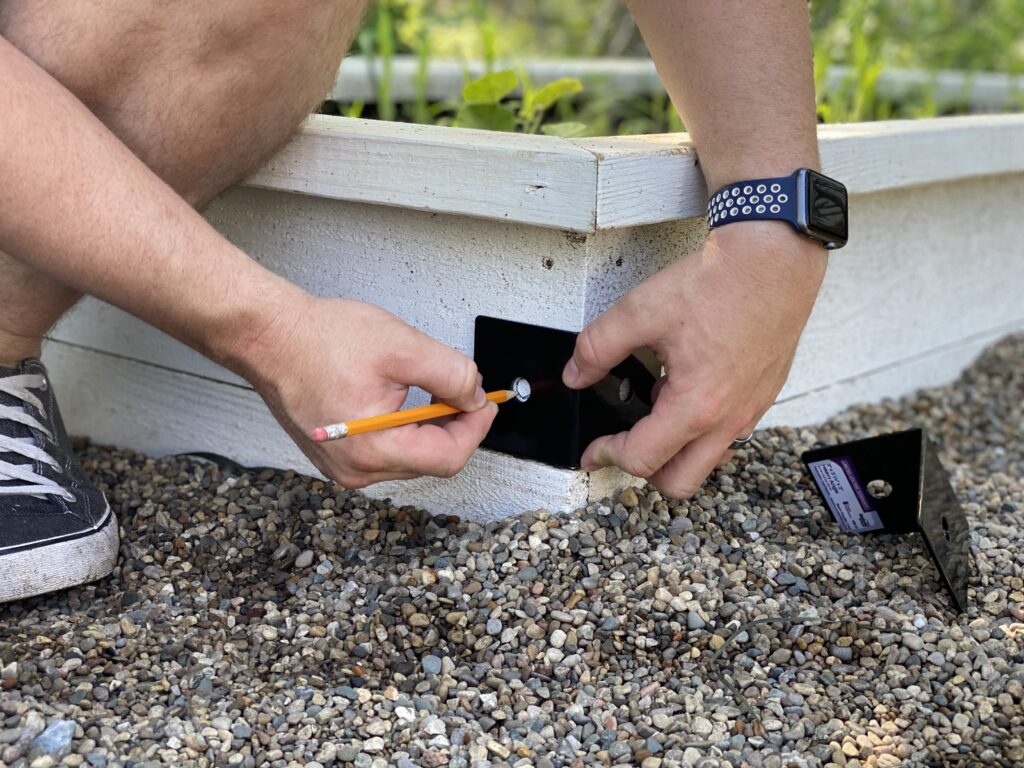
First, measure where you'll be placing the brackets.
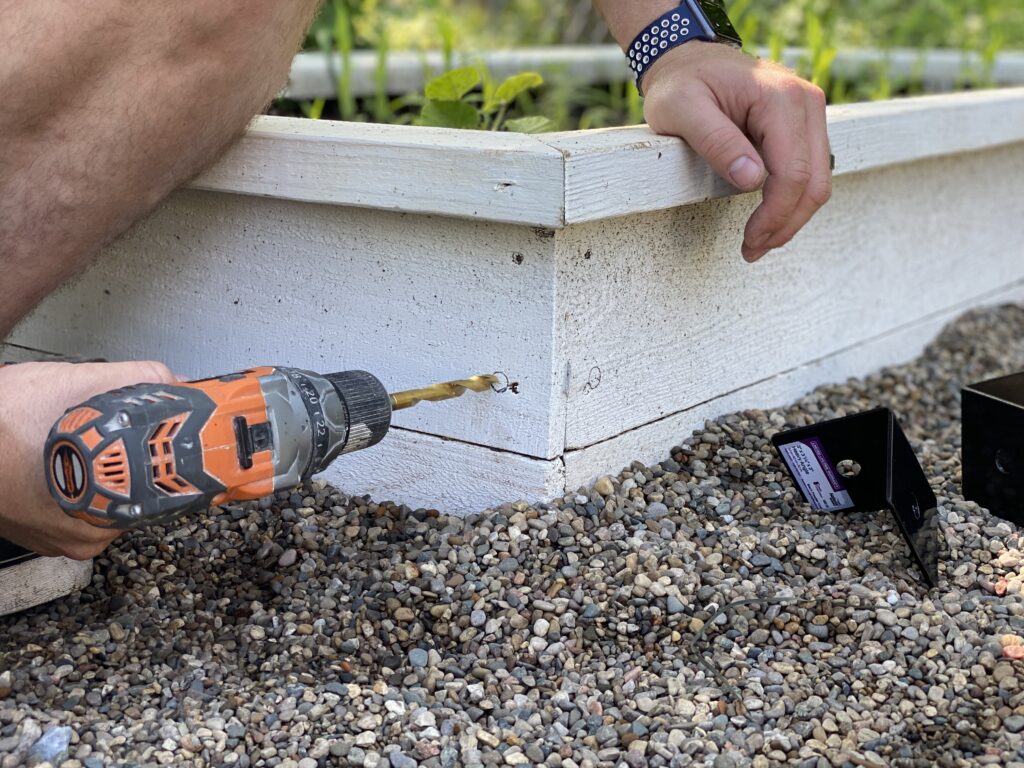
Predrill holes for lag screws using a drill bit that is the core diameter of the screw, do not figure in the additional diameter of the threads of the screw.
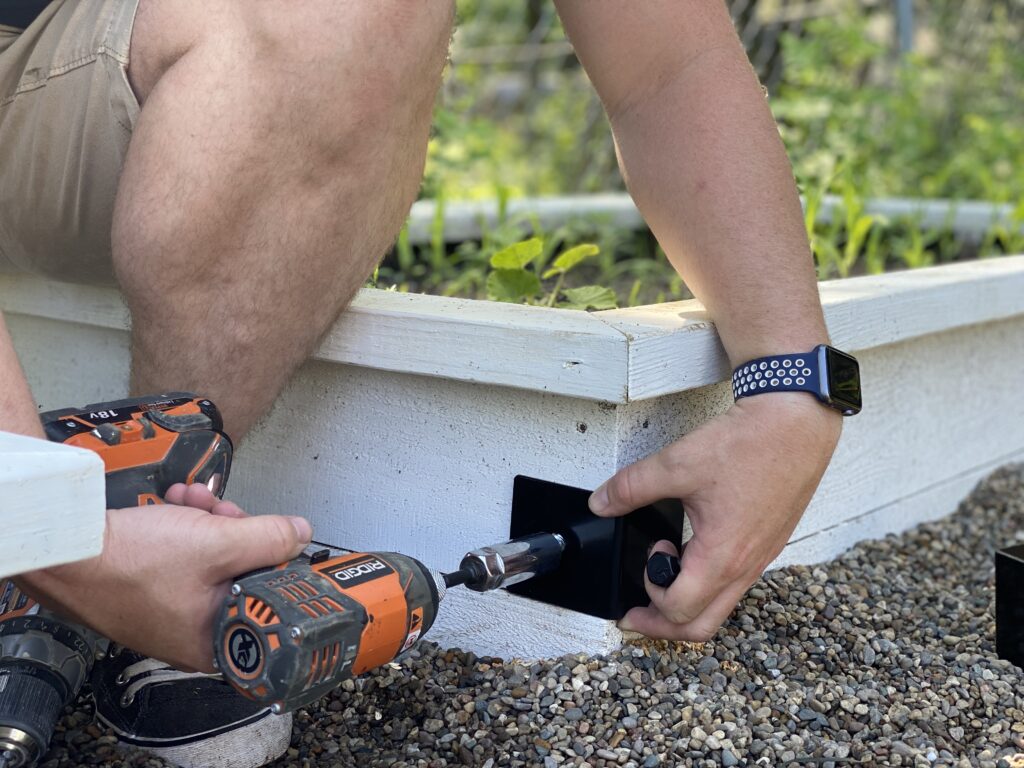
Drill lag screw in with 1/2" socket.
Step back and admire the beautiful planter box you have just created!!
You can purchase brackets here.
Paint and stain used:
Black planters- Benjamin Moore Exterior Paint (color matched to SW Tricorn Black) in an Eggshell Finish
Stained planters- Rustoleum Golden Oak
White planters- Behr Outdoor Paint in Eggshell Finish- Simply White
Pin it!
Pin it!

Thank you for sharing all of your wonderful gardening tips! I pinned diy garden box ideas this helpful post. Your garden bed idea is very beautiful and now I will apply your tips at my greenhouse-like yours! Highly Recommend