
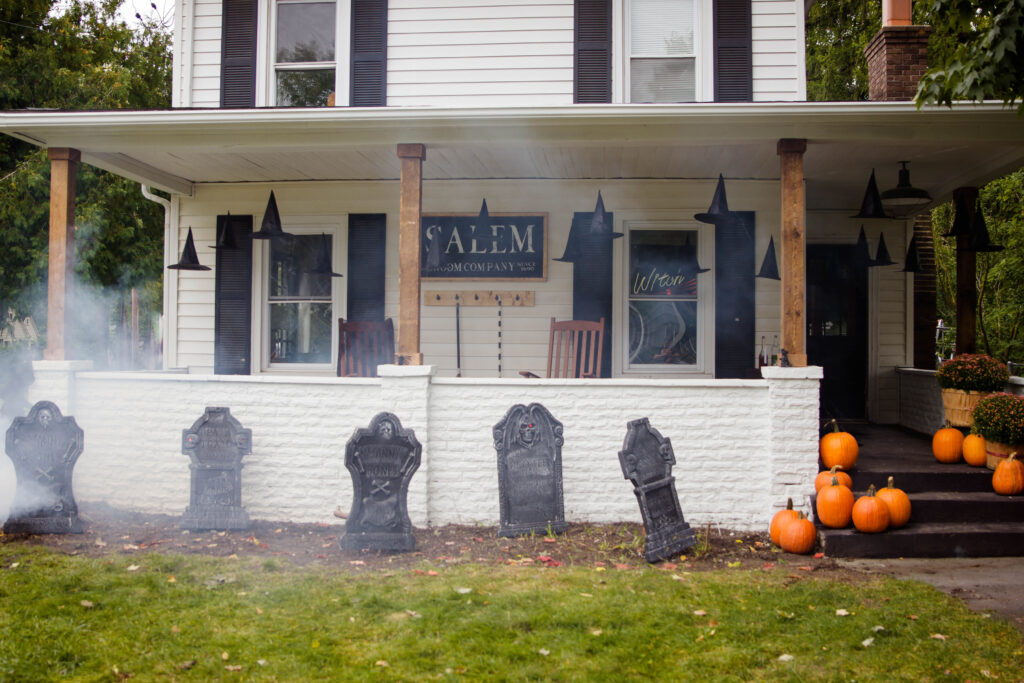
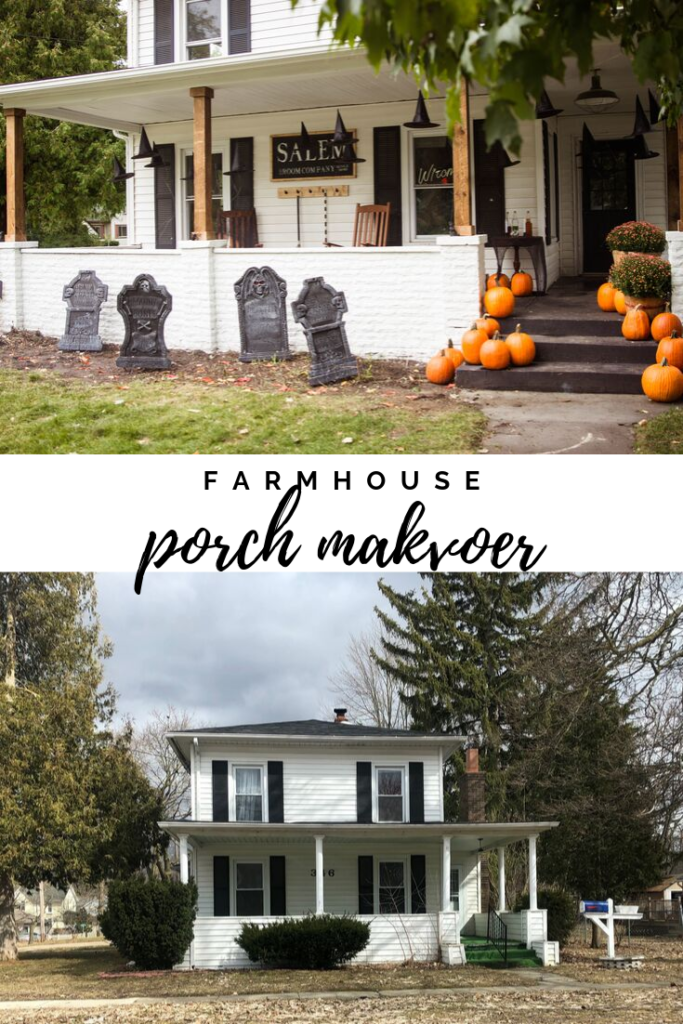
What a FUN porch transformation this was for us! Come see our FARMHOUSE PORCH MAKEOVER WITH RUST-OLEUM!
This project was made possible with product from Rust-Oleum. All opinions are my own. Post may also contain affiliate links.
I think it's fitting we take a walk down memory lane so you can fully grasp the amount of work that went into this porch! We now have us a FARMHOUSE PORCH and the MAKEOVER was made possible WITH RUST-OLEUM products!
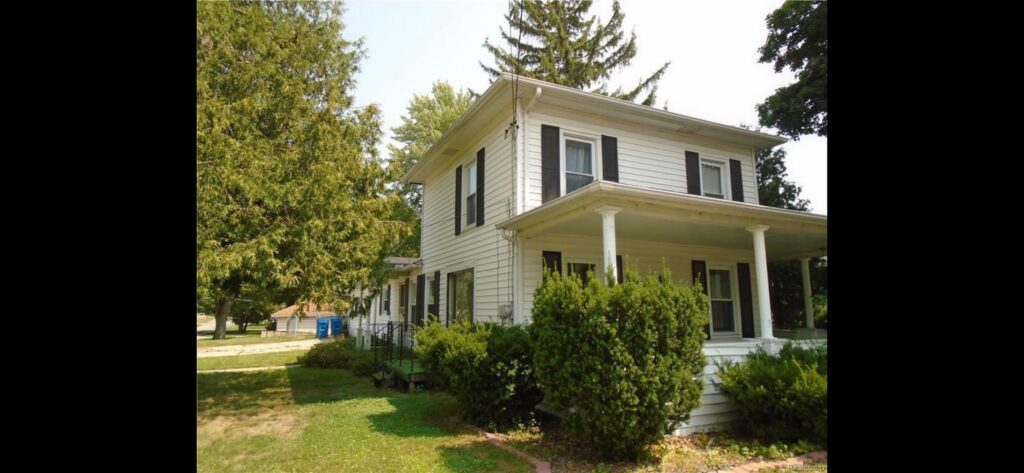
Maybe you don't think it looked that bad before....but from these photos, it's hard to see how badly stained and bent the aluminum siding is behind those bushes. Also, you can't even really appreciate the porch with those untrimmed bushes blocking your view.
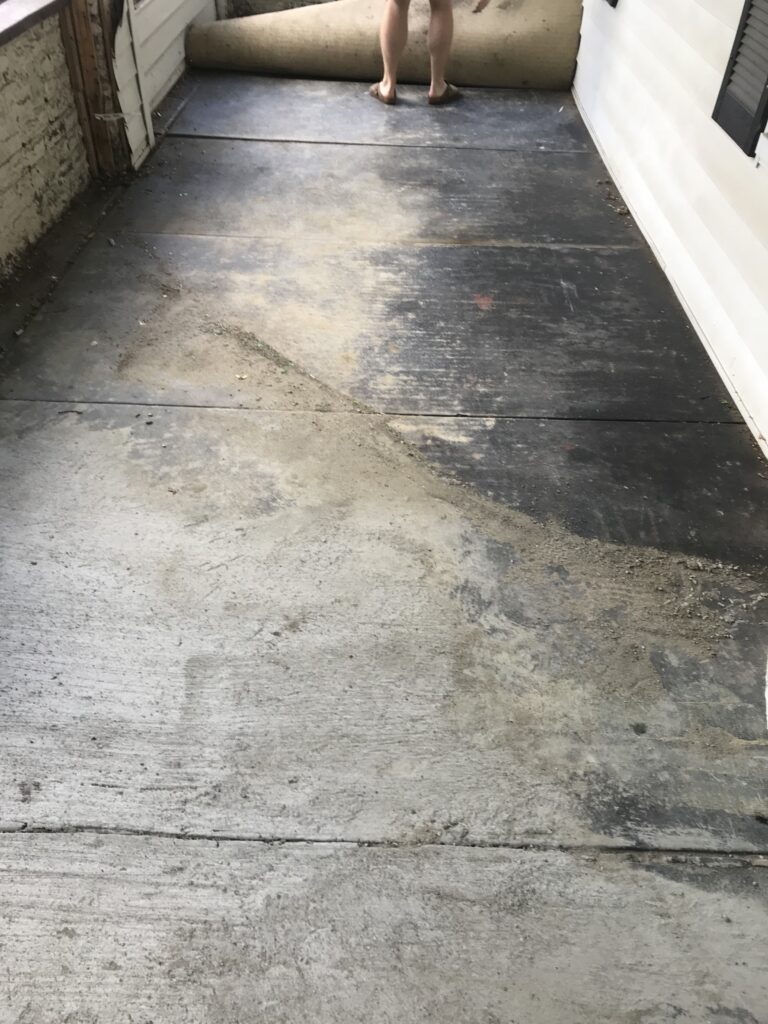
Remove the green turf carpet
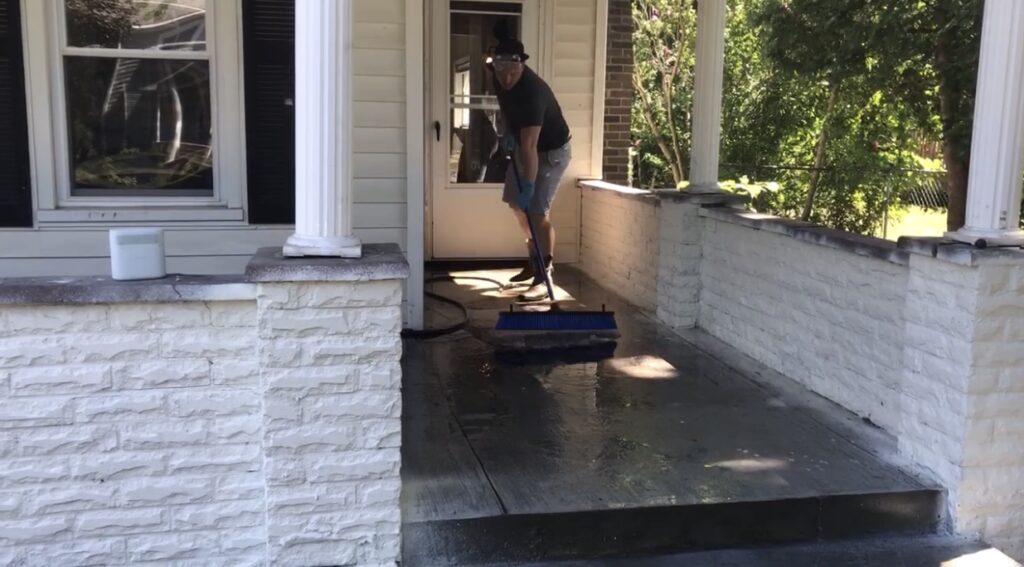
Now that you have an idea of where we started, let's dive right in! The very first thing we did was remove the green turf carpet and took down the dilapidated wrought iron railing.
Expose the brick
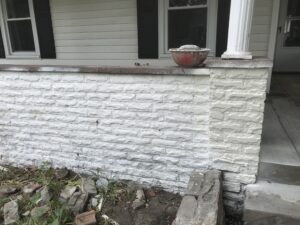
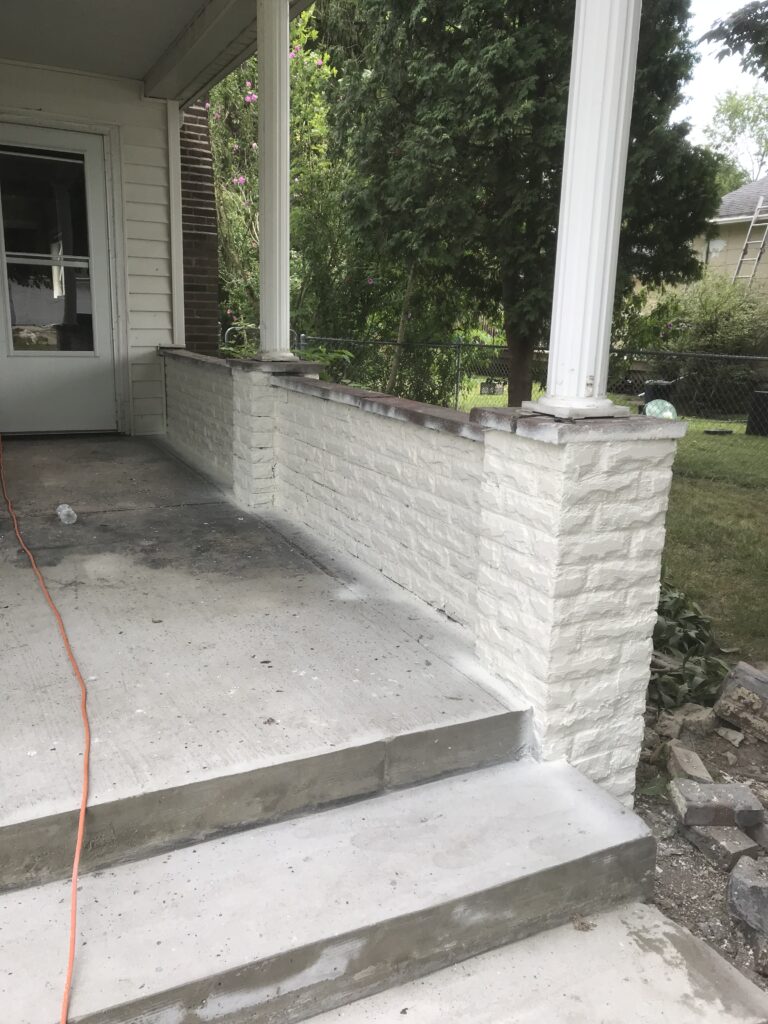
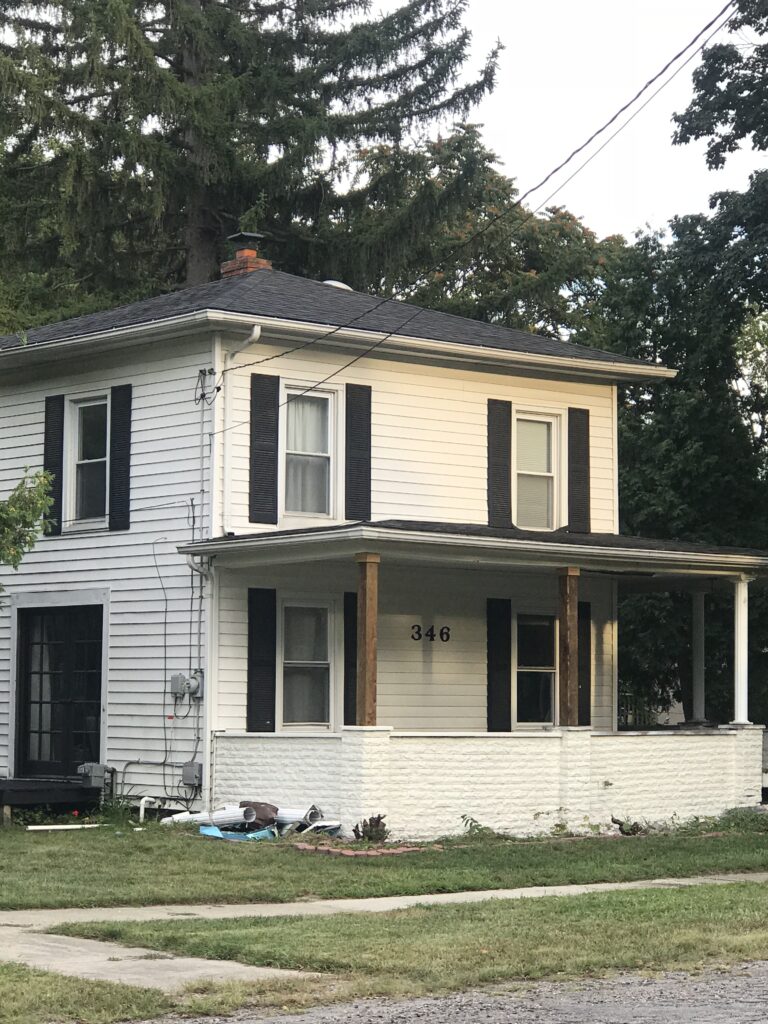
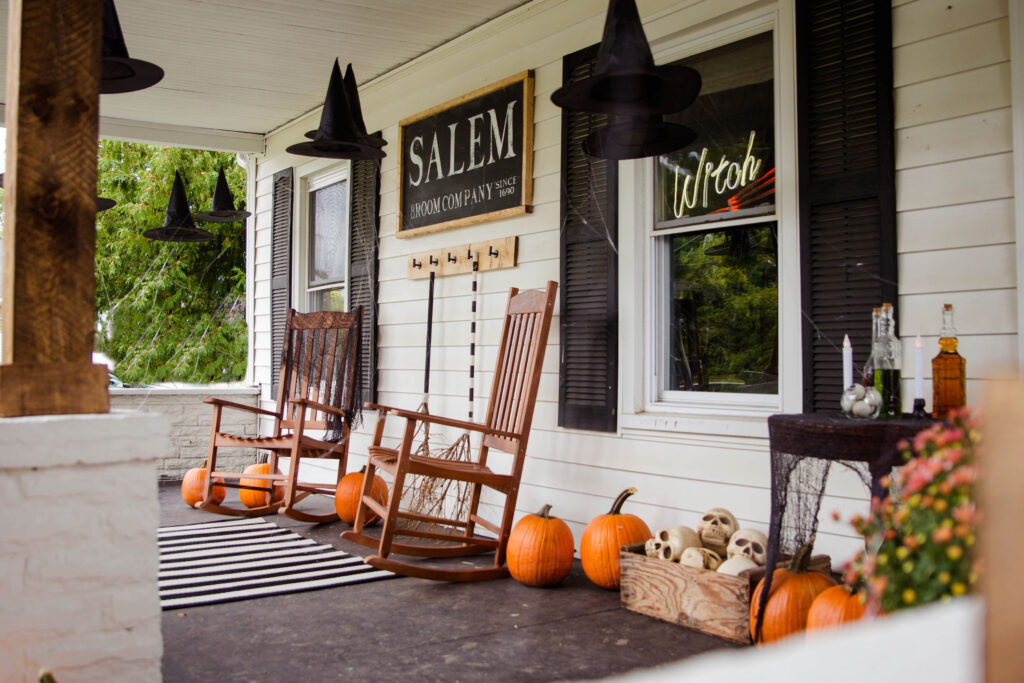
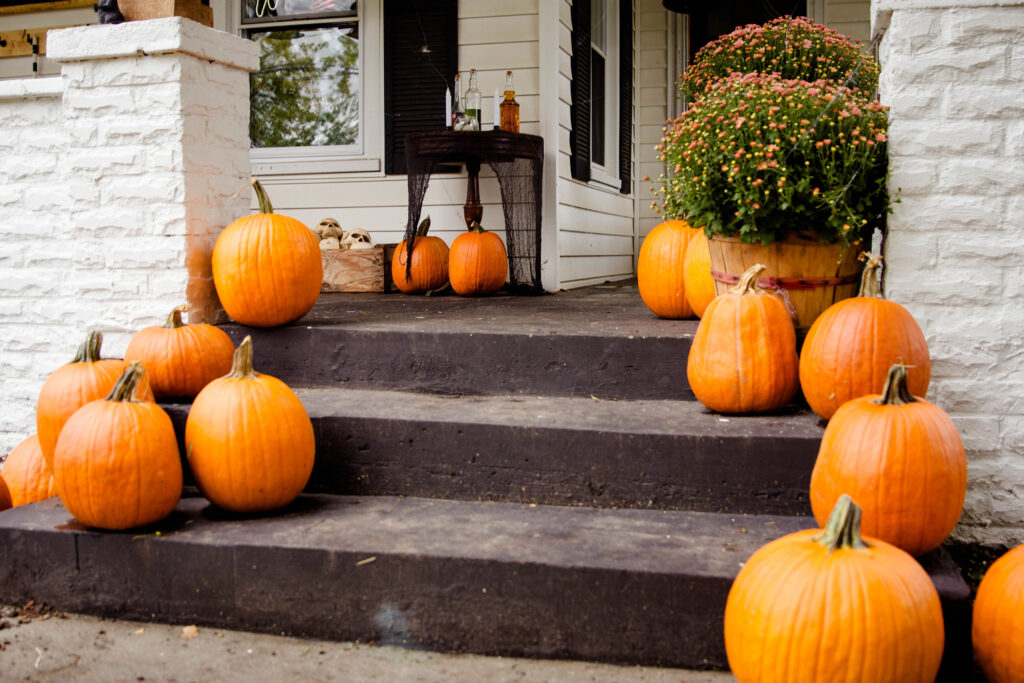
Next, we removed the aluminum siding around the perimeter of the porch. To our great surprise, we found brick!!!! We aren't sure when this porch was added to the house, but the brick was old. It was so fun to find a bit of hidden history! We power washed the brick and painted it white. The white paint we used was color-matched off of a piece of our siding. We mixed it in Behr Exterior paint in the Marquee line, matte finish.
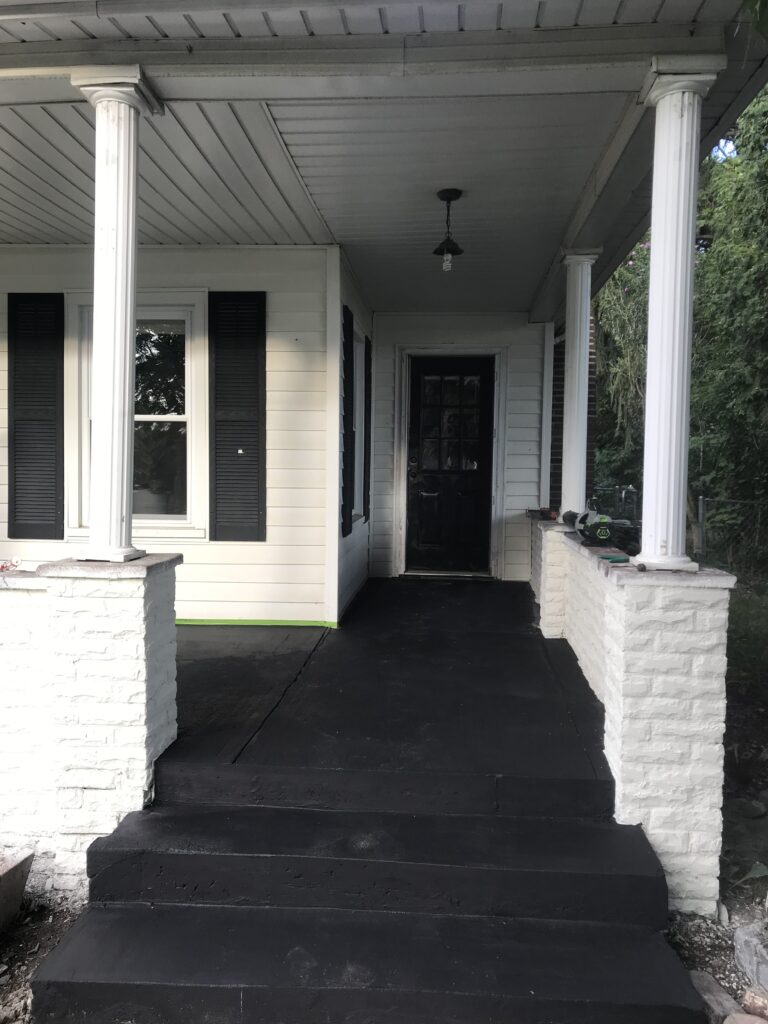
Pprepare and paint concrete
Next, we prepped and painted the concrete using Rust-Oleum's Cleaner & Degreaser, Clean & Etch, and Concrete and Garage Floor Paint & Primer mixed in Black Knight.
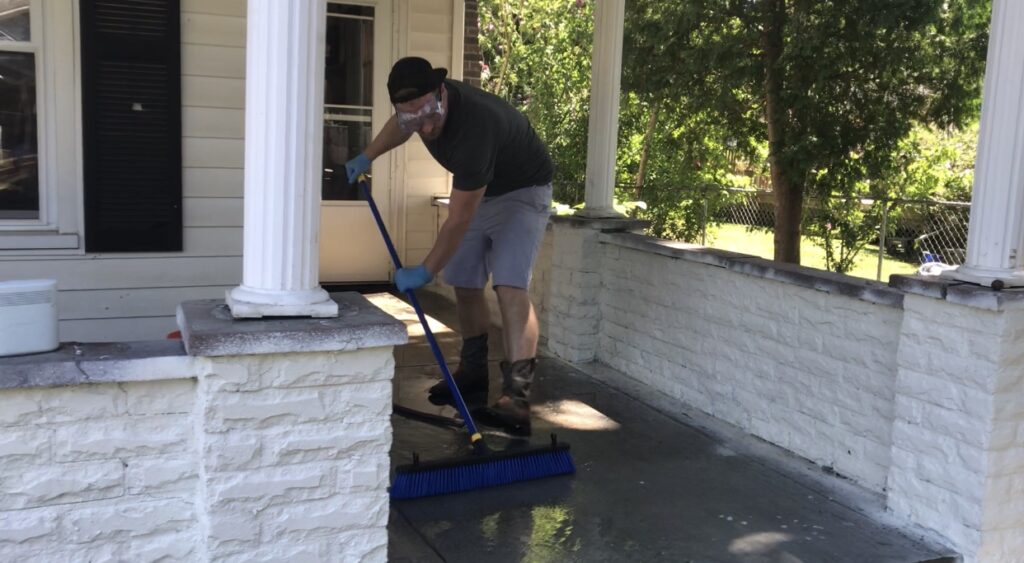
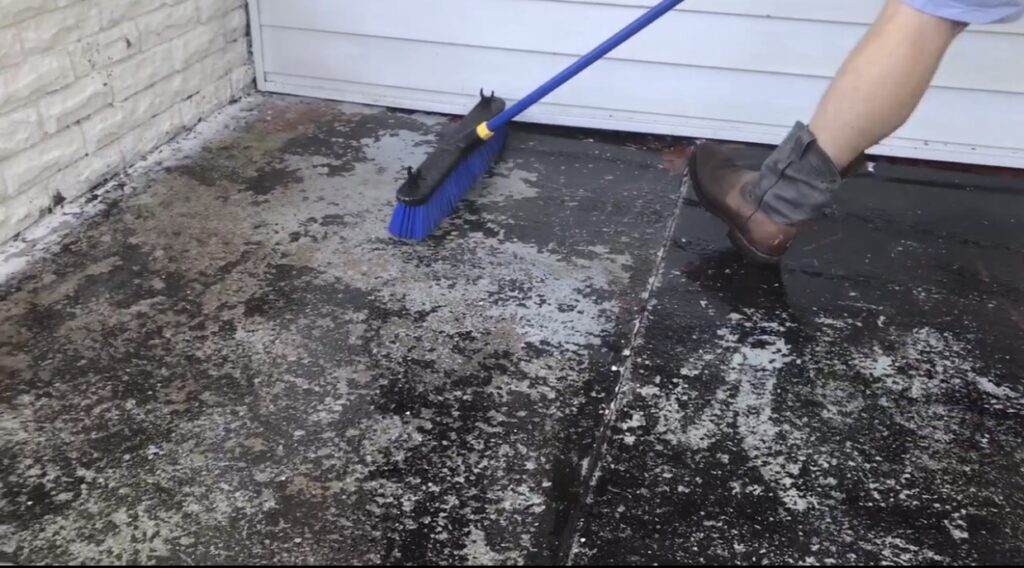
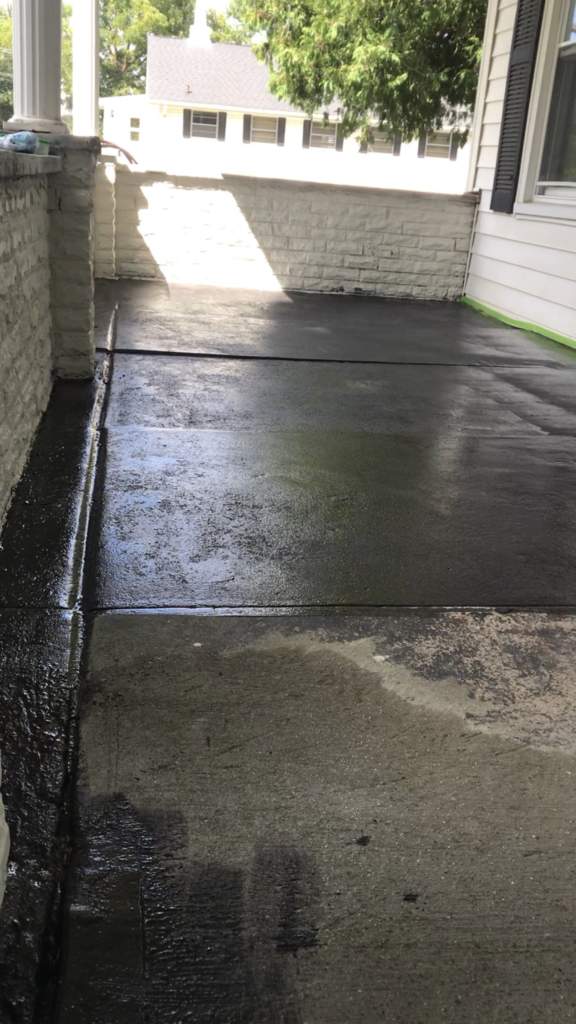
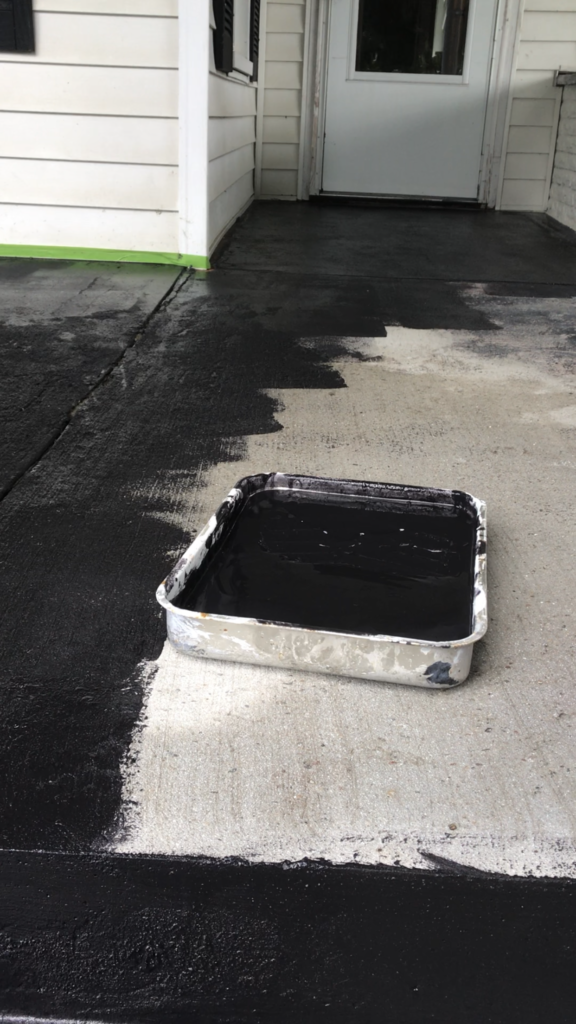
This process was very easy and made a huge impact on the overall look of this porch! The garage and floor paint is very easy to use and work with. It goes on thin, almost like a gel but covers very well! We did two coats in most spots.
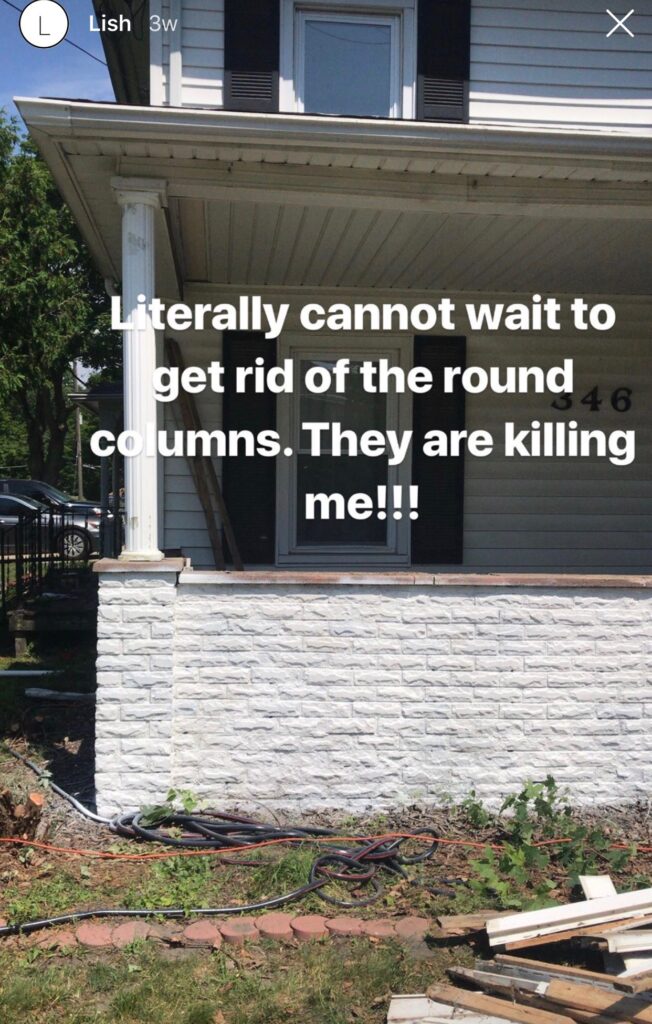
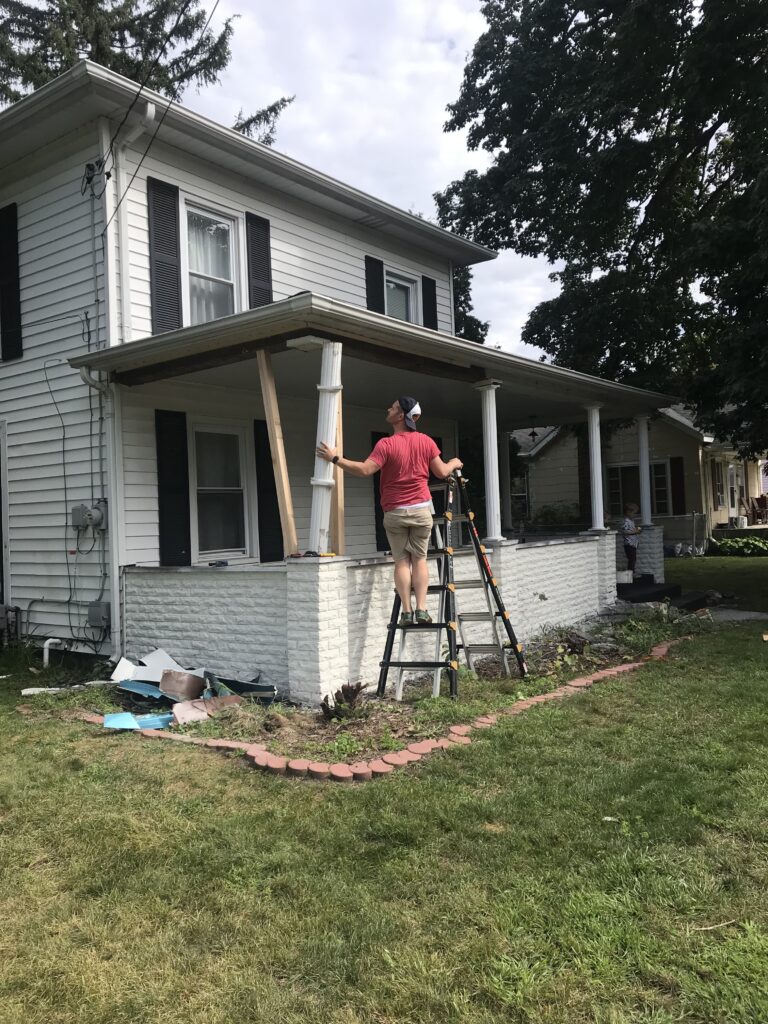
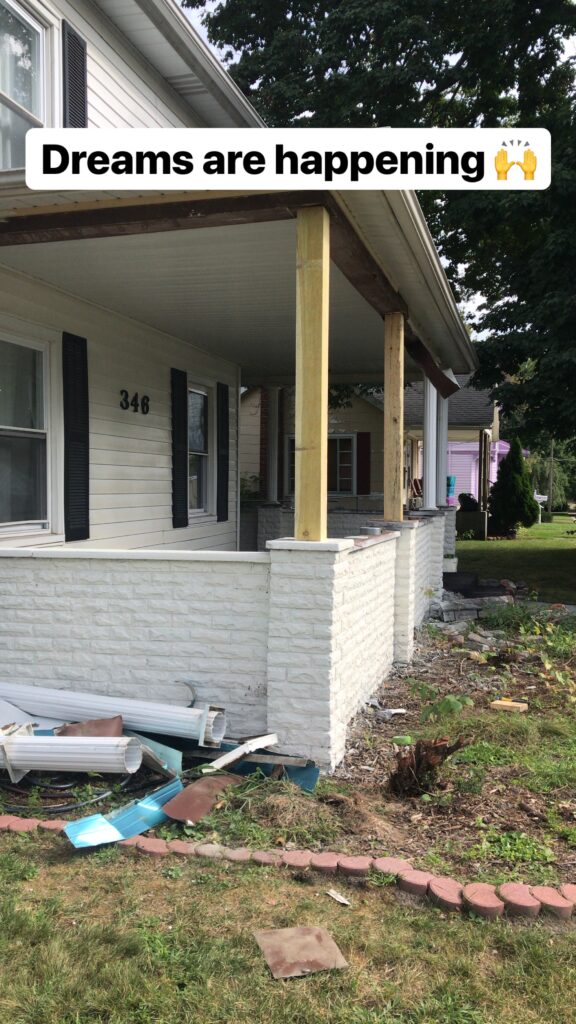
take down white columns
The next step was easily my favorite. We knocked out the columns and put in 6x6 beams from Home Depot. I cannot even tell how happy I was to have those white columns gone!!!
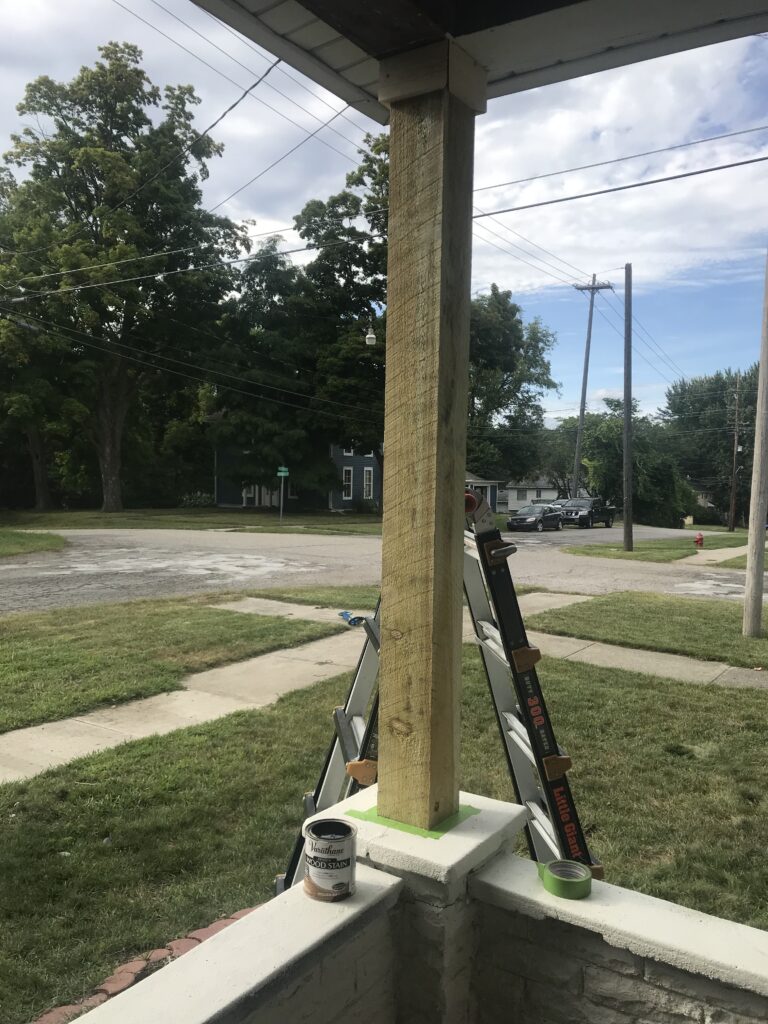
add new beams and stain
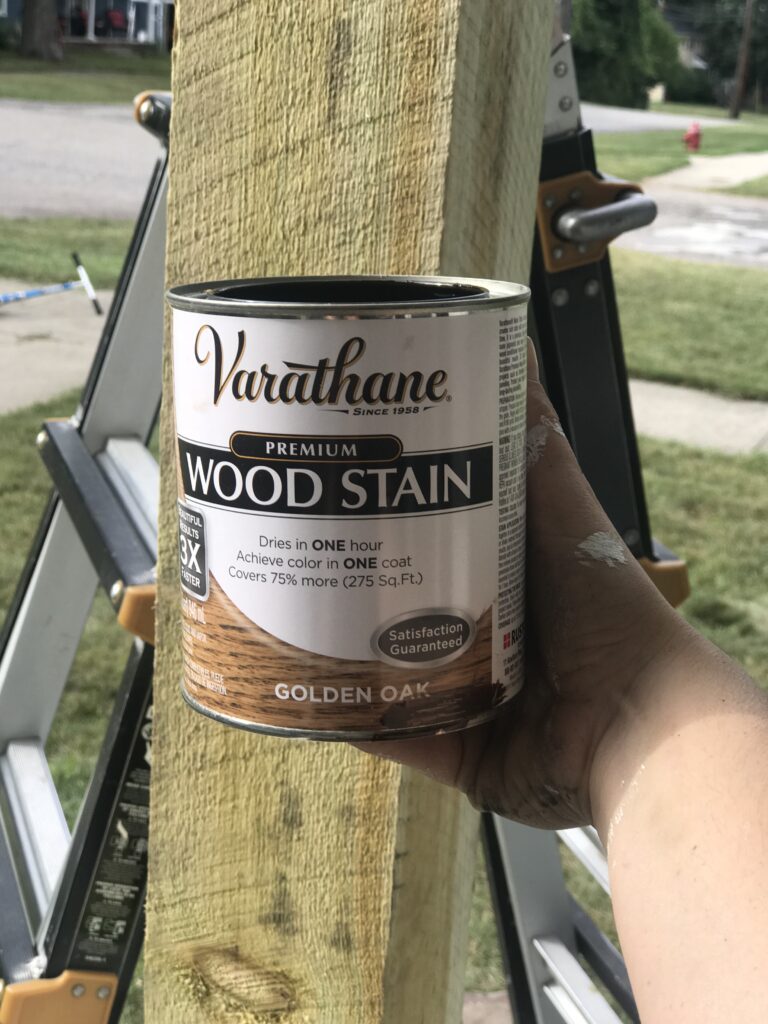
I stained the new beams with Golden Oak and sealed them with Varathane Ultimate Spar Urethane, Exterior in a Satin Finish. We wrapped the top and bottom of the beams with a 1x3 board to give a more finished look.
total project cost
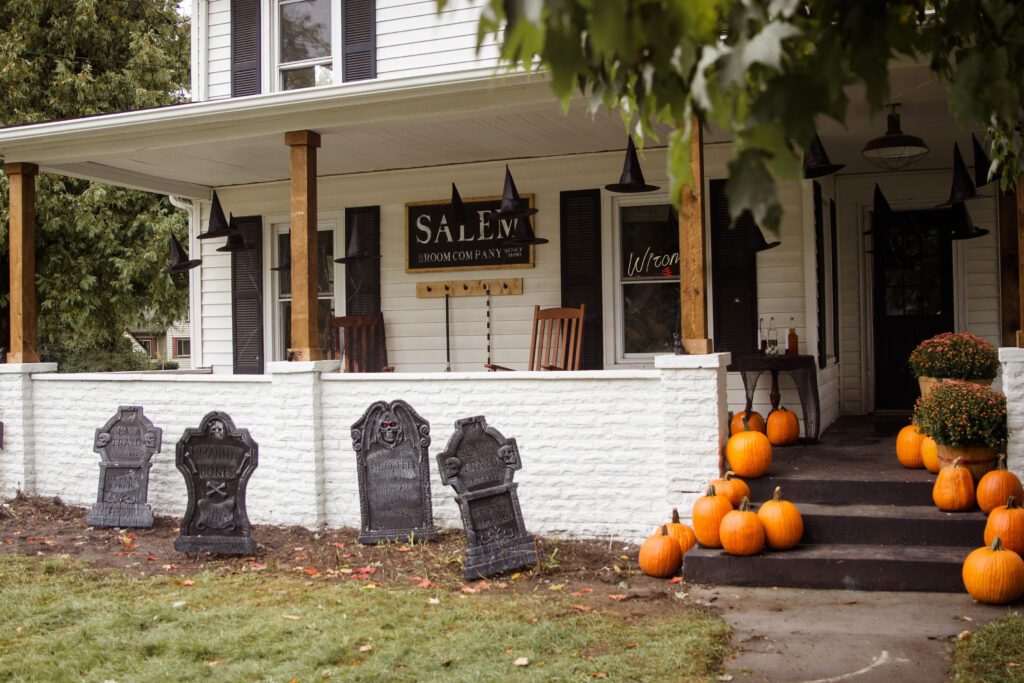
All in all, this makeover cost less than $400. It did absolute wonders for our curb appeal. Next spring we will make concrete planters to flank each side of the stairs and will landscape everything.
Don't forget to pin it!!
Here are a couple posts where we used our favorite Rust-Oleum products!
Leave a Reply