
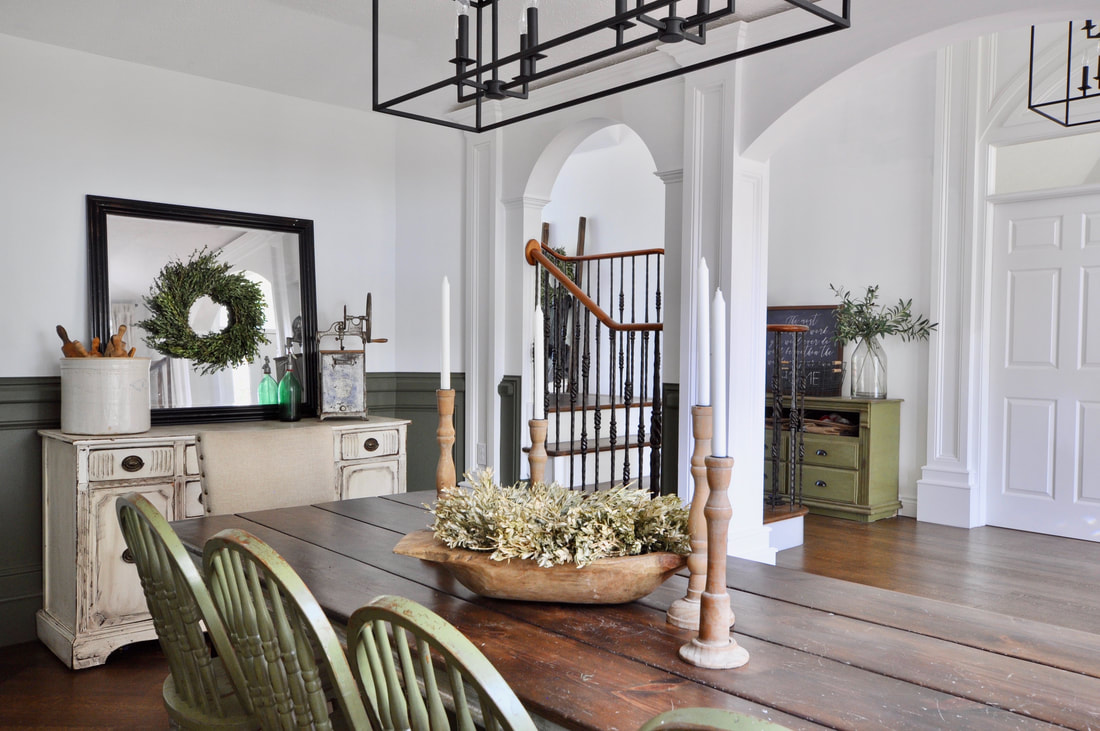
one of our favorite transformations is this antique buffet makeover! Follow the easy steps below to transform one of your sad outdated dressers into a beautiful focal point in your own home!
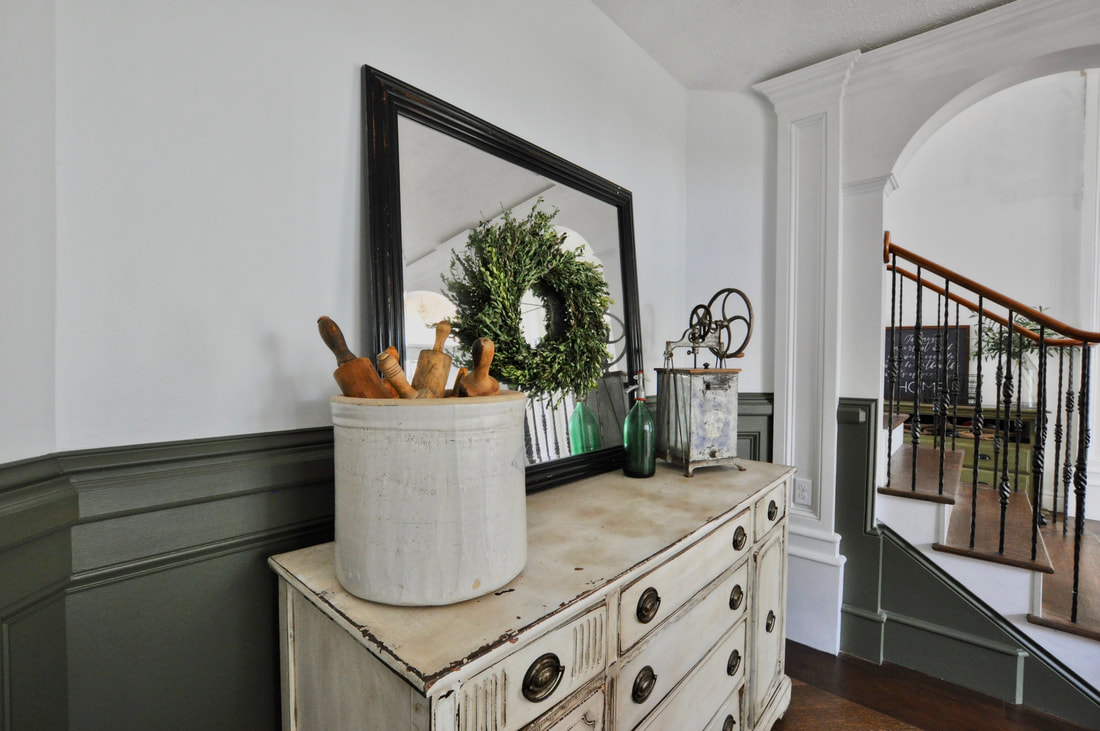
Antique Buffet Makeover
Give each piece a sanding in the areas you wanted the varnish to darken the natural wood. I always do the edges and I try not to do the whole perimeter. If the piece is beat up in a certain area I focus my sander on that specific area. There's nothing I love more than playing up the "ugly" areas. I love the character it brings to the overall piece!
Give all the drawers and dresser a good wipe down. Put on your latex gloves and dab your old rag in varnish and go to town. When I'm working with paint and not a piece of wood I work in smaller sections so the paint doesn't take on too much of the varnish. When you've wiped it all down give it a coat or two of a poly acrylic spray to seal it.
Materials used for this project:
- Behr Ultra White Paint
- Rust-Oleum Stain- Dark Walnut
- Rust-Oleum Finishing Spray- Matte Finish
*I kept the original hardware on this piece- if you are using new handles/pulls make sure the new hardware fits in the original drilled holes.
If it doesn't then you'll need to fill those bad boys with wood filler and give them a light sanding once it has dried- then move forward with the painting!
Leave a Reply