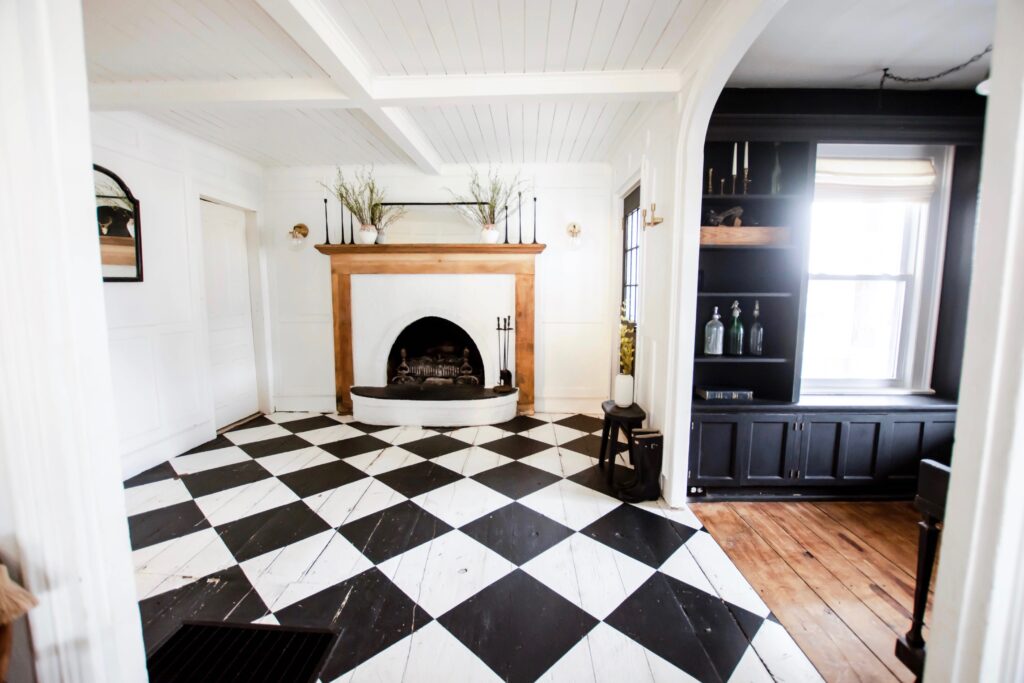
Love the look of checkerboard floor? We do too! We transformed a patched up floor with a little paint and work. See how we did that in our painted checkerboard floor tutorial below.
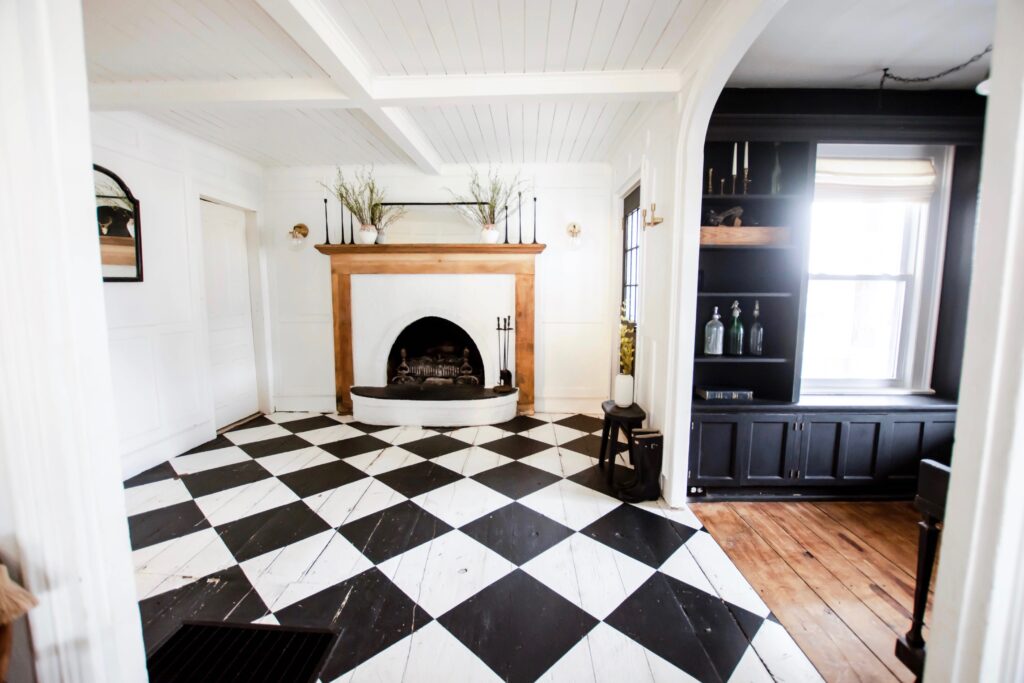
David and I bought this 140-year-old home (built in 1880) in May of 2019. We fell in love with the charm that you just can't get in new houses. This home truly has character in every room.
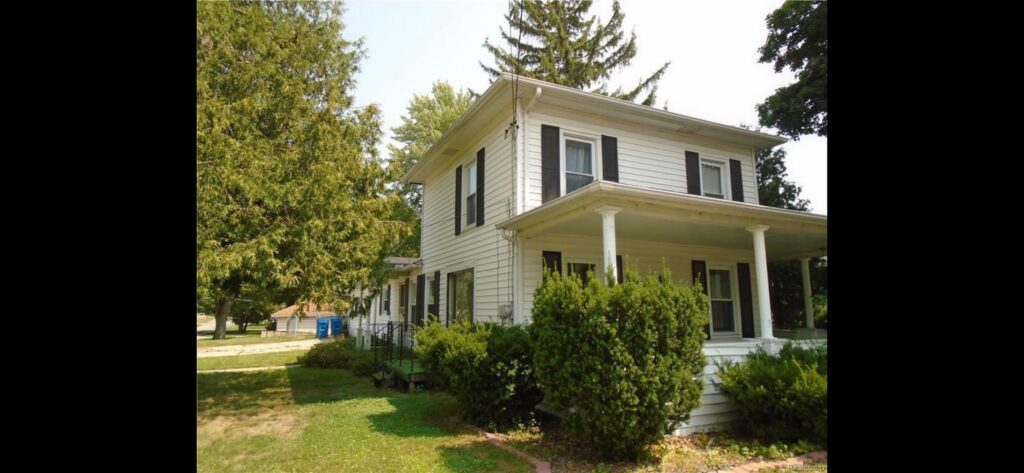
Here are a few before photos of this room when we bought it.
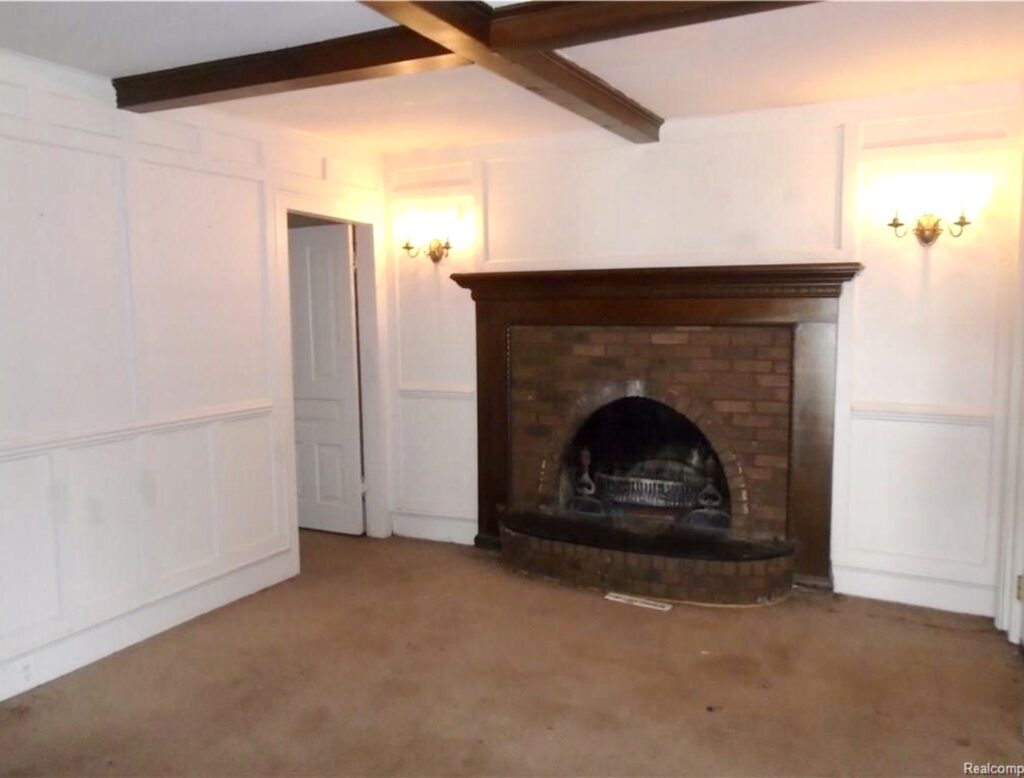
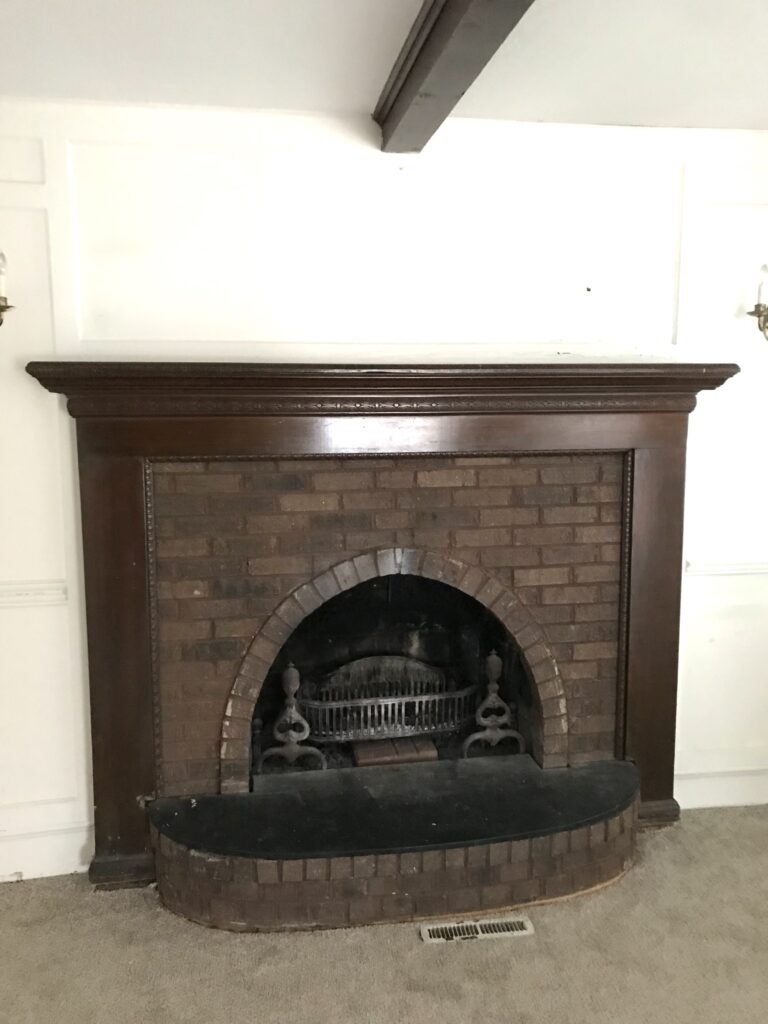
As you can see, it has many redeeming qualities. That big fireplace, wainscoting, beams. We LOVED all of those things. What we didn't love was how dark and dingy it felt. I knew I wanted to lighten this room up, including the wood working AND take up the carpet. What I never planned on was painting the wood flooring. NEVER.
Why did we paint the beautiful, original hardwood floor?
80% of this house as covered in carpet. I had big dreams for the wood flooring beneath the carpet. Little did we know that the flooring in this particular room would be in BAD shape. Upon removing the carpet we discovered the old original hardwood flooring had been patched in multiple places with big sheets of plywood.
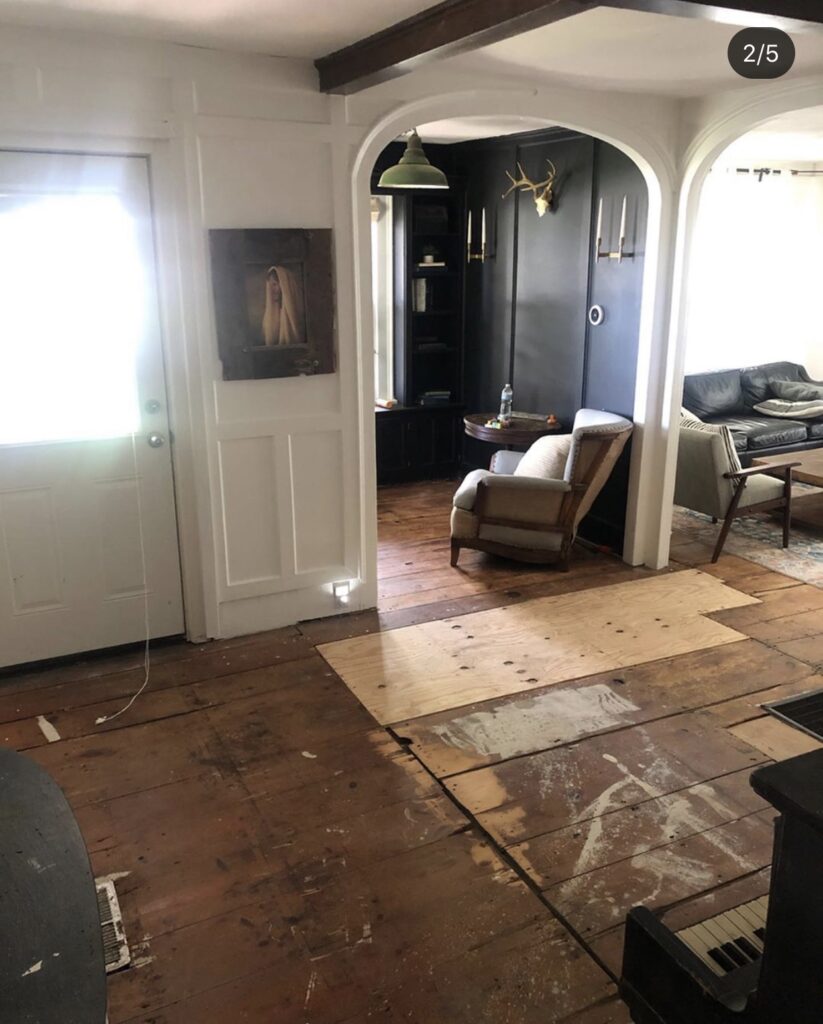
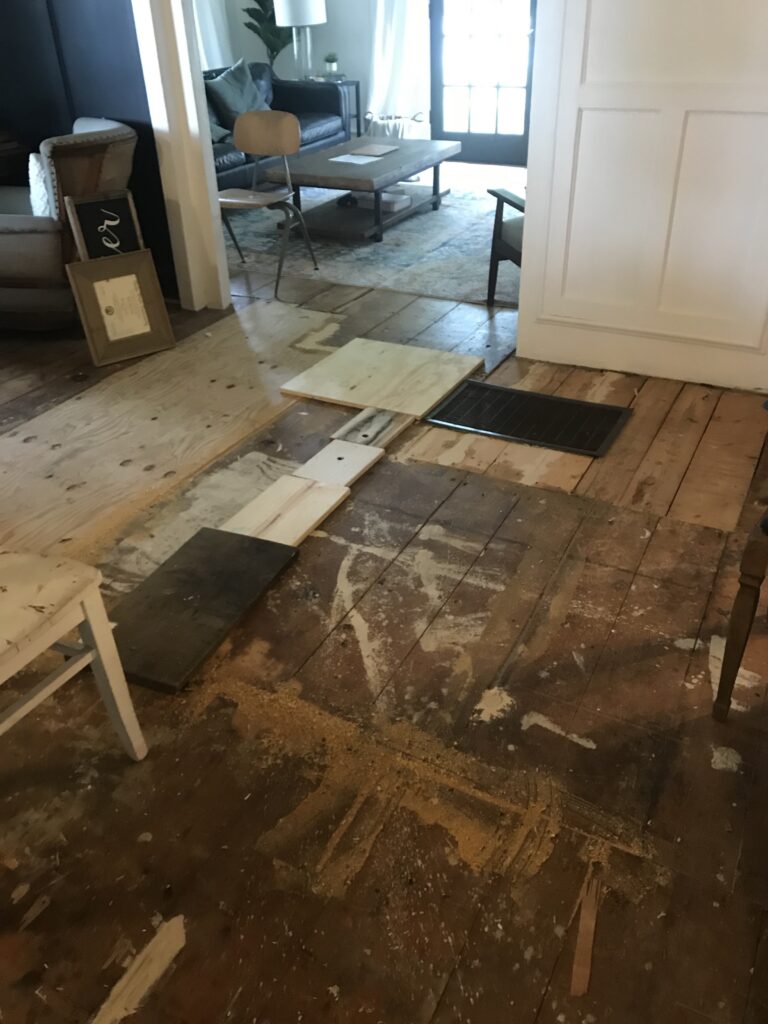
We figured the only way to fix this would be new flooring, maybe tile since this room is an entryway of sorts. In full honesty here, tile wasn't in the budget at this very moment. Our solution was a band-aid of sorts. We weren't sure if the idea would work but felt it was worth a try. If it didn't look good, we would eventually add tile OR put new carpet back down to cover the flooring.
How did you make the plywood look like hardwood floor slats?
Since the large area of plywood didn't have "slats" in it like the surrounding flooring, we needed to fix that. We mimicked slats by running a circular saw into the plywood using long shallow cuts that didn't go all the way through the wood.
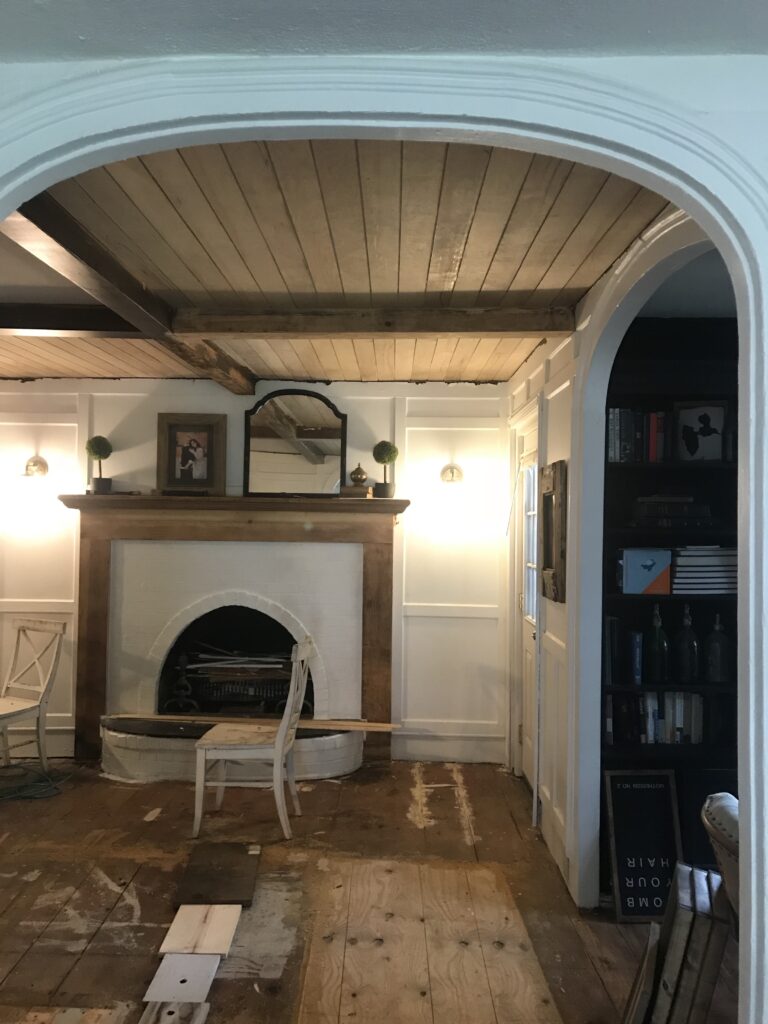
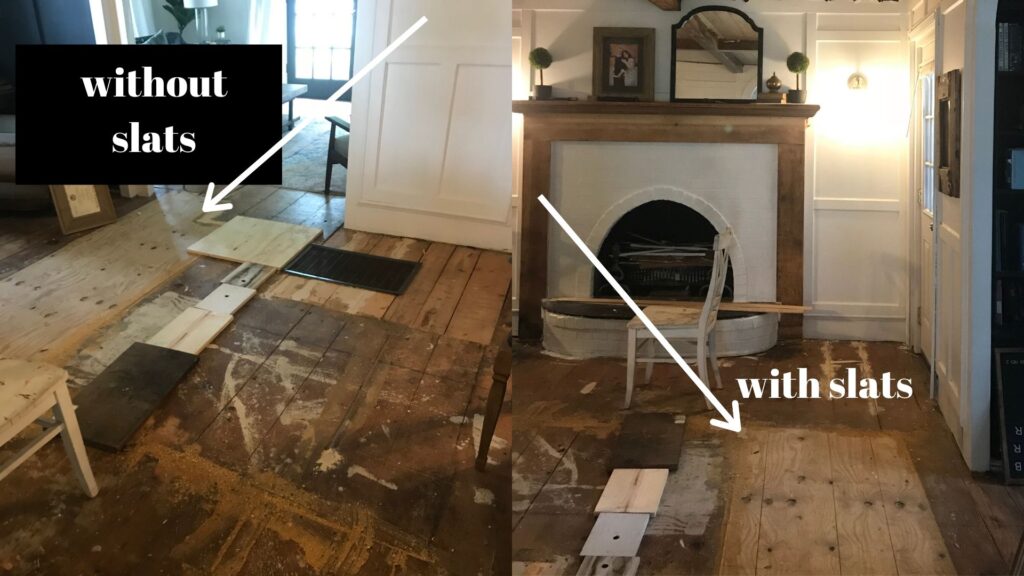
What did the painting process look like?
Pleased with the results, the floor was sanded and painting began! This was our first time painting wood floors so all of it was experimental. We used indoor interior floor paint. A quick google search will yield many options so do your research. Simply roll on the white paint evenly across the floor and allow it to dry.
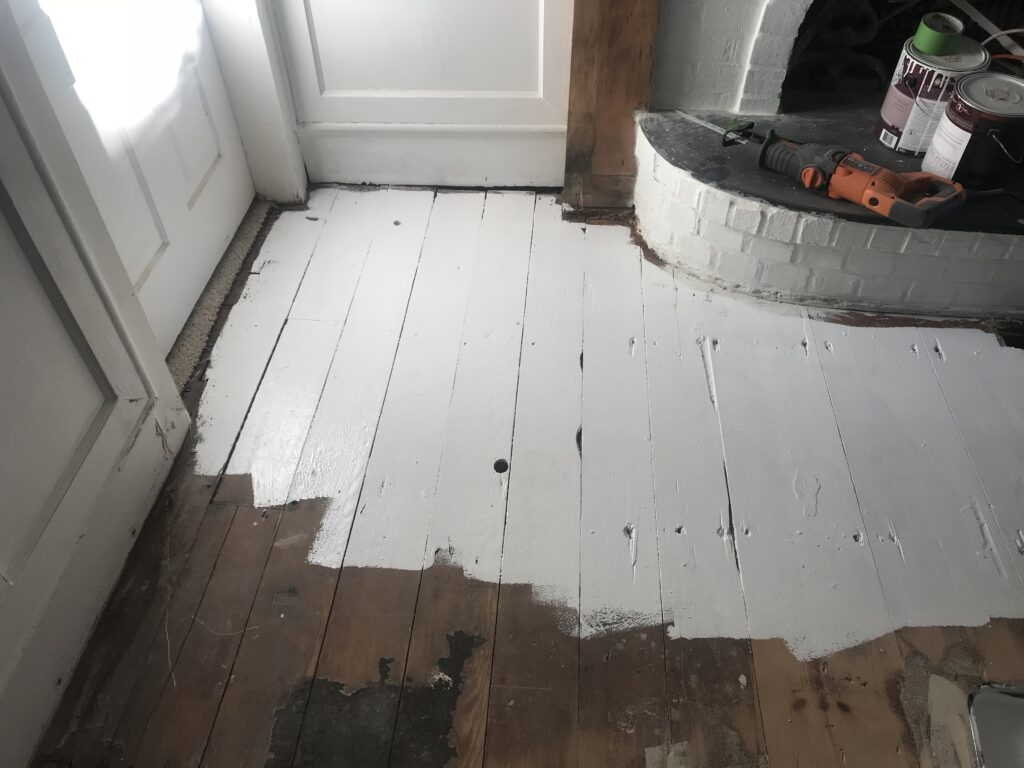
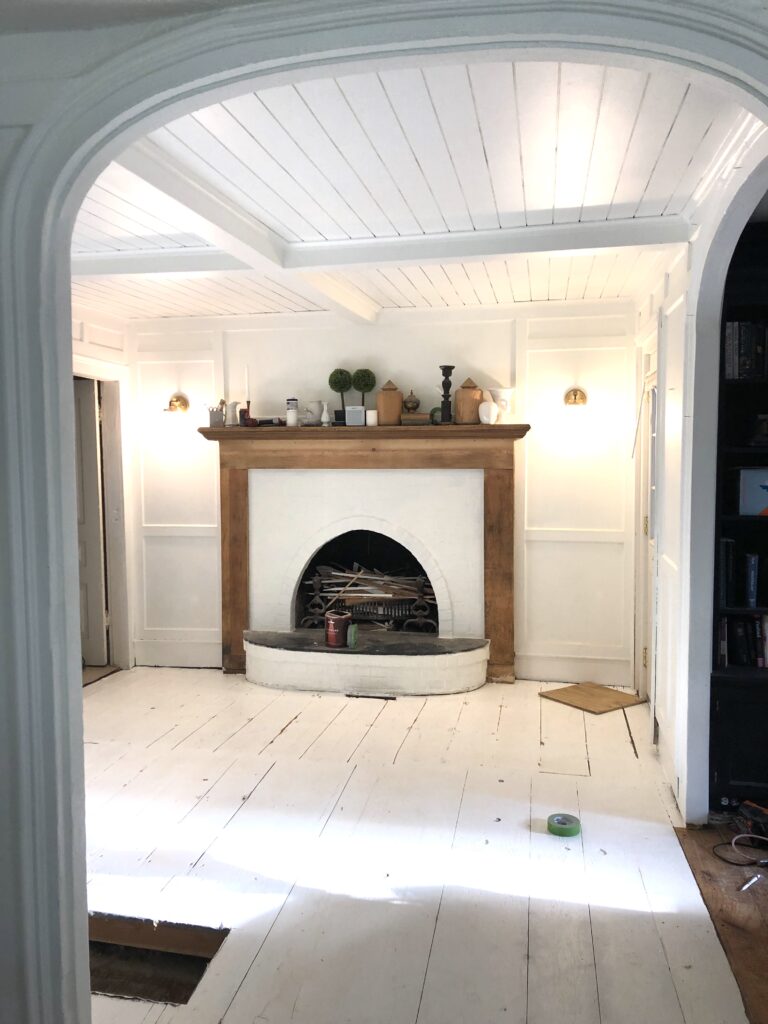
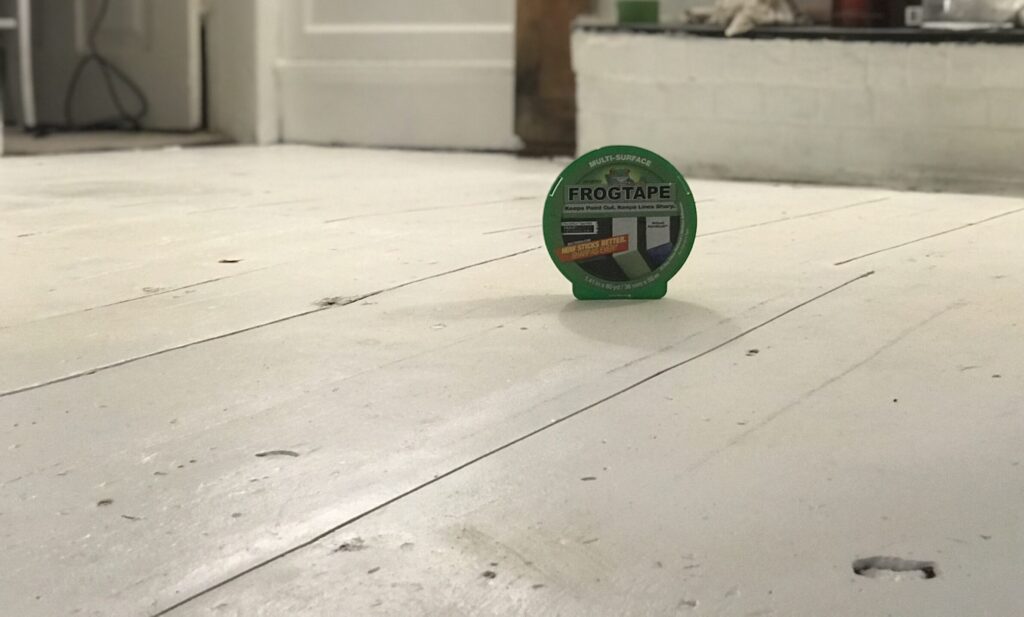
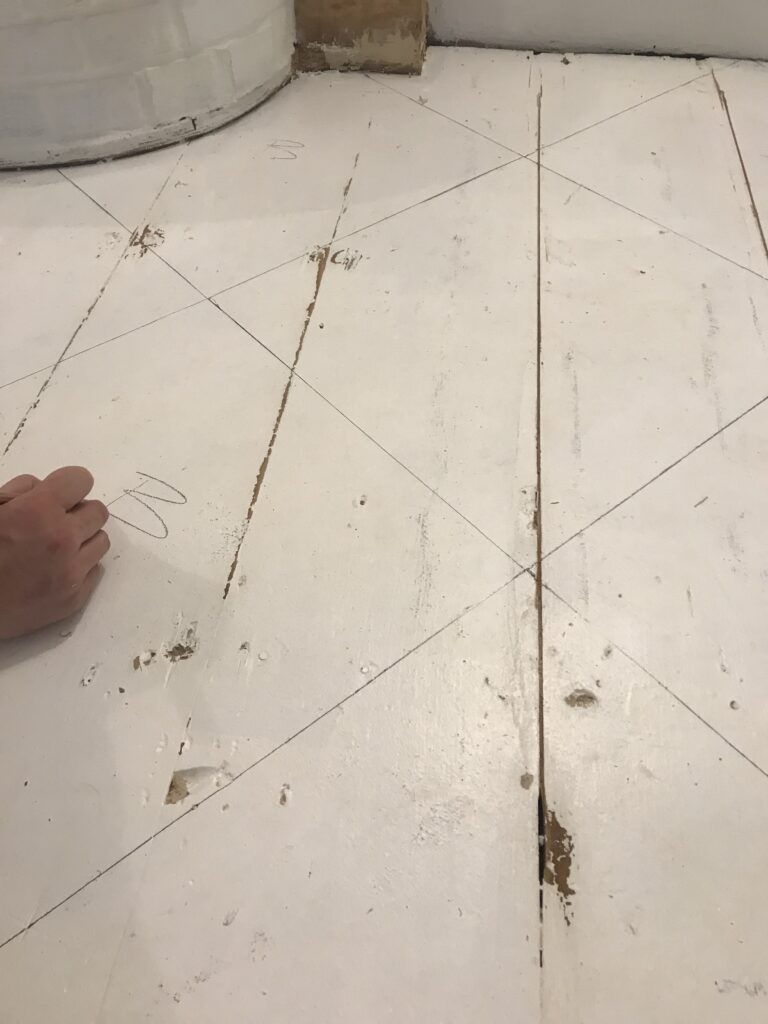
Once the white paint had dried, we started mapping out our squares. We came up with a size we thought would be good 18"x18". David helped me by using a square edge and marking out diagonal lines across the floor once direction, then went over it the opposite direction creating a square.
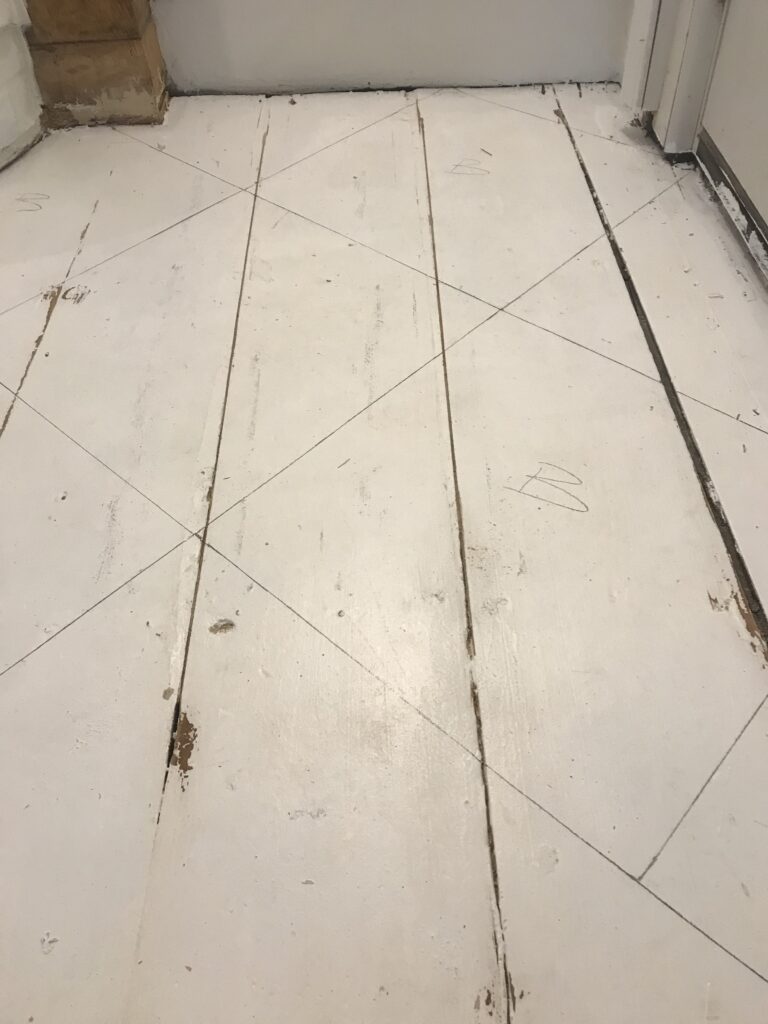
To make sure there were no mistakes, David labeled each black square with a B. Also, we intentionally roughed to floor up a bit with a sander to make the white paint look worn.
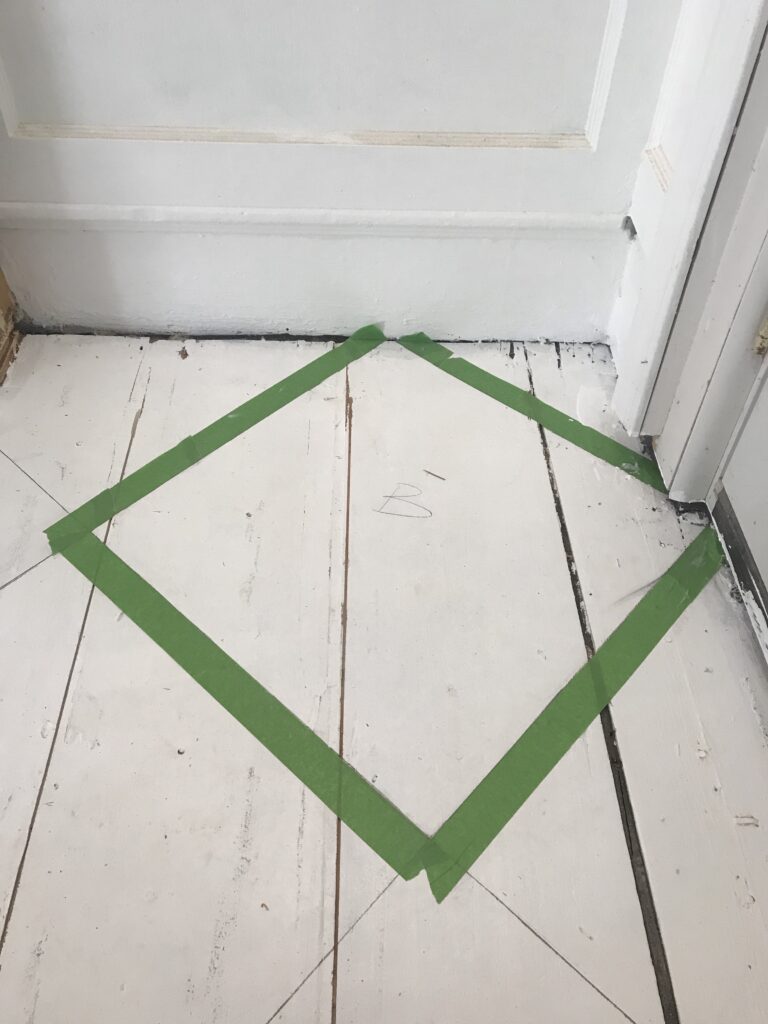
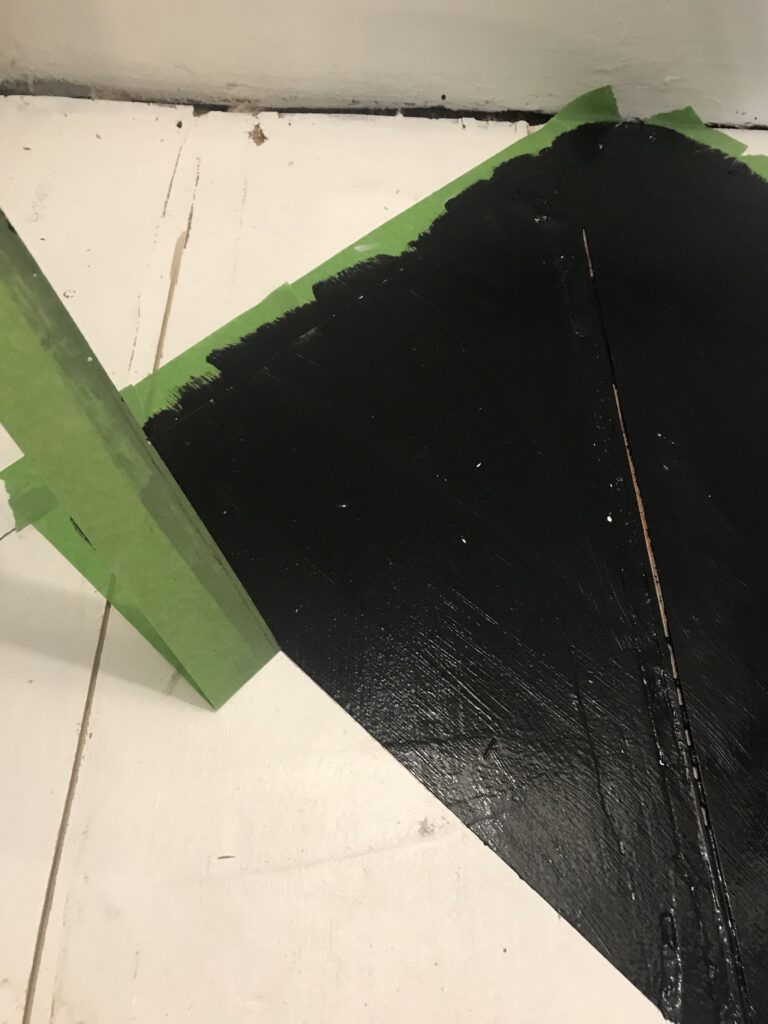
I taped off each individual square, painted it black, removed the tape while the black paint was wet, then continued on to my next black square.
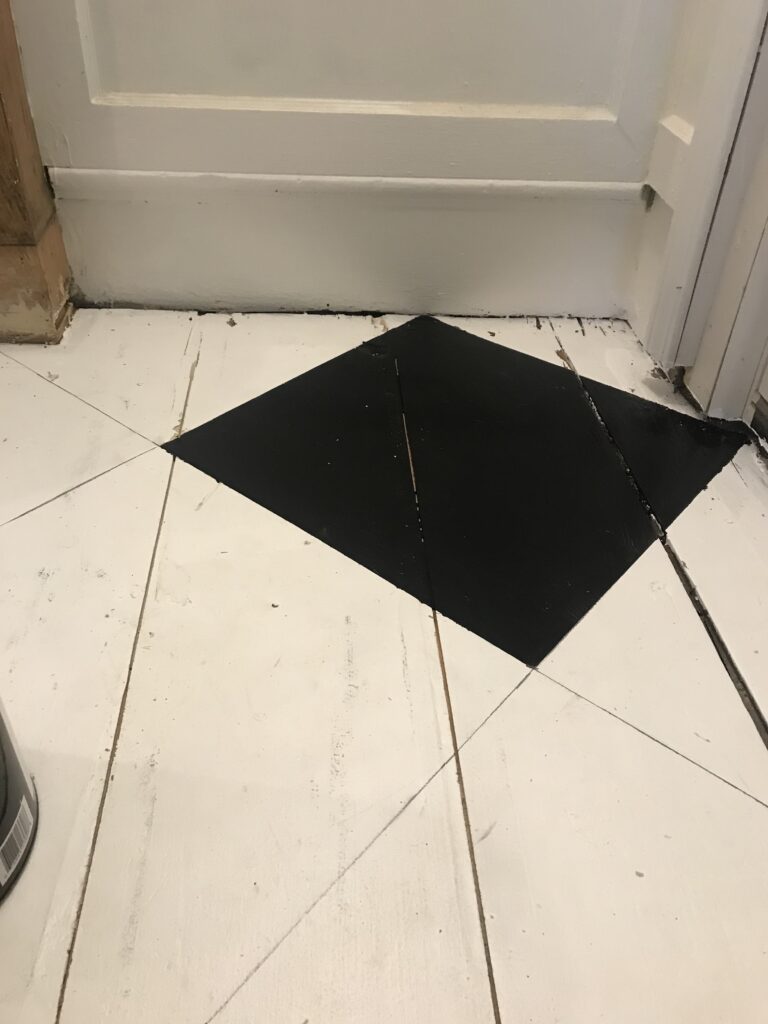
Once my entire floor was finished, I allowed it to dry for a few days, then sealed it with a Rustoleum Polyacrylic Sealant that is painted on.
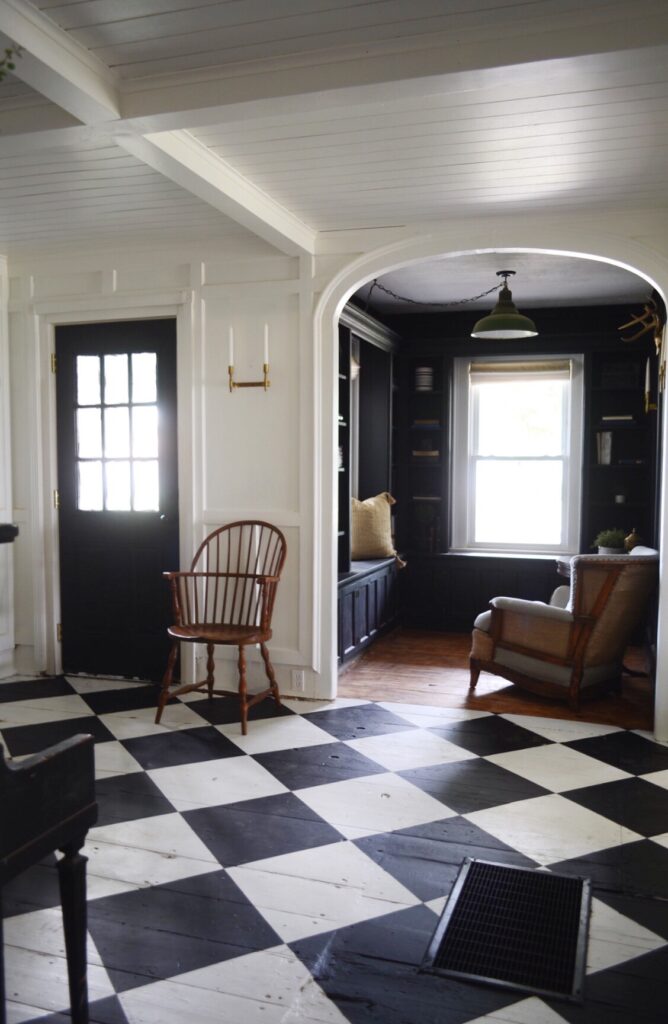
How has the floor held up?
The floor looks great. It still has an old look to it because most of it IS old, and I love that. It isn't perfect, but I also LOVE that.
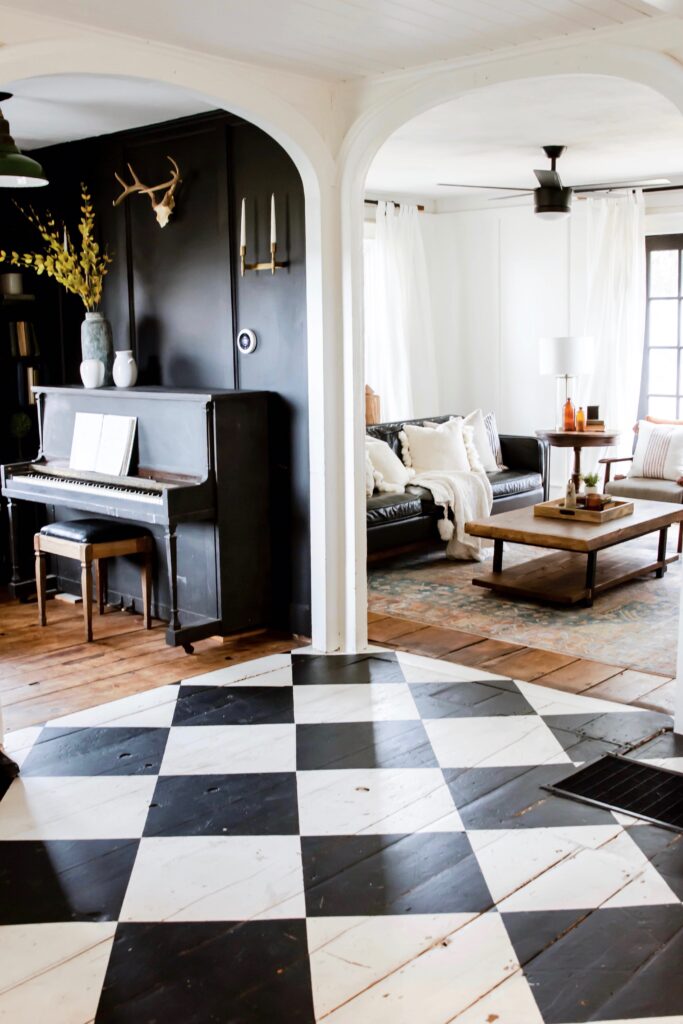
Will we eventually replace this floor?
I don't know. That was always the plan and painting was just bandaid. I didn't expect to love it as much as I do. We have plans to carry this checkerboard pattern into our dining room and kitchen. It's hard to say if we will change out the floor. For now, it's staying.
To see photos of our other recently renovated spaces, click on any of the posts below. Want to see even more? Follow us on Instagram- @cloverlaneblog. 2020 is going to be packed full of before and after photos as my sister Cassie and I each tackle 1 room every month!
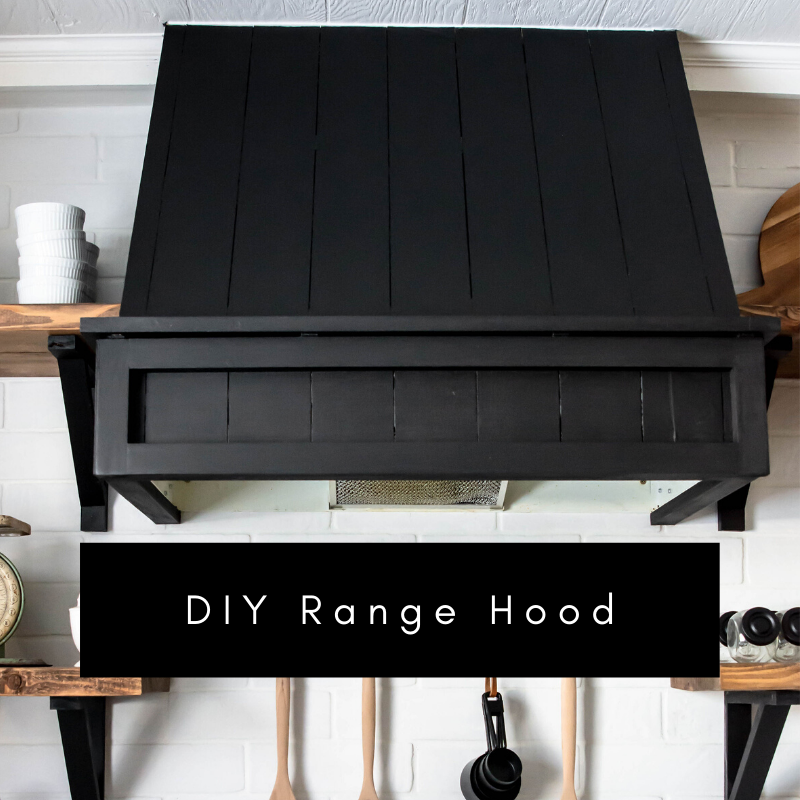

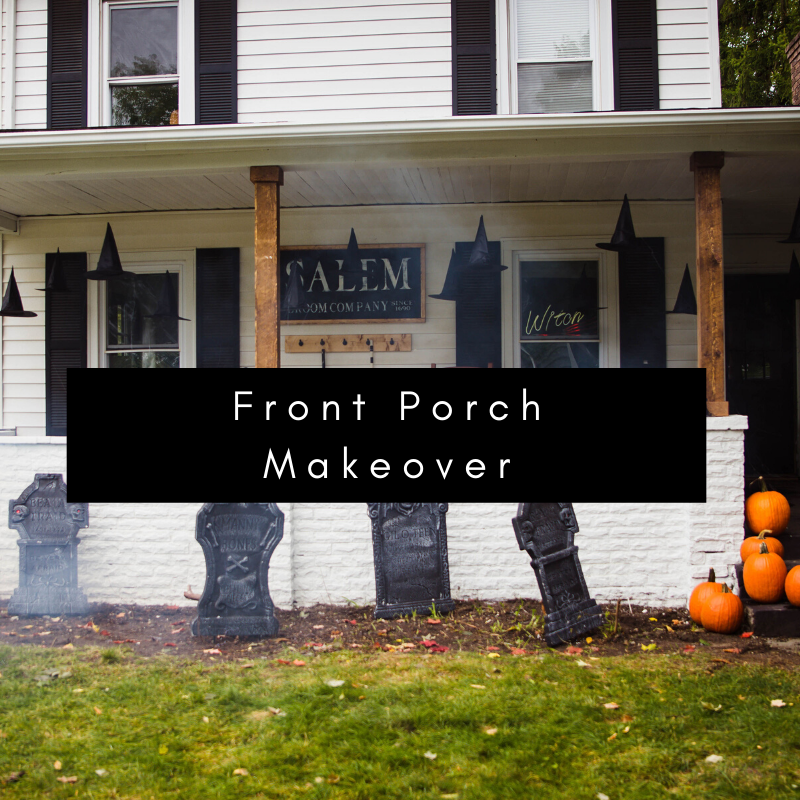
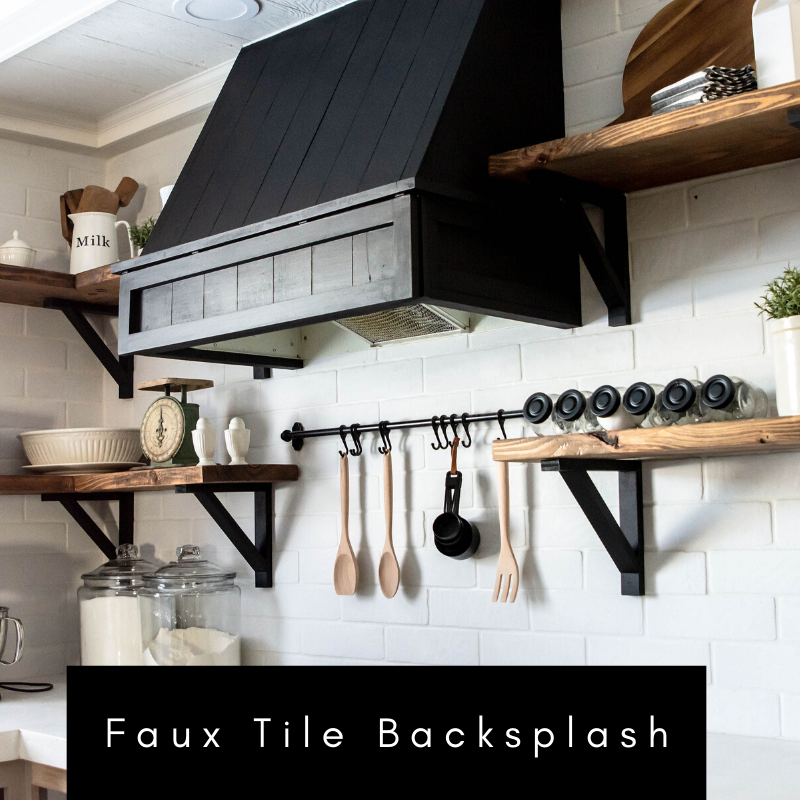

GREAT WORK LADYS
Thank you!!
Hi! Could you explain a little bit more why you removed the tape while the black paint was still wet? It seems like an important detail and I’d love to know more why! I’m planning to do this in my laundry room 😉
Hi Kara! If you removed the tape while the paint is wet you will have a greater chance of the line being perfect. After the paint dries, the tape can pull off the paint. It's a real bummer!
Thank you so much for sharing this room!!
i love this i am planing to try this thanks