• Skip to primary navigation
  • Skip to main content
  • Skip to primary sidebar
  • Skip to footer
Clover Lane
  • Home
  • About Clover Lane
    • Legal Disclaimer
  • DIY
  • Home Decor
  • Recipe Box
    • Appetizers
    • Dessert
    • Drinks
    • Entrees
    • Sauces and Dressings
    • Side Dishes
  • Welcome to Clover Lane All Things DIY and Home

Home ยป white faux brick tile backsplash

white faux brick tile backsplash

November 12, 2019 by Cassie Goodman 4 Comments

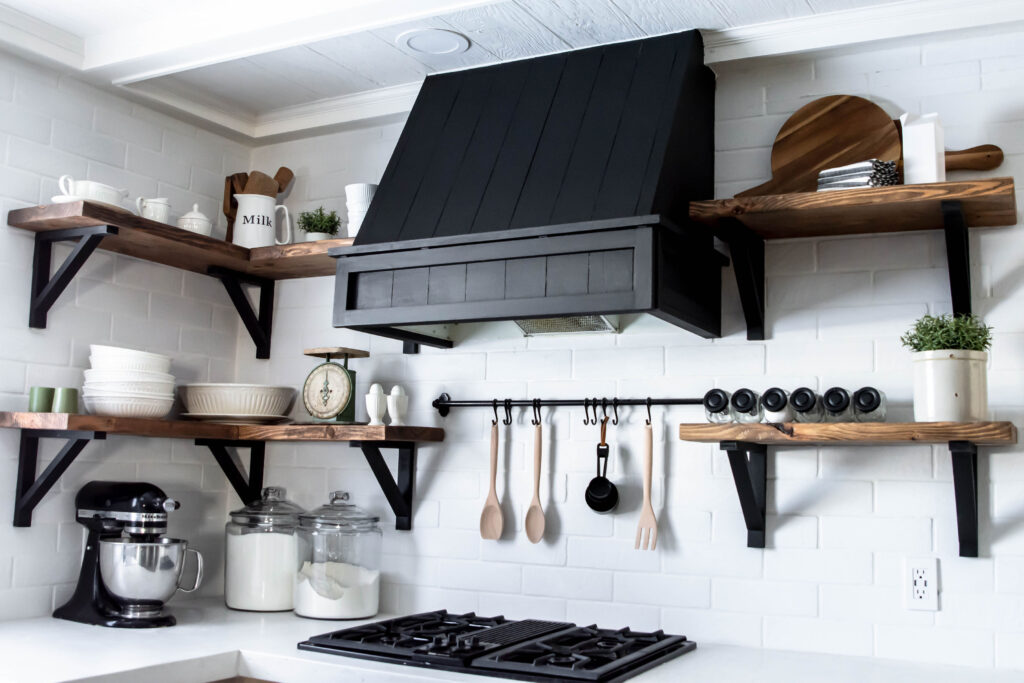
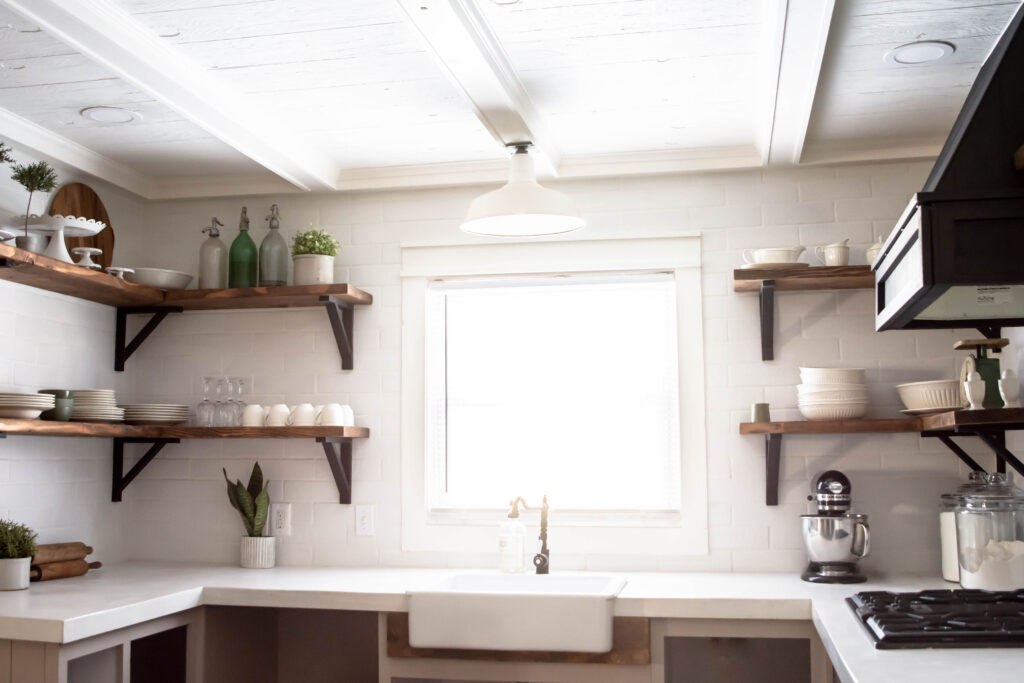
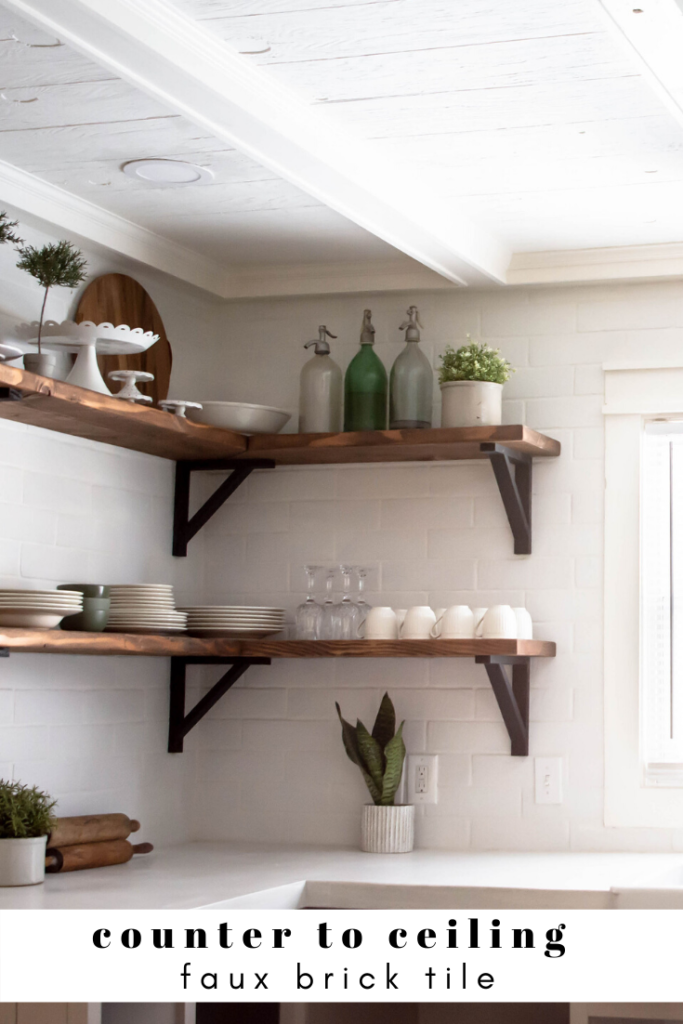
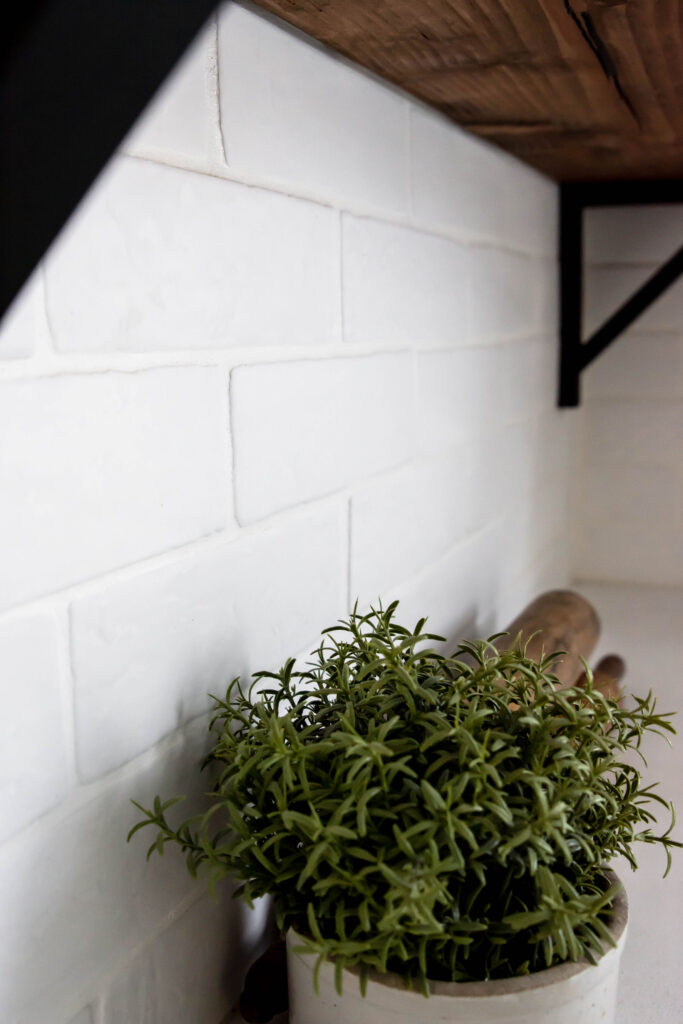
For our kitchen renovation, we chose a matte finish white faux brick tile backsplash in white and I am in love!!! It just has the right amount look of new and old. My very favorite.

Picking the faux brick tile backsplash

There are SO many faux brick tile options out there!! I definitely could have found myself overwhelmed had I taken the time to do so. Luckily, I knew I wanted a white faux brick tile backsplash AND I wanted it to look old. That narrowed my options down quite a bit. I stumbled across the tile I chose when browsing the Jeffery Court Home Depot collection. Why Jefferey Court? Because I knew I wanted nice tile with a nice price tag.

How much faux brick tile to order

Finding out how much tile you need isn't hard. Simply figure out the square footage of the area being covered. My particular box of tile covers 8.8 sq. ft. per case.

What supplies are needed

This was my first tile job ever. I was nervous but knew I needed to figure out how to do it since David's schedule is so hectic. Luckily, Cassie has done a few tile projects and was able to walk me through it. All of my tile was delivered right to my door so I was able to cross that off my supply list. The rest of the items were picked up at my local Home Depot.

  • Tile
  • Tile Adhesive (Mastic)
  • Spacers 1/4''
  • Wedges
  • Trowel
  • Wet Tile saw or tile cutter

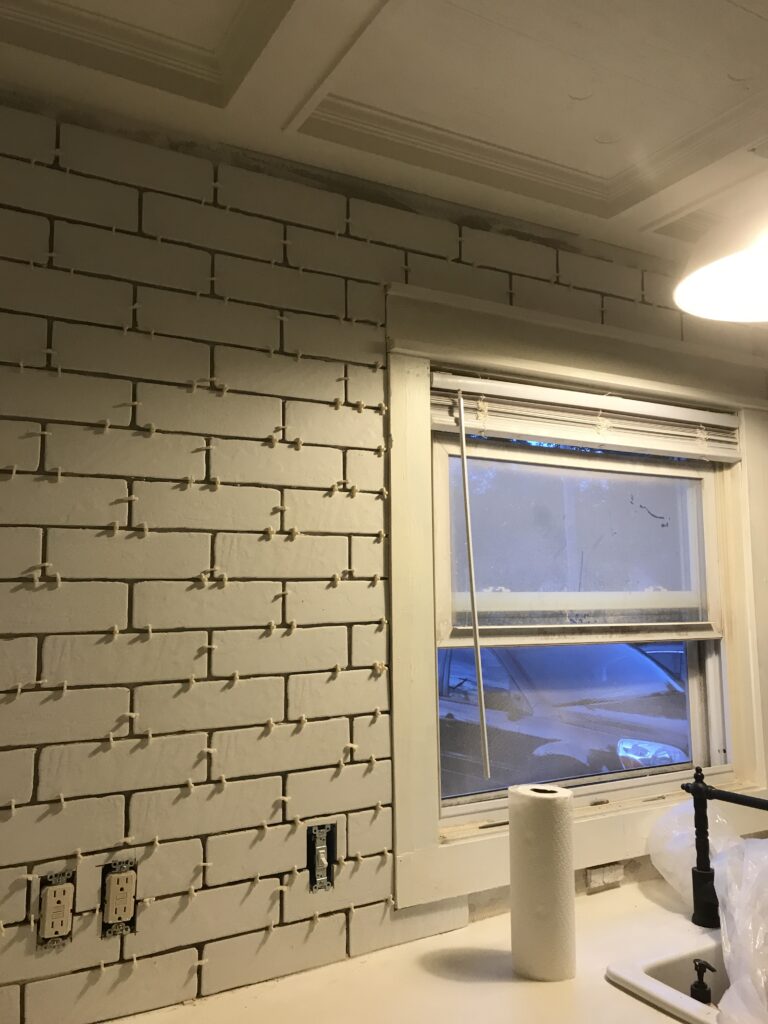
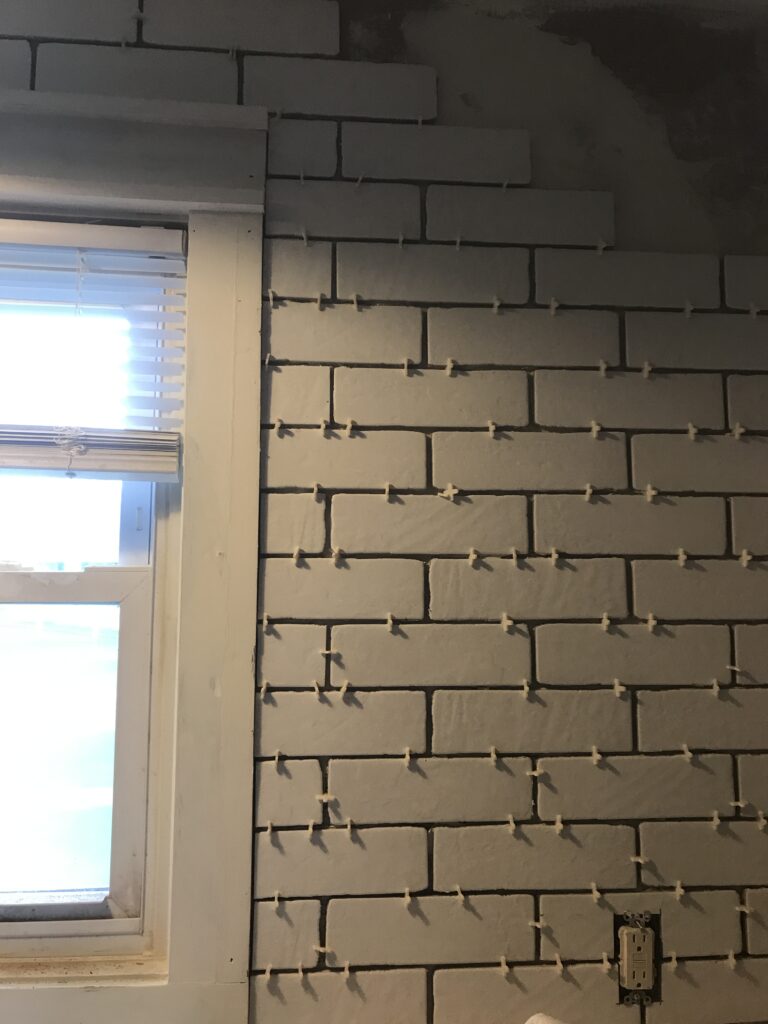
**The tile you choose should include the recommended size of spacers and trowel to use.

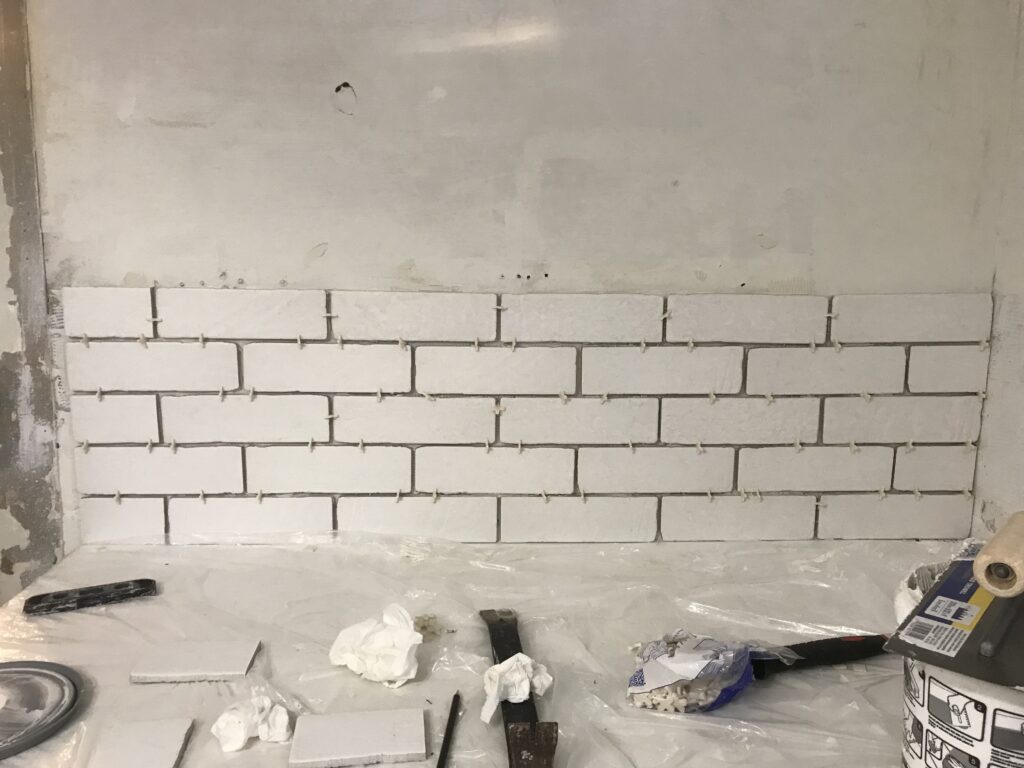
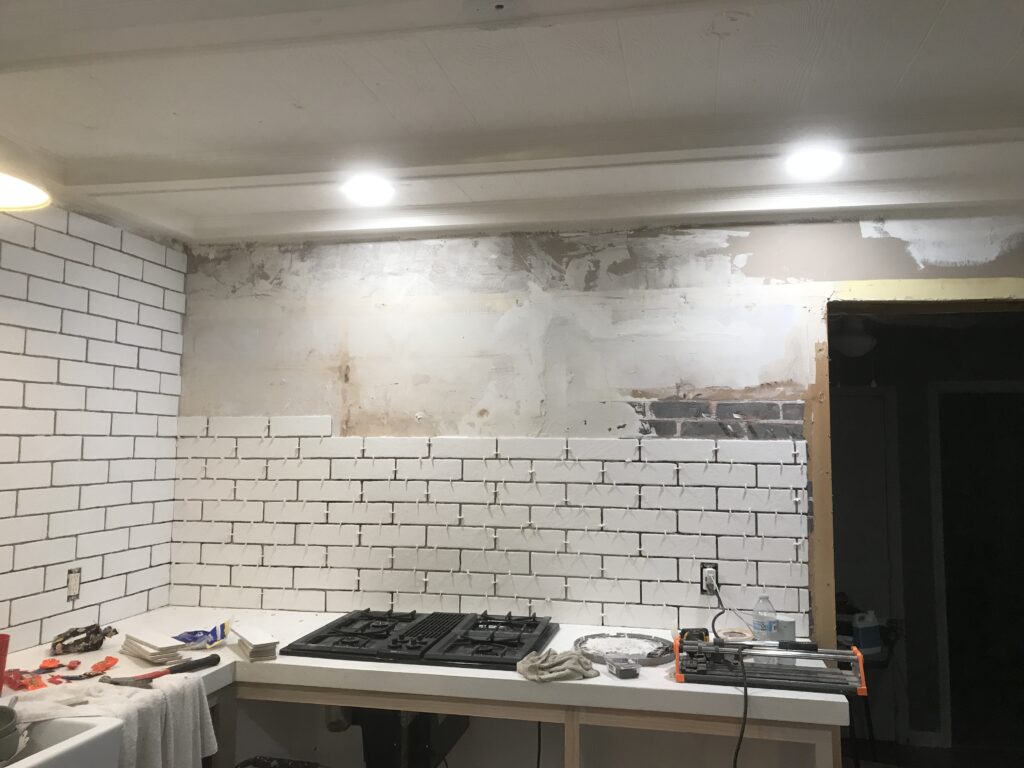
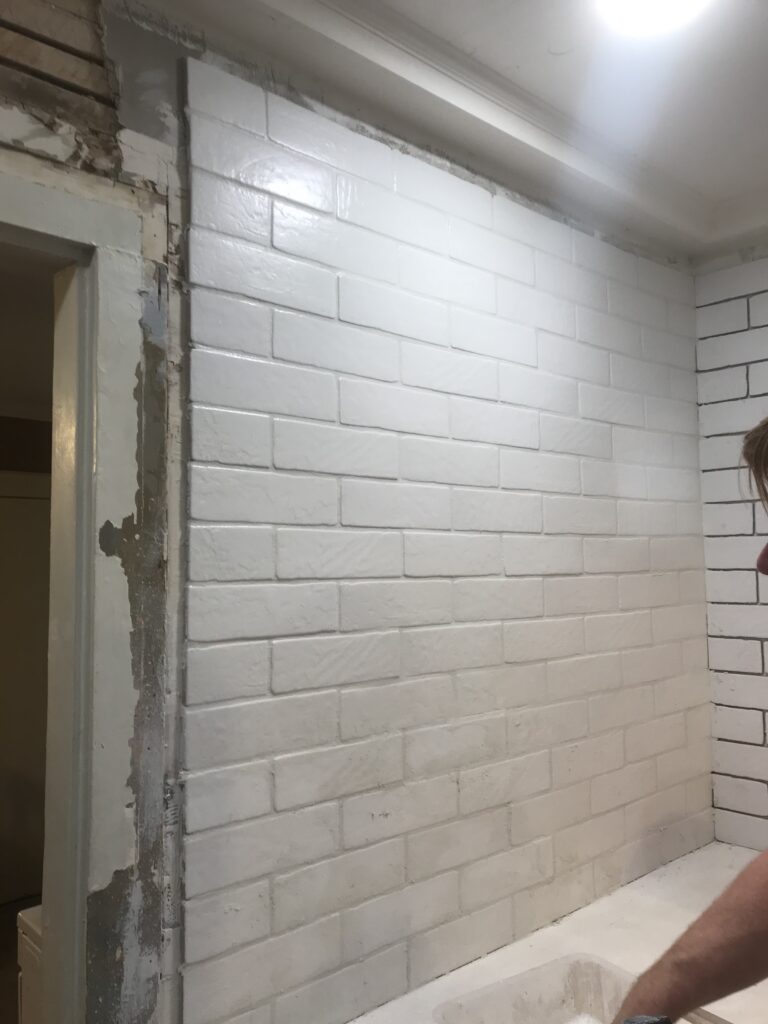
Here was my very first 5 rows and boy was I proud! I was using a tile cutter and not a wet saw and it took me 3 hours to get the hang out of it LOL!
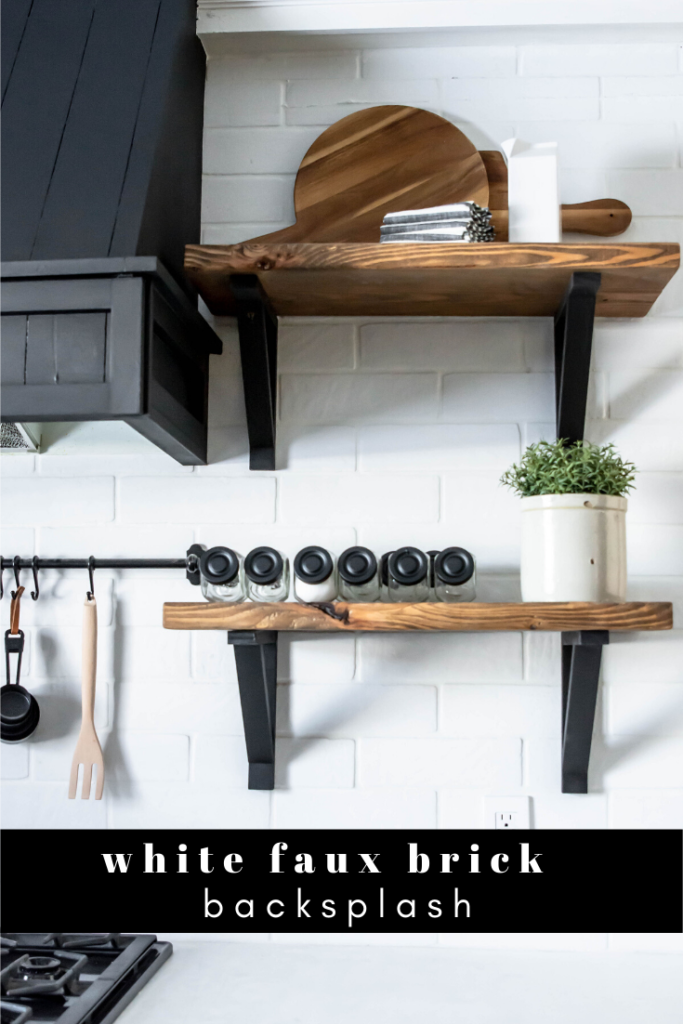
Pin it!

counter to ceiling white tile with wood open shelving. How to style open shelving.

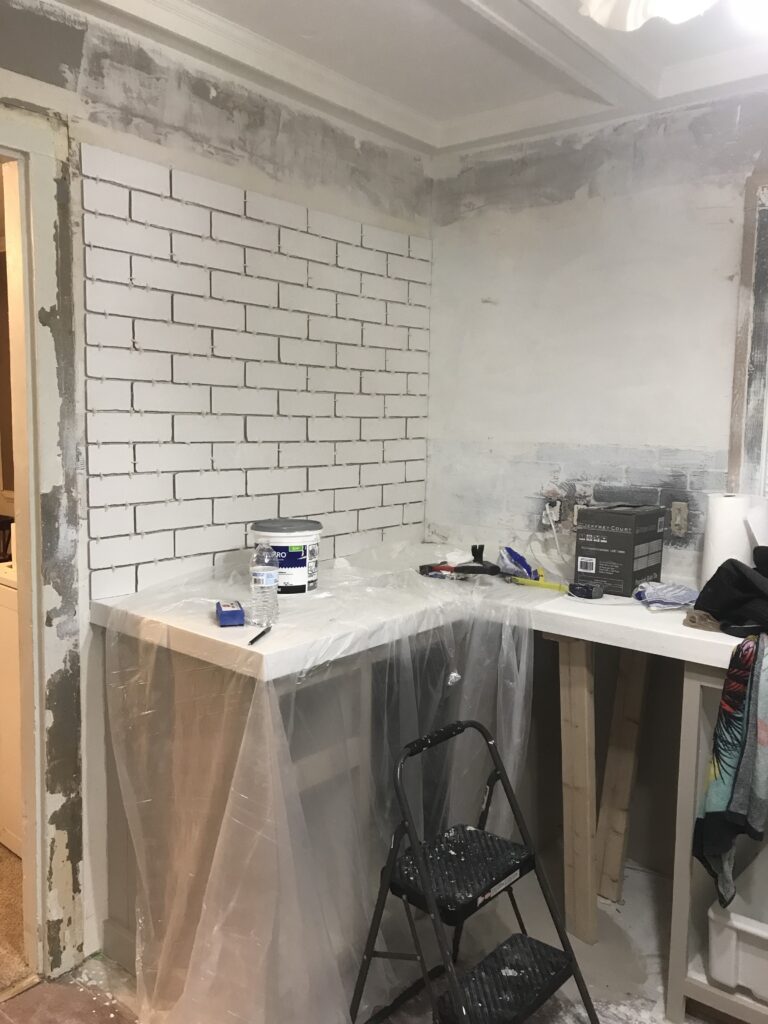
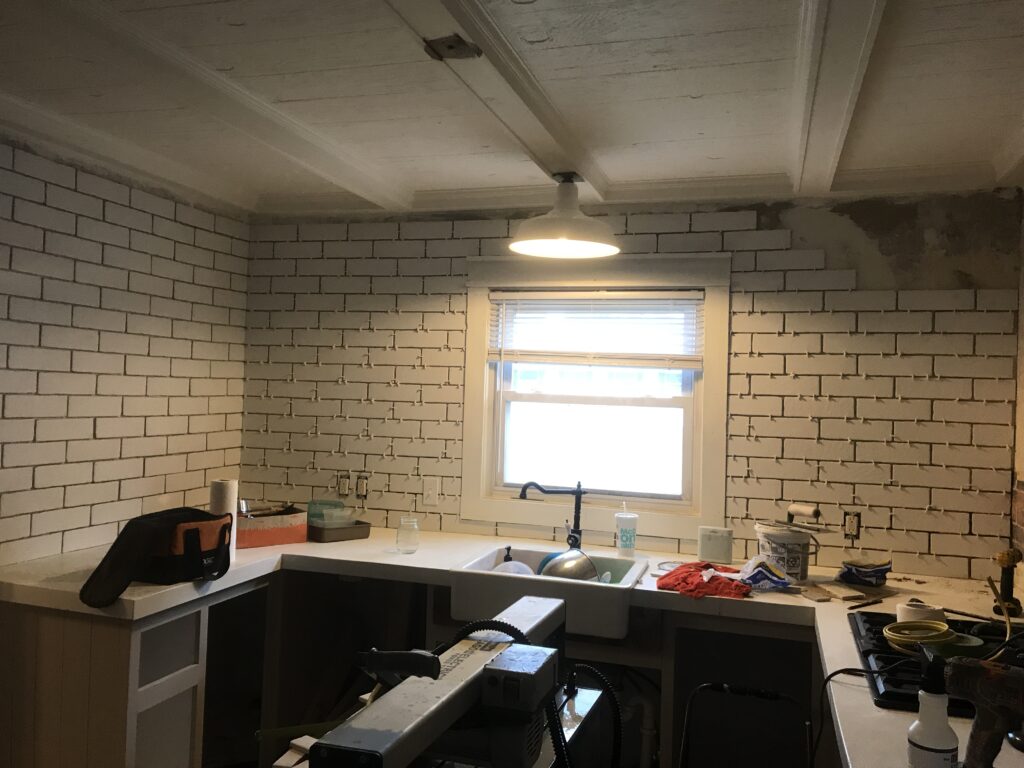
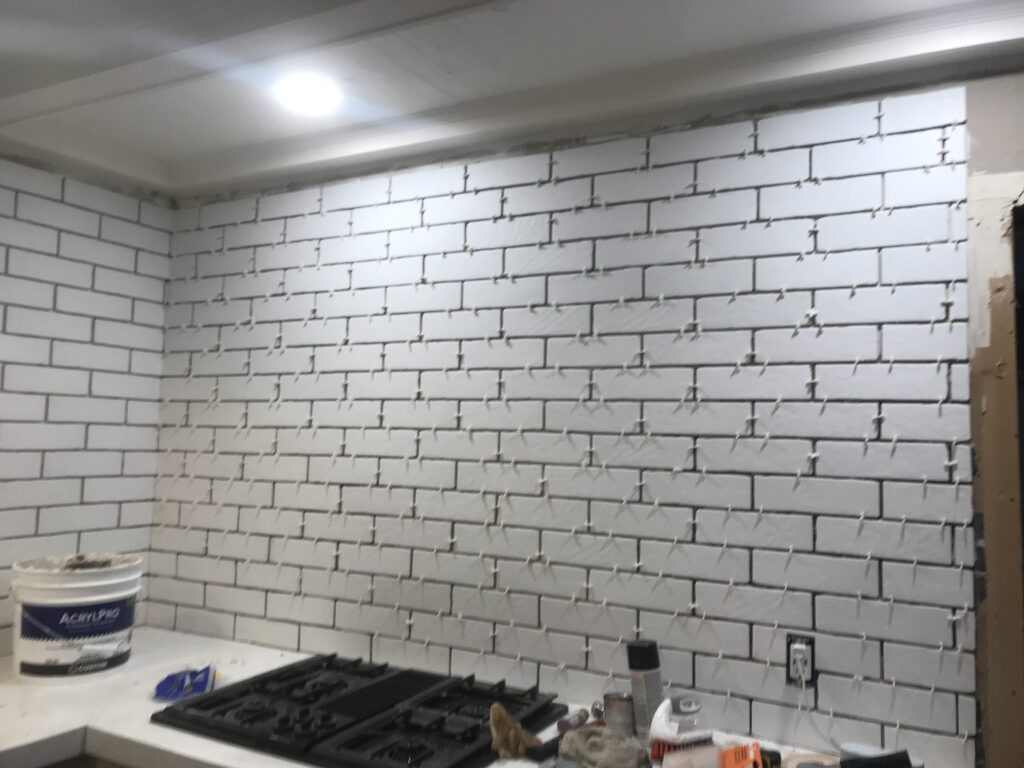
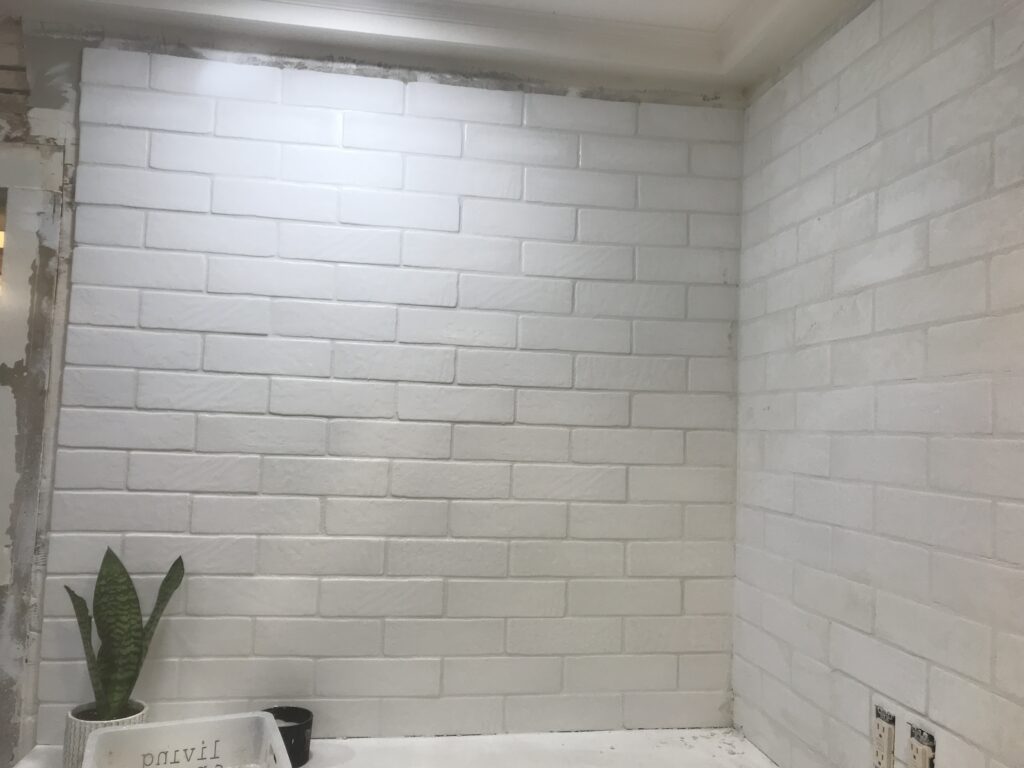
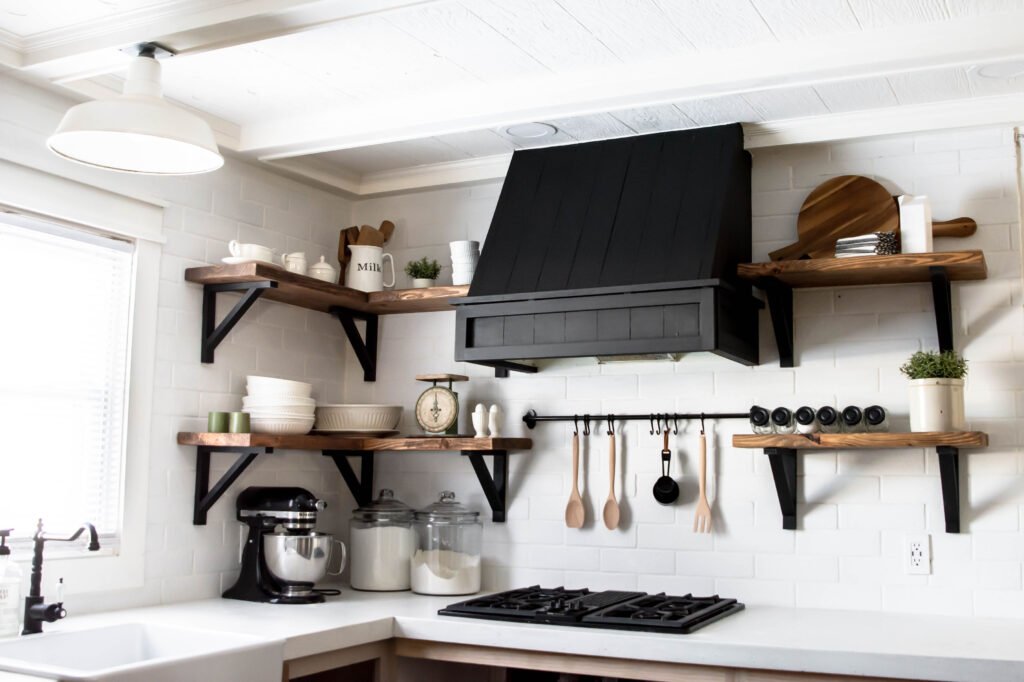
Here's the first wall almost done!

White faux brick tile backsplash for my old kitchen. Has the perfect old-world look, yet still new and fresh. The perfect porcelain tile backsplash.

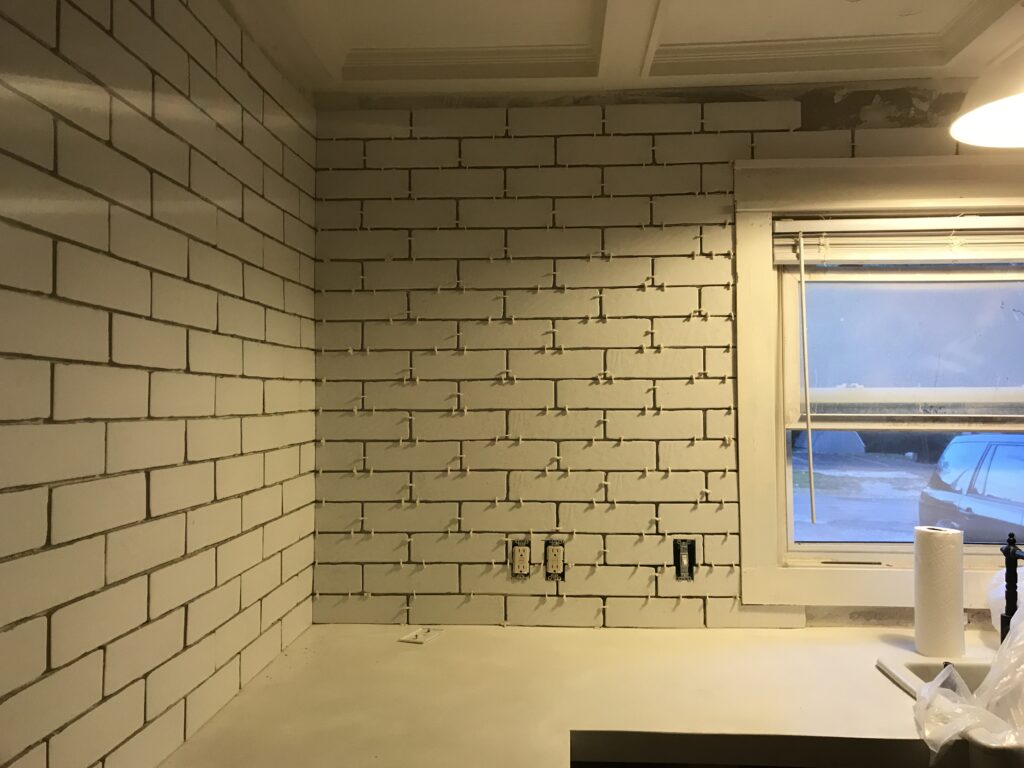
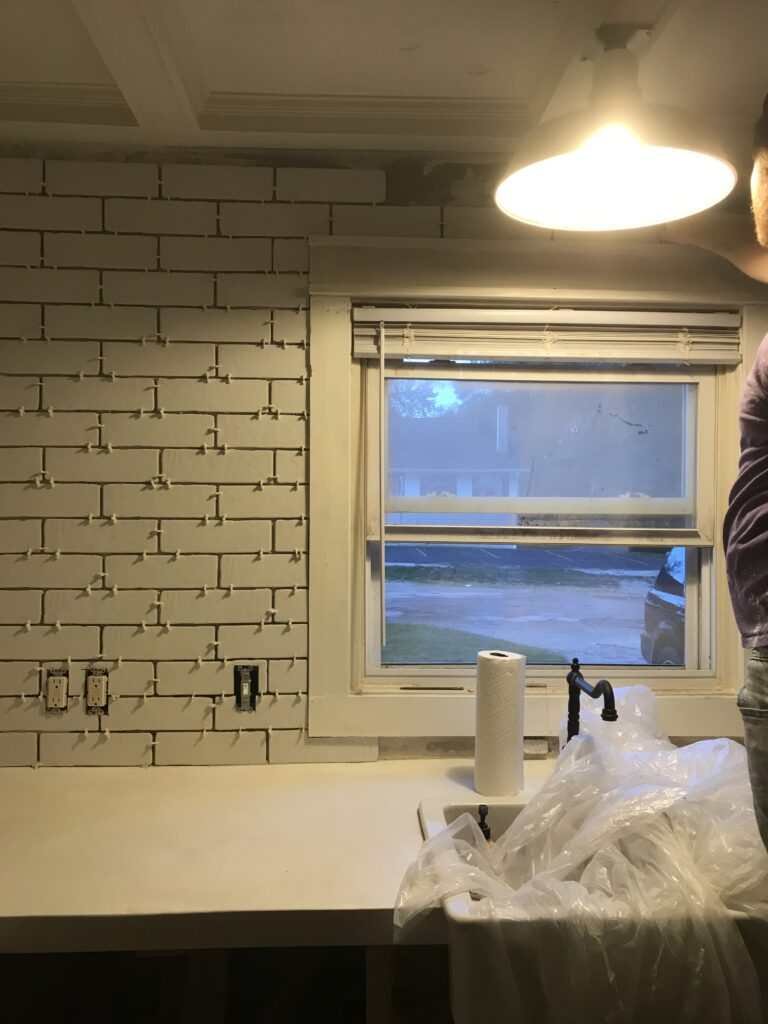
1 1/2 walls done at this point!
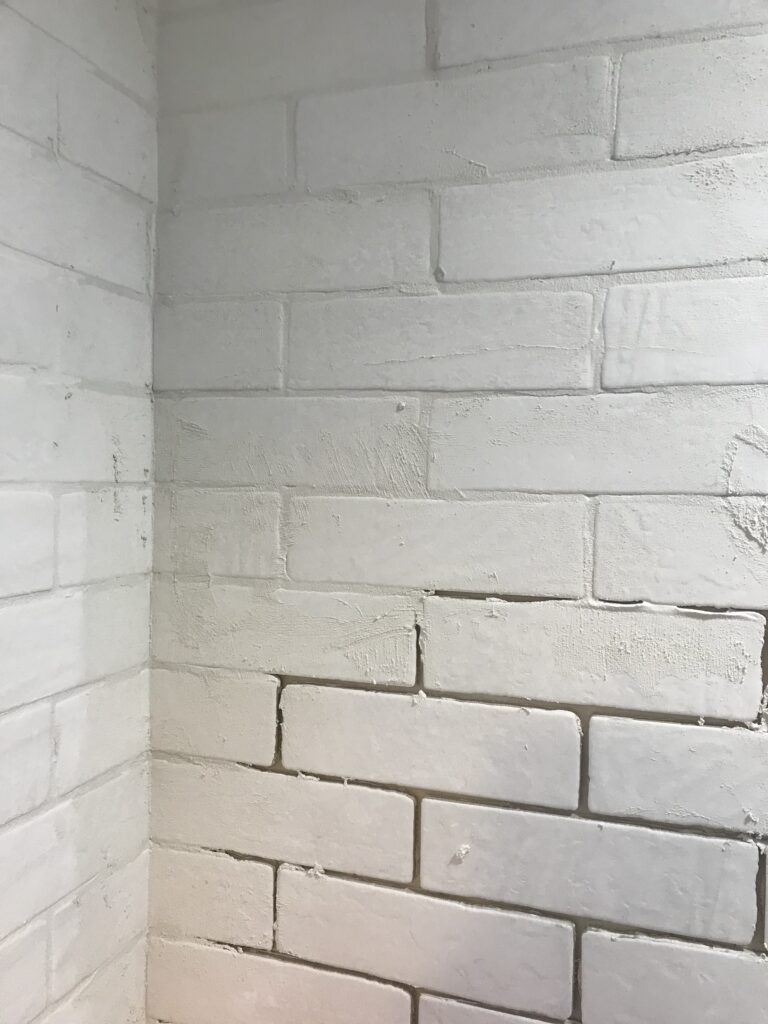
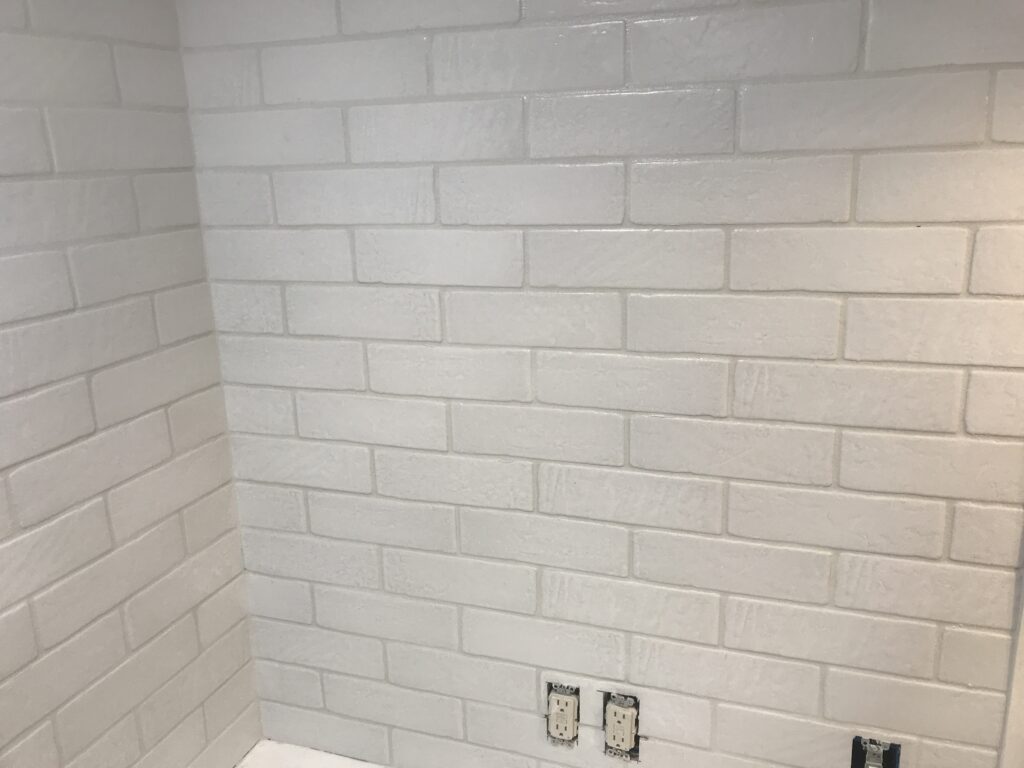
White faux brick tile backsplash for my old kitchen. Has the perfect old-world look, yet still new and fresh. The perfect porcelain tile backsplash.

grout color

We went with Bright White grout. As much as I love and want black grout, I don't think it matches the look I am going for in my kitchen. Yes, we are making everything more "modern", but the ultimate look I am going for in this room has an old-world feel to compliment the 140-year-old bones of this house.

grouting process

Tools needed:

  • Grout
  • Bucket
  • Float
  • Large sponge
White faux brick tile backsplash for my old kitchen. Has the perfect old-world look, yet still new and fresh. The perfect porcelain tile backsplash.

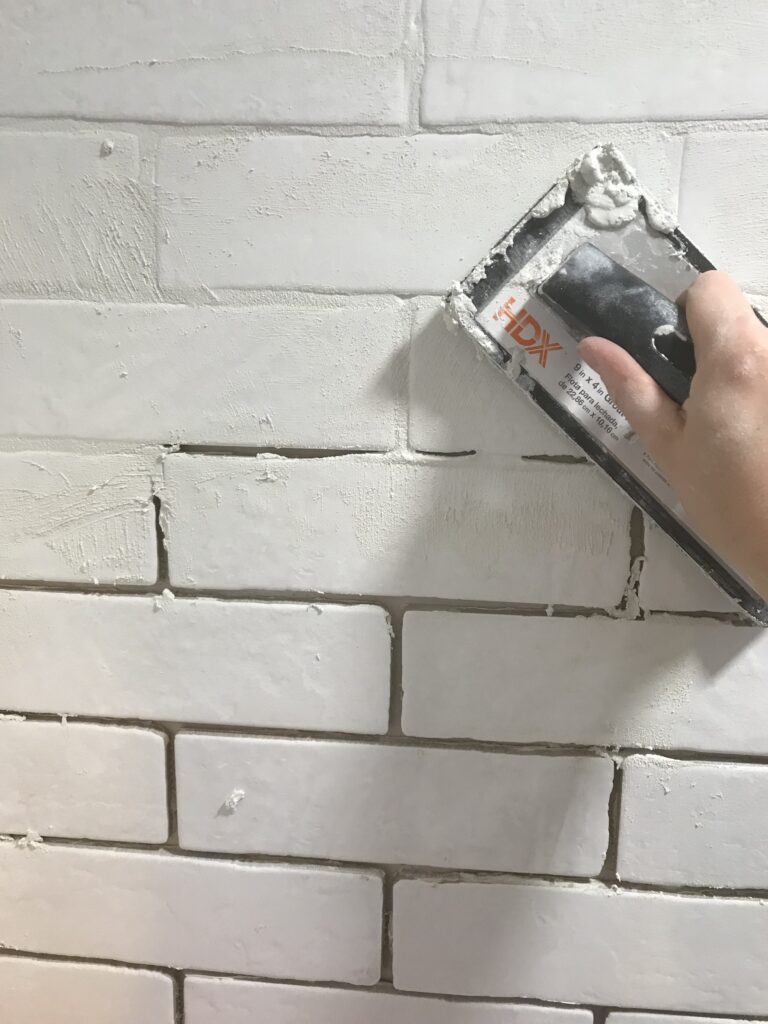
As you can see, grouting is pretty messy.
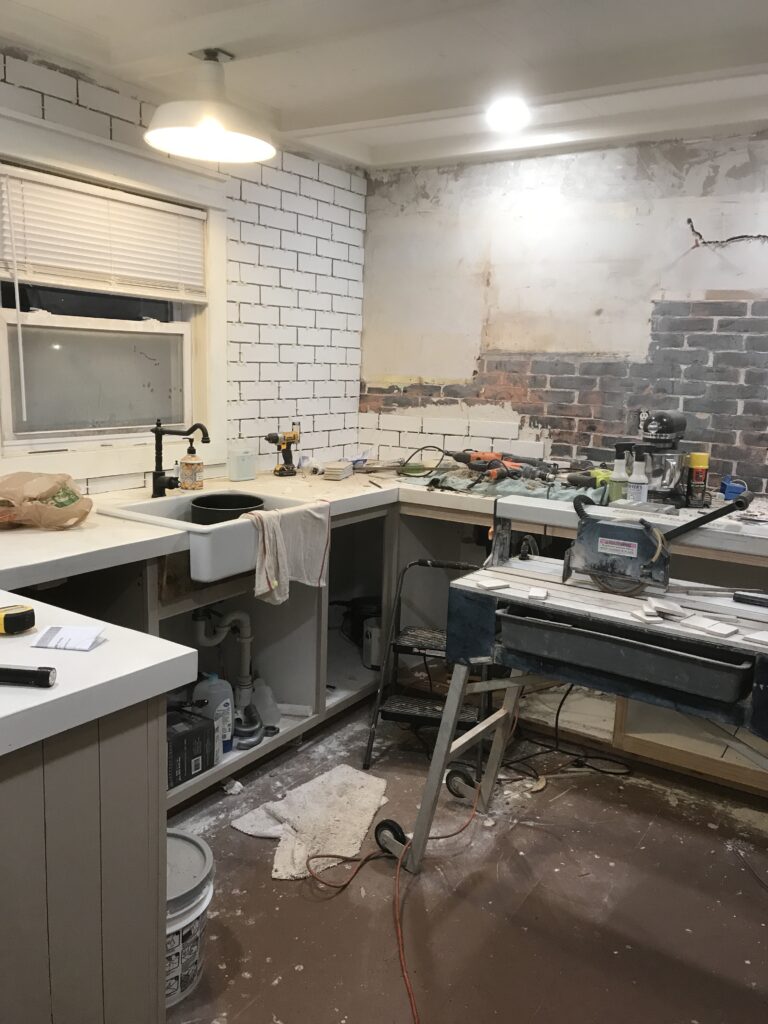
White faux brick tile backsplash for my old kitchen. Has the perfect old-world look, yet still new and fresh. The perfect porcelain tile backsplash.

Troubleshooting

Transparency is the best option here. DIY can be really ugly. I consulted my brother who is a contractor prior to starting this project. My concern was that two of my walls were very uneven. The sheetrock had a wavy appearance instead of being perfectly level. There was absolutely no water damage. There was a good amount of adhesive left over from the wall treatment we removed. I considered putting up fresh new drywall or backer board, but he suggested evening out the areas that weren't as prominent with mastic. This absolutely did work and it saved me a great deal of time. Simply put more or less mastic on each tile so the wall is level and smooth. I didn't trust my own judgment so I used a level to double-check each tile.

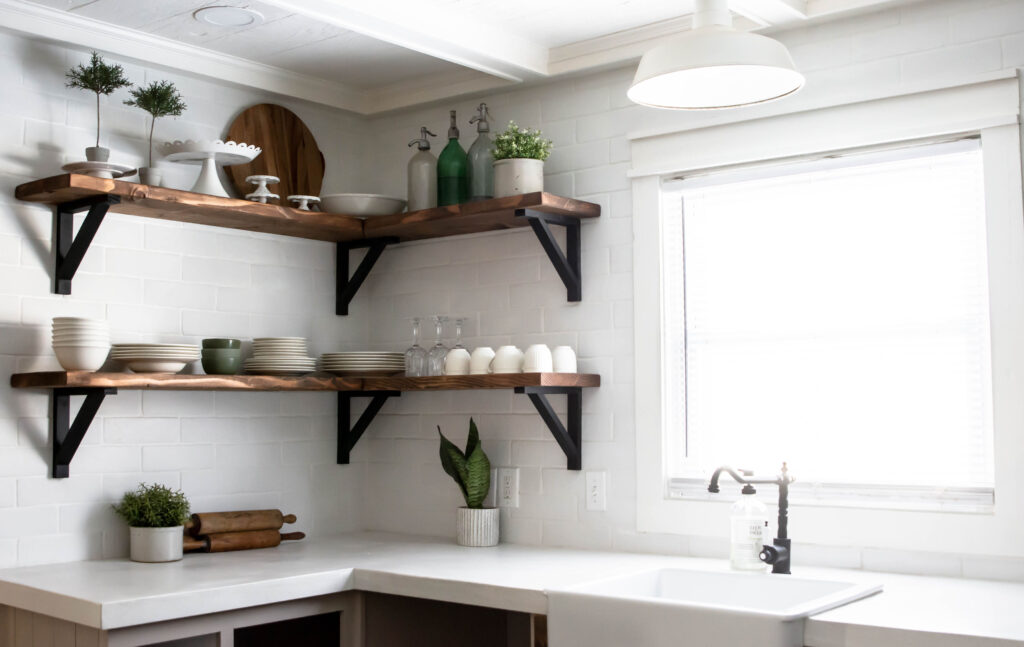
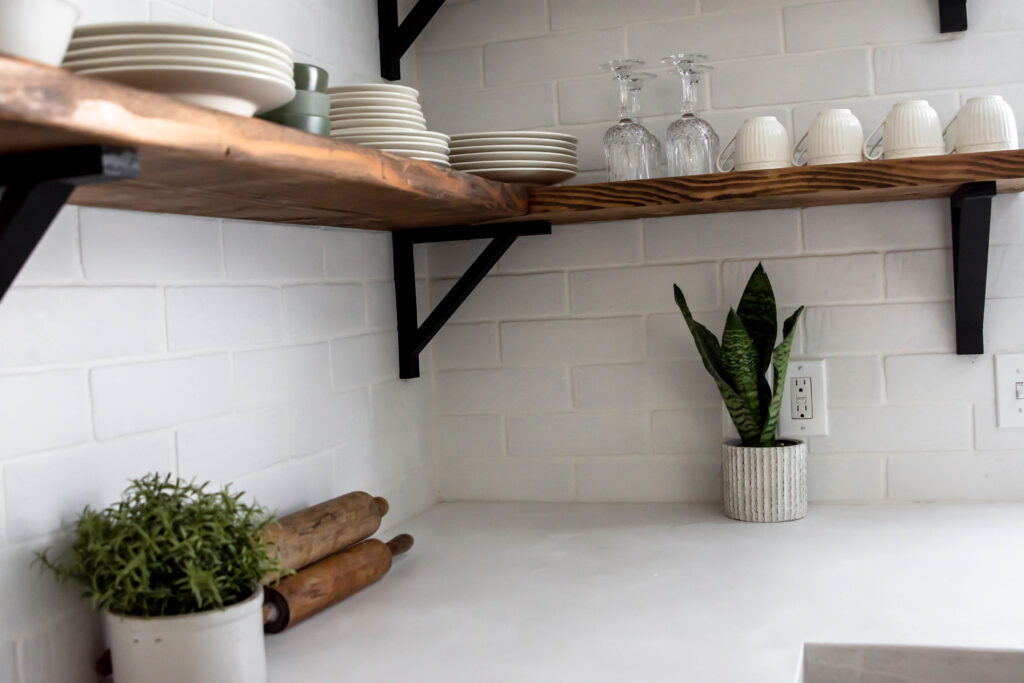
All in all, I would say that this tile was VERY easy to install. It is thick, durable tile and I would pick it again and again! You can find more details on my tile here.

Check out more posts on Sadie's Kitchen Renovation below:

Farmhouse Porch

First Kitchen Update

Pin it!

white faux brick backsplash. Floor to ceiling kitchen backsplash. White tile black vent hood kitchen. Open shelving kitchen. Kitchen open shelving.

Filed Under: DIY

Pages

  • About Clover Lane
  • ALL THINGS HOME
  • Legal Disclaimer
  • Privacy Policy
  • Recipe Box
  • Welcome to Clover Lane All Things DIY and Home
  • Welcome to Clover Lane...we're happy you stopped by!

Reader Interactions

Comments

  1. Bernice

    November 13, 2019 at 8:58 pm

    Soooo gorgeous!! What a transformation. Seriously stunning! ๐Ÿ˜

    Reply
    • Cassie Goodman

      November 13, 2019 at 8:59 pm

      Thanks Bernice!!! I am so happy with how it turned out! -Sadie

      Reply
  2. Summer

    September 24, 2020 at 3:46 pm

    This is extremely stunning. What a gorgeous kitchen!

    Reply
    • Cassie Goodman

      September 28, 2020 at 12:29 am

      Summer,

      Thank you so much! You have made my day!!!!

      -Sadie

      Reply

Leave a Reply Cancel reply

Your email address will not be published. Required fields are marked *

Recipe Rating


This site uses Akismet to reduce spam. Learn how your comment data is processed.

Primary Sidebar

About Us

Welcome to Clover Lane! We are Cassie and Sadie-- A sister DIY duo with serious "go get 'em" personalities. We take boring rooms and make them not-so-boring by knocking down walls and getting stuff done!! Oh, and we LIVE to eat.

Footer

Copyright © 2023 Clover Lane on the Foodie Pro Theme