Easy and Adorable Personalized Mugs. Perfect for anyone and any occasion – personalize a mug for birthdays, anniversaries, holidays, or just because!
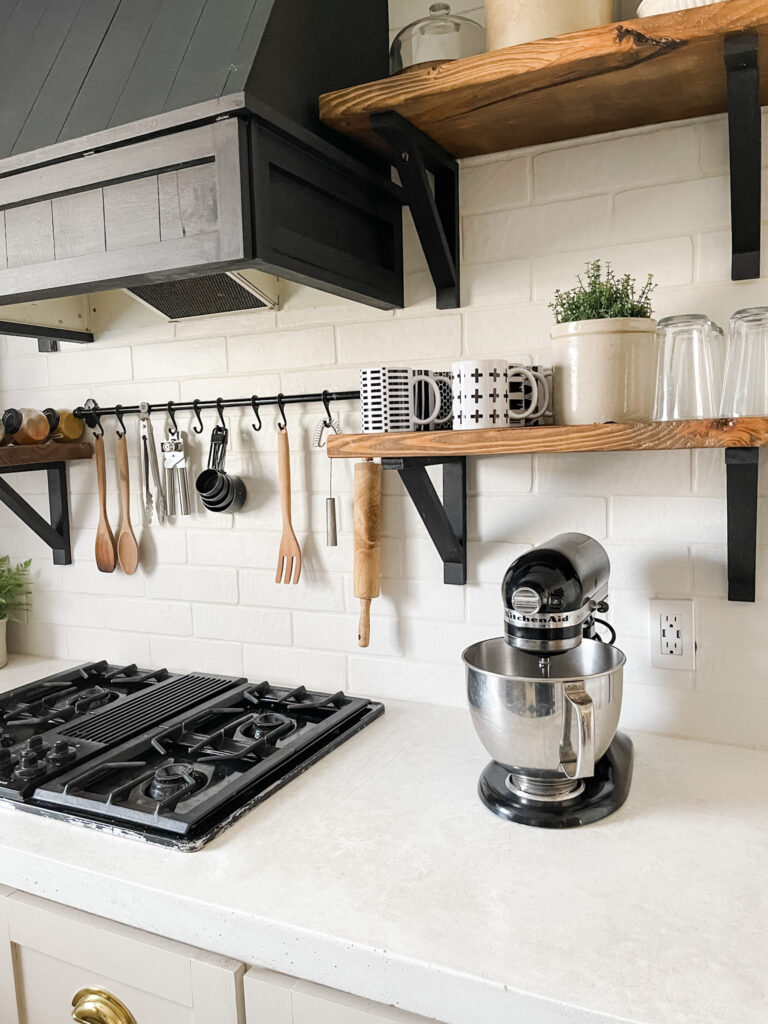
Easy and Adorable Mugs
Easy and Adorable Personalized Mugs are easier than ever to make with Cricut's newest machine- The Mug Press! Not only is the Mug Press user-friendly, but it is also affordable AND the designs you create will forever be on your mug. No need to worry about them washing or peeling off. Let's talk a little bit more about a few of these points.
This is a sponsored post written by me on behalf of Cricut. All opinions are 100% mine.
How is the Mug Press User Friendly?
No need to look up temperatures or heat times on your Mug Press. Simply push down on the lever and your machine perfectly presses your design. Once it beeps, it's done. No second guessing here.
Will my design peel off over time?
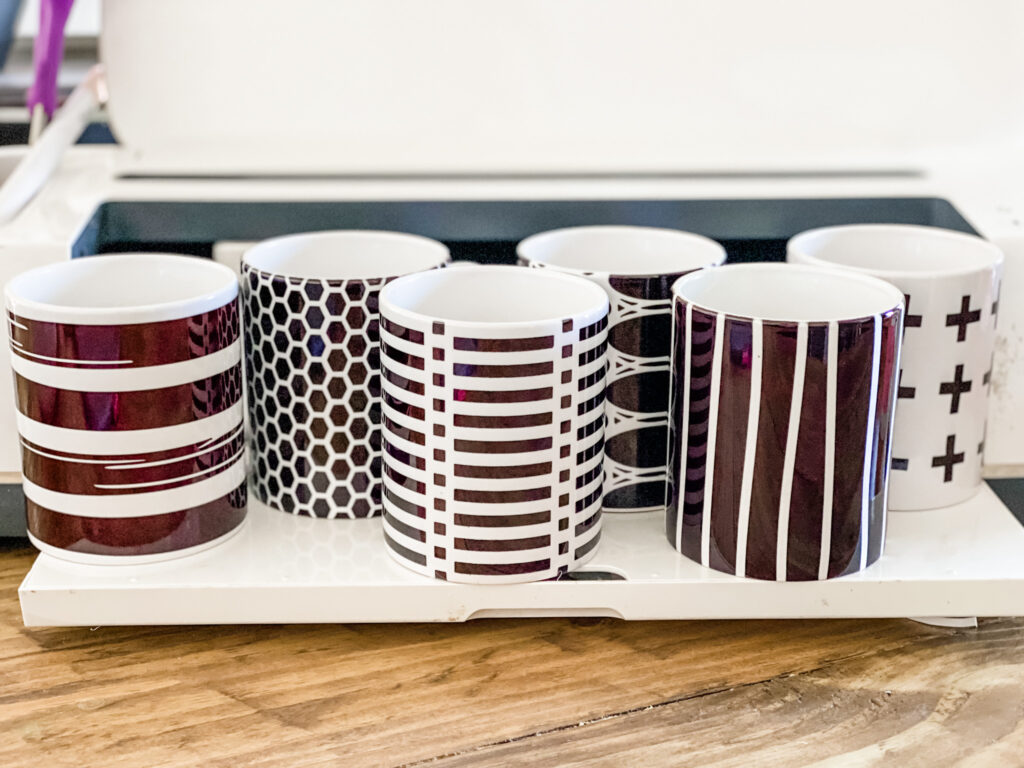
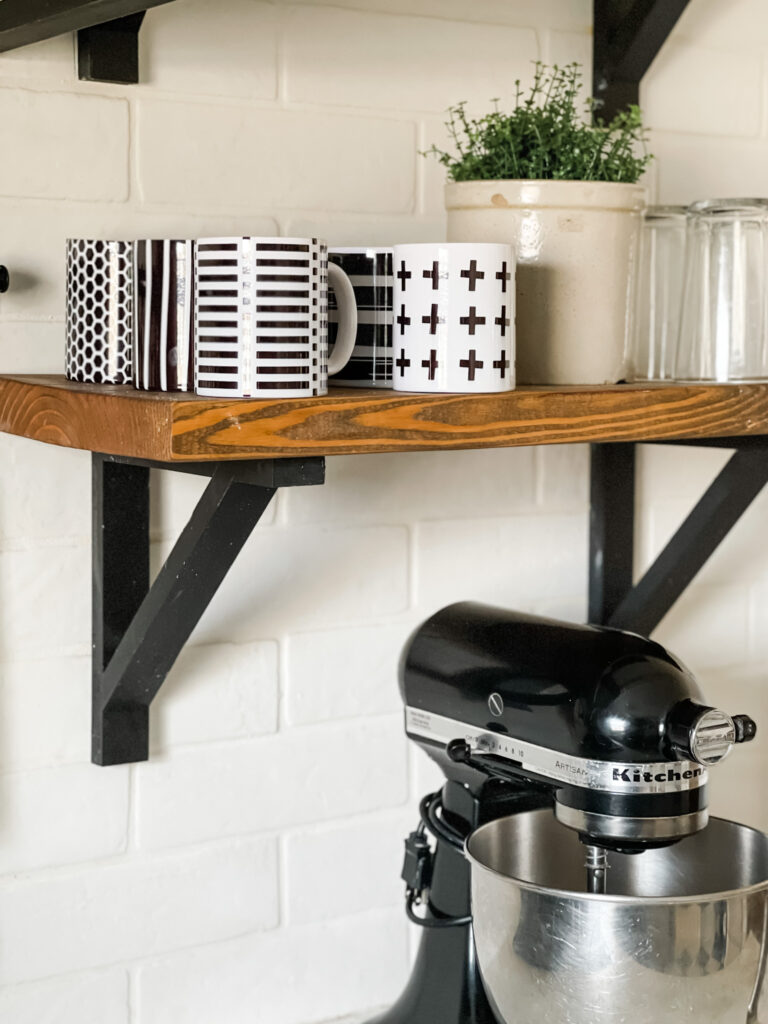
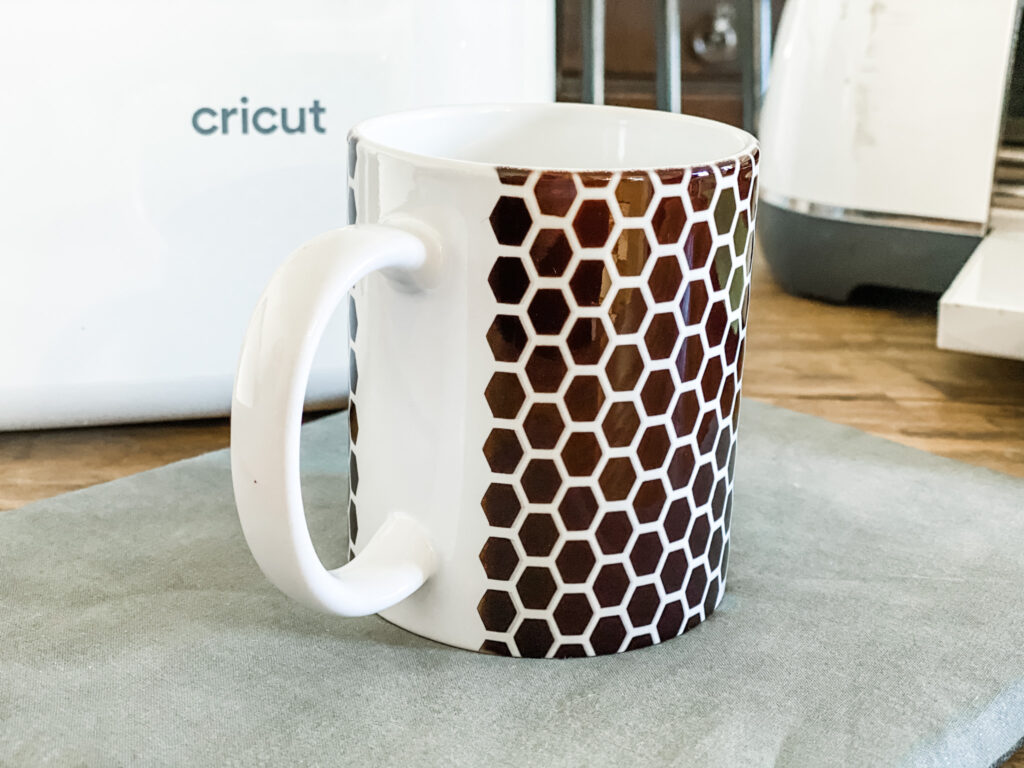
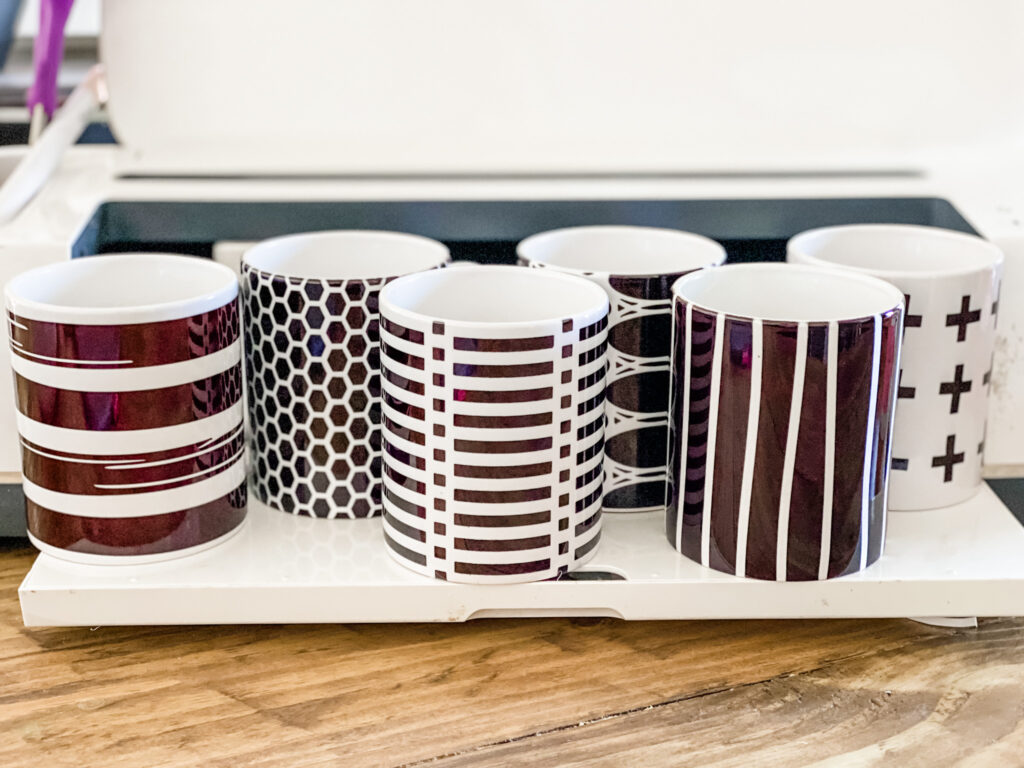
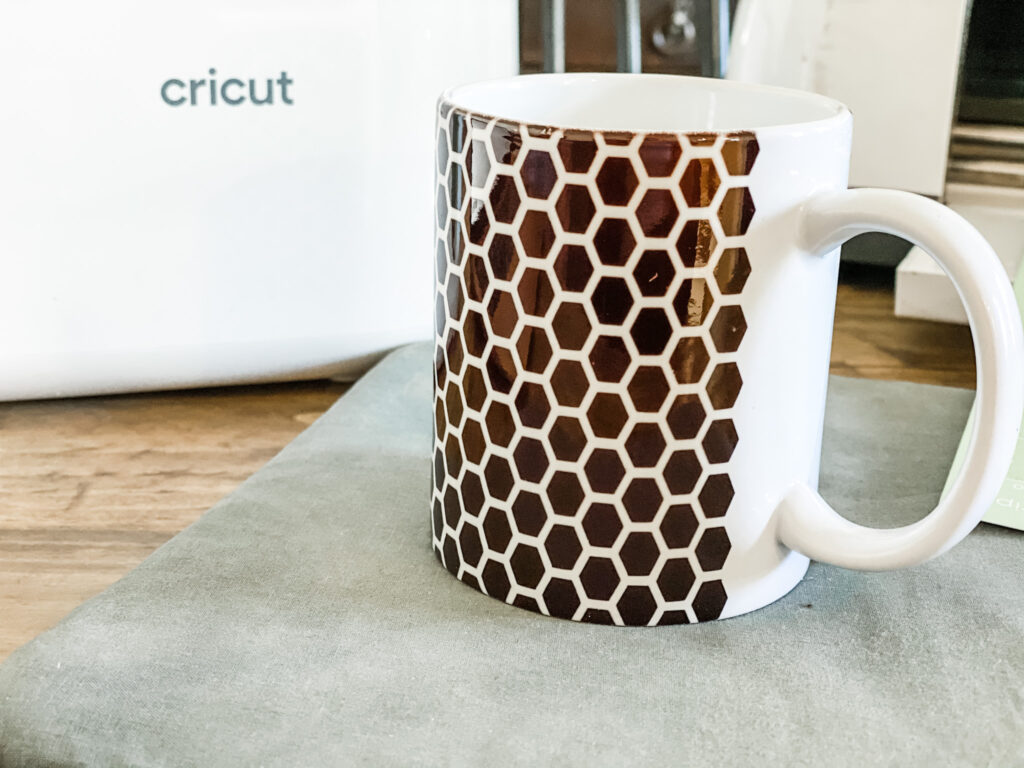
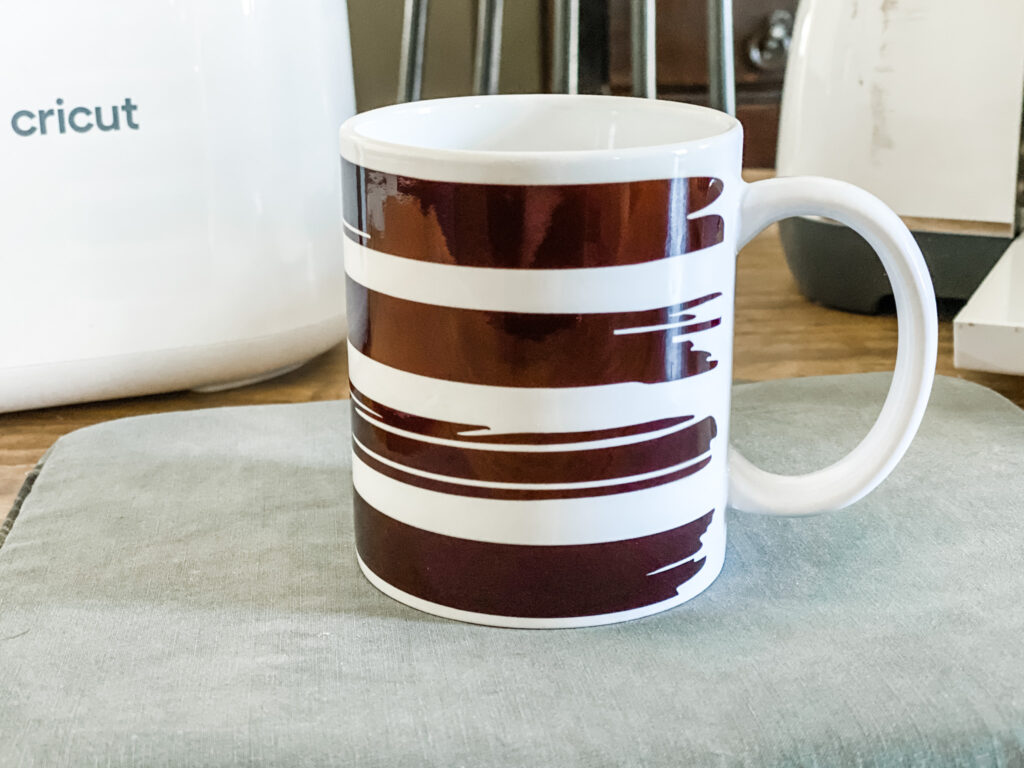
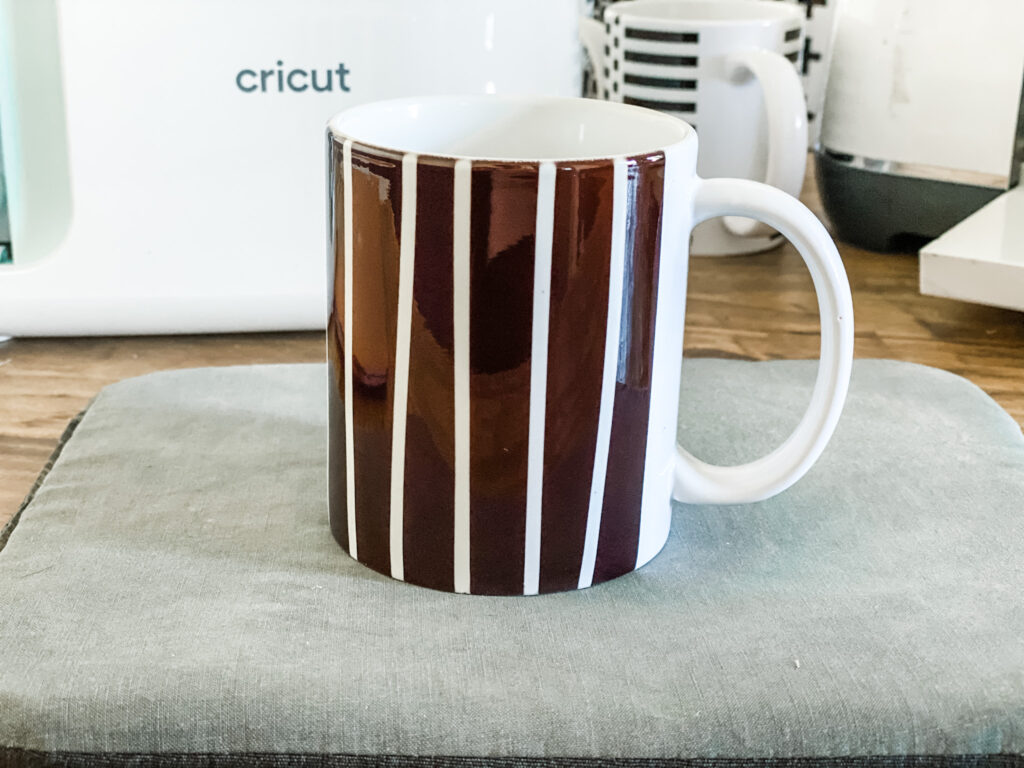
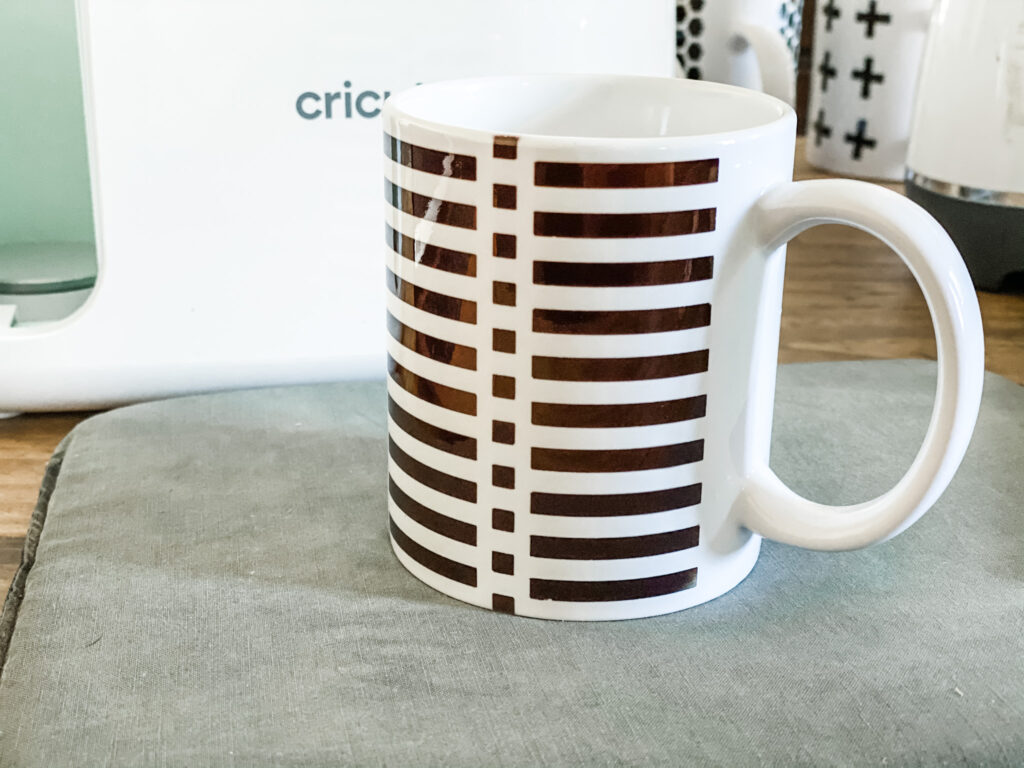
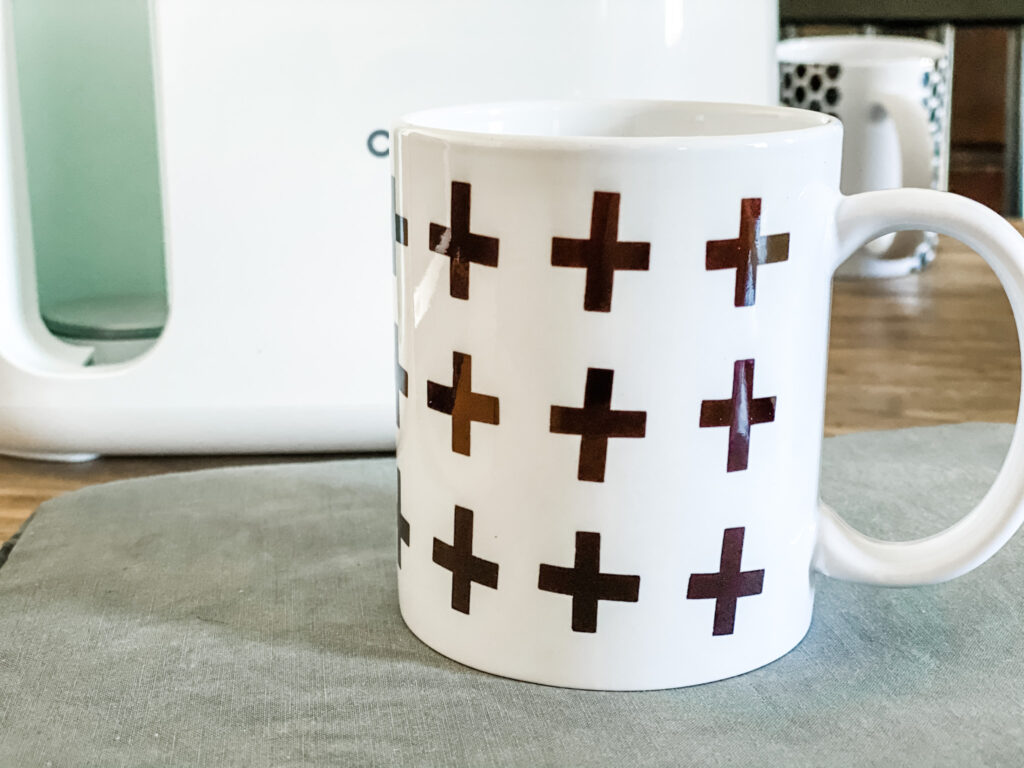
NO!! Mug Press uses Cricut's Infusible Ink. The design is literally infused into your ceramic mug and is dishwasher safe. I am telling you, your mugs will look store-bought and not homemade at all.
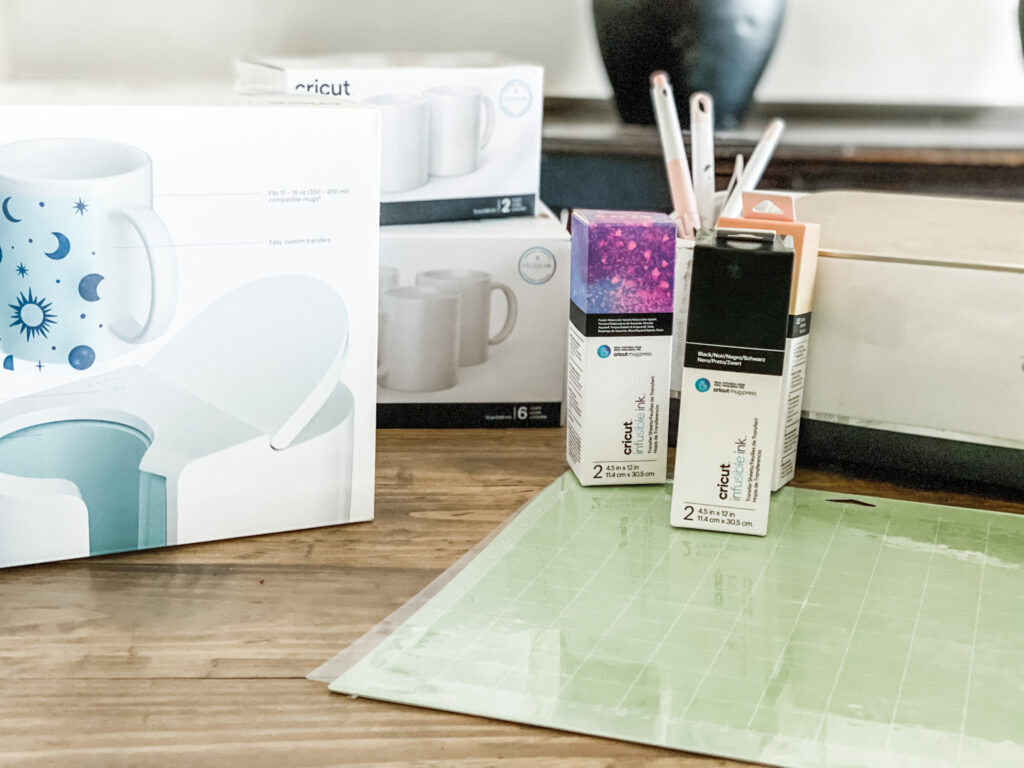
DIY Personalized Mug Supplies
- Circuit Mug Press
- Infusible Ink or Infusible Ink Pens
- Favorite Cricut Cutting Machine (Explorer Air, Maker, or Joy)
- Heat Safe Tape (optional)
- Lint Roller
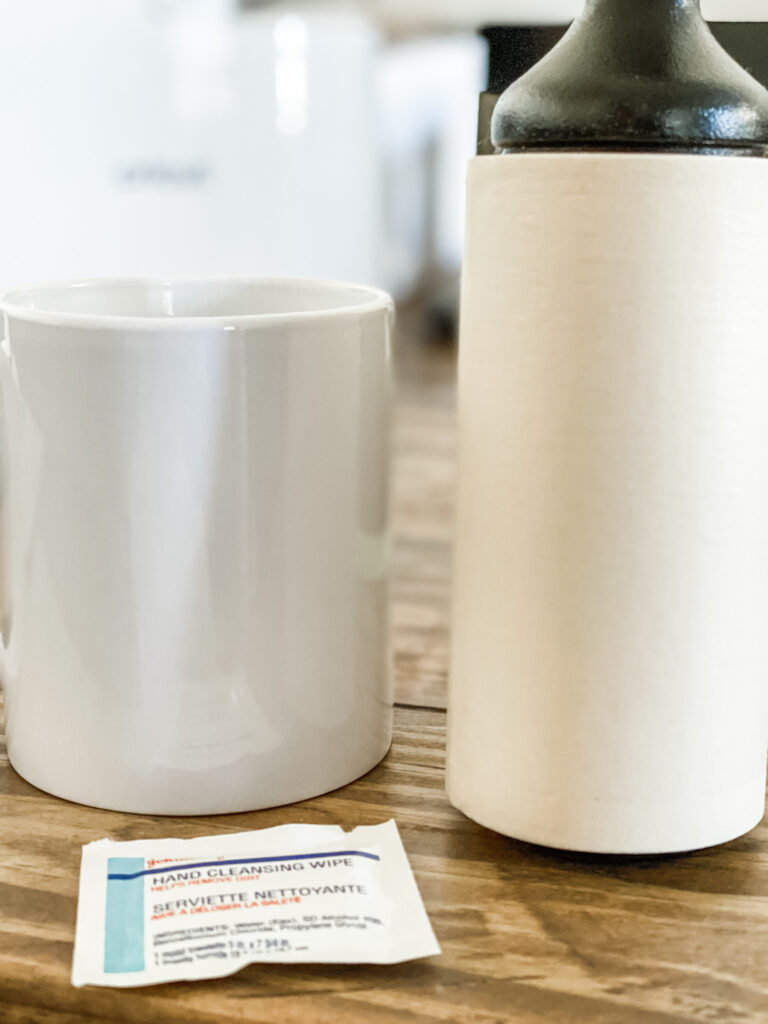
- Alcohol Wipes
Step-by-step
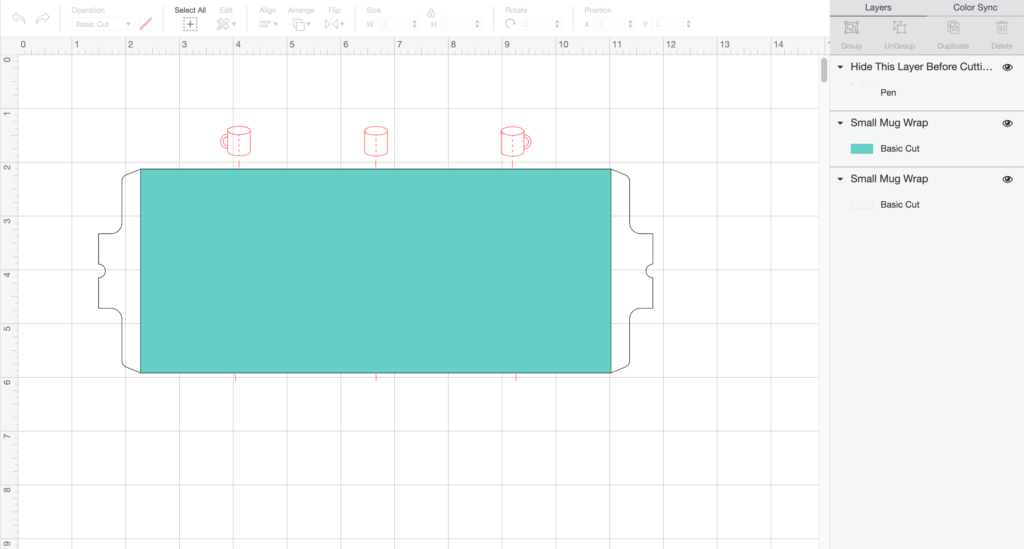
- Open the Mug Design Setup template in Design Space
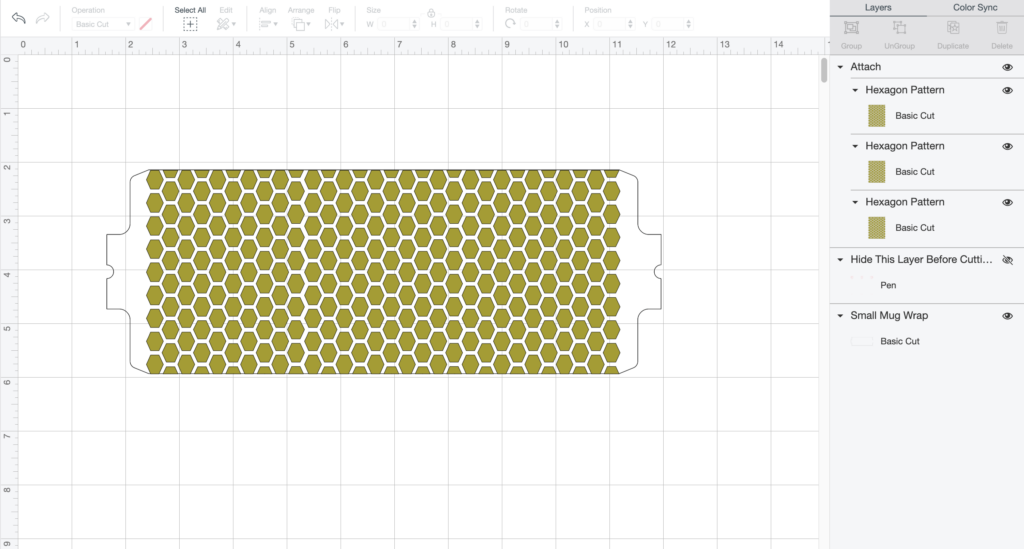
- Design a pattern or use a pre-made pattern found in Design Space.
- Open the pattern in your Mug Design Setup and fit it to your mug size. **I am using the 12 oz. mugs for this demonstration and selected this option when I opened the Mug Design Setup file.
- Hide the red mug guides before cutting.
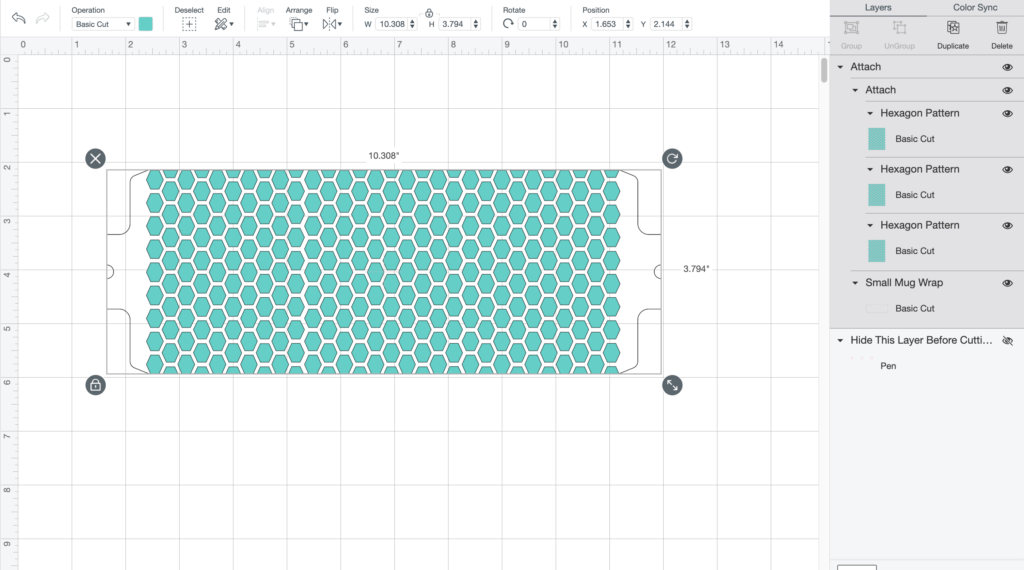
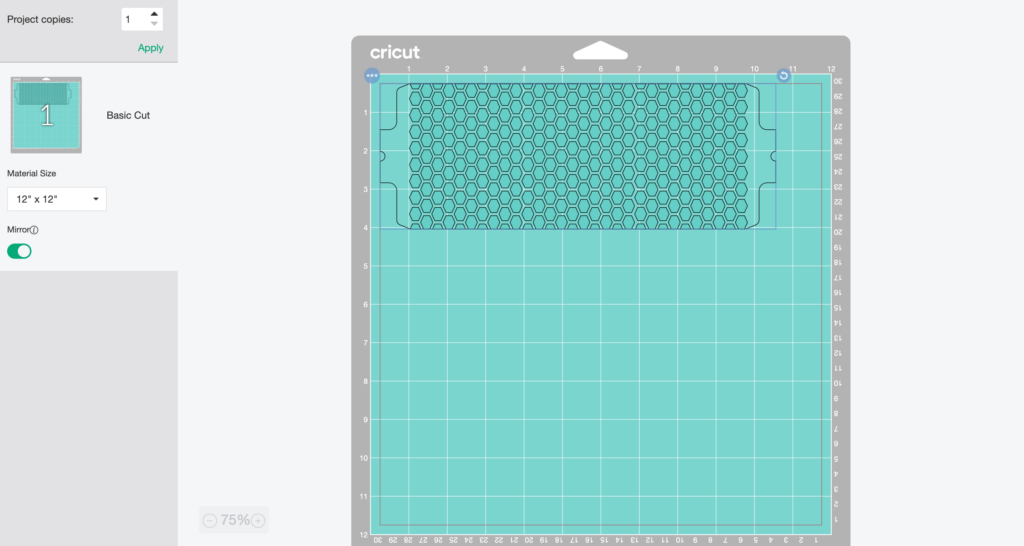
- Select your whole design and click "attach".
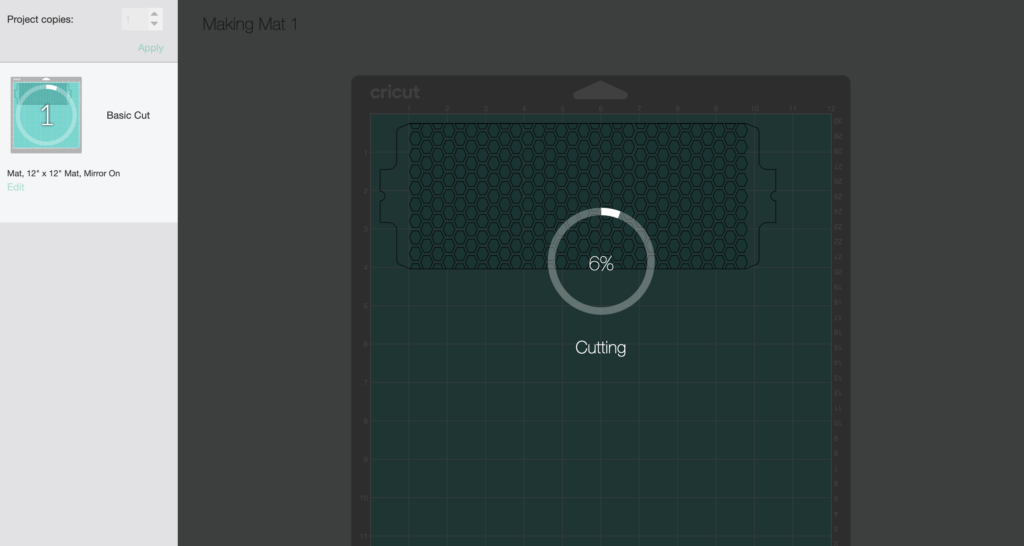
- Cut your design.
- Select "mirror image".
- Select Infusible Ink as your material.
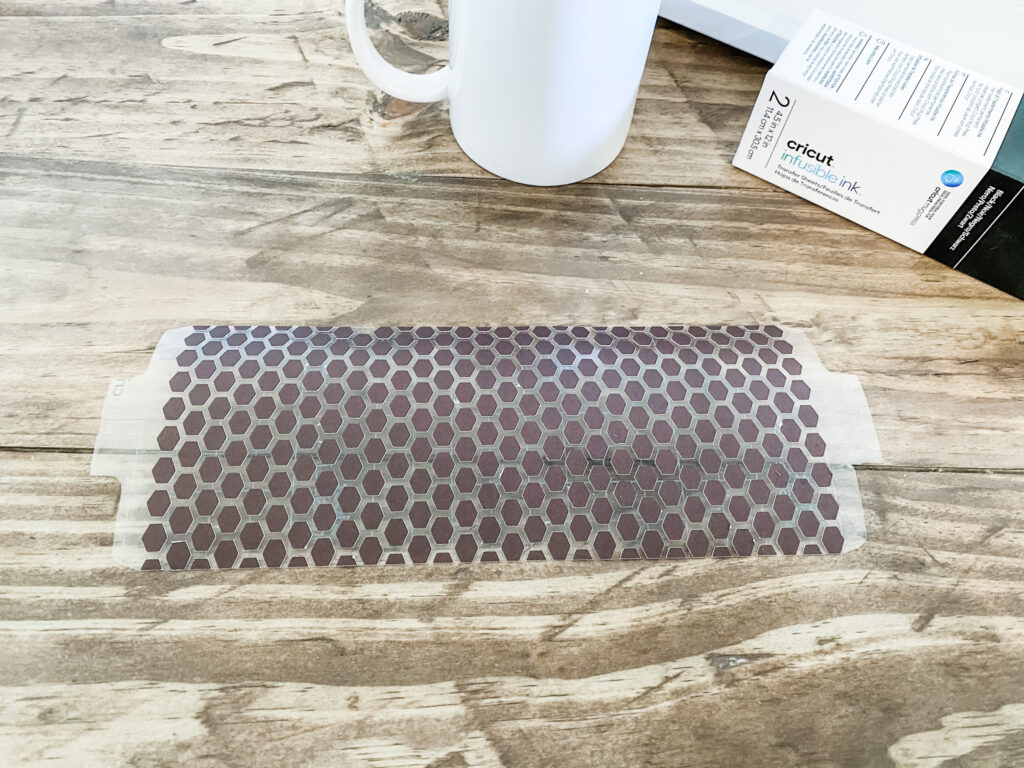
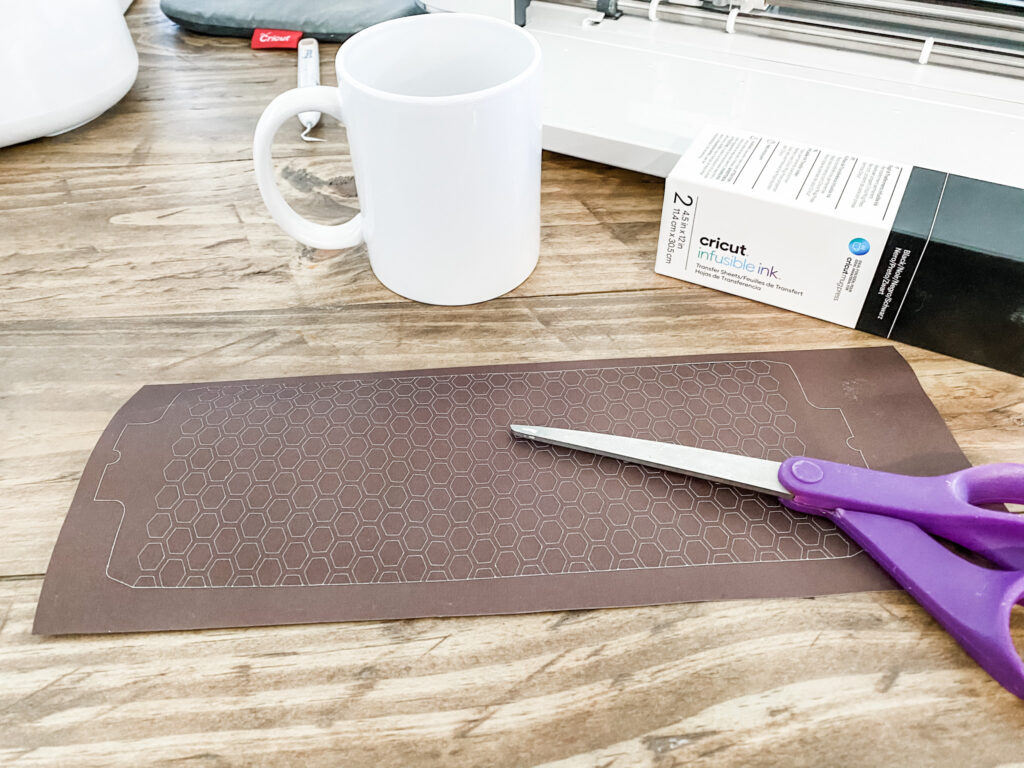
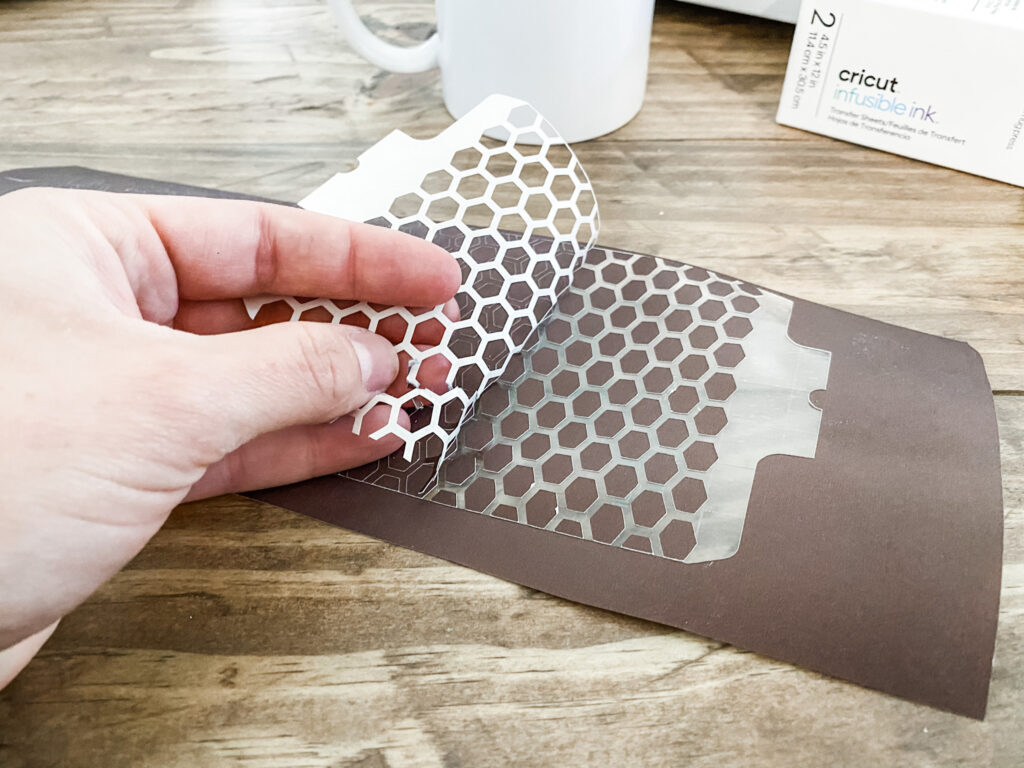
- Cut and weed your design.
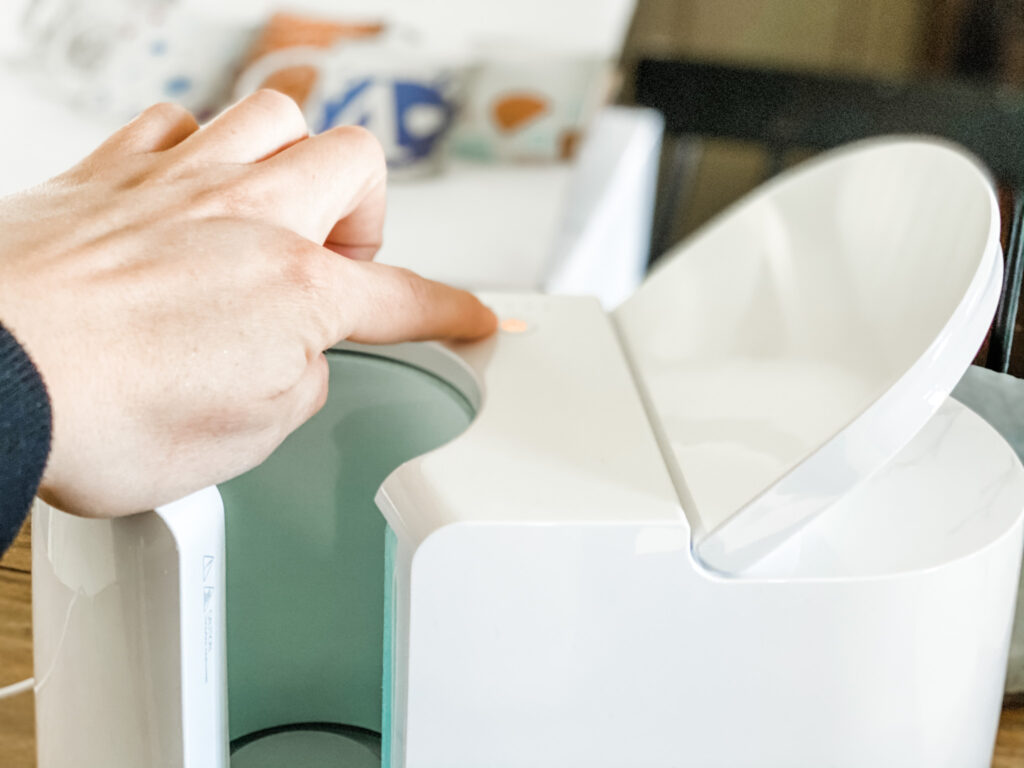
- Turn on your Mug Press by pressing the power button. The machine will beep when pre-heated and ready for use.
- Wipe off your mug with an alcohol wipe.
- Run a lint roller over your mug.
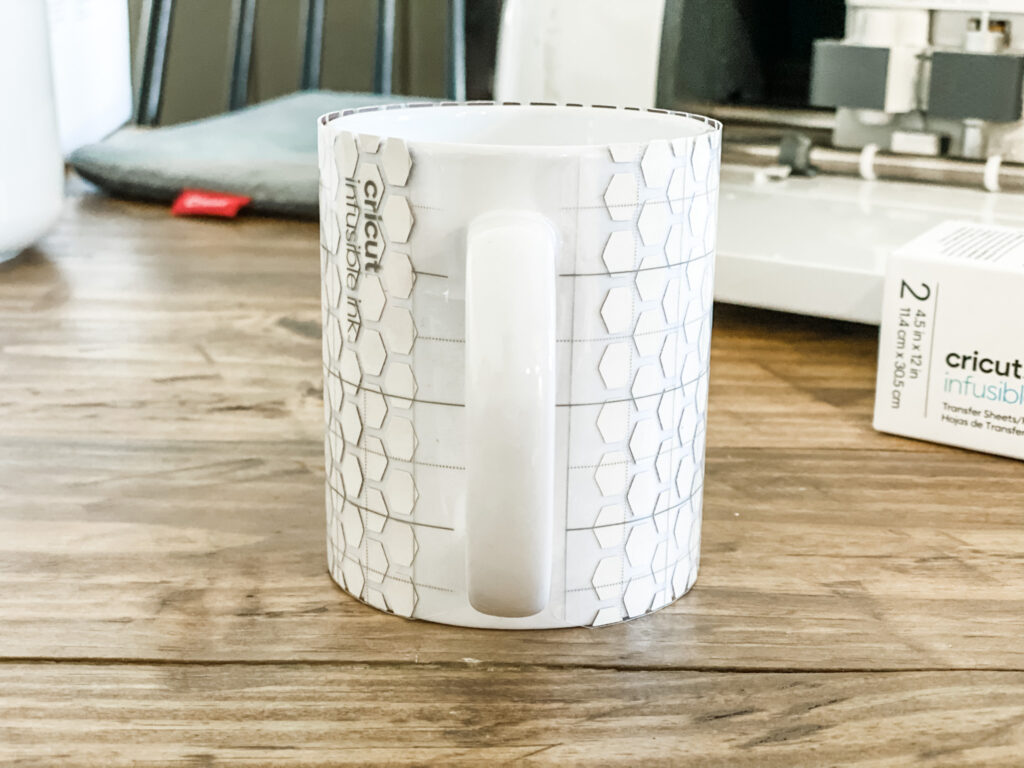
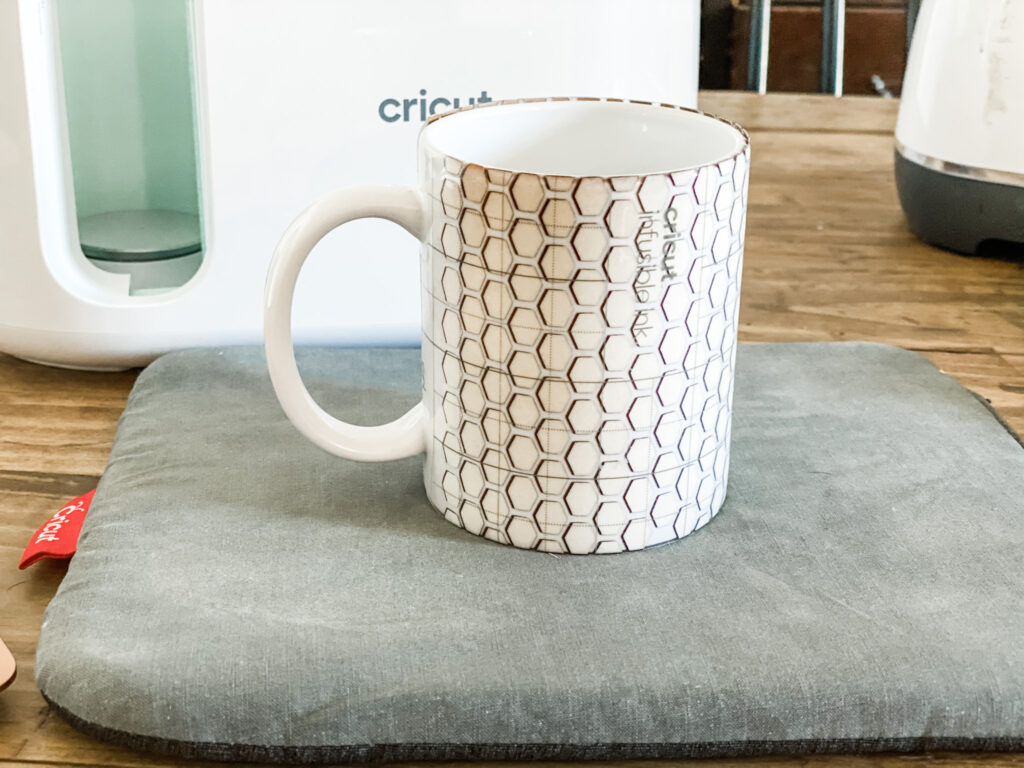
- Apply your design, centering the tabs with the mug handle.
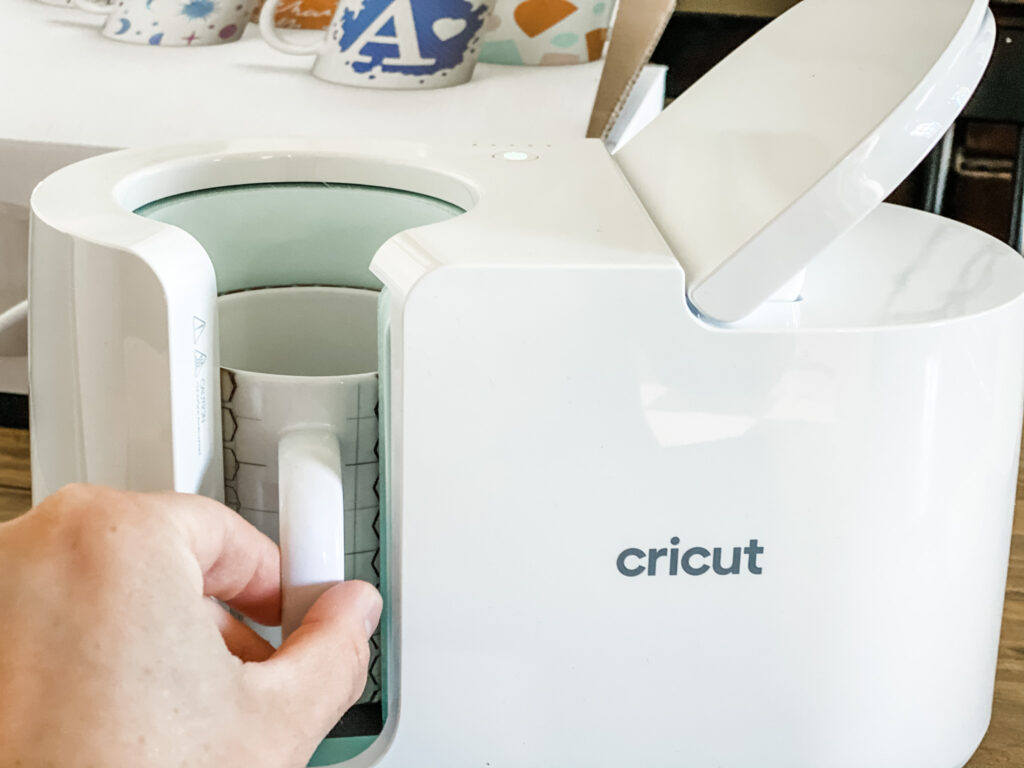
- Put your mug into the Mug Press and press down on the lever.
- Once your mug is finished, the machine will beep.
- Carefully remove your mug, only touch the handle.
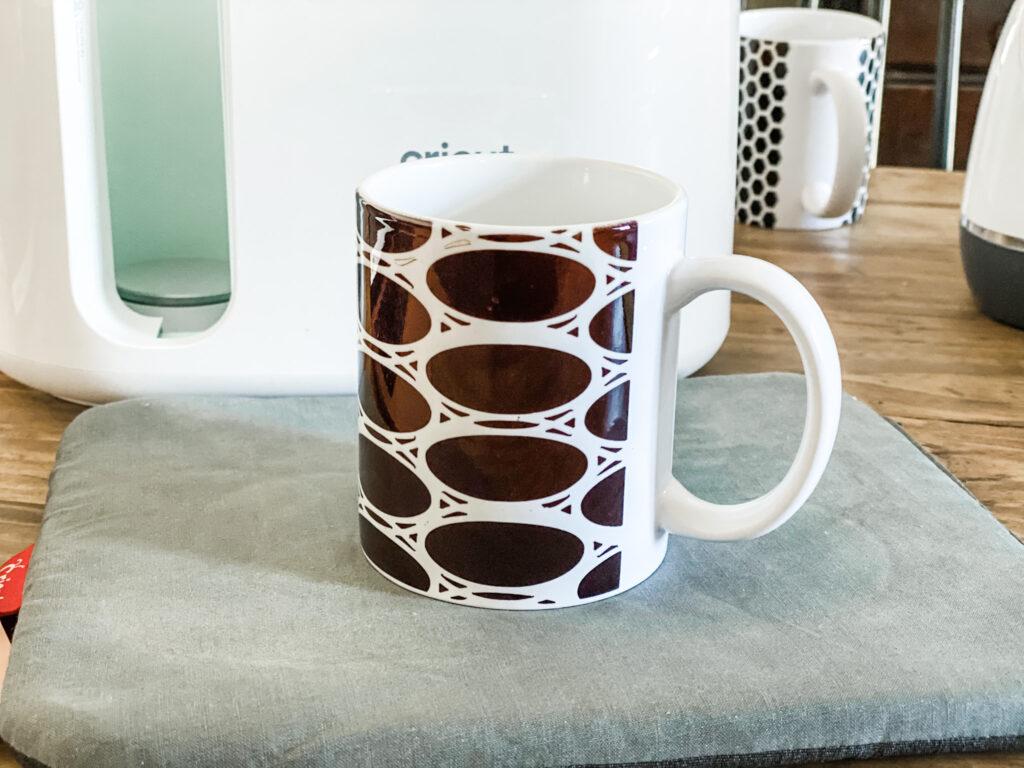
- Set it on your Heat Press Mat and allow it to cool for several minutes.
- Once cool enough to handle, remove your Infusible Ink wrap and admire your perfect new mug!!
See the photos below for clarification.

- Use the Cricut Mugs as they are for this specific machine.
- Wipe off the mug with an alcohol wipe AND lint roller to ensure no debris is left on the surface.
- Make sure to cover every part of your Infusible Ink sheet with the plate of your Mug Press.

- Cricut Mug Press
- Infusible Ink or Infusible Ink Pens
- Favorite Cricut Cutting Machine (Explorer Air, Maker, or Joy)
- Heat Safe Tape (optional)


Leave a Reply