• Skip to primary navigation
  • Skip to main content
  • Skip to primary sidebar
  • Skip to footer
Clover Lane
  • Home
  • About Clover Lane
    • Legal Disclaimer
  • DIY
  • Home Decor
  • Recipe Box
    • Appetizers
    • Dessert
    • Drinks
    • Entrees
    • Sauces and Dressings
    • Side Dishes
  • Welcome to Clover Lane All Things DIY and Home

Home » Coasters and Bag with Cricut Infusible Ink

Coasters and Bag with Cricut Infusible Ink

July 9, 2019 by Sadie Leave a Comment

Friends your summer just got better! we are sharing the cutest coasters and bag with cricut infusible ink! prepare to have your mind blown away by this awesome infusible ink product!
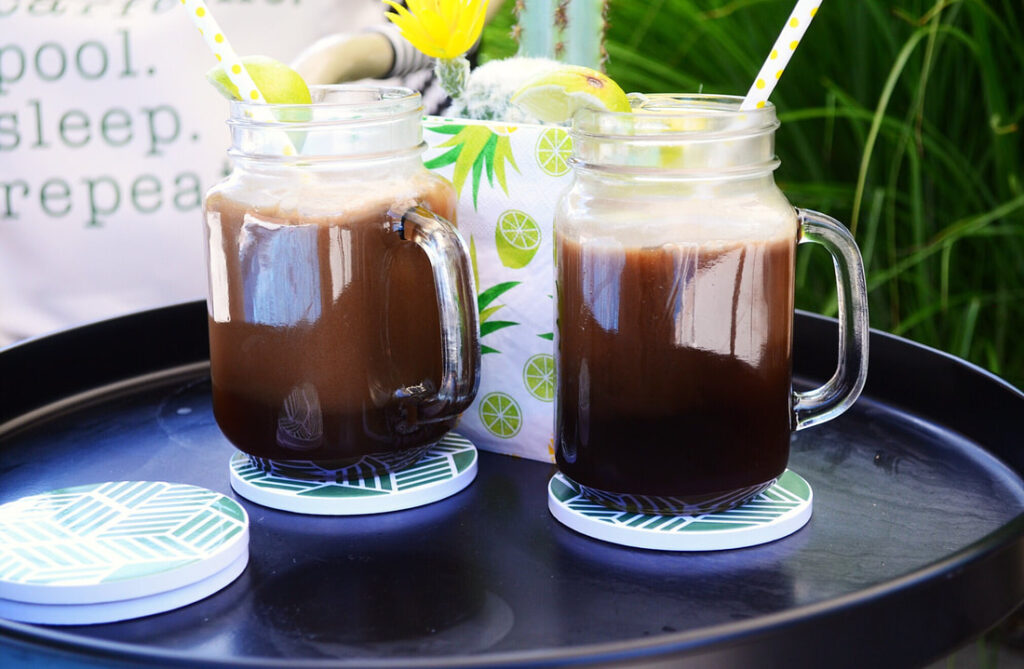
COASTERS AND BAG WITH CRICUT INFUSIBLE INK

This is a sponsored conversation written by me on behalf of Cricut. The opinions and text are all mine.
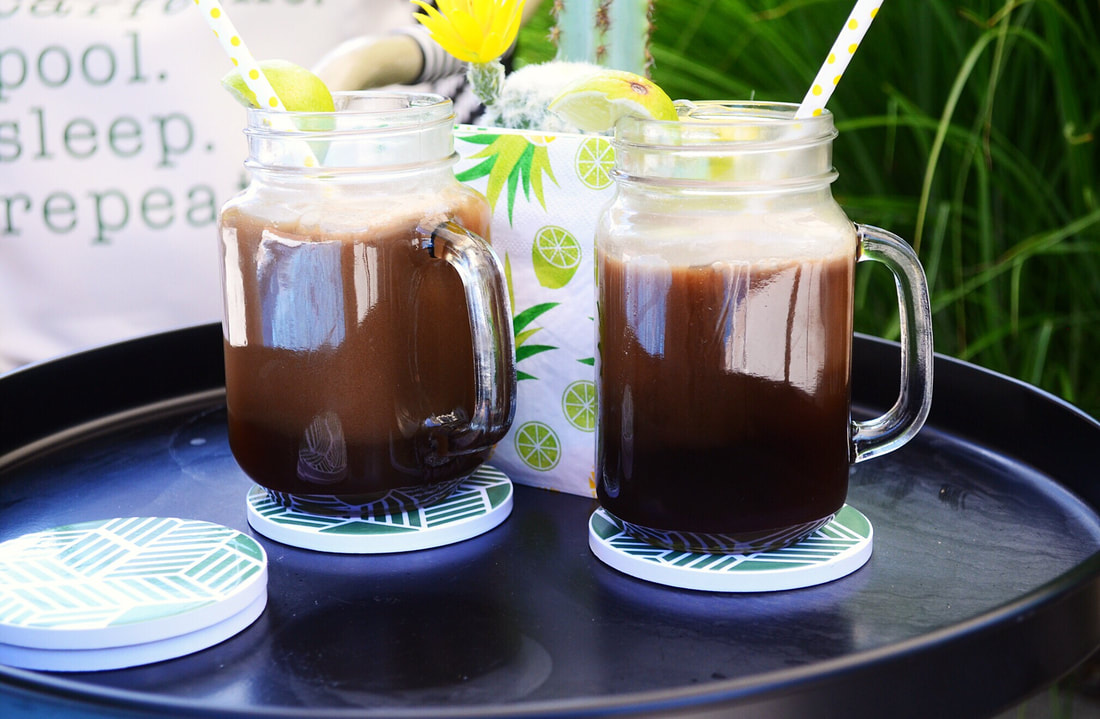
I want to start this post by telling you that I love heat transfer and making my own t-shirts, bags, etc. However, in my case, heat transfer wears out over time. That doesn’t stop me from using it, but when I heard that Infusible Ink “infuses” into your canvas and is permanent, I was intrigued. Haven’t heard of Infusible Ink yet? A permanent version of “heat transfer” that becomes part of the fabric or medium you are using. Yep, that's right!! You can pull on the fabric and wash away...it won’t be going anywhere! is professional level people!! Today we get to share with you 2 different ways to use the cricut Infusible Ink using ceramic coasters and a canvas tote bag. I really wish I could use emojis to show you how freaking excited I am about this stuff. IT’S AMAZING!!!! Without further ado "Coasters and Bag with Cricut Infusible Ink!"
 
Picture

 
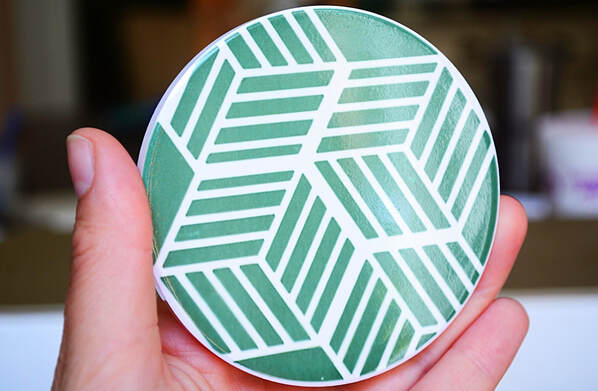
You'll love your Coasters And bag With Cricut Infusible Ink! Let’s start with the coasters because they look so good, you’d think I bought them at Anthropologie...basically you’d think they were from any store and not made in my very own craft room.
 

Here’s what you’ll need for this project:

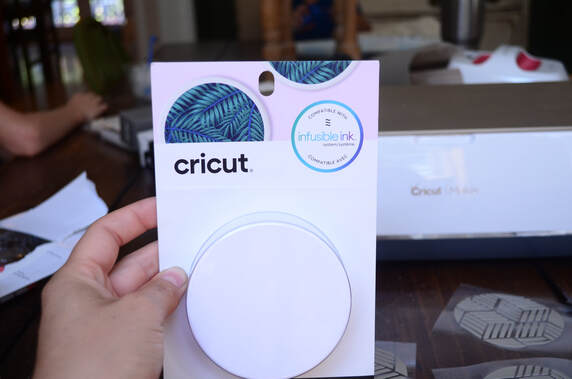
Cricut Ceramic Coasters (pack of 4)
Infusible Ink (either pens or the roll)
Butcher paper (if using a roll, it comes with it)
Cardstock
EasyPress 2 (lifechanger)
Cricut Maker

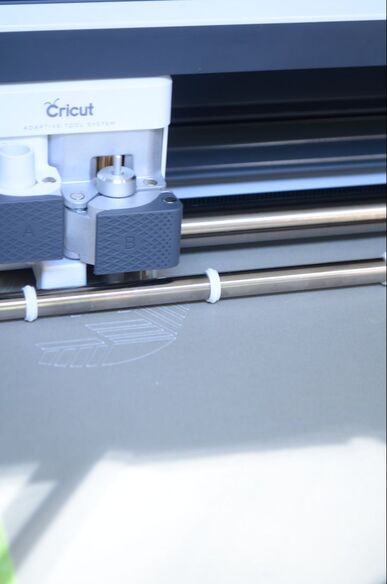
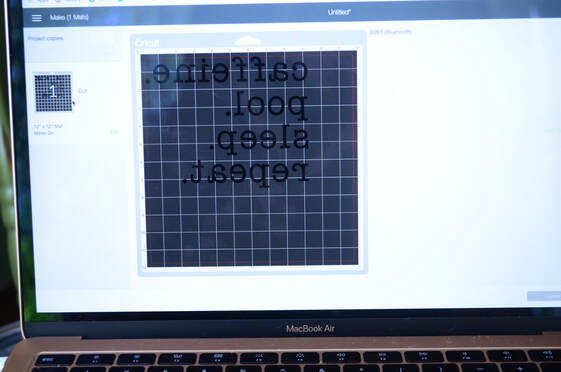
Start by choosing your design in Cricut Design Space. If you’re lazy like me, search “coasters” in Design Space...TONS of options. If you’re feeling extra creative, create your own! We used the Cube Pattern Circle Coaster found in Design Space. When using heat transfer or Infusible Ink, you select the Mirror Image option before cutting your design.
​
Picture

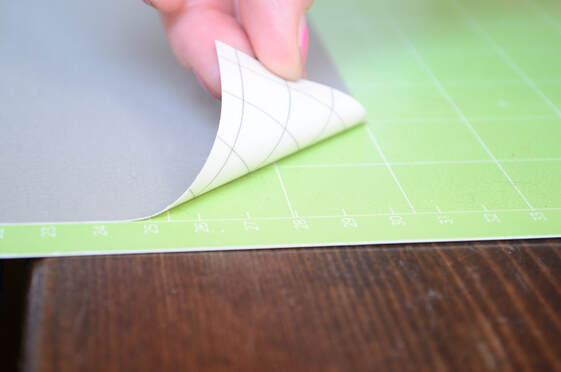
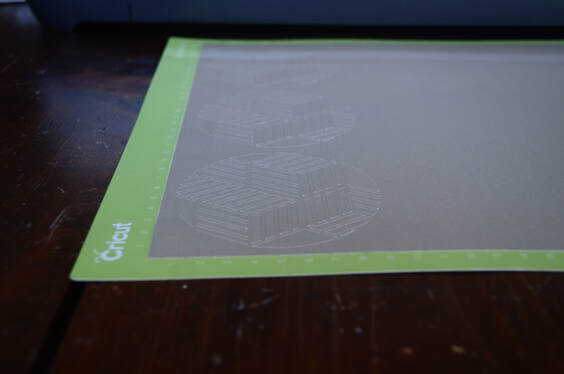
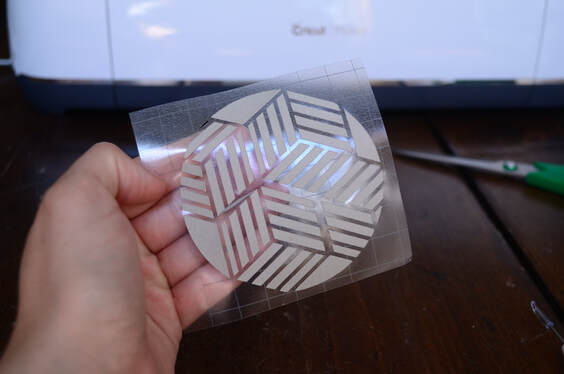
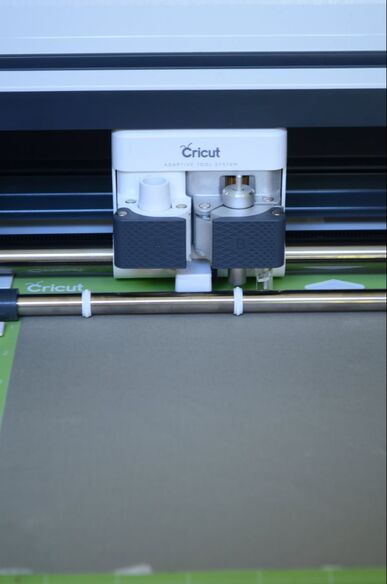
​Using the Standard cutting mat, cut out your design and weed it using your fingers or tweezers.
 
Picture

 
Picture

 
Picture

 
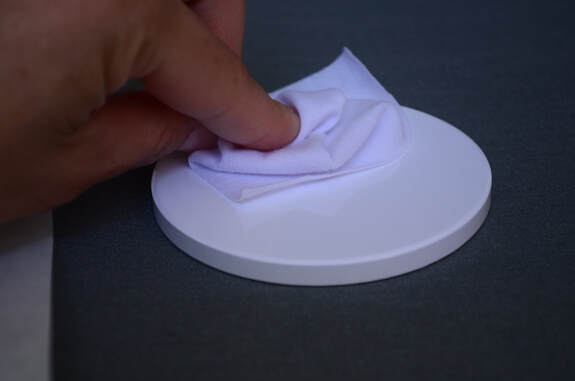
​Open your coasters and wipe them off so there is not any oil or dust on the ceramic. **On that note, be cautious when handling your Ink sheets as your fingerprints can ruin the sheet! I may or may not know this from personal experience...
 
Picture

 
Picture

 
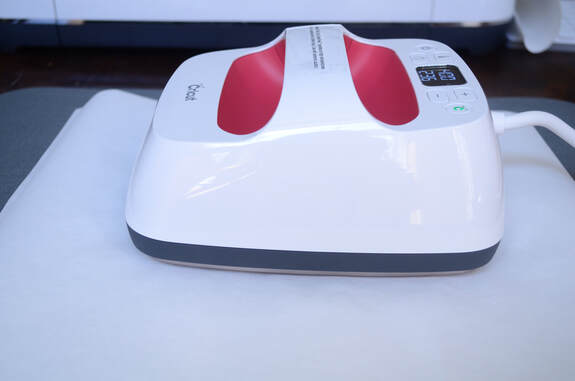
Now, preheat your EasyPress 2 to 400 degrees Fahrenheit. For reference, pull up the EasyPress heat guide. It’s a fabulous resource and I use it often. It gives a detailed description on temperature, time, and how to layer your heated projects.


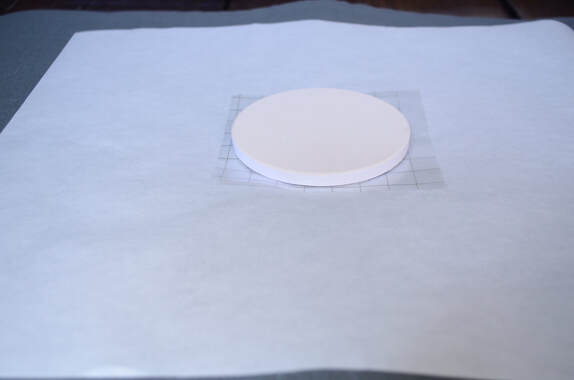
Here’s the rundown on layering for the coaster project:

EasyPress mat
Cardstock
Weeded Infusible Ink design
Coaster
Butcher paper (included with the sheets of Infusible Ink)
EasyPress 2

Now that everything is layered, set your timer for 240 seconds and let the EasyPress do its thing. After your timer beeps, remove the EasyPress and let the project sit for a good 8-10 minutes before you touch it. This is because the coaster gets HOT. It can be tempting to want to peek at it, but it’s not worth getting burned.

​

Picture

 
Picture
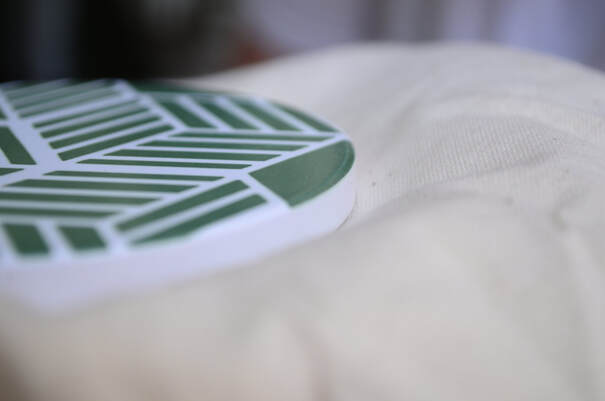
Once it’s cooled, you get to stare at the coolest Cricut project you’ve ever made. You’ll want to touch it and look at it from every angle. You’ll want to show everyone you know...because it honestly is THAT cool!
​
Picture

 
Picture

 
Let’s move on to the tote.

Here are the supplies you’ll need:

Cricut Tote (make sure it has the Infusible Ink badge on it)
Infusible Ink Transfer Sheet
EasyPress 2
Cardstock or small piece of cardboard to stuff inside your tote during ironing
Butcher Paper (included with the sheets of Infusible Ink)
Lint Roller

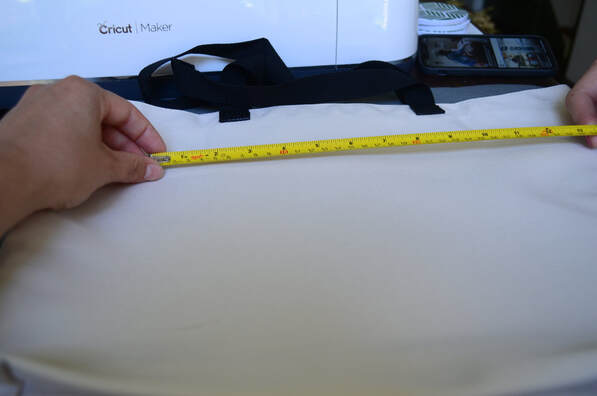
Measure the area of the tote you’d like to cover with your design.

Picture

​We are going to follow the same basic instructions that we used on the coaster. Pick your design and cut it out (don’t forget to select mirror image).
 
Picture

 
Picture
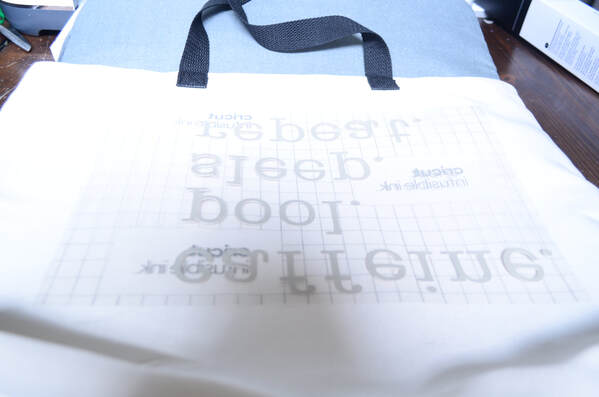
Once it’s weeded, preheat your tote using the EasyPress to remove any moisture. Next use your lint roller to remove any debris. Don’t see debris….use the lint roller anyway! This is a very important step not to be overlooked! 

Go to the EasyPress heat guide and use it for reference again. Layer this project as such:

EasyPress mat
Tote (***with a cardboard or cardstock stuffed inside it***)
Weeded Infusible Ink design
Butcher paper
EasyPress 2

Picture
​Set your temperature to 385 degrees Fahrenheit and timer to 40 seconds. Once finished, peel off the clear design backing and admire your work!! Give it a good feel and stretch so you can see how truly awesome the ink is. Think of all of the possibilities for this stuff!!! It’s crazy!
Picture

 
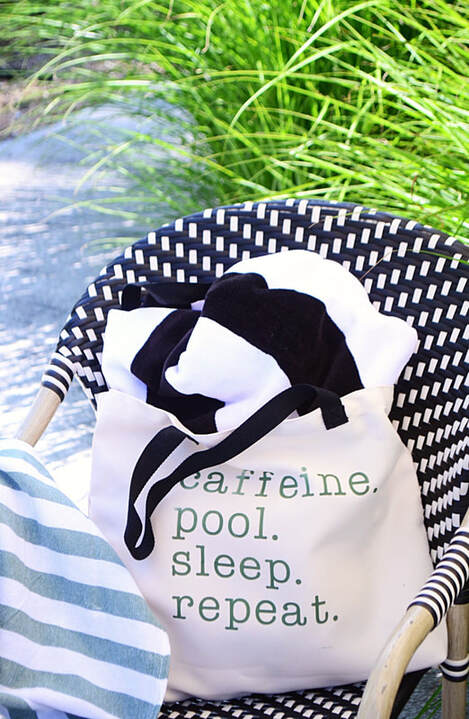
I’m getting some serious mileage on my pool tote this summer!

Thanks for stopping by and please let us know if you have any questions. Happy Crafting!

Pin it!

Cricut Infusible Ink makes waterproof coasters and tote bags that last a lifetime!


Filed Under: DIY

Pages

  • About Clover Lane
  • ALL THINGS HOME
  • Legal Disclaimer
  • Privacy Policy
  • Recipe Box
  • Welcome to Clover Lane All Things DIY and Home
  • Welcome to Clover Lane...we're happy you stopped by!

Reader Interactions

Leave a Reply Cancel reply

Your email address will not be published. Required fields are marked *

Recipe Rating


This site uses Akismet to reduce spam. Learn how your comment data is processed.

Primary Sidebar

About Us

Welcome to Clover Lane! We are Cassie and Sadie-- A sister DIY duo with serious "go get 'em" personalities. We take boring rooms and make them not-so-boring by knocking down walls and getting stuff done!! Oh, and we LIVE to eat.

Footer

Copyright © 2025 Clover Lane on the Foodie Pro Theme