
Looking for the perfect touch to finish up your Fall and Halloween Decor?! Look no further...We've got the cutest sign made with our Cricut Maker and Premium Vinyl! Follow our steps for your very own Cricut Made Fall And Halloween Sign!

This is a sponsored conversation written by me on behalf of Cricut. The opinions and text are all mine.
CRICUT MADE FALL AND HALLOWEEN SIGN
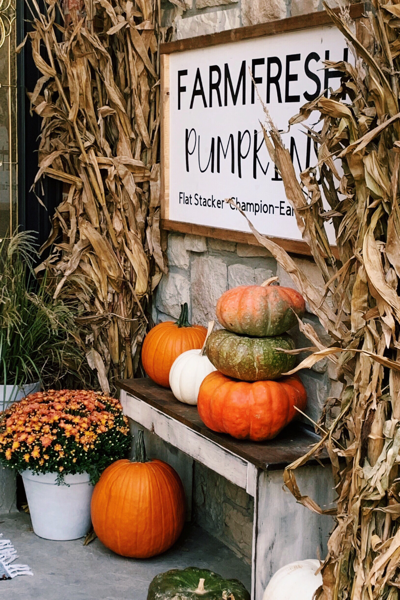
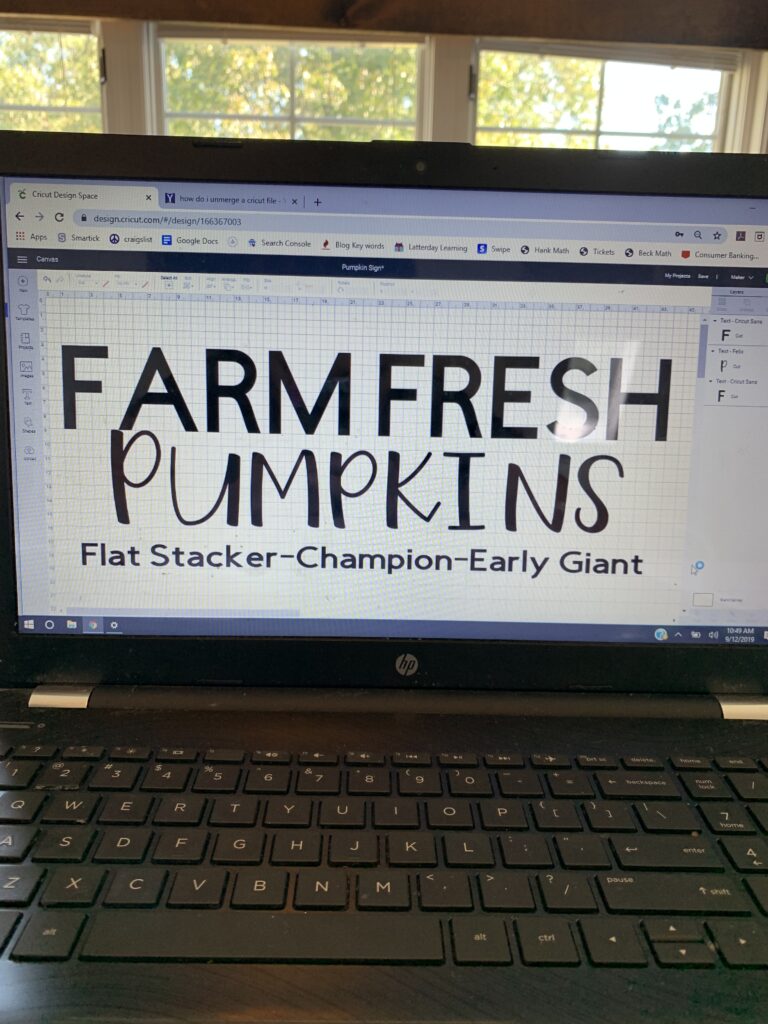
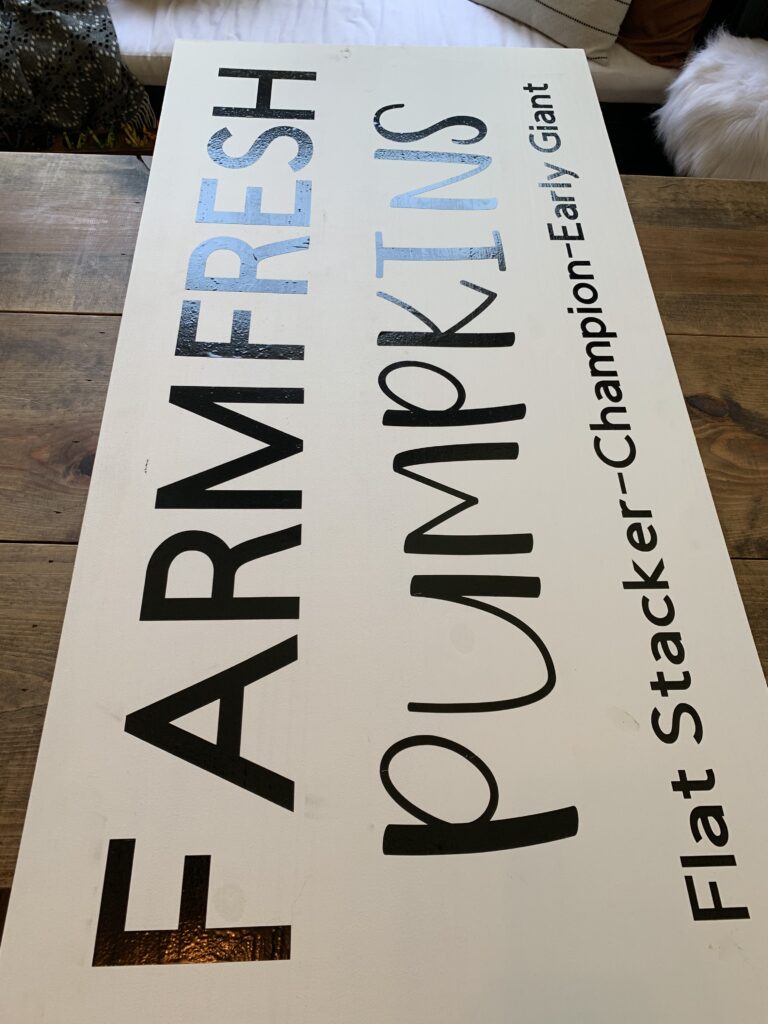
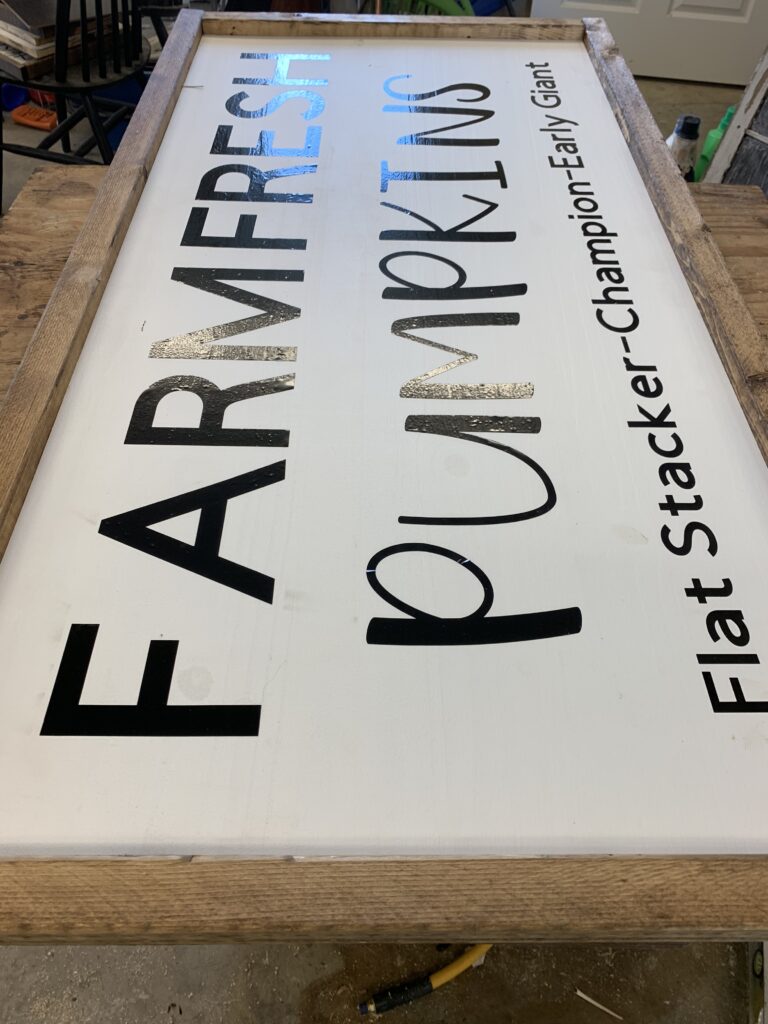
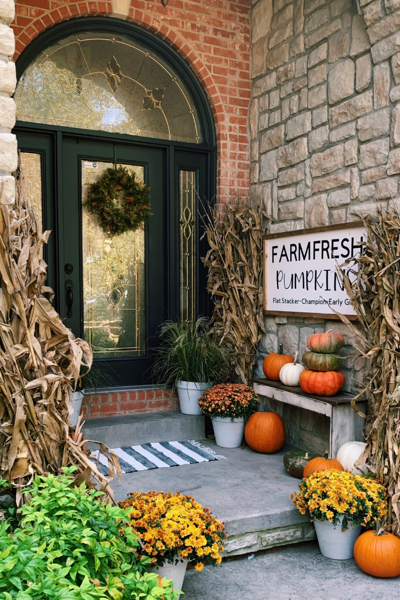
We are Cricut obsessed over here at Clover Lane! This cute "Farm Fresh Pumpkins" sign added that special touch to my Fall decor this year and I couldn't love it more than I do! It is such a simple sign to make. Have you ever used Premium Permanent Vinyl before? It's easy and quick! Whip up one of these darling signs for your Fall Porch! A Cricut Made Fall And Halloween Sign is just what you need in your life!
Supplies Needed:
Cricut Maker
Cricut Cutting Mat
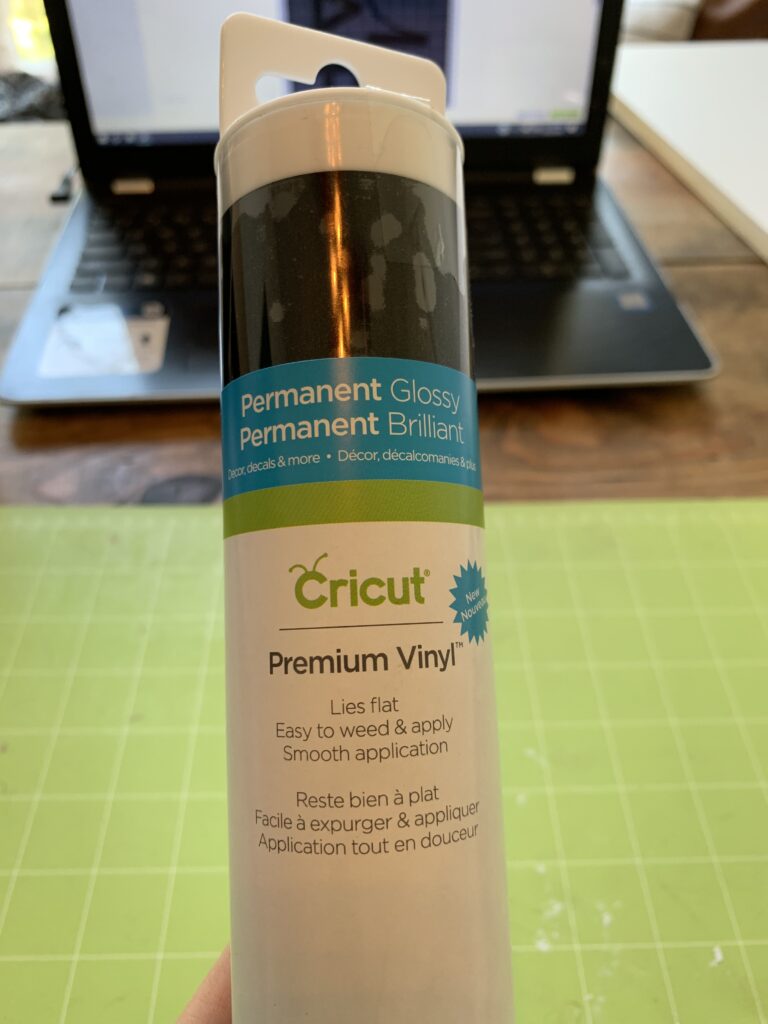
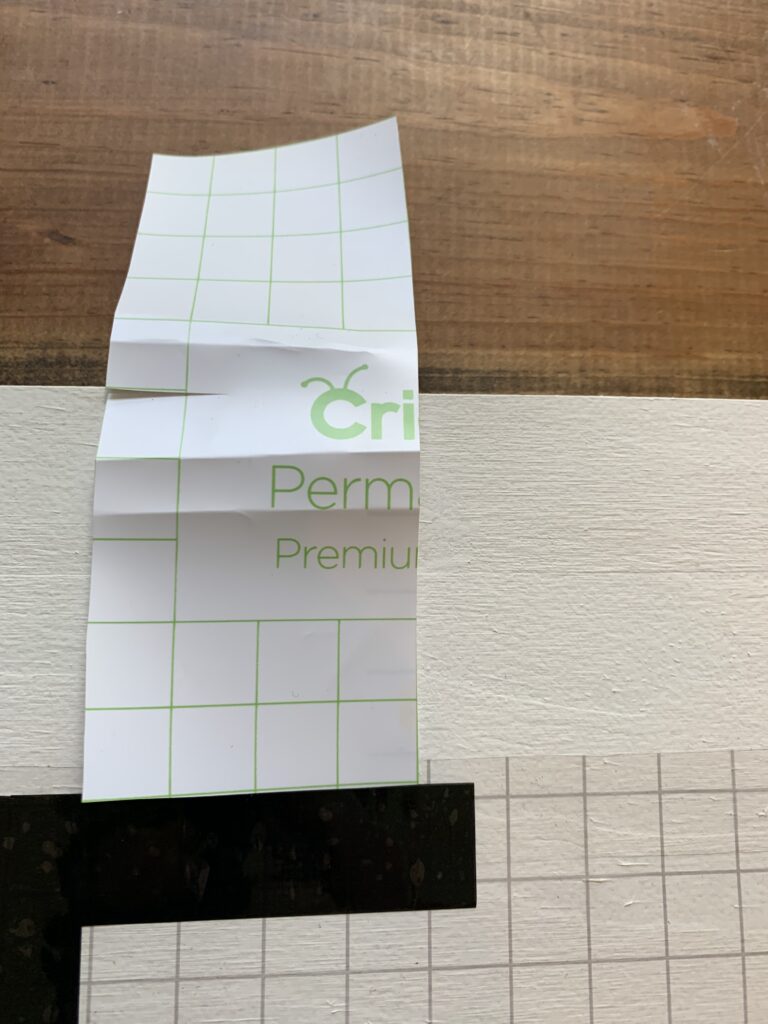
Premium Permanent Black Vinyl
Weeding Tool
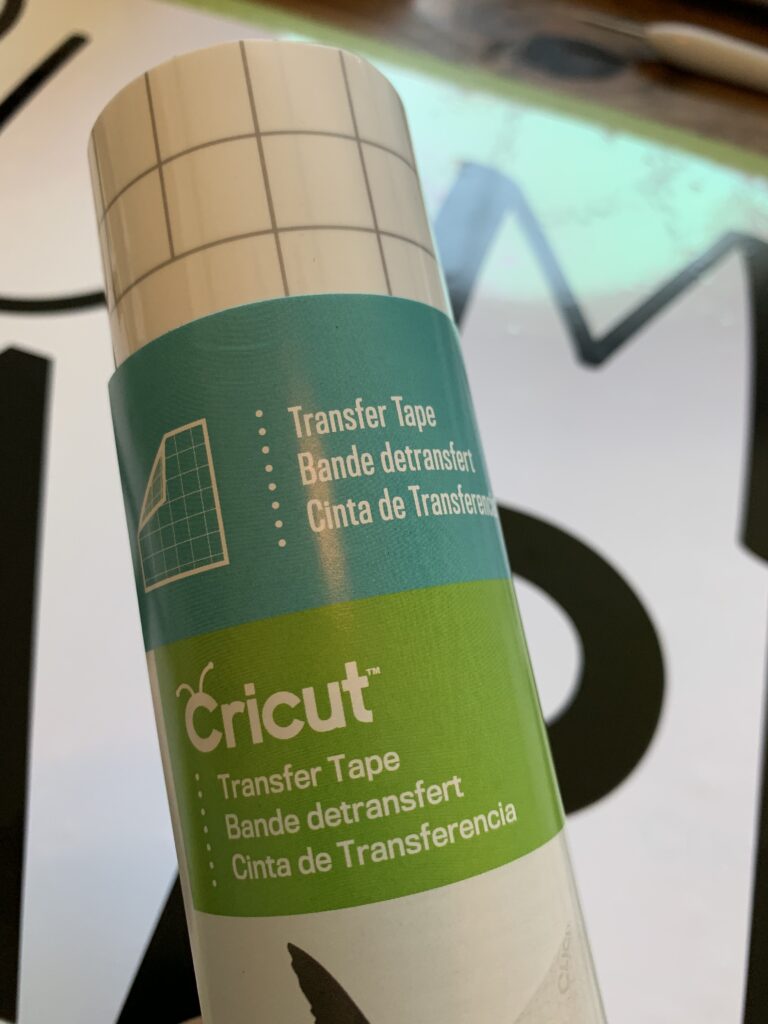
Cricut Transfer Tape
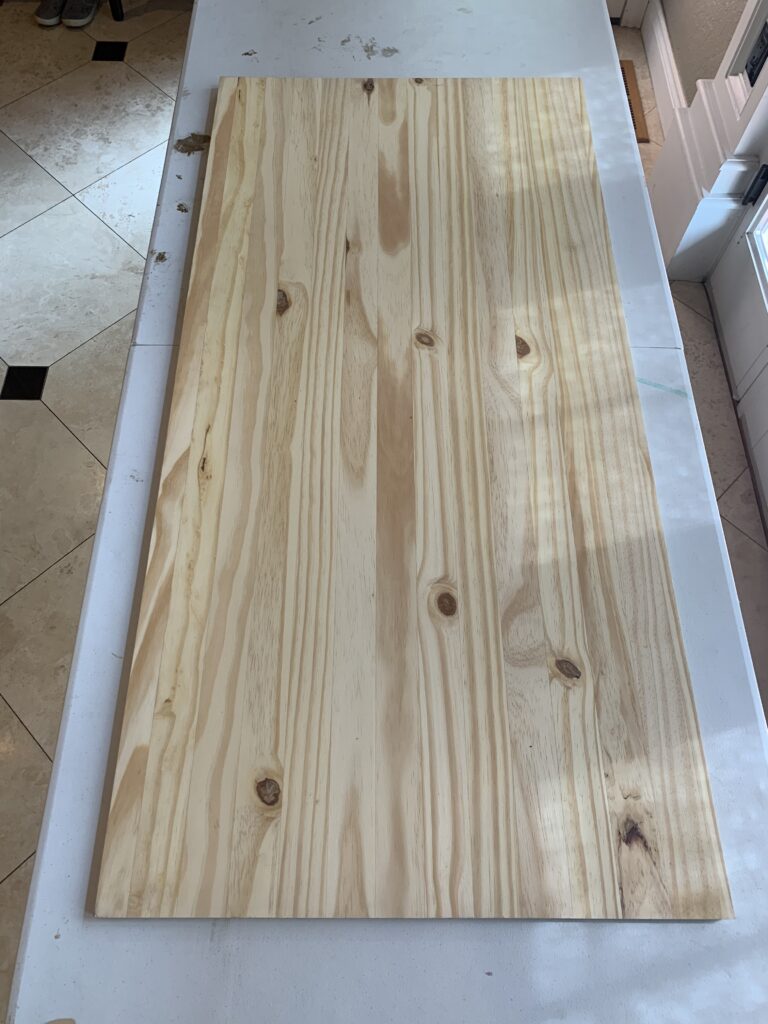
1- 24” x 48 ” Common Board
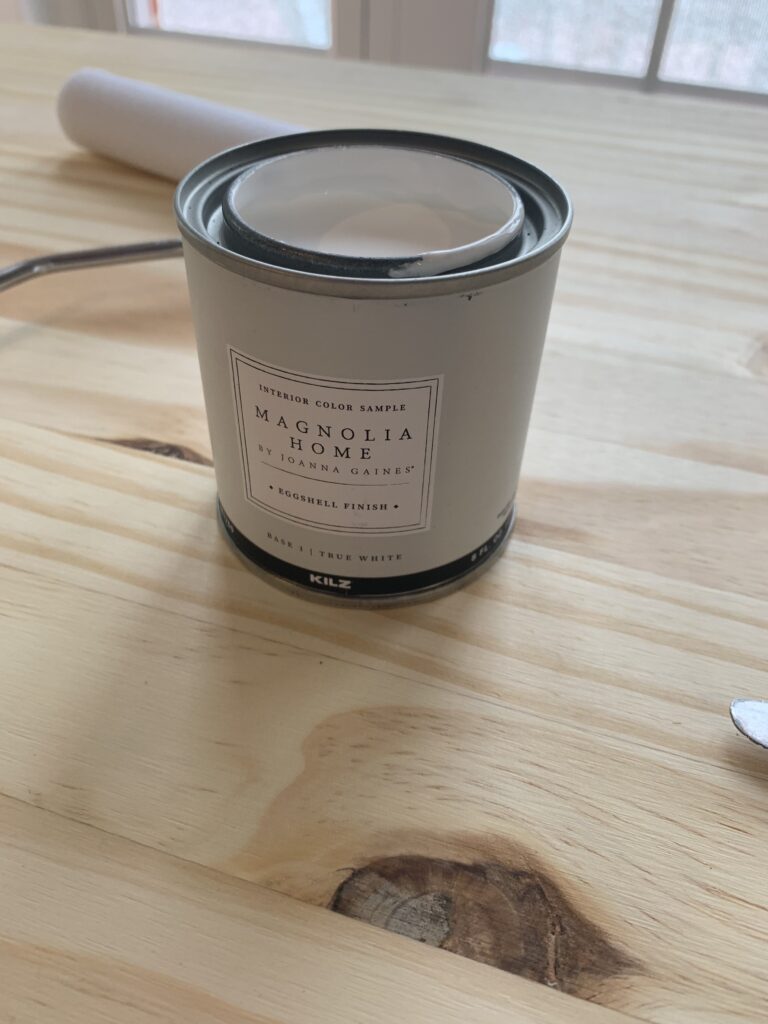
White Paint
Paint Brush or 7” Foam Roller
2- 2x2x8 Pine Boards
12” Miter Saw
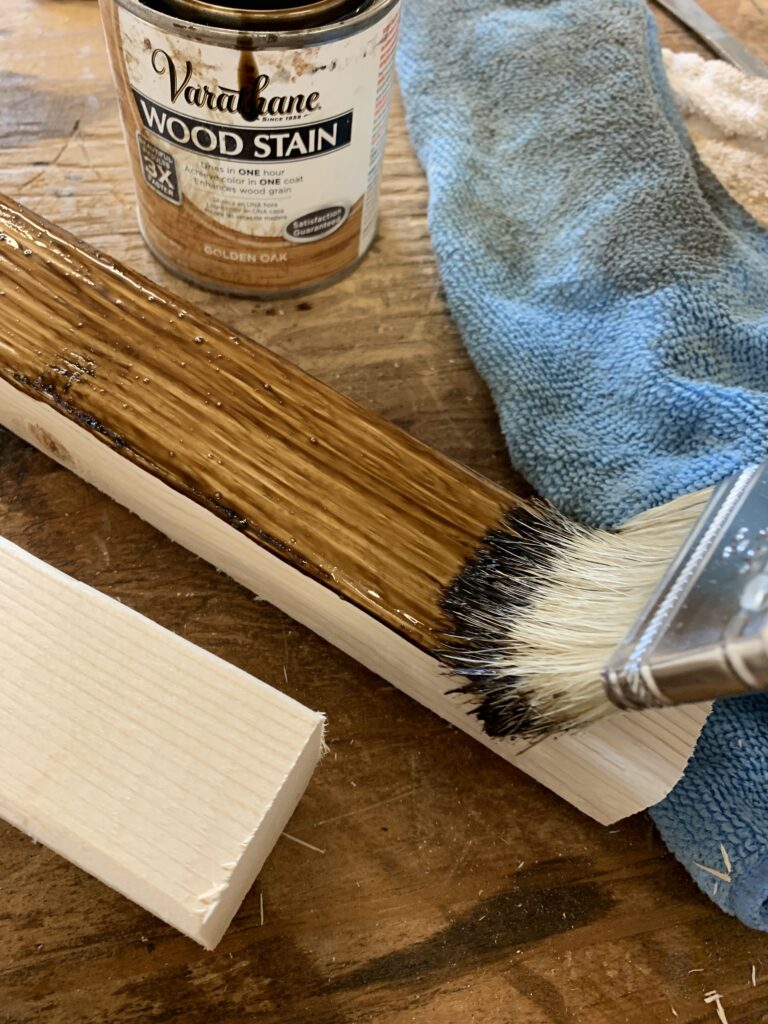
Wood Stain
Brush or Rag for Staining
16 gauge pneumatic Nail Gun
2- 2 ½ “ Pneumatic Nails
Exterior Poly Finish
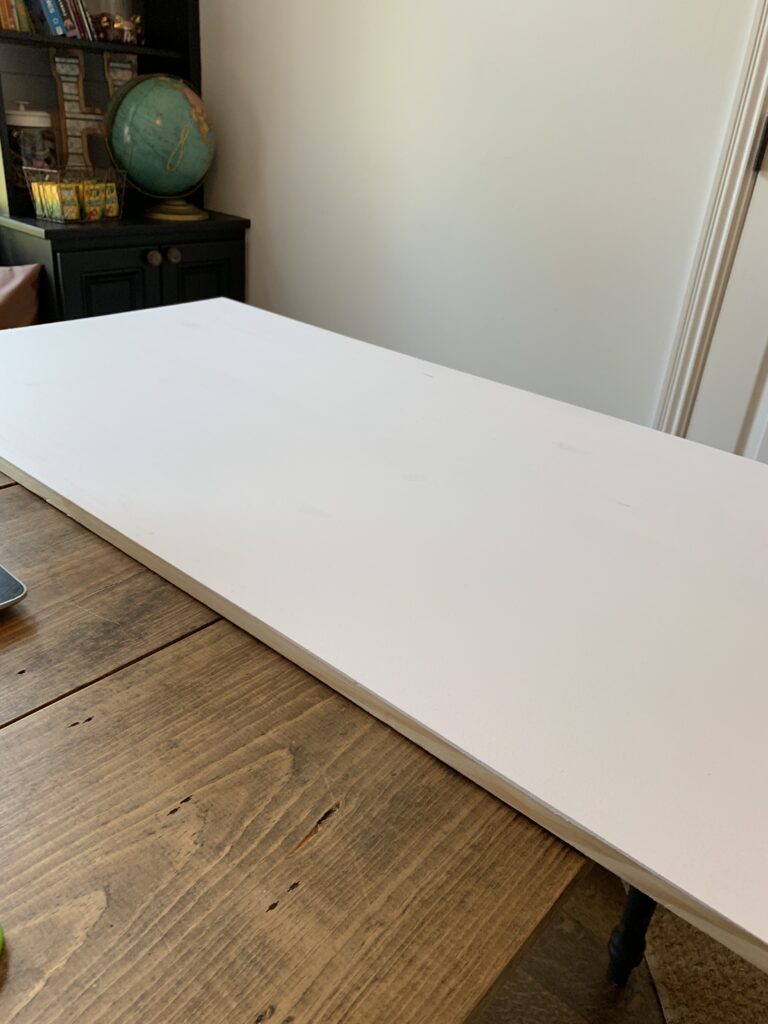
Prepping your Board
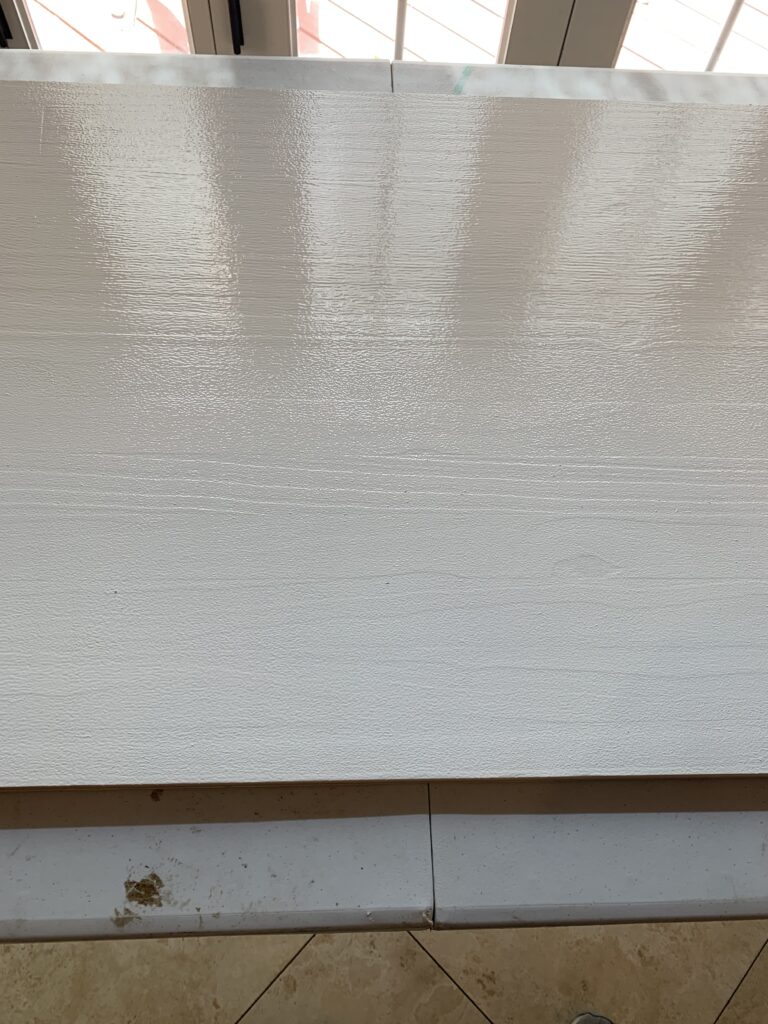
- Paint pine board with white paint.
- Allow board to dry completely.
Cutting the Permanent Vinyl
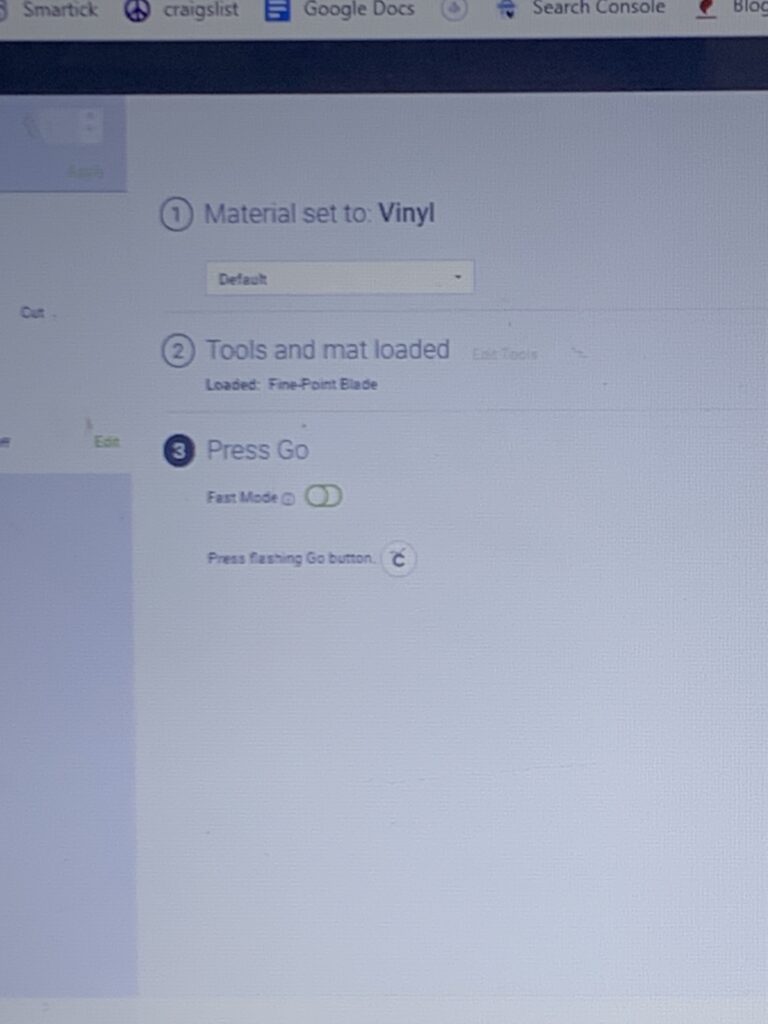
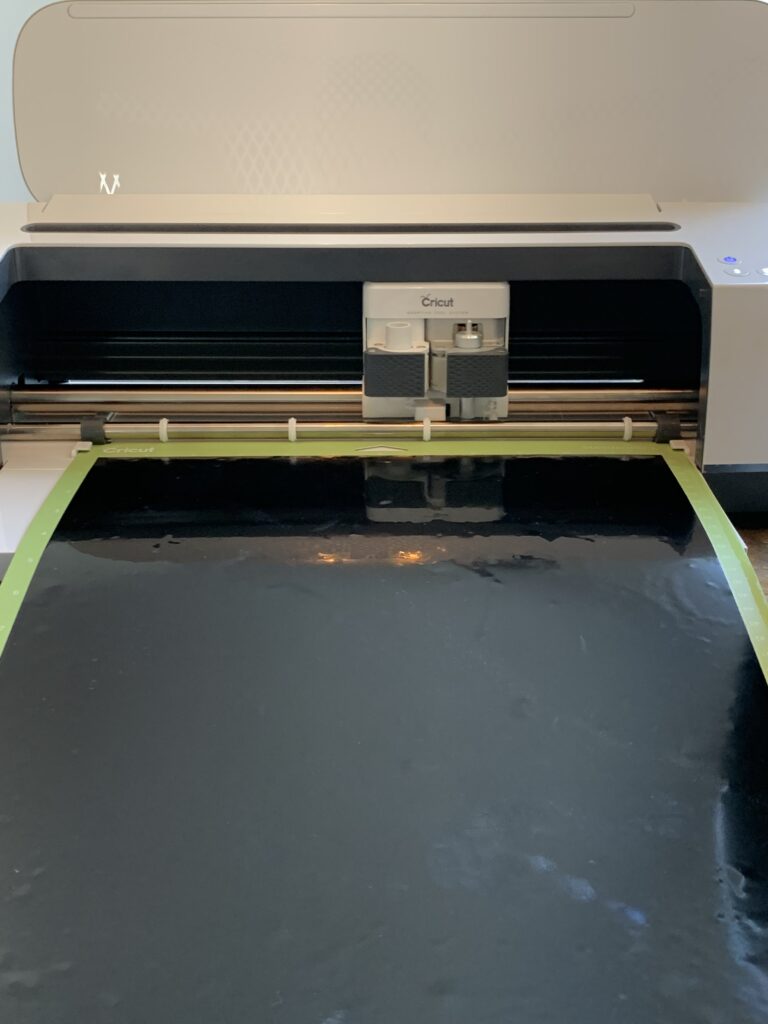
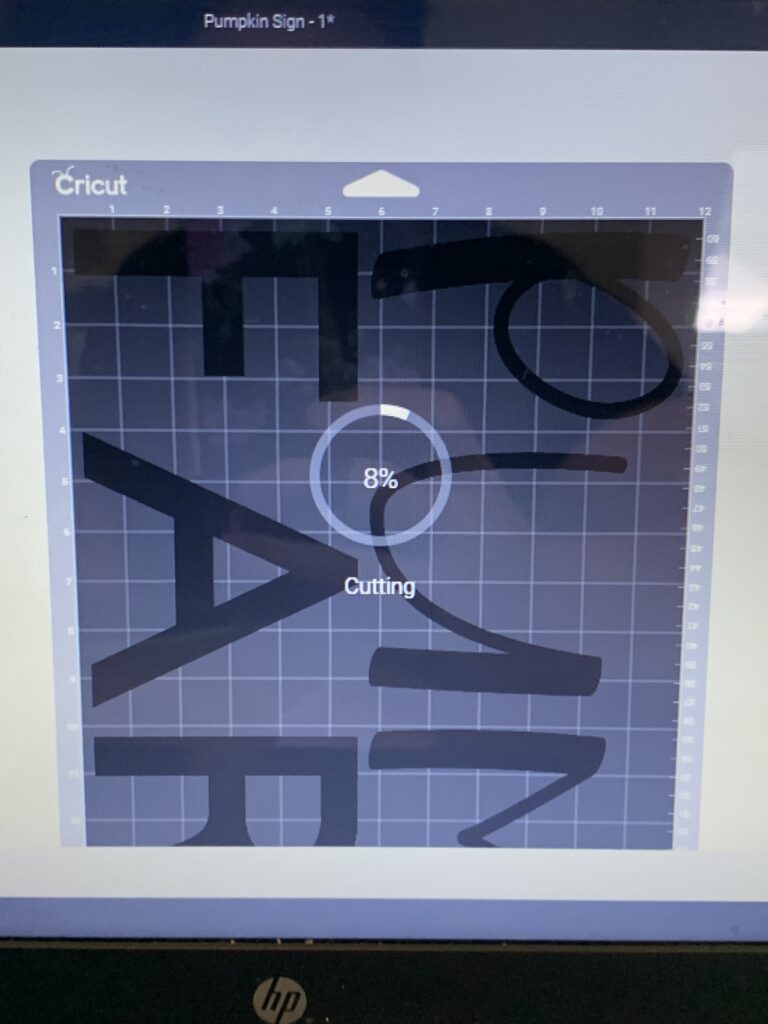
- Set up your Cricut Maker
- Open three files in the Cricut Library
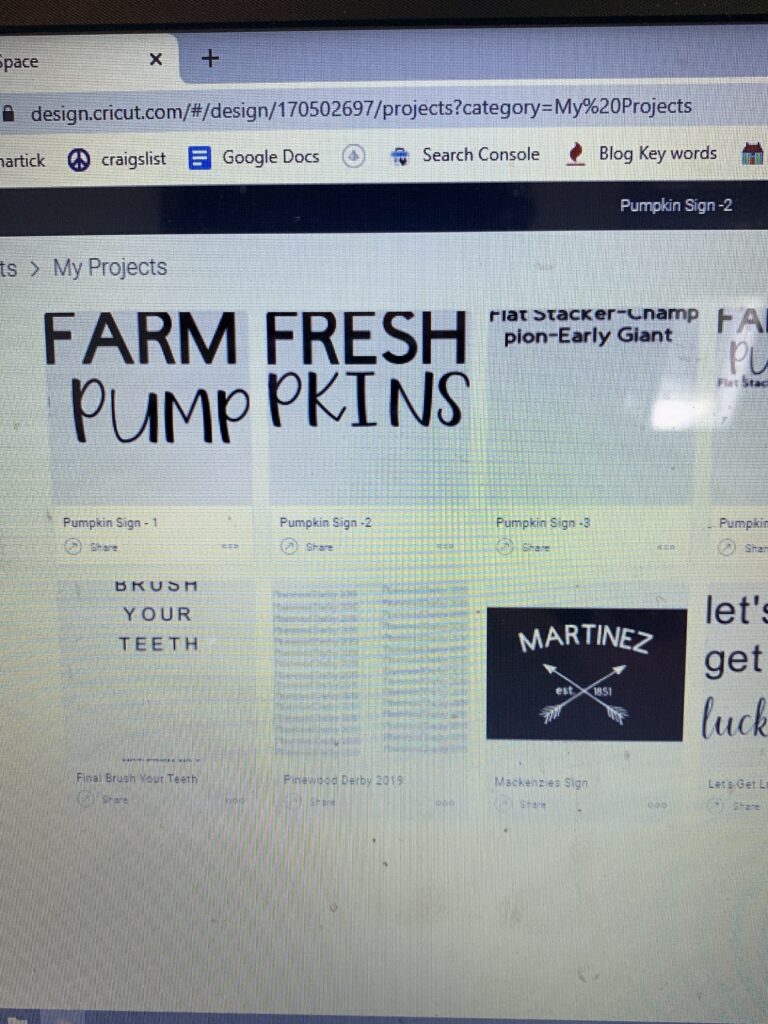
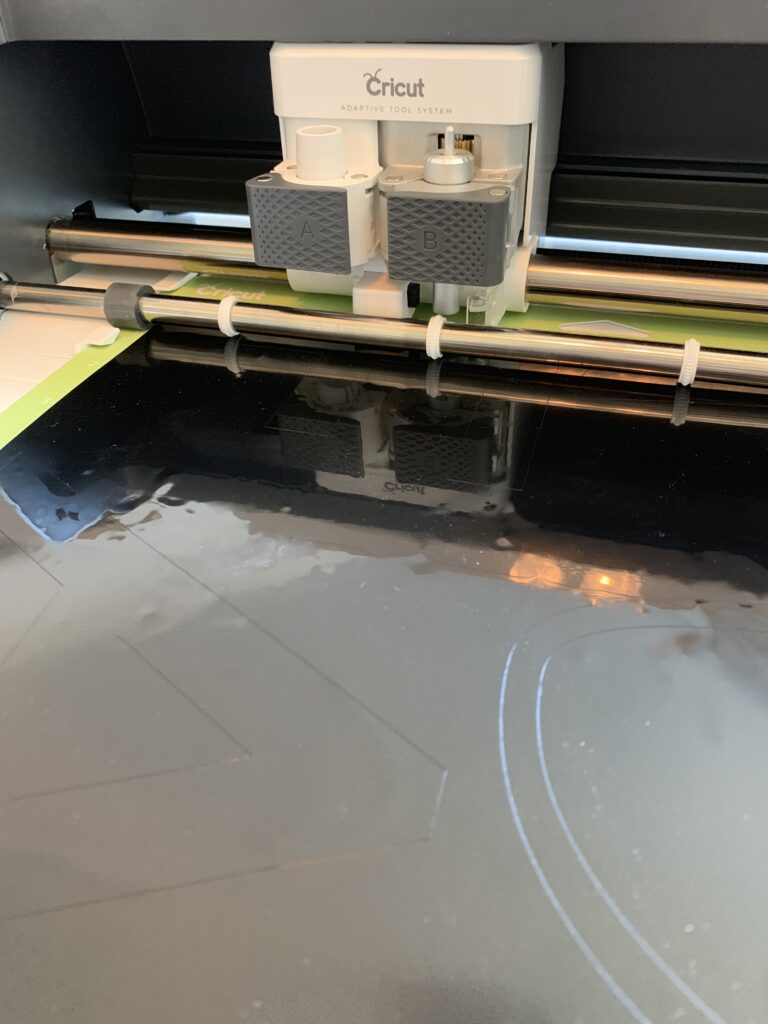
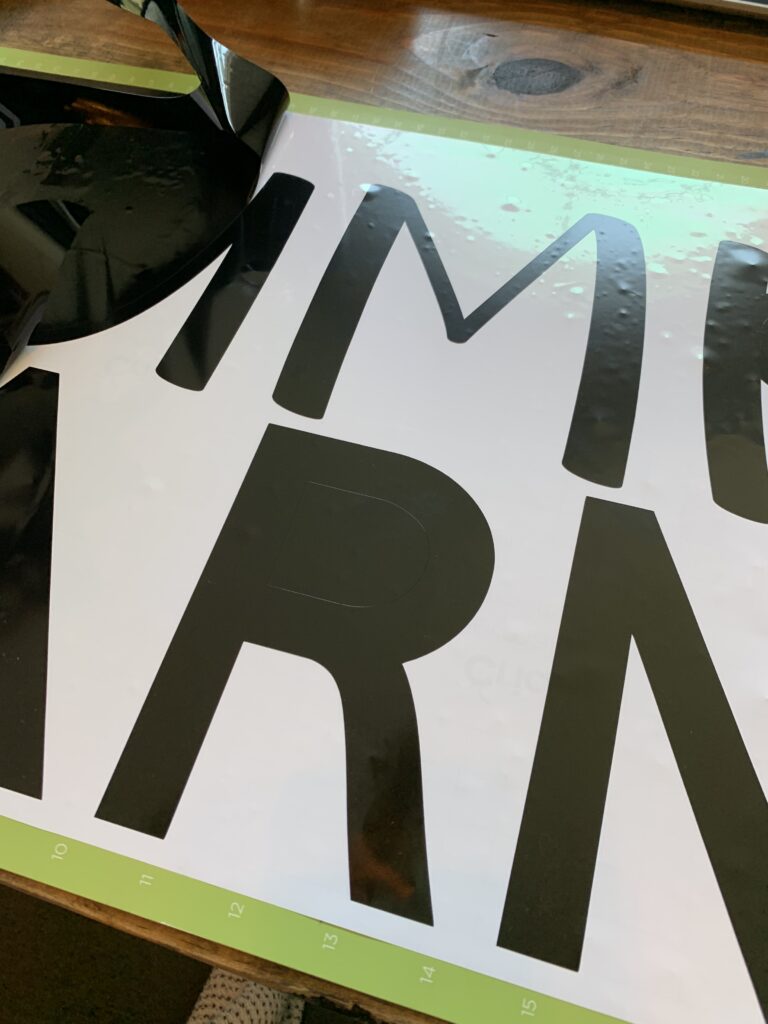
- Cut each sign using the Premium Permanent Vinyl
- We used the color Black.
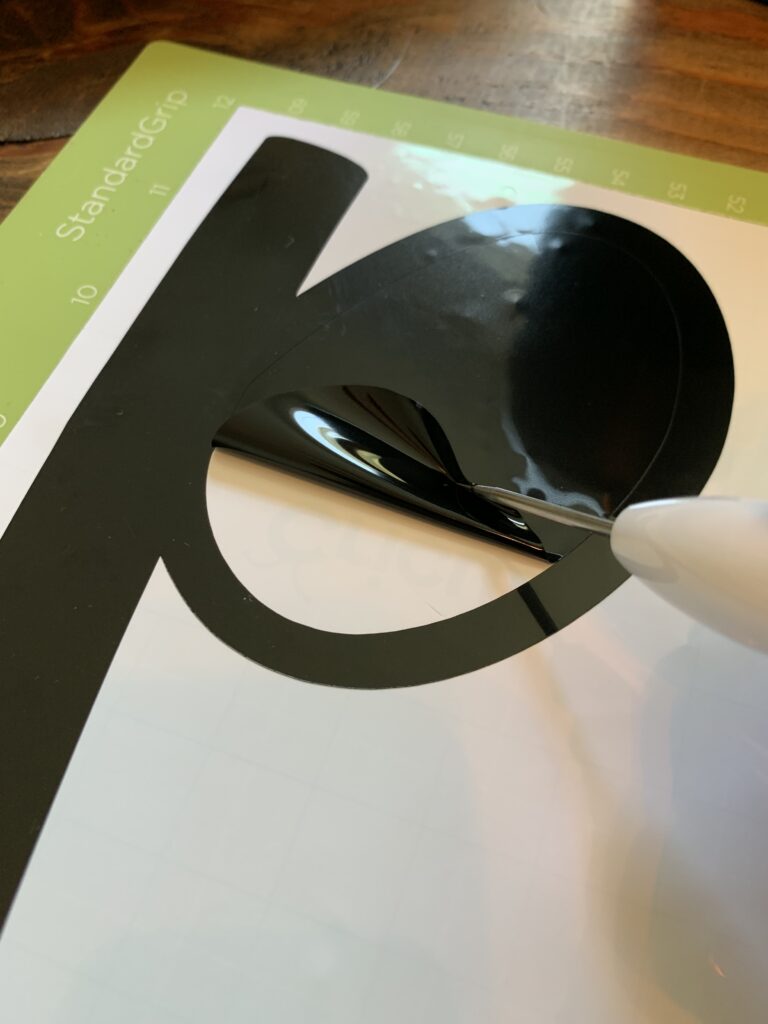
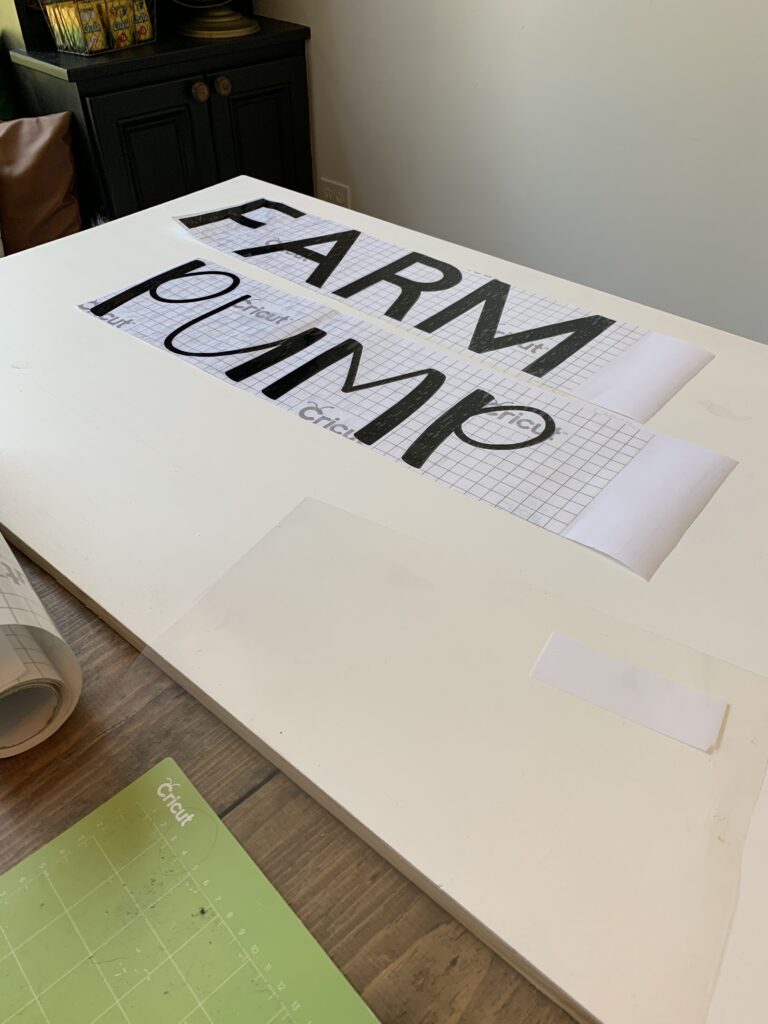
- Weed and apply transfer paper.

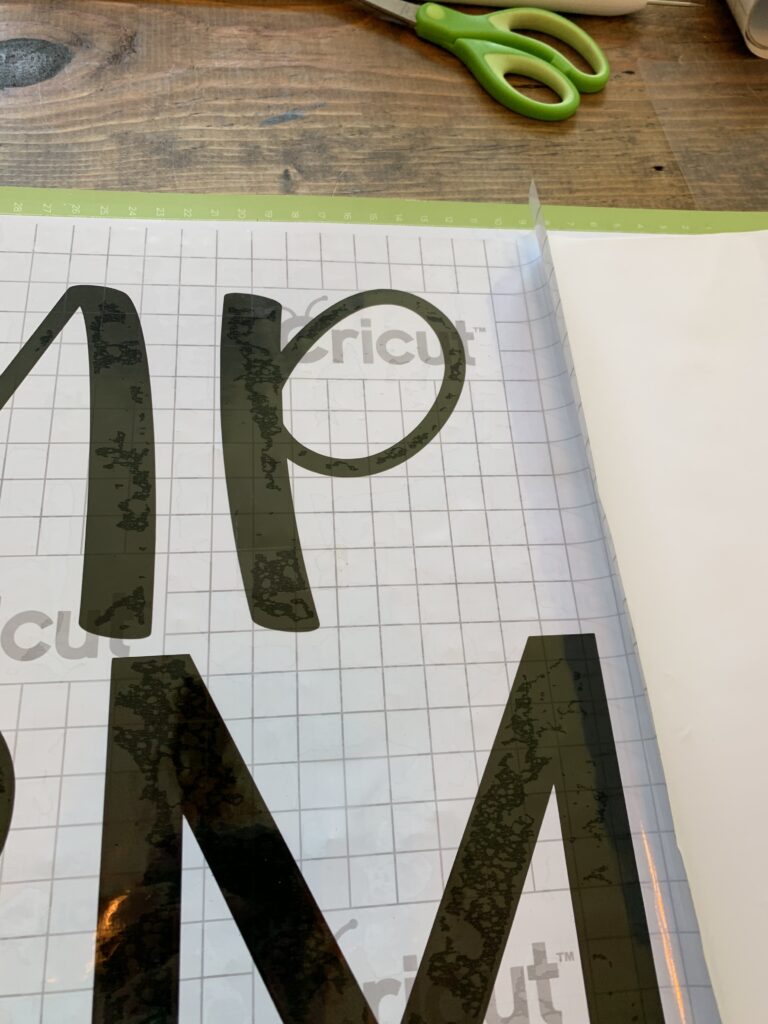
We didn’t use an exact science or measurements when laying our stencils on the board, but you are welcome to do so.
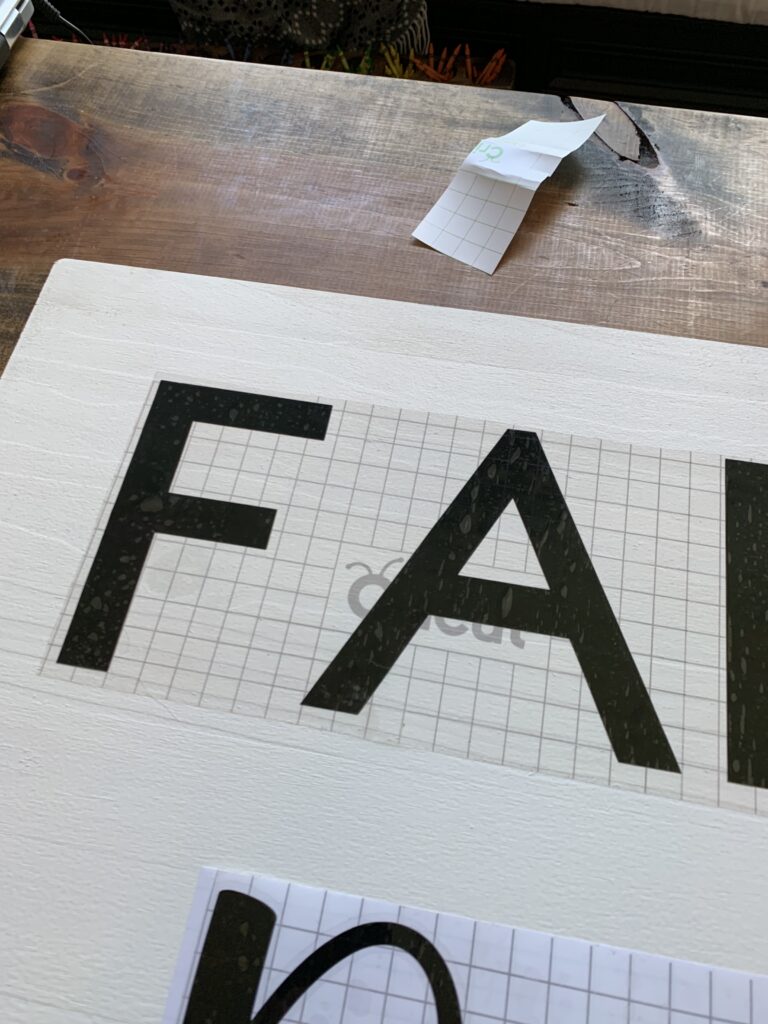
- Once vinyl is exactly where you want it on the board you need to press firmly working creases or air bubbles out of each letter.
- Next gently peel the transfer paper off the vinyl.

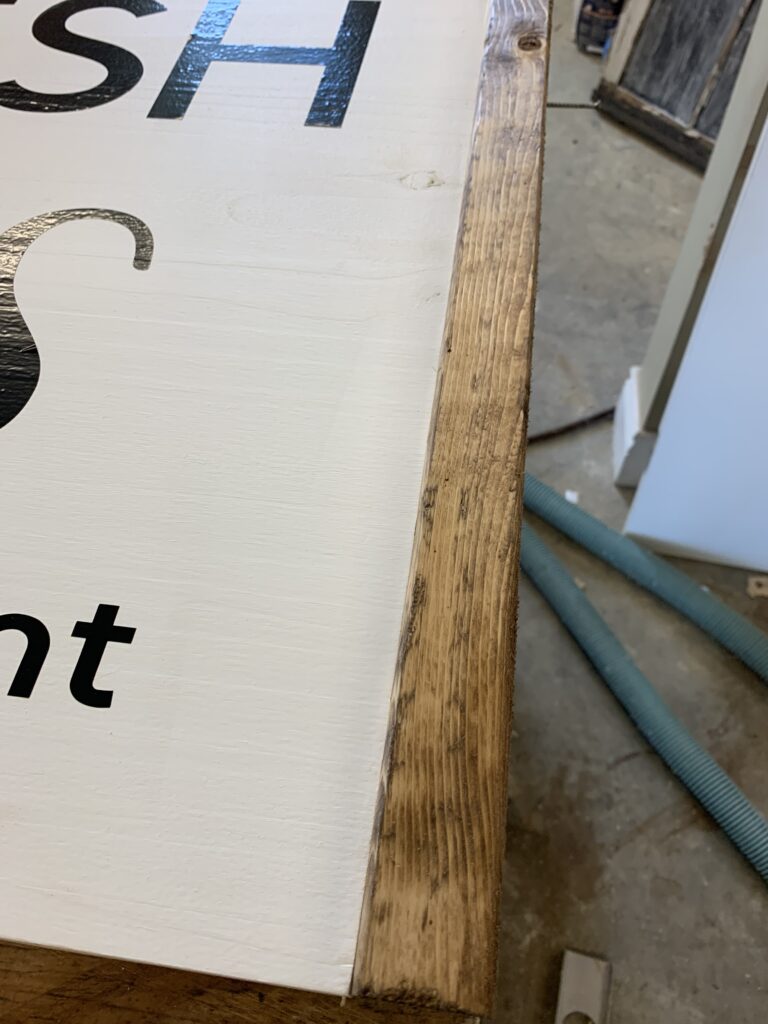
Framing
- Cut 2 2x2’s to 23.25” long.
- This will be the left and right sides of your frame.
- Cut 2 2x2’s to 51” long.
- These will be the top and bottom pieces of your frame
- Lightly sand to remove any wood splinters.
- Stain all frame pieces using either a paint brush or old rag.
- Remove any excess stain with another rag.
- Using a pneumatic nail gun secure each frame piece using 2 to 2 ½’ nails.
- Seal with an exterior poly acrylic spray.
**Be sure to measure your own signs before cutting wood!
Looking for more fun ways to use your Cricut? Check out these fun projects!
Cutest porch ever! Love it so much, girls— this makes me so excited for fall!!! 🍂🎃
You are so kind!!! Thank you friends!!