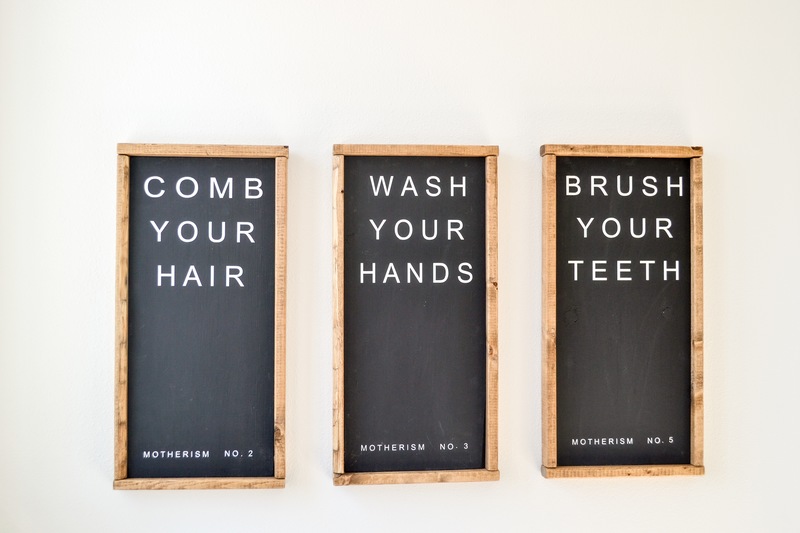
Here's a cute DIY inspired by Pottery Barn. The cutes farmhouse signs for your bathroom. Make some for yourself a save a lot of money!
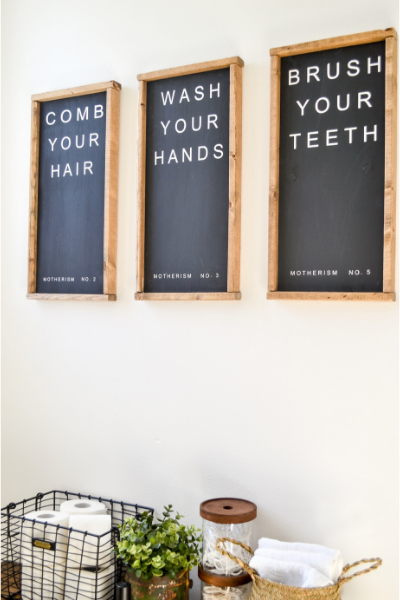
FARMHOUSE SIGNS INSPIRED BY POTTERY BARN
If I am being completely honest here, it's that I rarely buy something from the store if I know I can make it myself. It doesn't matter how much time it'll take me, I always do it. I love to find inspiration and turn it into my very own. I had been drooling over these Pottery Barn farmhouse signs for a while before I finally decided to make a "knockoff". I changed up the wording a bit and made the signs black instead of white so they really POP! Follow the easy steps below to make your very own set of FARMHOUSE SIGNS INSPIRED BY POTTERY BARN
Design Files:
https://design.cricut.com/#/
https://design.cricut.com/#/
https://design.cricut.com/#/
We'll be making a stencil with our Cricut for this post. You'll need some basic knowledge of cutting wood, staining and using a nail gun for assembling the frame. If framing isn't your thing, you can always leave the board as is! Make this your very own!
Head to Home Depot and purchase a 1x10 pine board at 6' long. Bring it home and cut 3 20" long pieces out of it. You'll have a small board leftover that you can make another sign with!
Sand your boards and paint them with flat black paint. I always use interior latex paint for my sign projects. FYI, when I am using a white background, I don't usually use a flat finish...I tend to like satin more.
Once your paint has dried completely (ideally overnight), you can get to work on your stencil.
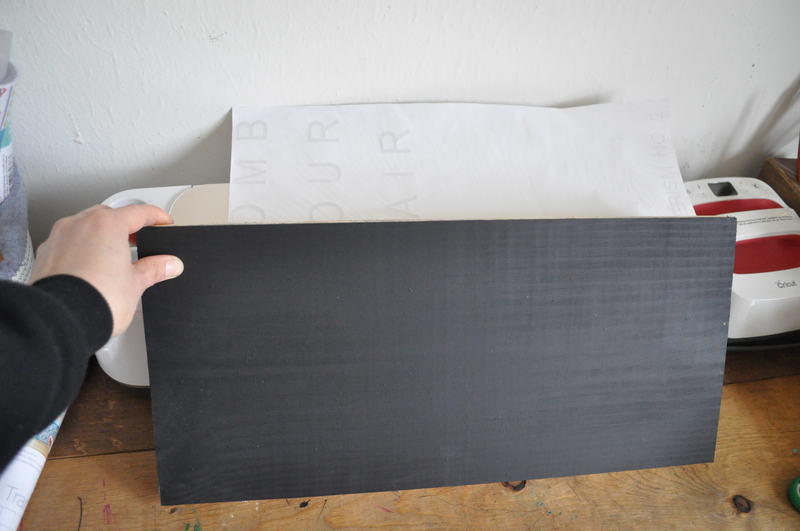
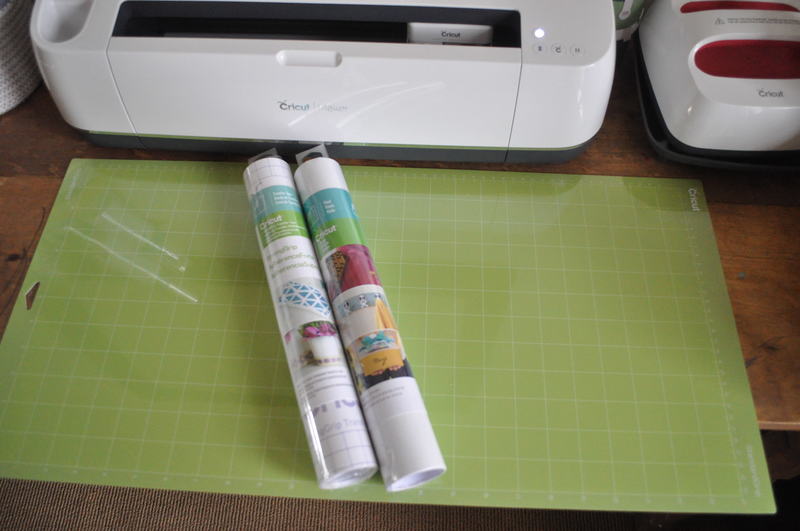
Stencils are very easy to make and I use my Cricut for stencils more than anything else. Open the project in Cricut Design Space.
You'll need your 12x24 mat for this project. I usually use white vinyl for my stenciling projects.
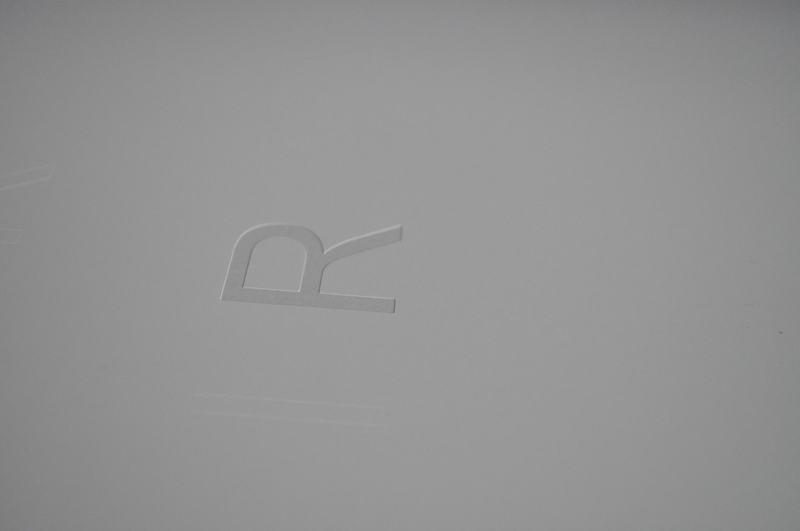
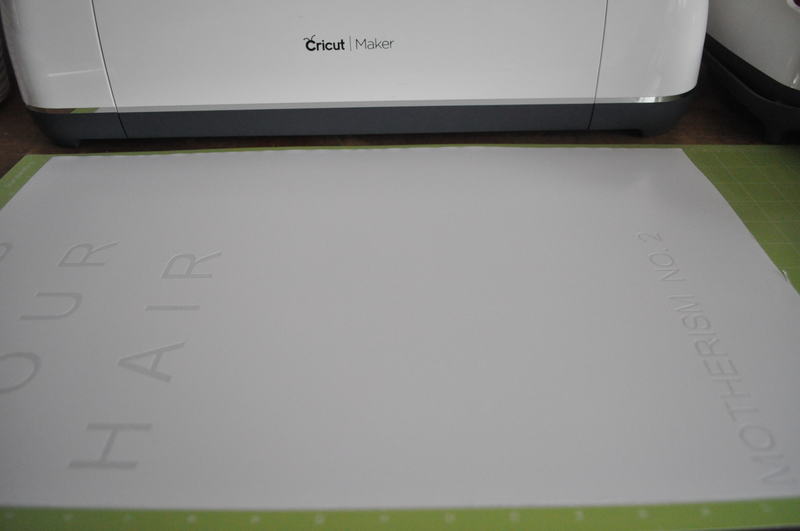
Cut your stencil out, and weed out the lettering.
You should be left with all the letters discarded, and your stencil material ready for transfer tape.
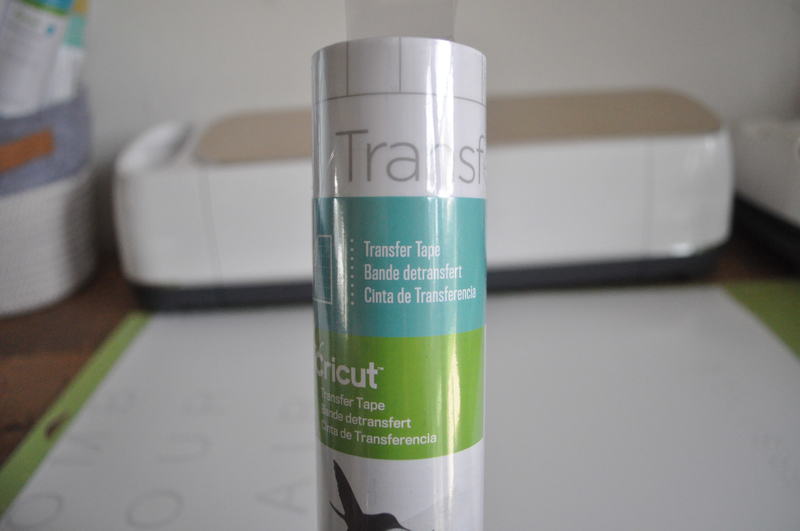
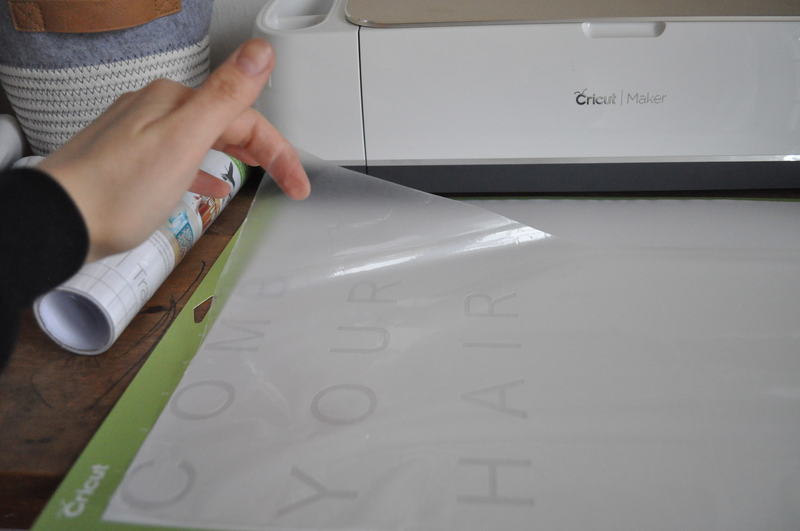
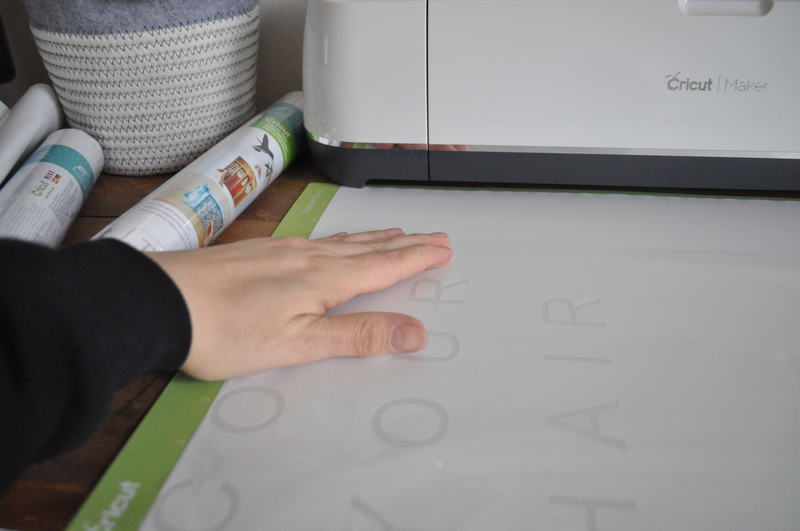
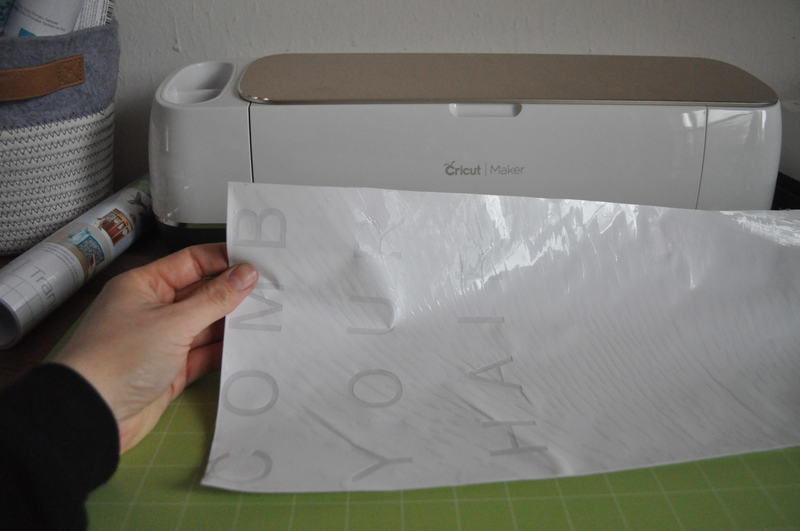
Cut your clear transfer tape to size, and apply it over the stencil.
Be as careful as possible to not have any bubbles or wrinkles as this will make your job easier.
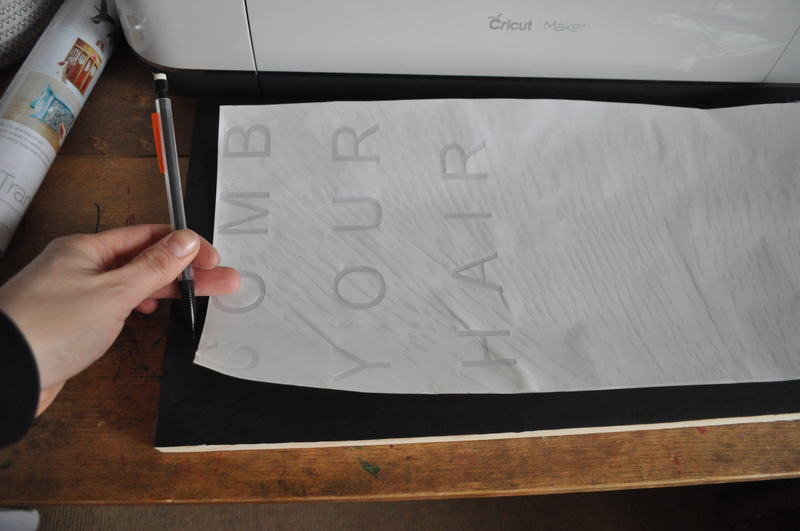
At this stage, I like to cut around the edges of my stencil to make sure it is evenly cut and spaced around all of the edges. Now, mark where you'll be placing your stencil on the board.
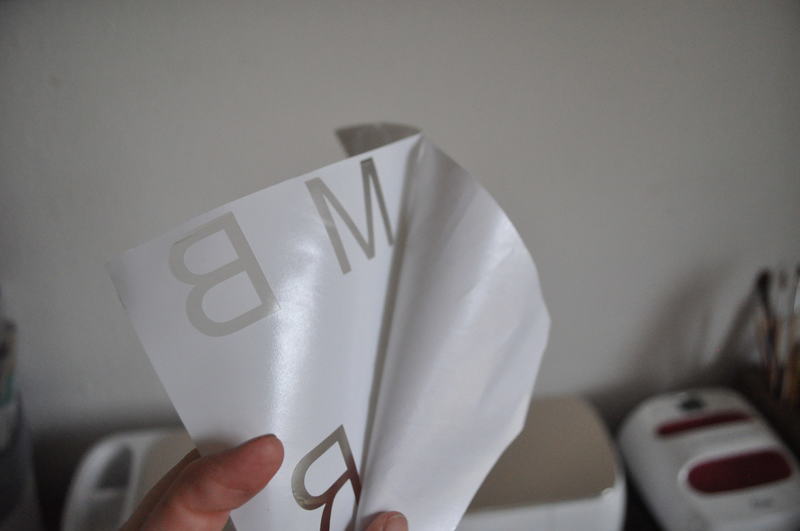
Once satisfied with placement (use a ruler if needed), remove the backing off of your stencil. This is the paperback of the vinyl, not the clear transfer tape.
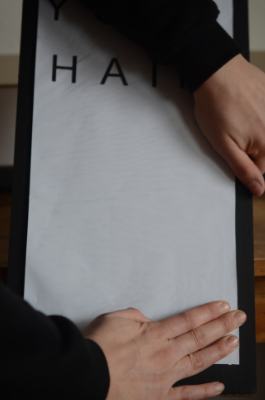
Apply the sticky stencil to the board, and smooth it out. The stencil should have adhered without bubbles and wrinkles. If there are any, take the time to smooth them out.
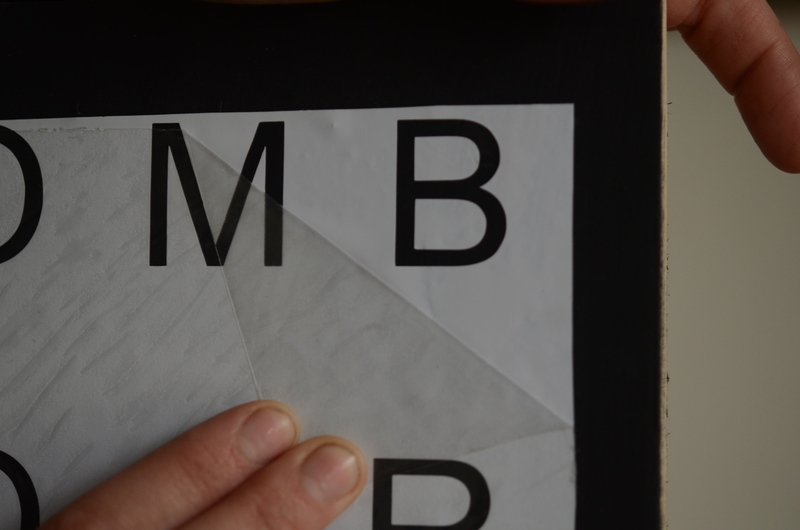
Now that the stencil is smooth, remove the transfer tape. As you pull off the tape, make sure all components of the stencil stay adhered.
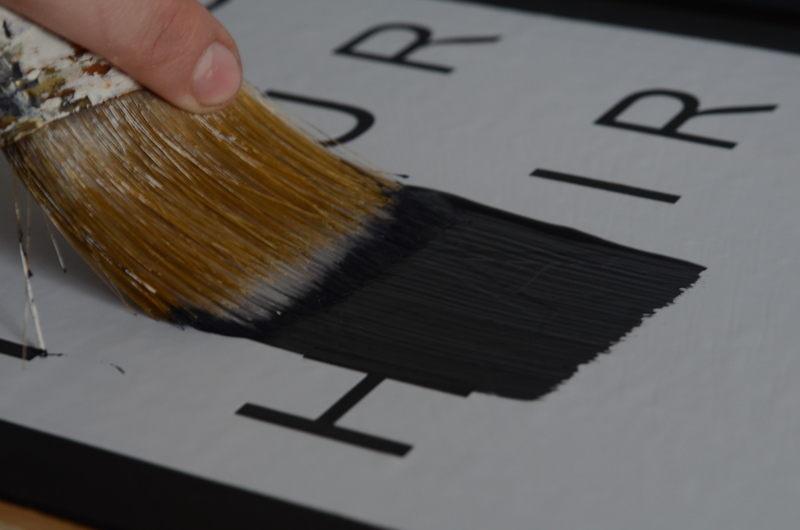
Now that the transfer tape is removed, "seal" your stencil. This is an extra step that will be well worth the time and effort. To seal a stencil, you simply paint over it with the exact paint color you used on the board. For us, it'll be that flat black paint.
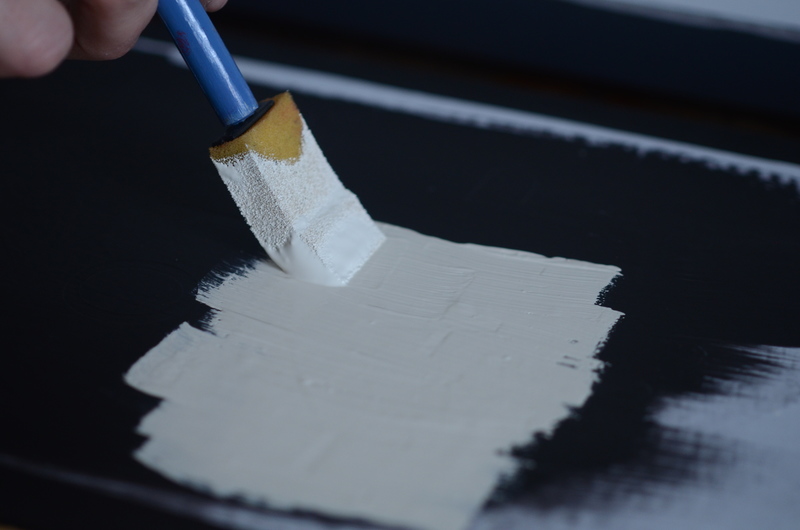
Let the paint dry completely, but not overnight like our first paint layer. Once the paint looks visibly dry, now you can do your white lettering. Paint a nice even layer over all of the words.
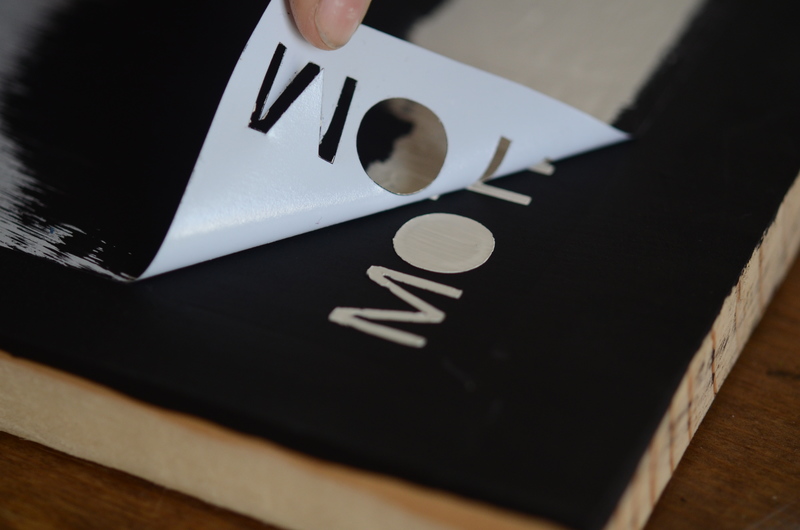
Peel off the stencil with the white paint still wet.
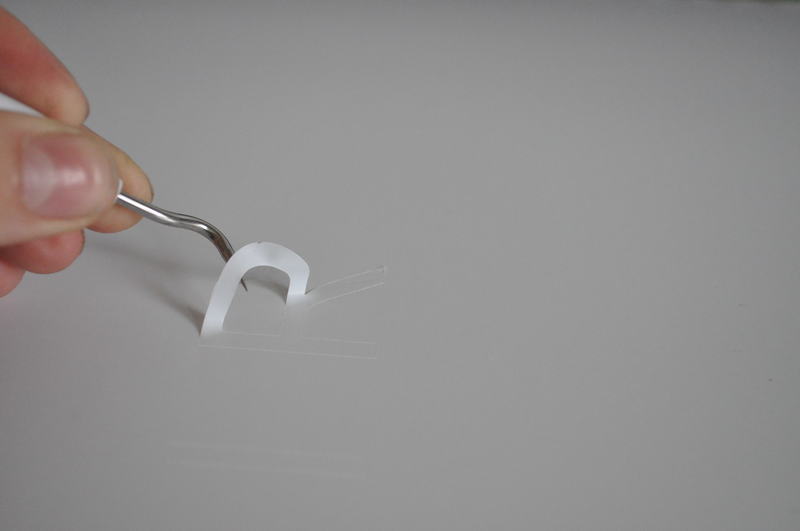
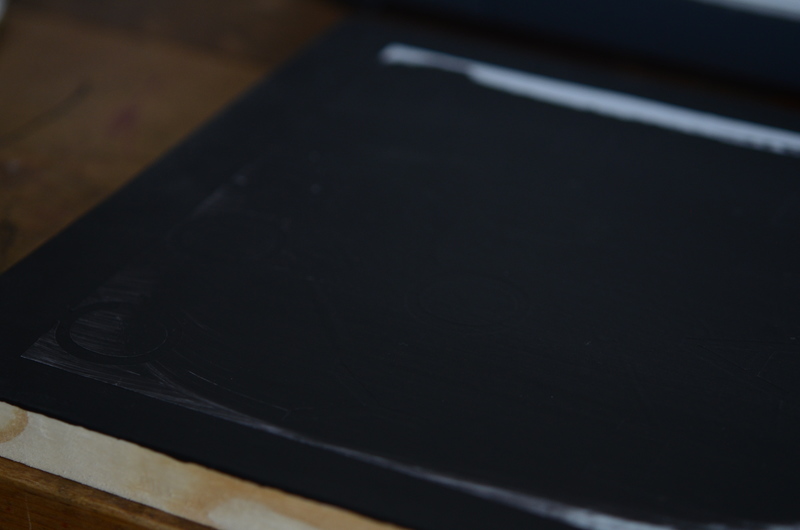
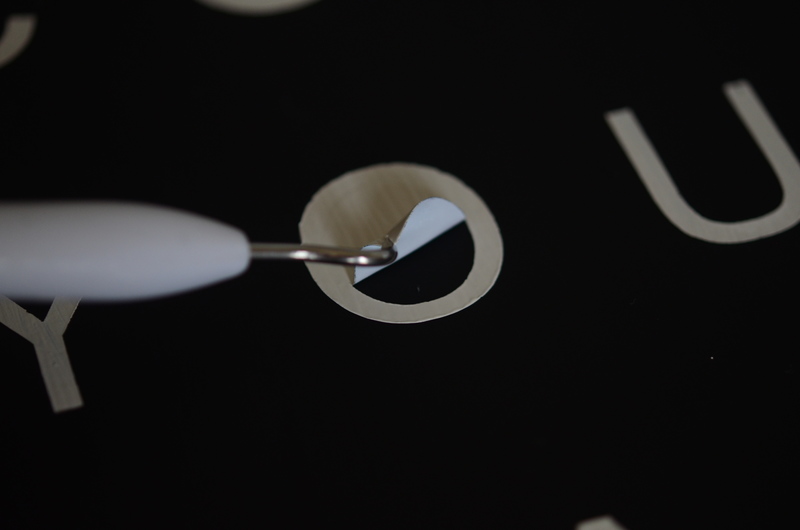
Use a sharp implement to get the insides of your b's, e's, o's etc.
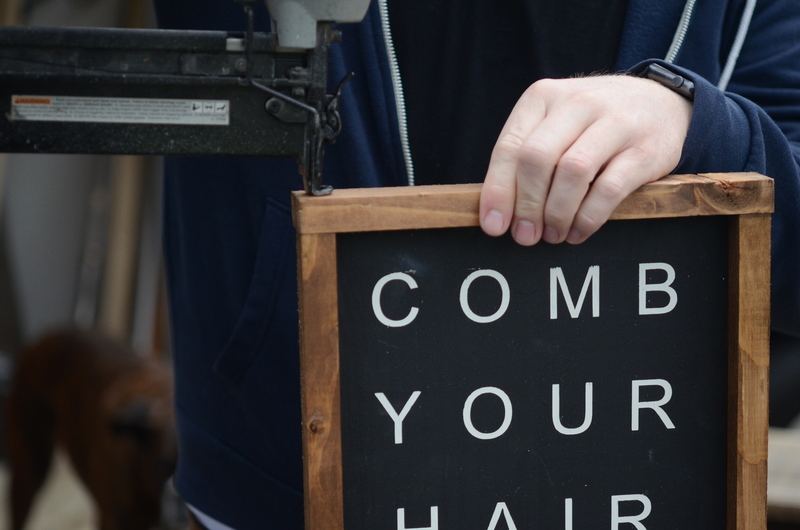
Allow sign to dry before framing. If framing, cut 1x2 pine boards to size, stain, and nail them to the edges of your board.
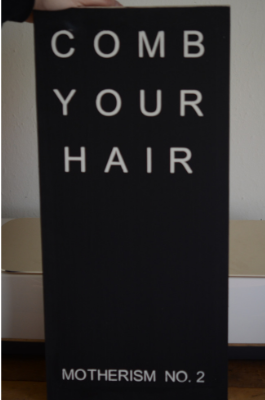
Repeat all of these steps on all 3 Pottery Barn knockoff signs. Attach a picture hanger to the back and hang in your bathroom.
Aren't they dreamy?! Please message or comment with any questions you might have. Happy Stenciling!!
Design Files:
https://design.cricut.com/#/
https://design.cricut.com/#/
https://design.cricut.com/#/


Leave a Reply