
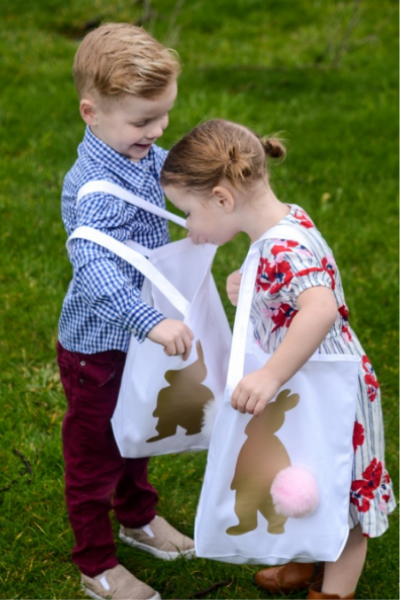
Make these cute DIY Easter egg bags with the Cricut EasyPress 2! Such a game changer when it comes to iron-on. Truly a foolproof way to do iron-on projects.
This is a sponsored conversation written by me on behalf of Cricut. The opinions and text are all mine.
EASTER EGG BAGS WITH THE CRICUT EASYPRESS 2
Here's a quick and easy DIY Easter Egg Bags with the Cricut easy press 2 and Iron-on vinyl. P.s......the easypress 2 is Worth.Every.Penny!!!
SO...you're considering if investing in the EasyPress is worth the money? In one brief answer, yes.
I have been using iron-on for a few years now. Up until this point, I've used my regular iron to do the job. I kid you not, probably 20% of my projects have turned out perfectly. For the very life of me, I cannot get it right!!!! The EasyPress has turned my statistics around dramatically. So far I have made 5 projects, and each had turned out flawlessly! #lifechanging
Here is my step by step instructions for creating this bunny bag for Easter Egg hunting.
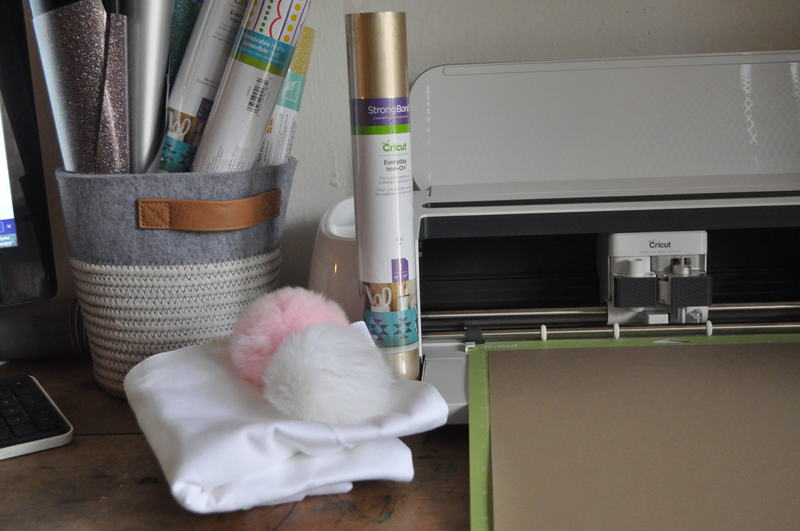
Supplies Needed:
- Cricut
- EasyPress 2
- Iron-On Vinyl
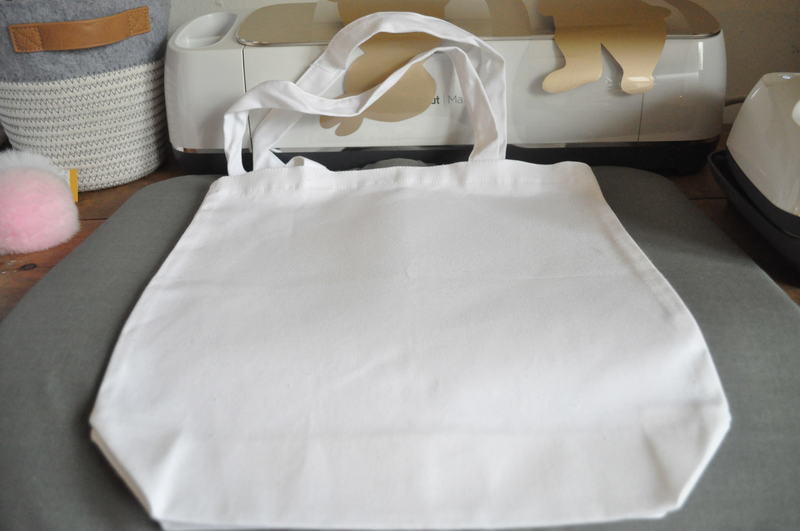
- Tote (mine is canvas)
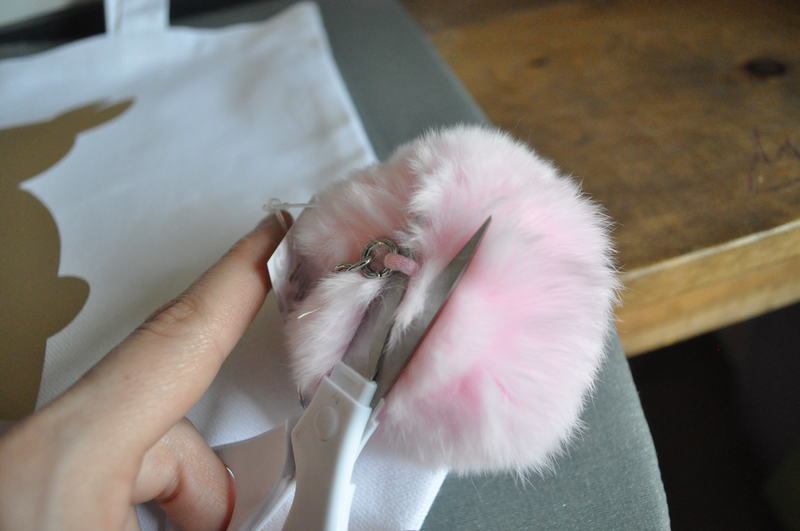
- Pompom for the tail
- Hot glue for the tail
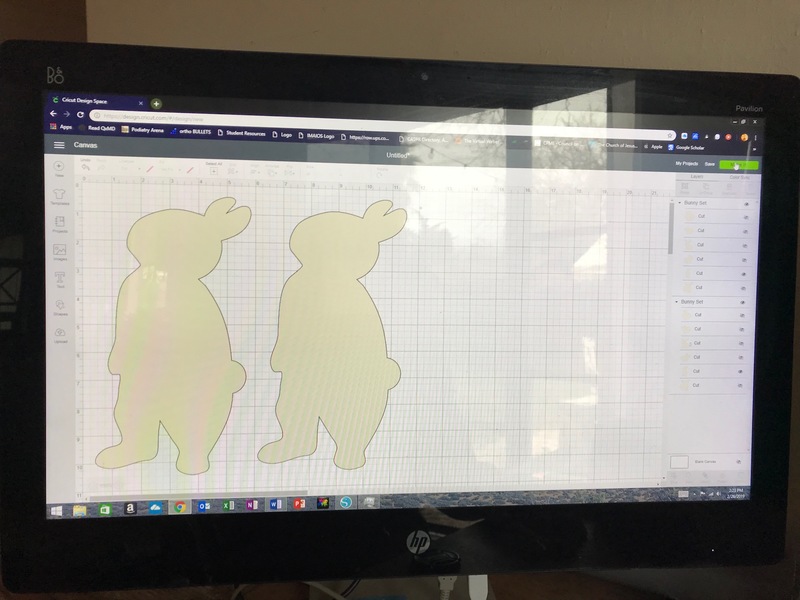
First, select your design from Cricut Design Space. The bunny I used is included in my plan, so it was free. It came with multiple bunnies, so I selected the one I wanted the most. Make sure to pick a bunny with a tail so your pompom has a place to be.
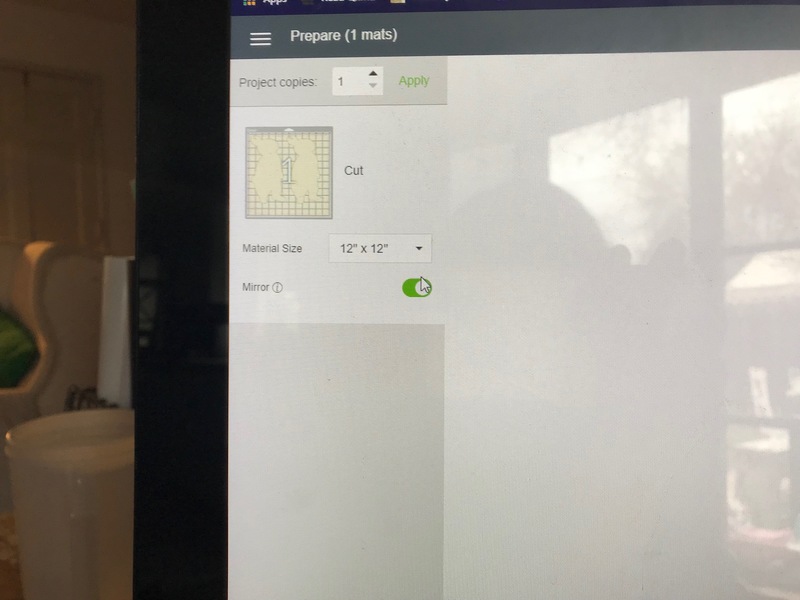
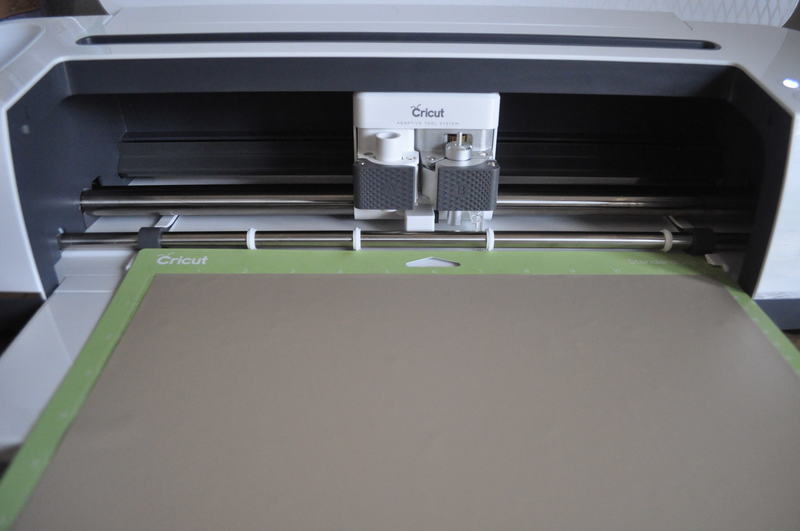
Next, continue by cutting out the iron-on. Make sure to select "mirror image", and the correct material (iron-on).
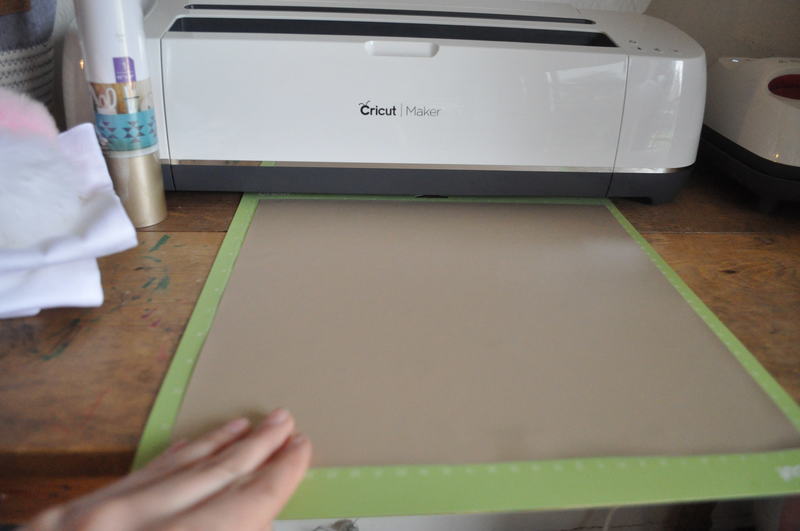
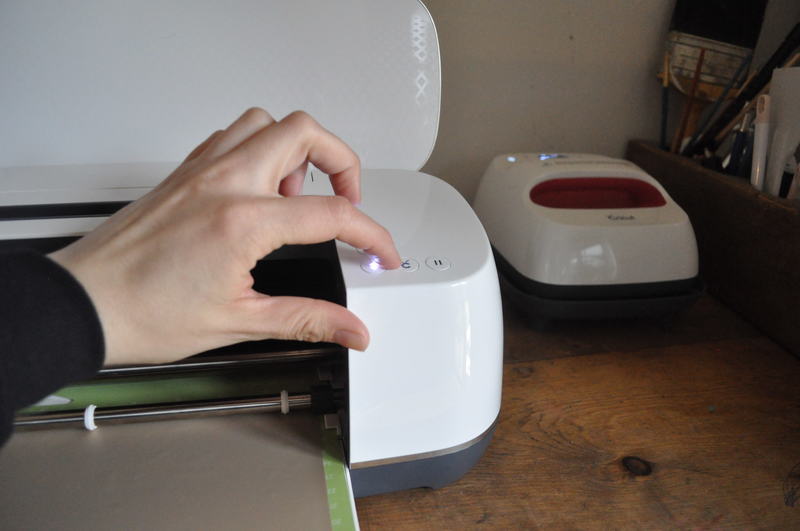
Power on your machine, load the mat (shiny material down), insert mat, and press the blinking Cricut light to go.

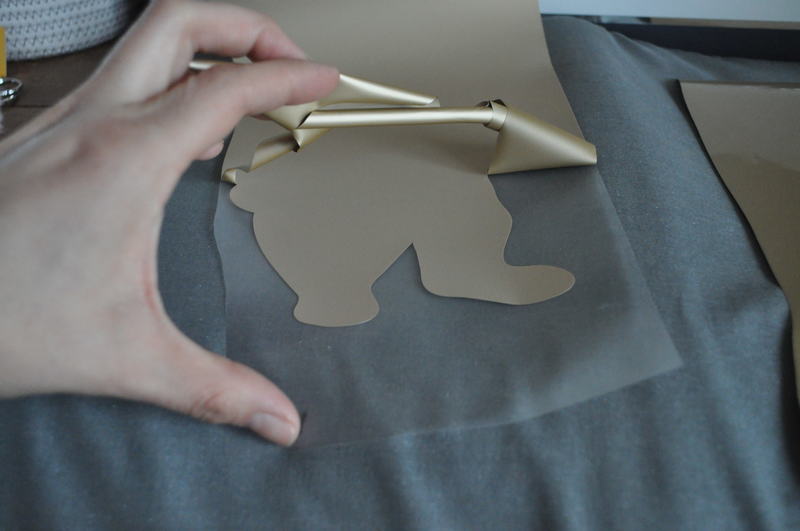
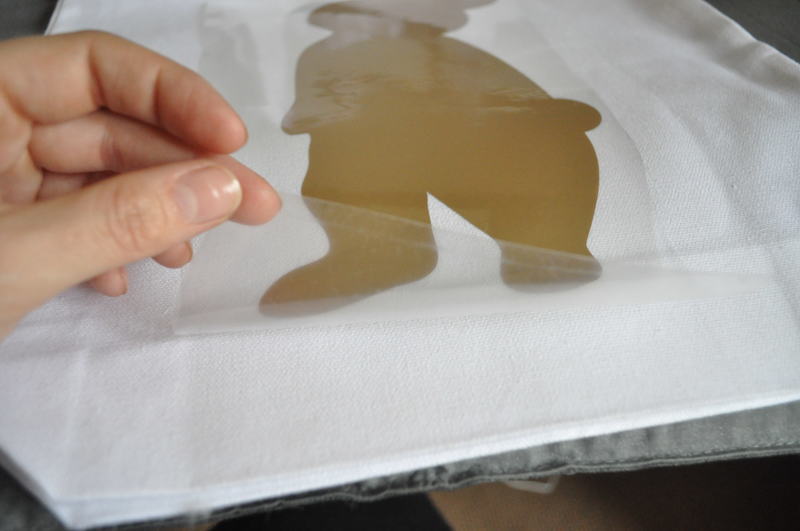
Once the design is finished cutting, peel off the surrounding uncut material, revealing your bunny silhouette.
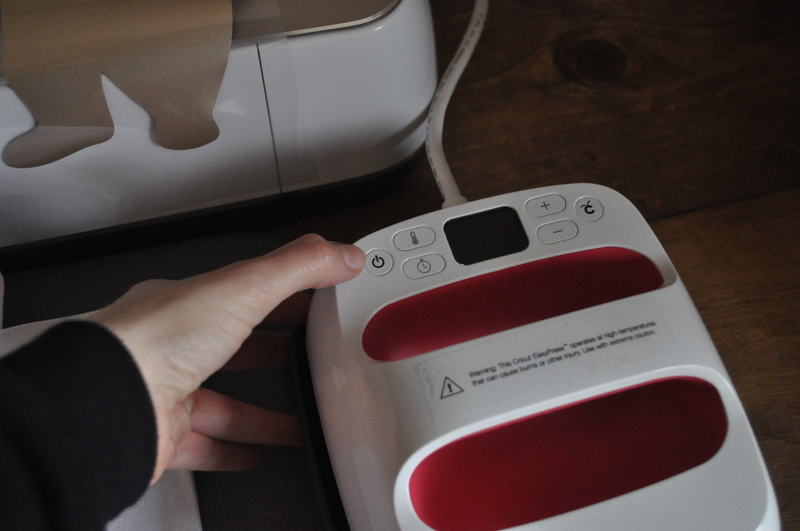
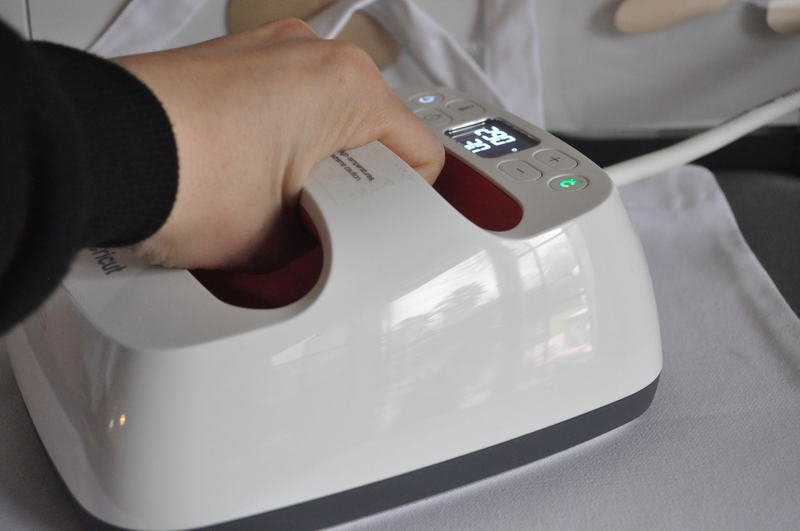
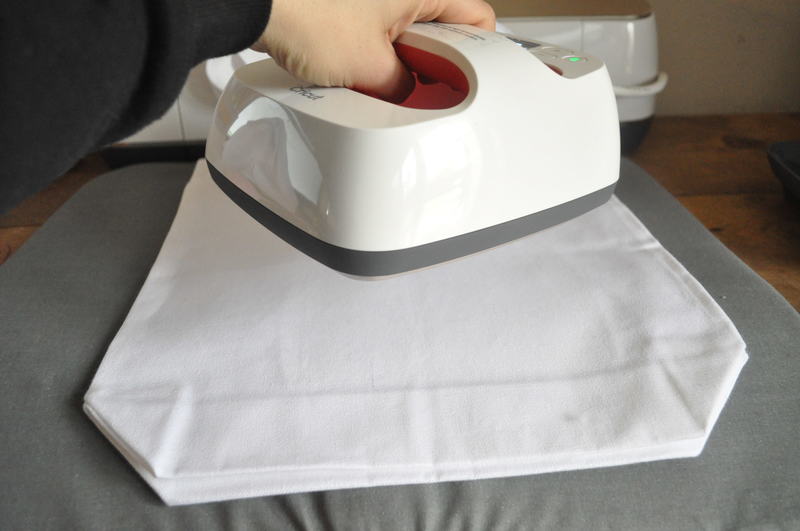
Push the power button to turn on your EasyPress.
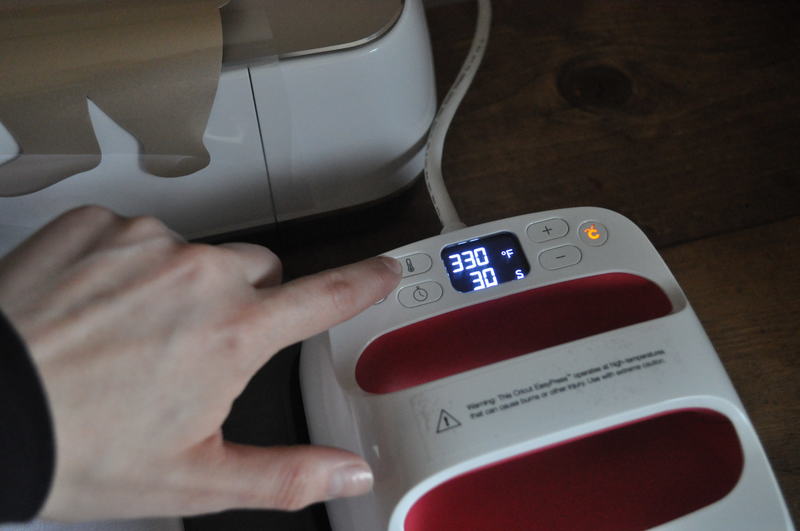
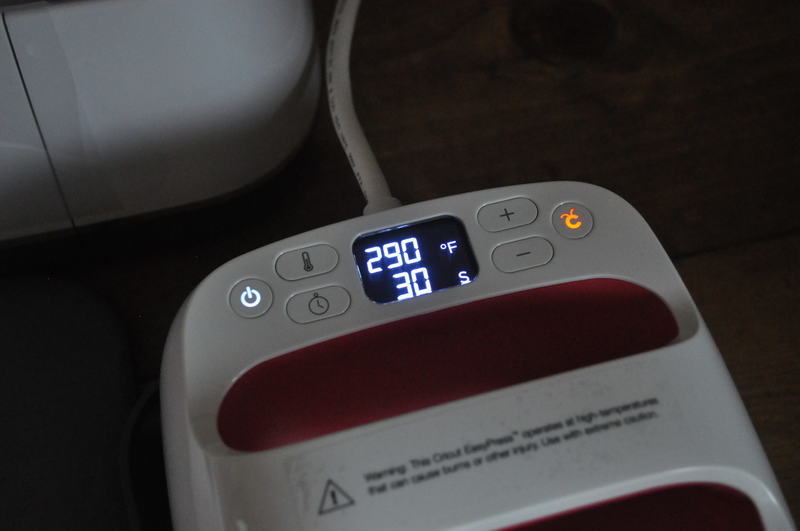
Select the temperature icon and change the temperature to 290 degrees Fahrenheit. Once the machine has reached temperature, it will beep signifying it is ready.
Iron your canvas so the material is smooth.
Pre-heat the area being used for 5 seconds with your EasyPress2.
Place your bunny silhouette, sticky side down.
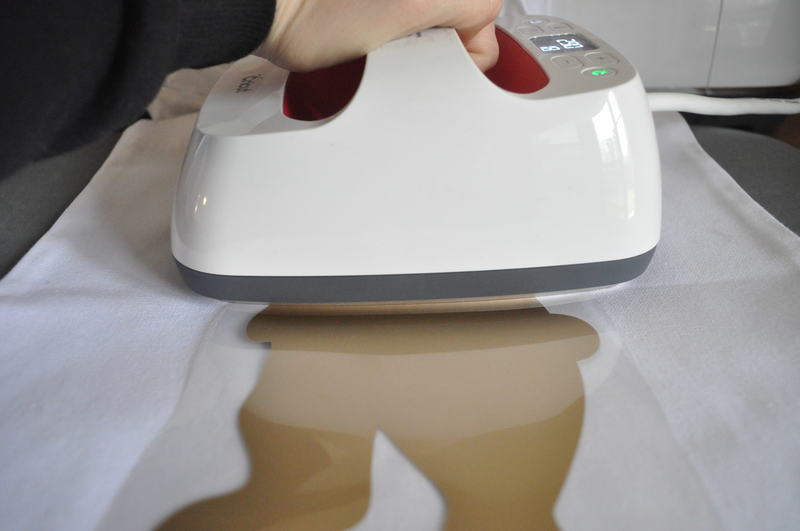
Push the Cricut icon to start the 30-second timer.
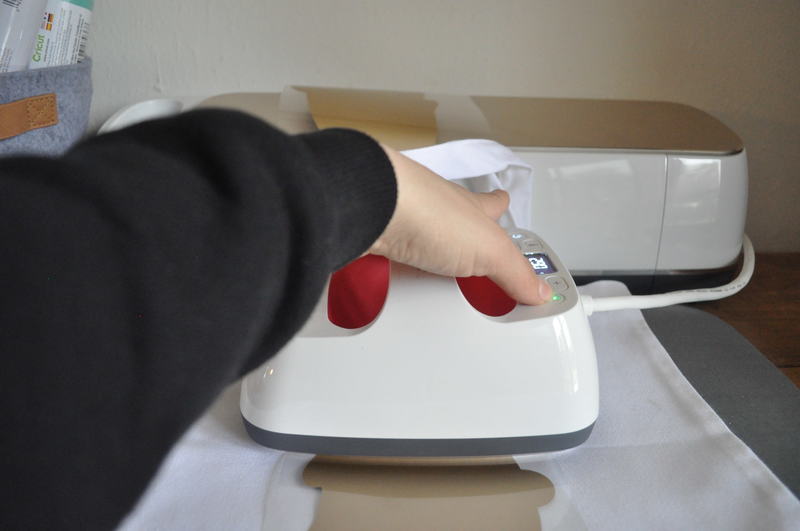
Use a nice firm pressure and repeat the 30 second heating over the entire iron-on area.
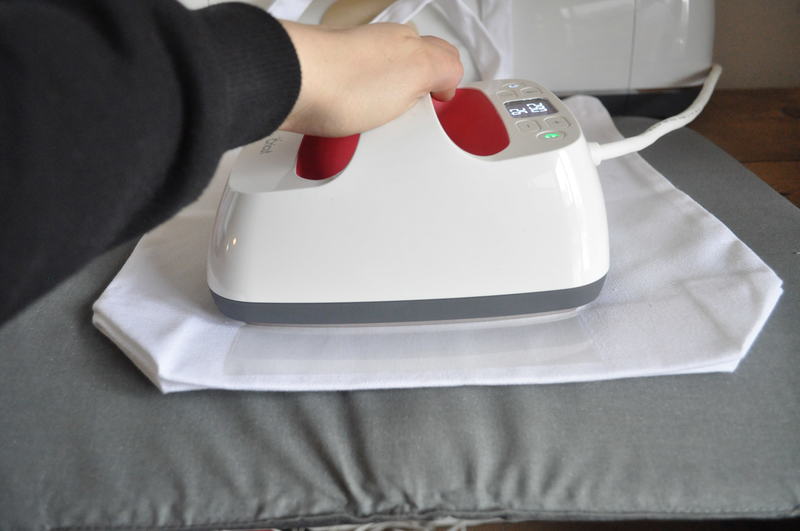
Flip your material over and heat the backside for 15 seconds.
Once it is cool enough to touch, peel off the clear backing. If there are any areas not fully adhered, continue pressing them until they do not peel off with the clear backing.
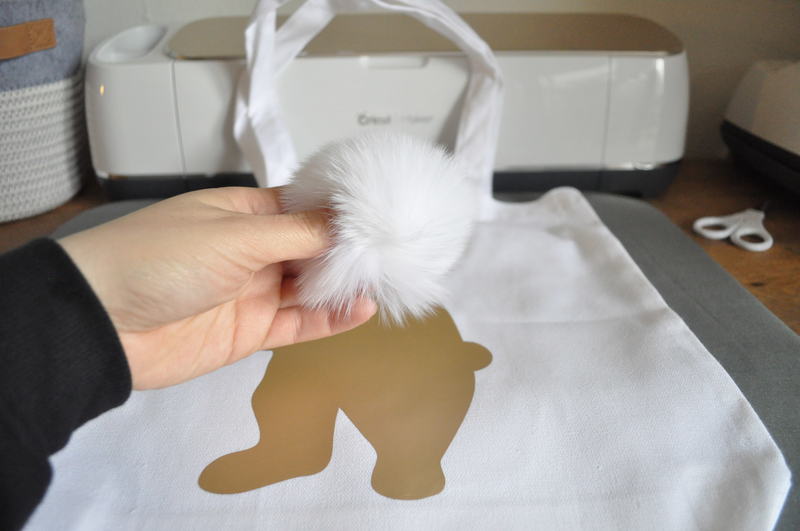
Next, cut off the key chain from your pompom and hot glue it to the bunny tail.
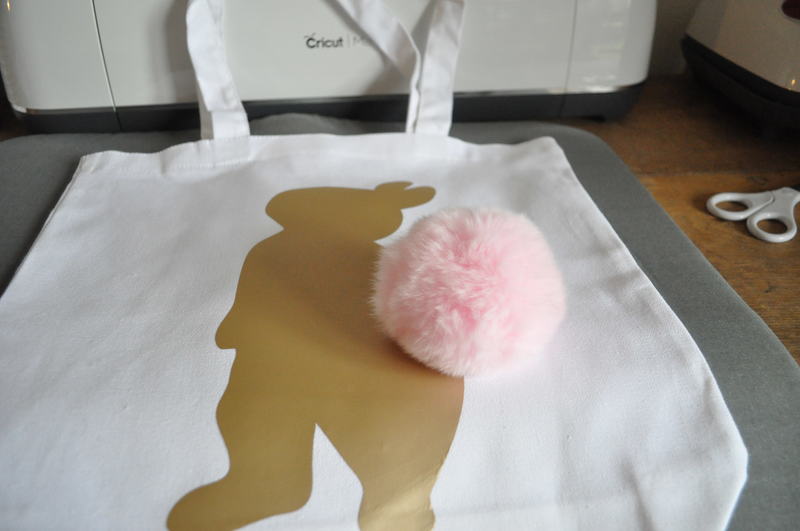
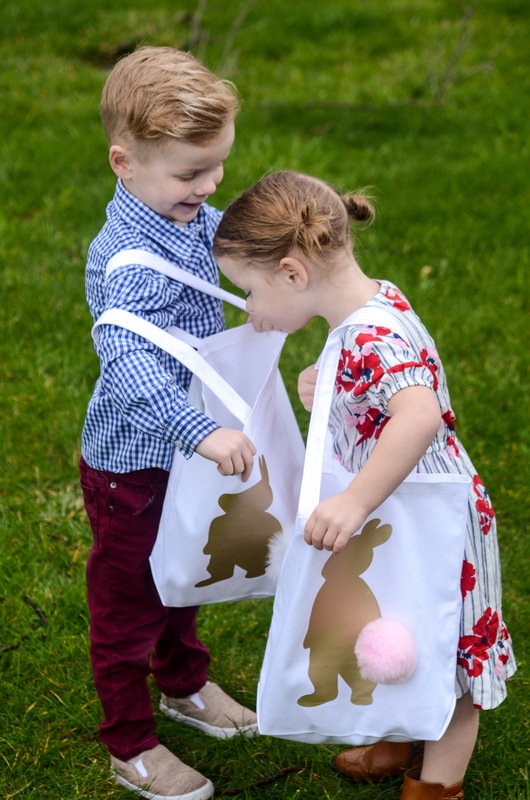
Ollie and Scout LOVE their new Easter Egg hunting bags!! Truly iron-on has never been easier. If you are on the fence about the EasyPress, feel free to email me or comment below. I 100% recommend it!
Leave a Reply