
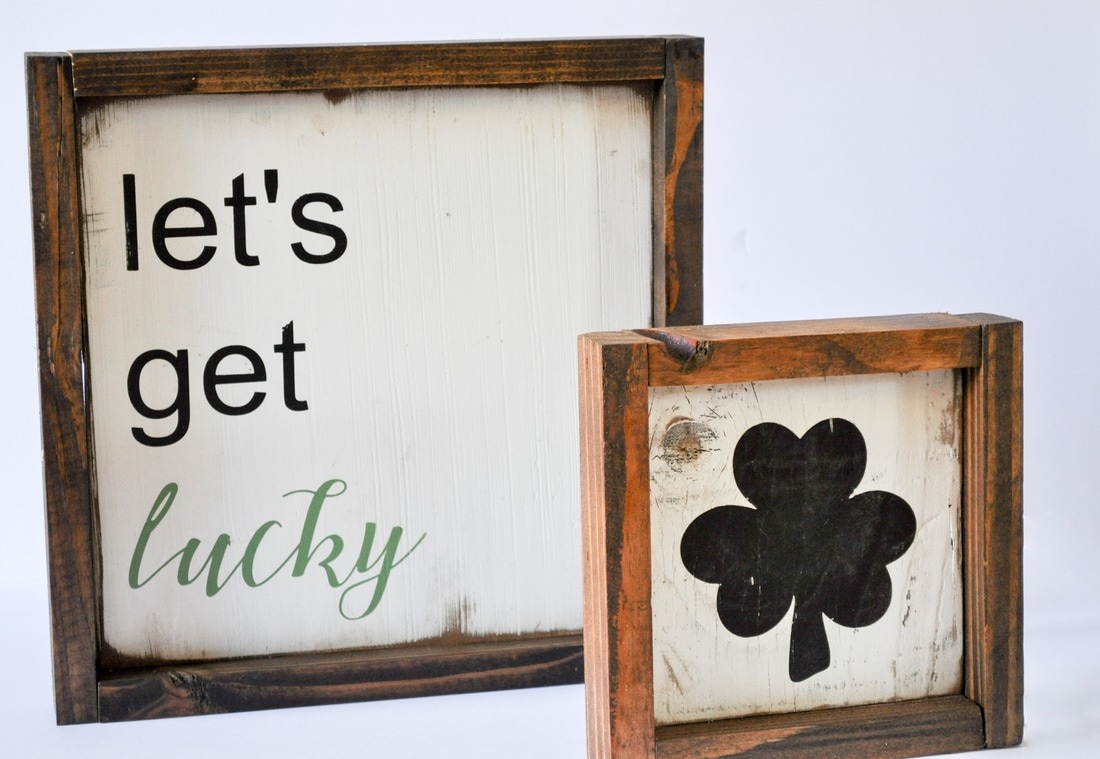
Cassie and I are loving our Silhouette so much! I have withdrawals if I don't use it everyday.....(kinda kidding but mostly serious). We wanted a cute St. Patty's day signs and wanted something different than the norm. We came up with "let's get lucky". It's sorta trashy and kinda funny so that makes it perfect right?! 😉
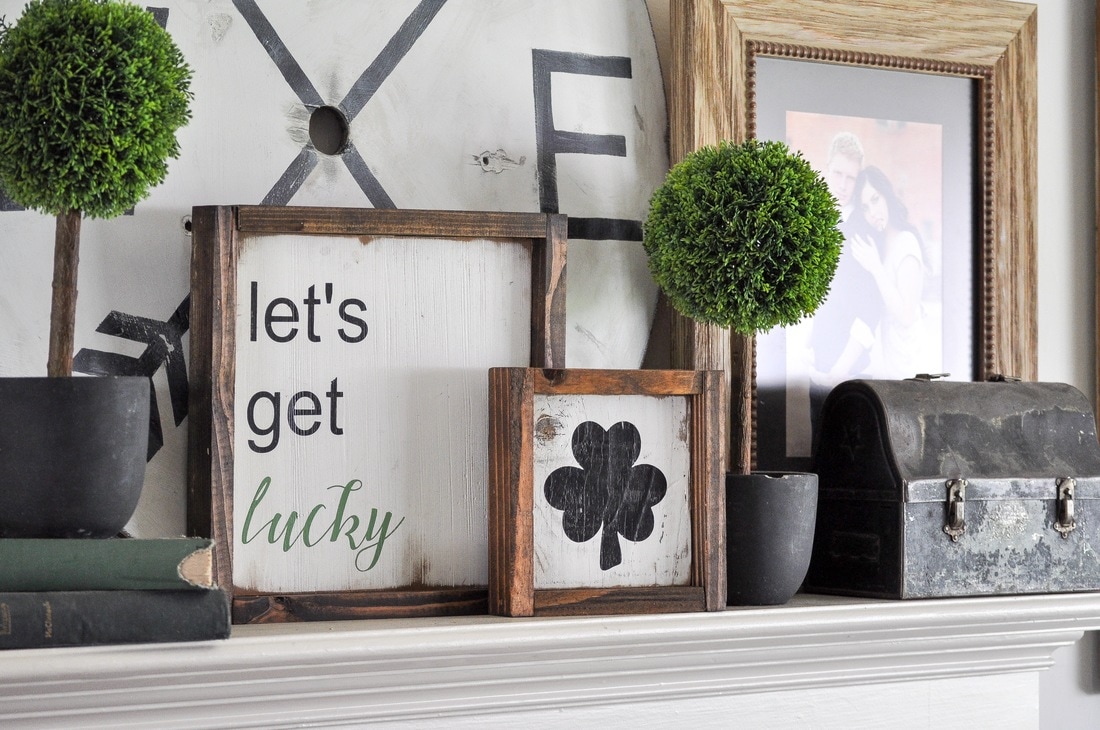
We are really loving the framed in sign style right now so that has been our go to pattern to follow. It looks intimidating to make, but it really is so simple. This post is a really simple post with the cut file to use on your Silhouette. If you would like more in depth instructions on how to frame your sign in, check out this post here.
Supplies Needed:
Silhouette Cameo
Vinyl or vinyl shelf lining
Transfer paper or clear contact paper
1x12 cut to 12 in. long giving you a square board that is 12x12 in.
1x6 cut to 6 in. giving you a square board cut to 6x6 in.
White, black, and green paint
Stain -Mine is Minwax in Provincial
Cut files below
| lets_get_lucky.studio3 |
Download File
| clover.studio3 |
Download File
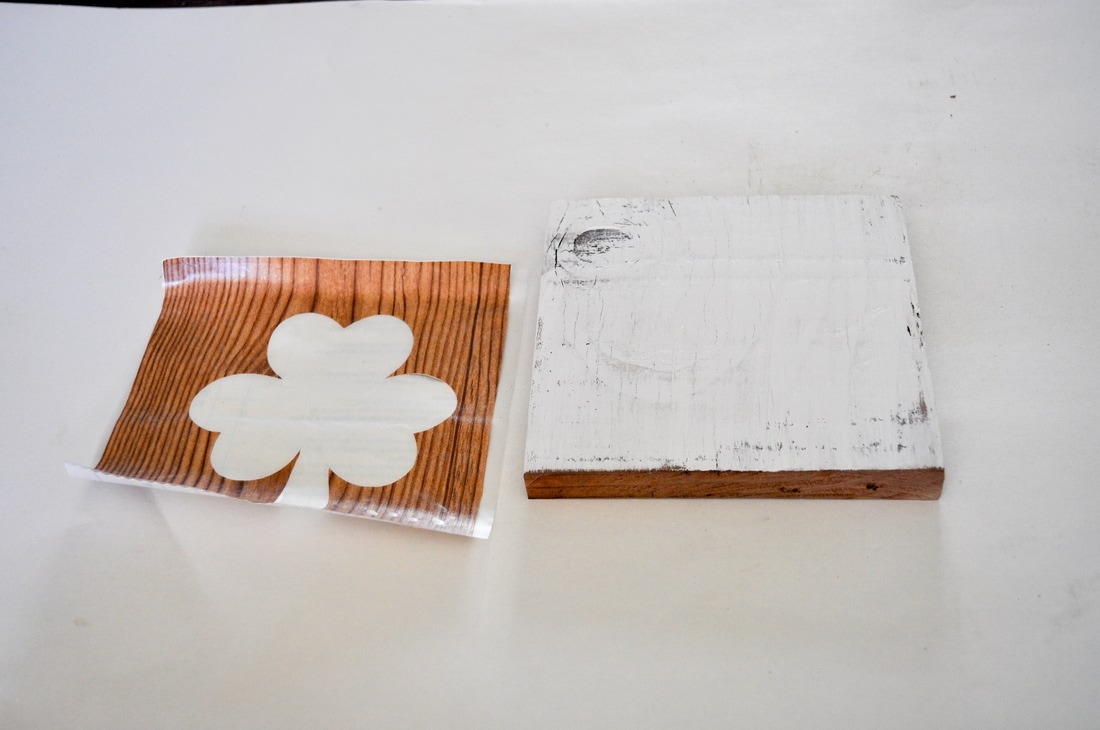
Ok after your supplies are gathered, cut your stencil out on your Silhouette.
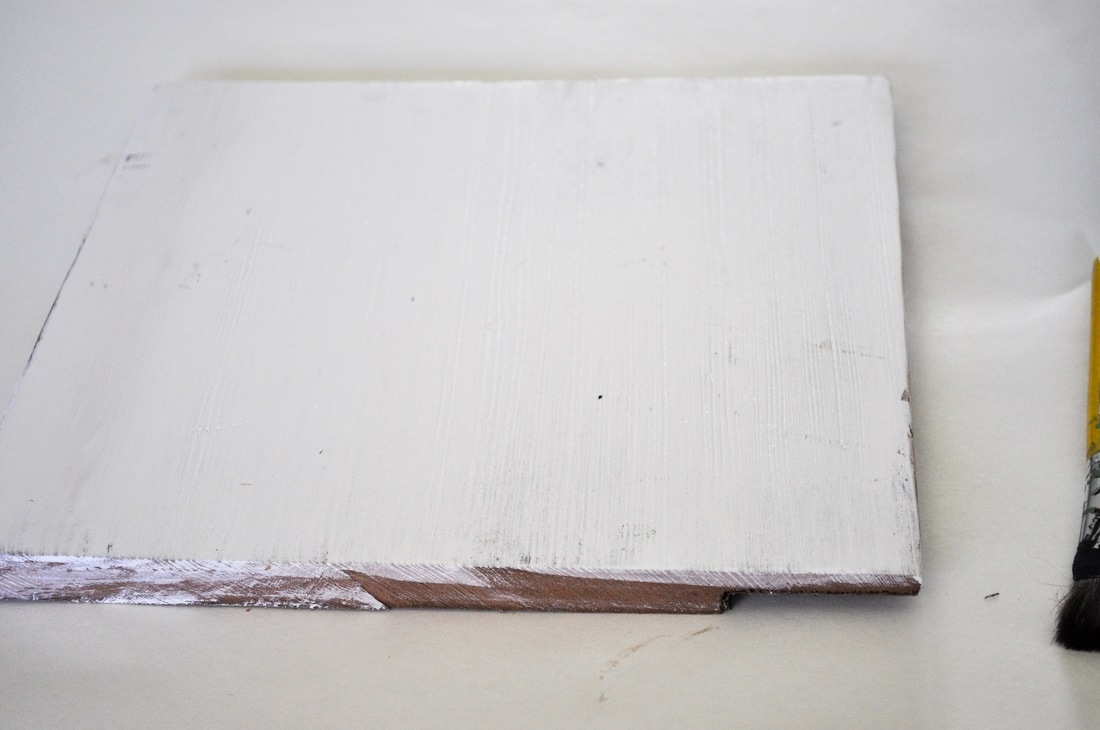
Place and apply your stencil on your prepared board. I used barnwood (honestly not recommended for stenciling but I had it on hand and that's why I used it). Sand and paint your board and let it dry properly before stenciling.
If you rush the paint drying step, you run the risk of your stencil paper pulling paint off of your board during the removal process.
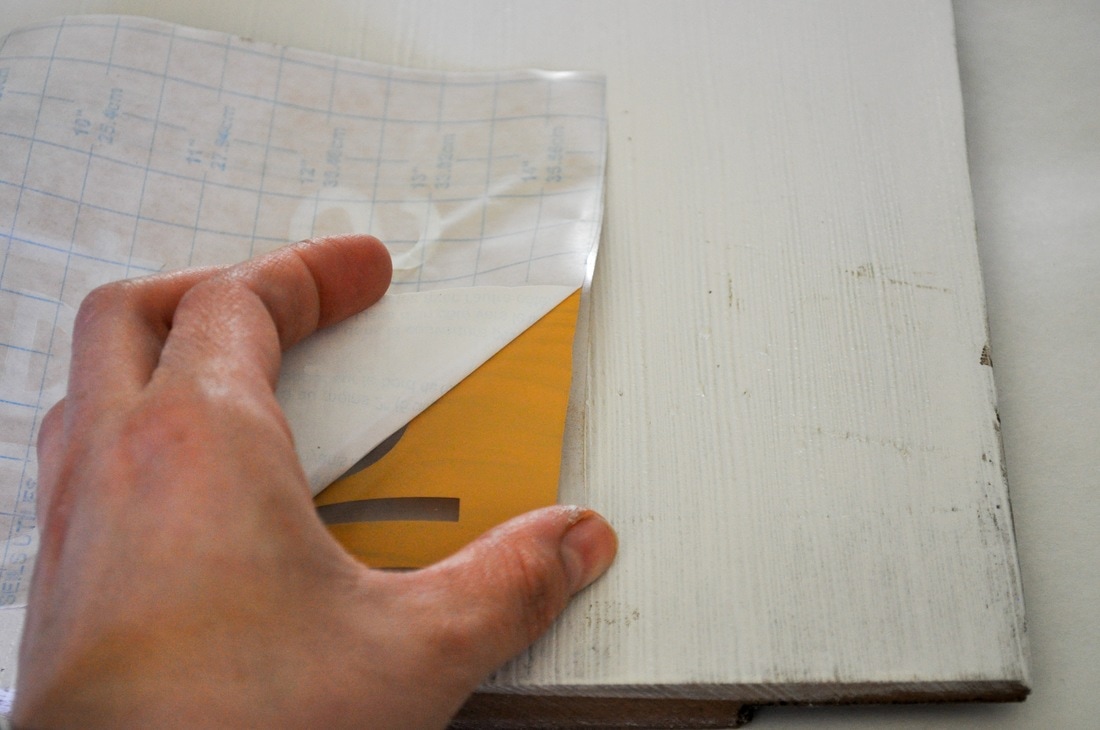
On the step above you can see me peeling off the backing from the stencil. This exposes the sticky side that will be placed on the board.
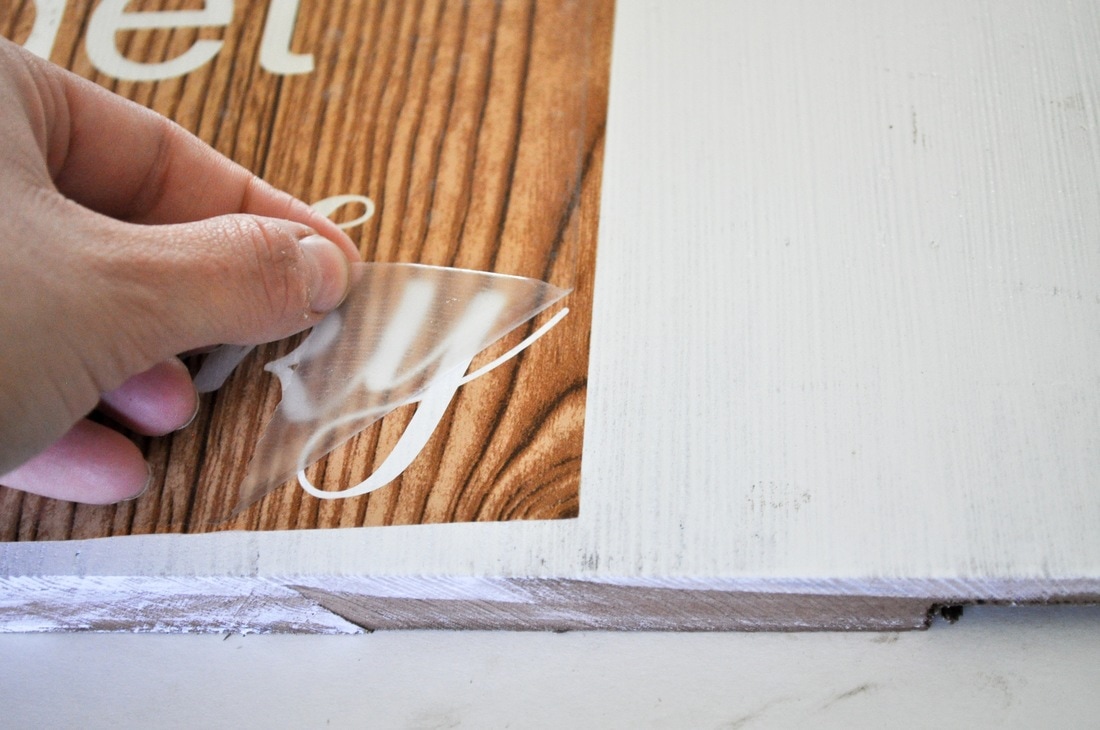
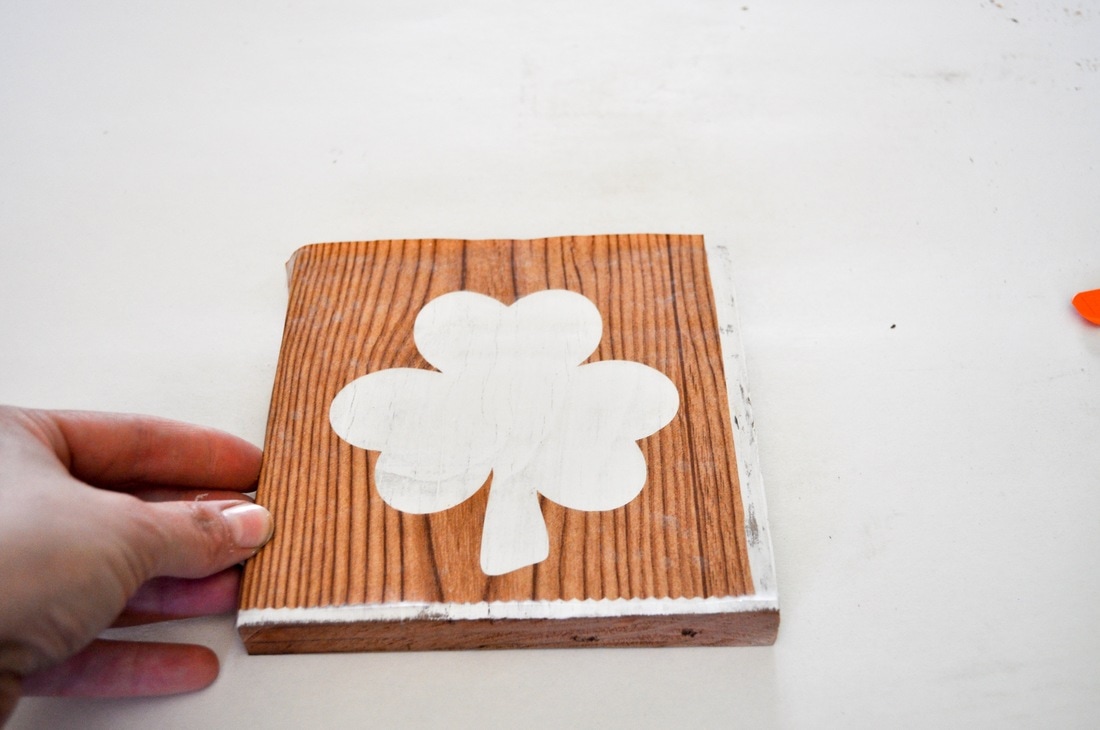
Slowly peel off the transfer paper (contact paper).
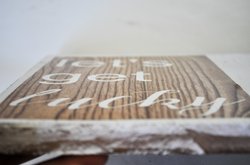
|
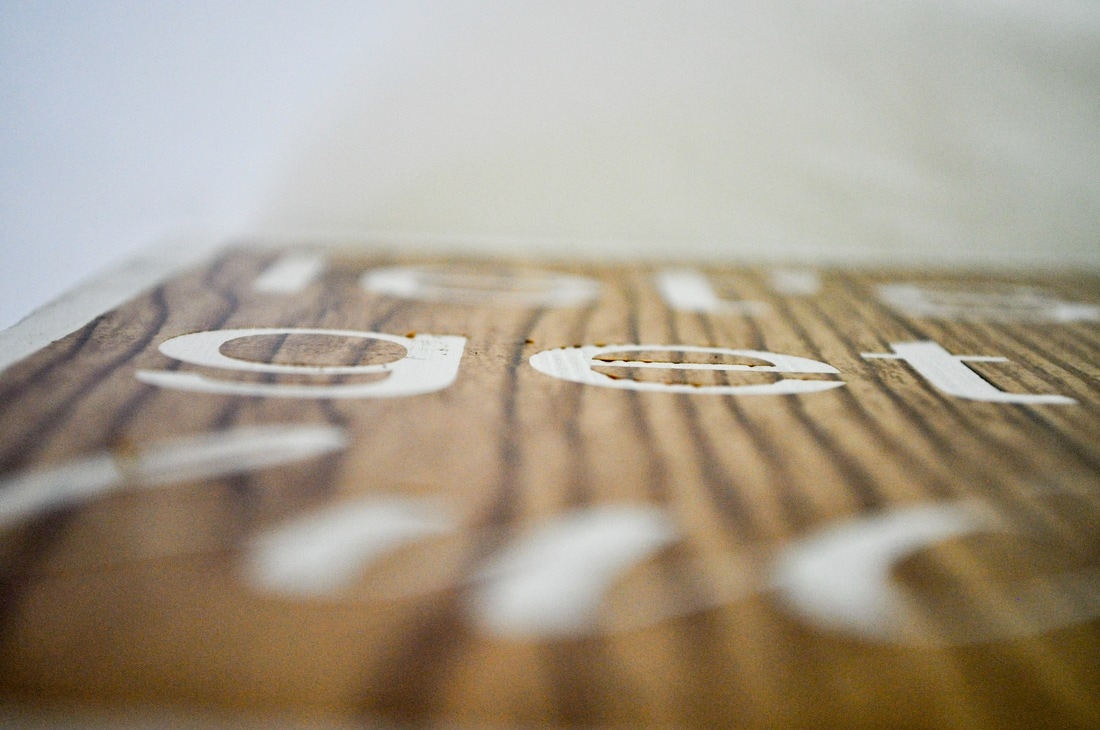 |
These two pictures above are showing how flush the stencil should be to the wood. No bubbles. If you want crisp clean wording, then follow these steps to a T.
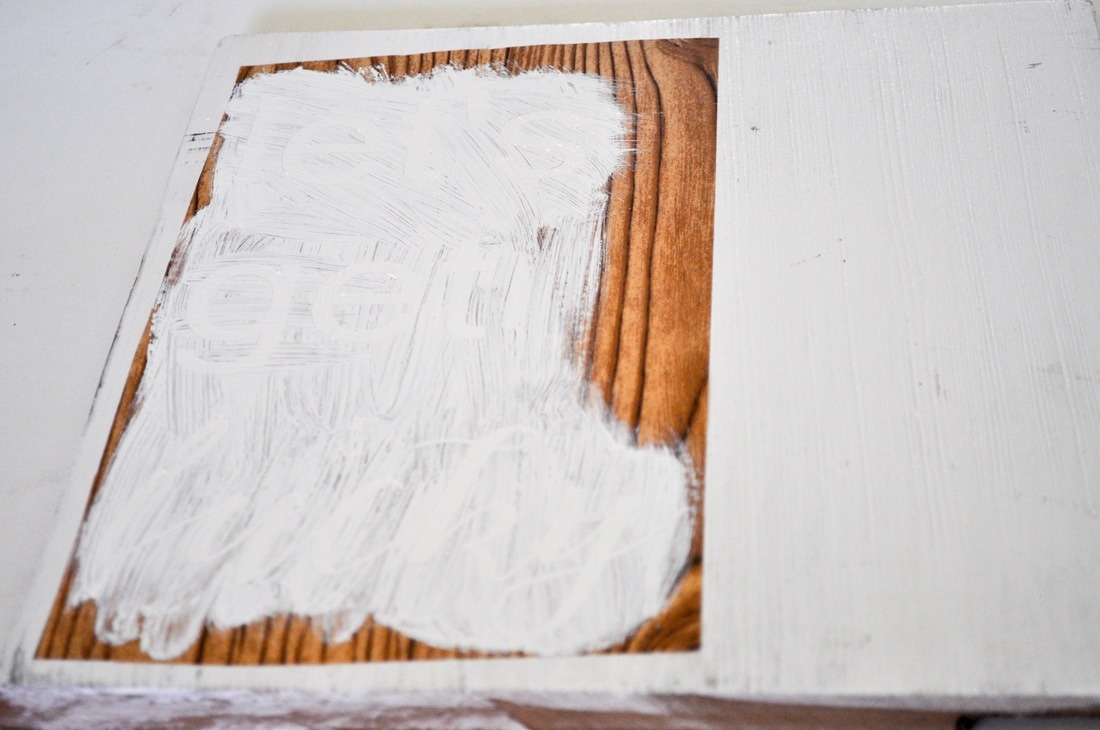
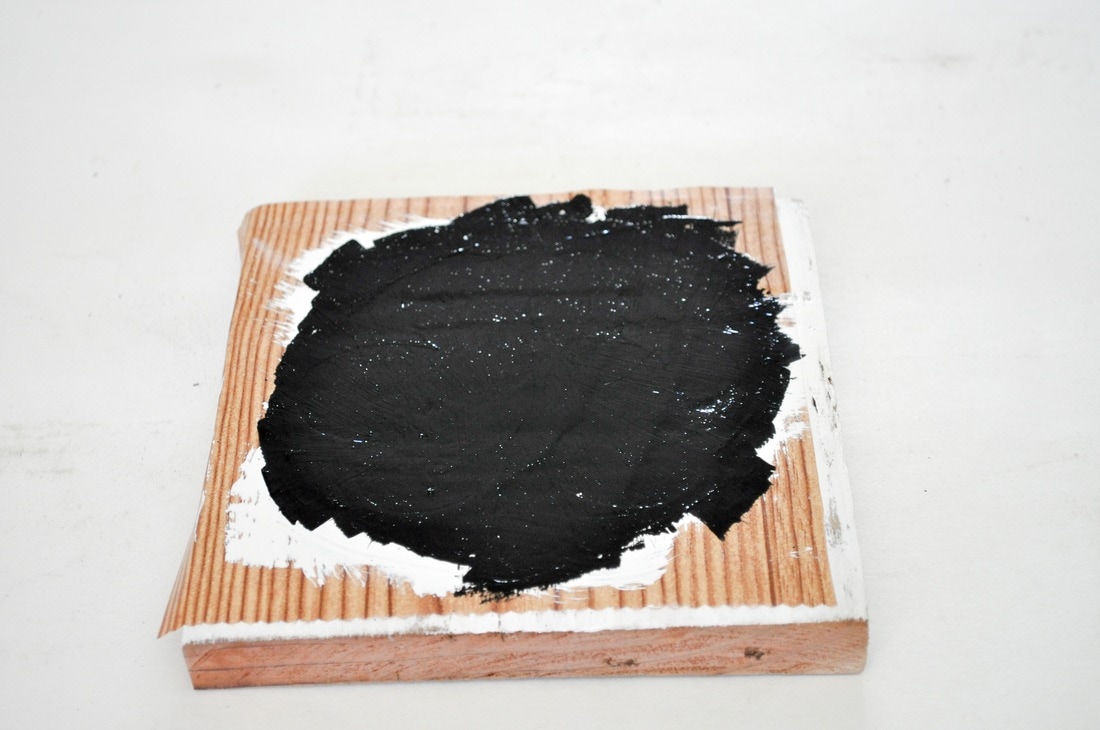
This is the weirdest/coolest step in stenciling. Seal your stencil with the color of paint you used to paint the board. Seems weird....but it works like a charm. If you have a stained surface, use clear or matte Modge Podge.

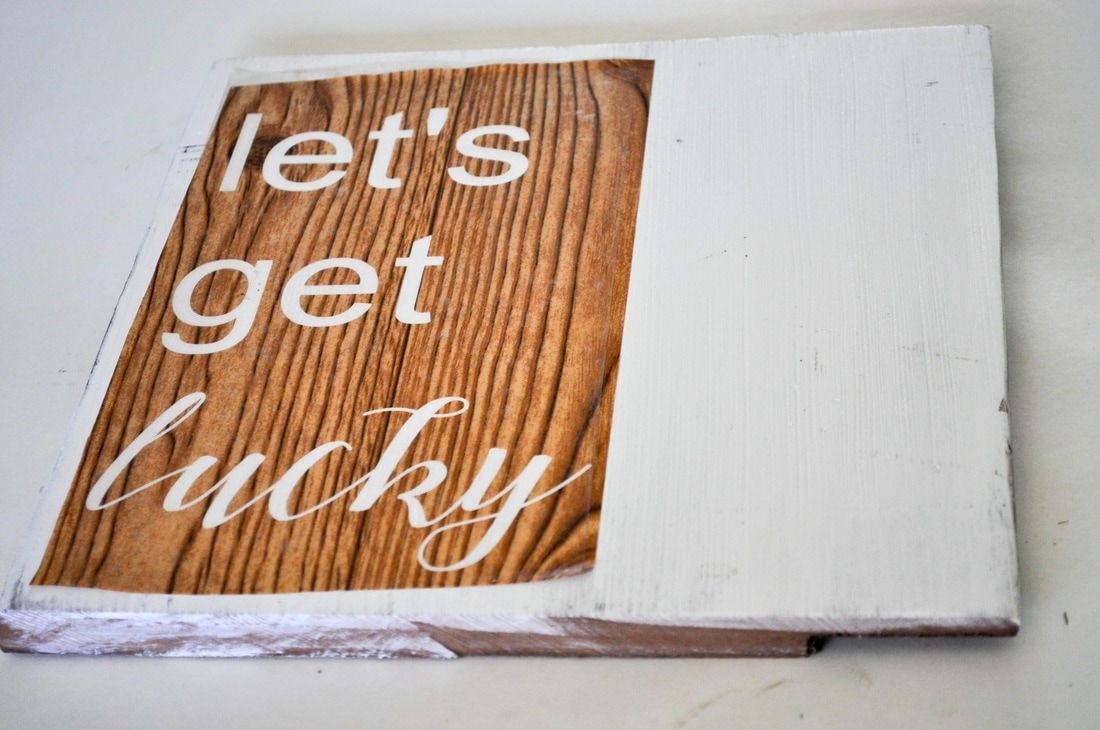
Once the white paint or modge podge has dried, paint your word colors on.

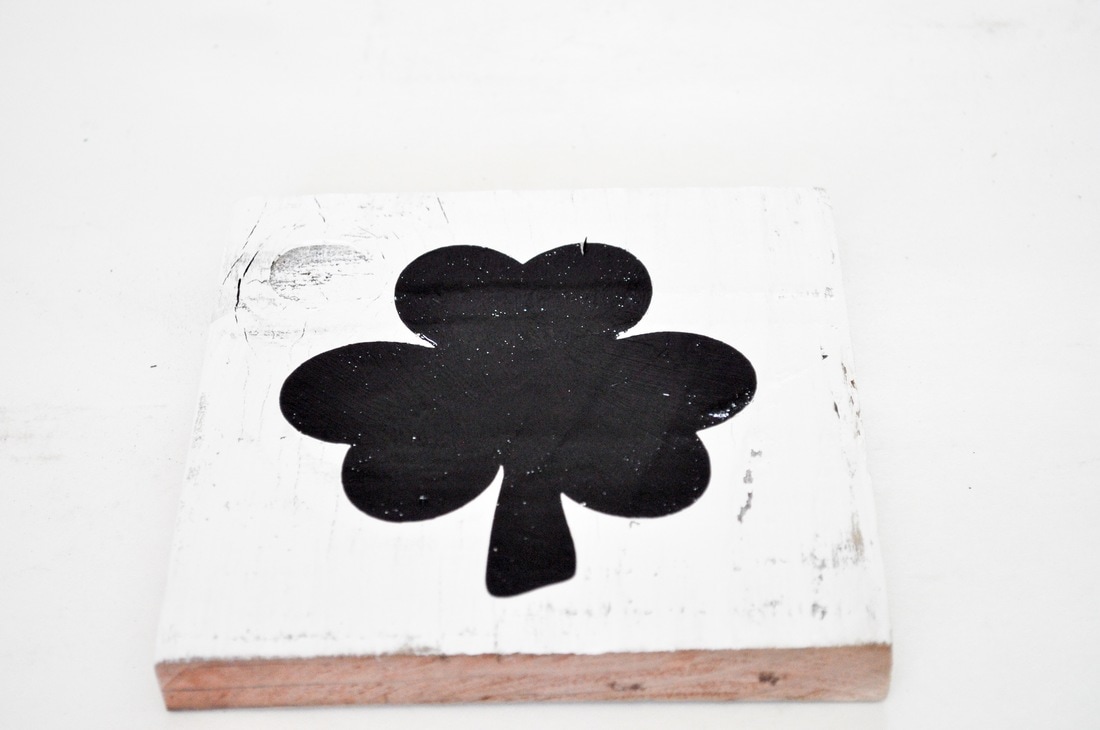
Do no wait for the paint to dry. Immediately pull the stencil off. Use an exacto blade or hook to get the stencil off that is left in the center of the letters. Examples: e, g l, k, and y all have extra stencil pieces still needing to be taken off.

Sand the edges if you want a rustic look, and that is it! Find the frame steps here.
Next is the Clover sign. We will be following all of the same steps as above.
I'm not really sure how, but I forgot to take a picture of the white paint sealing step on the clover. Still make sure to seal your clover even though I don't have the photo to prove I did it!

Download the cut files below.
Download File |
Download File |
||||
Pin it!!

Leave a Reply