
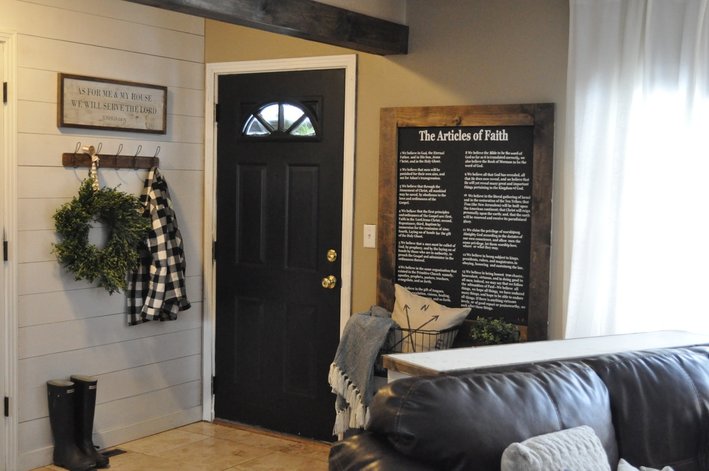
Today we have step by step instructions with pictures that will help you create this beautiful sign!! It's so versatile that you'll be able to use this tutorial for any sign and size simply by adjusting your measurements!!!! Happy DIYing!
Supply List
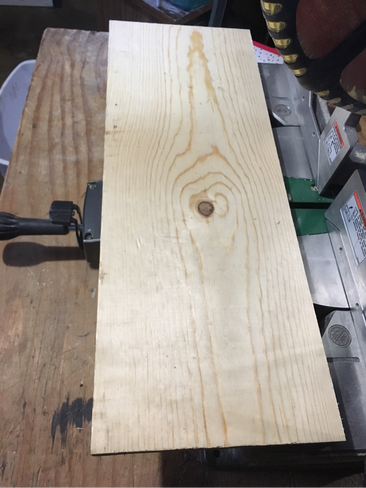
1x10 Pine Board cut to 26.5"
1x2 Pine board cut to 2@ 26.5" and 2@ 10.75"
Joshua 24:15 scripture one-time use Stencil (A few options here on where to get that-- Cut your own at home with a vinyl cutting machine (Cricut, Silhouette, etc. or buy from an Etsy seller)
Saw
Paint
Varnish
Sandpaper
Paint brush****Wood will vary a little so make sure to measure your boards before yo start!! You may need to adjust the length of your cuts!
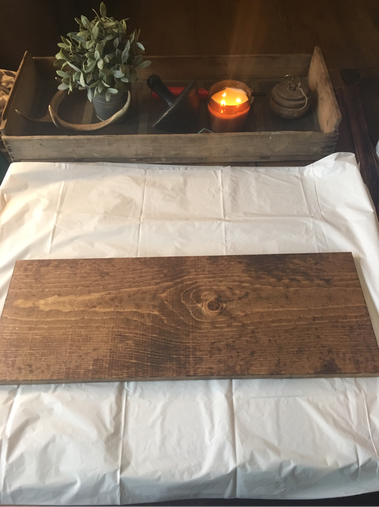
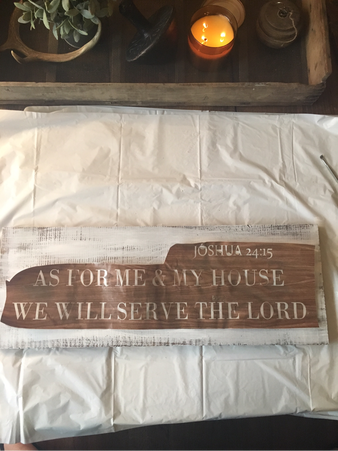
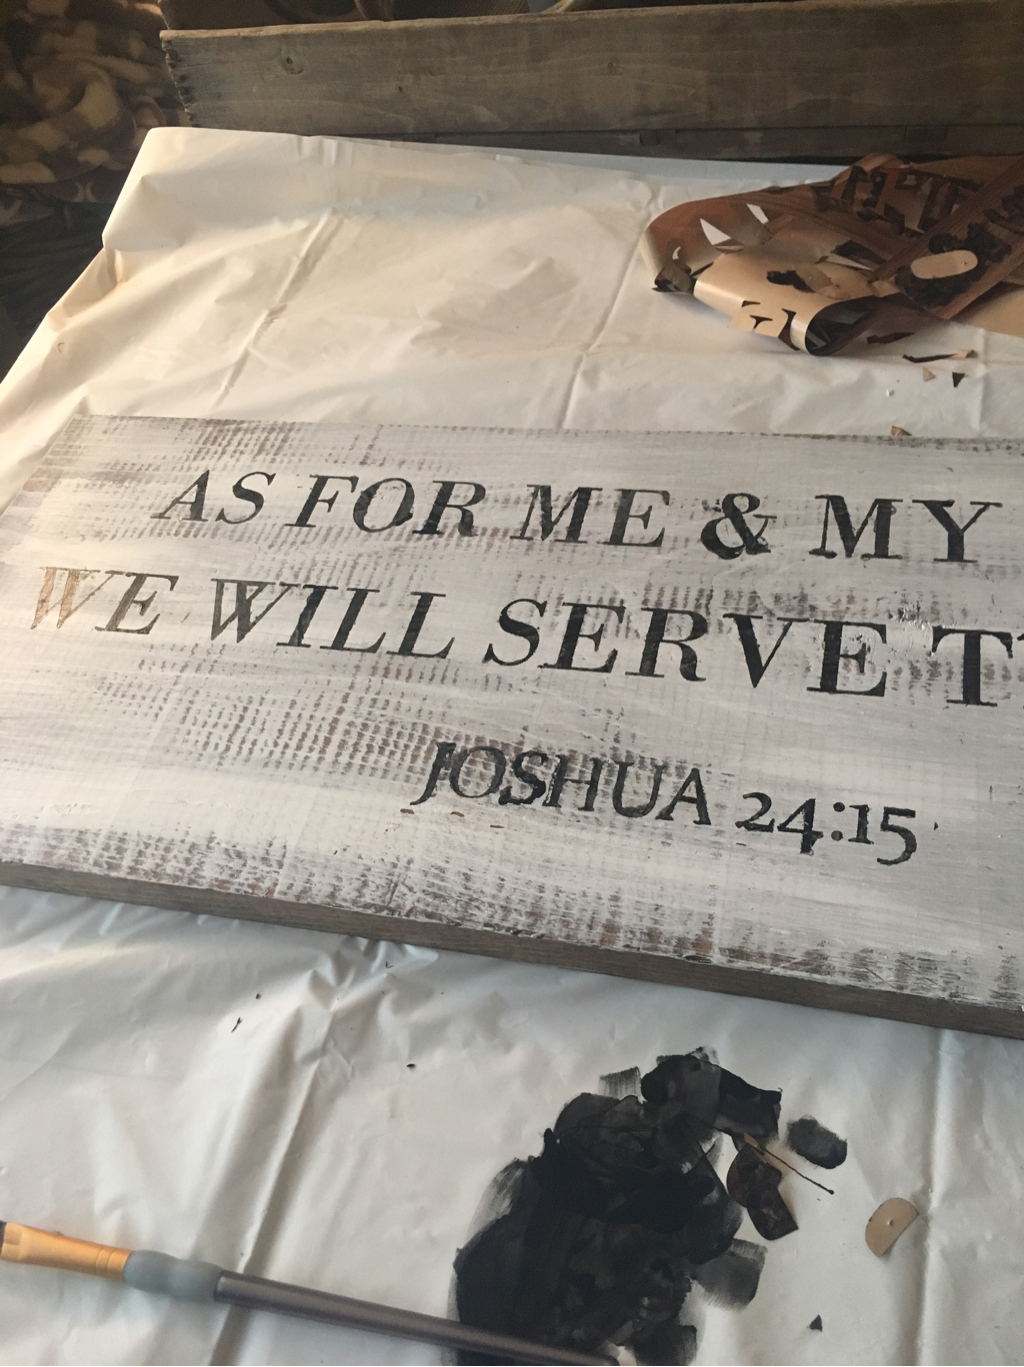
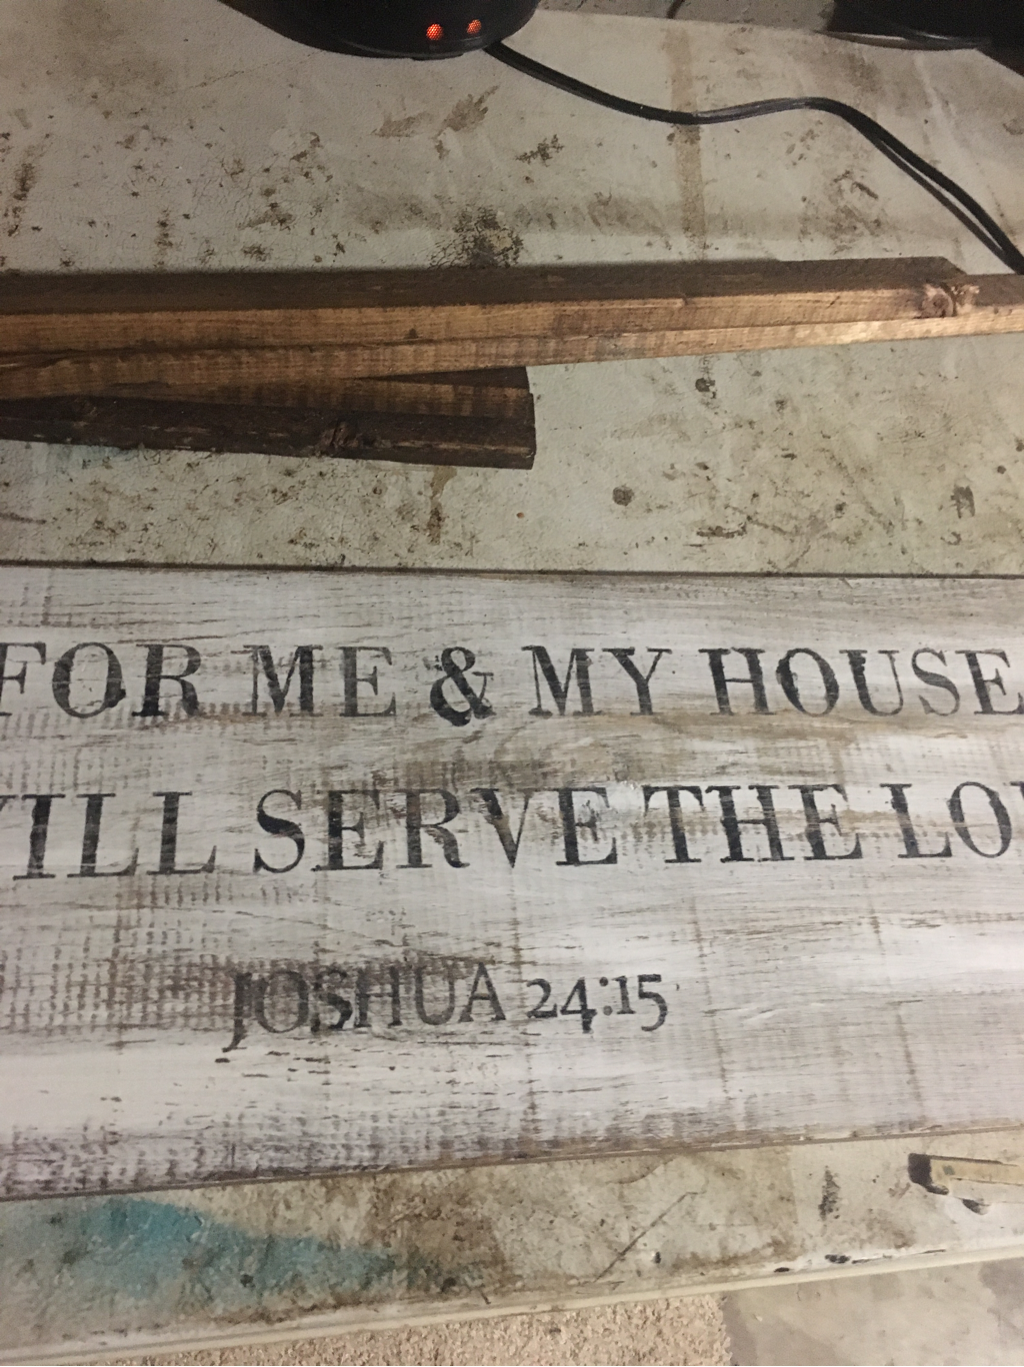
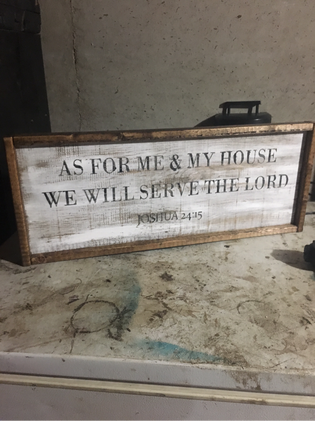
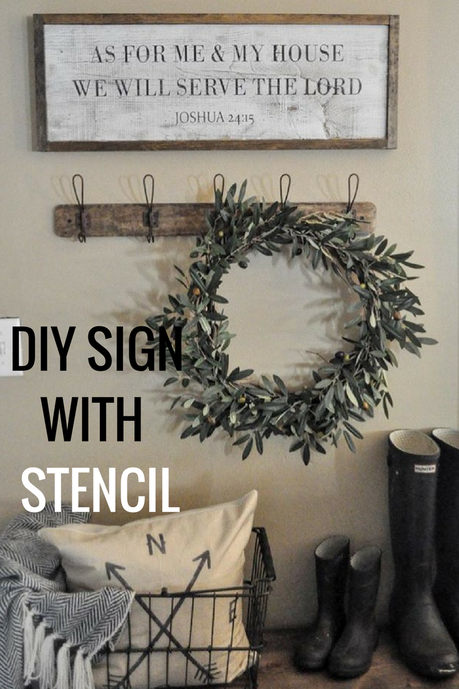
As an example I'll be showing you measurements for the Joshua 24:15 sign pictured above. For that I purchased a 1x10 board and cut the length to 26.5 inches.
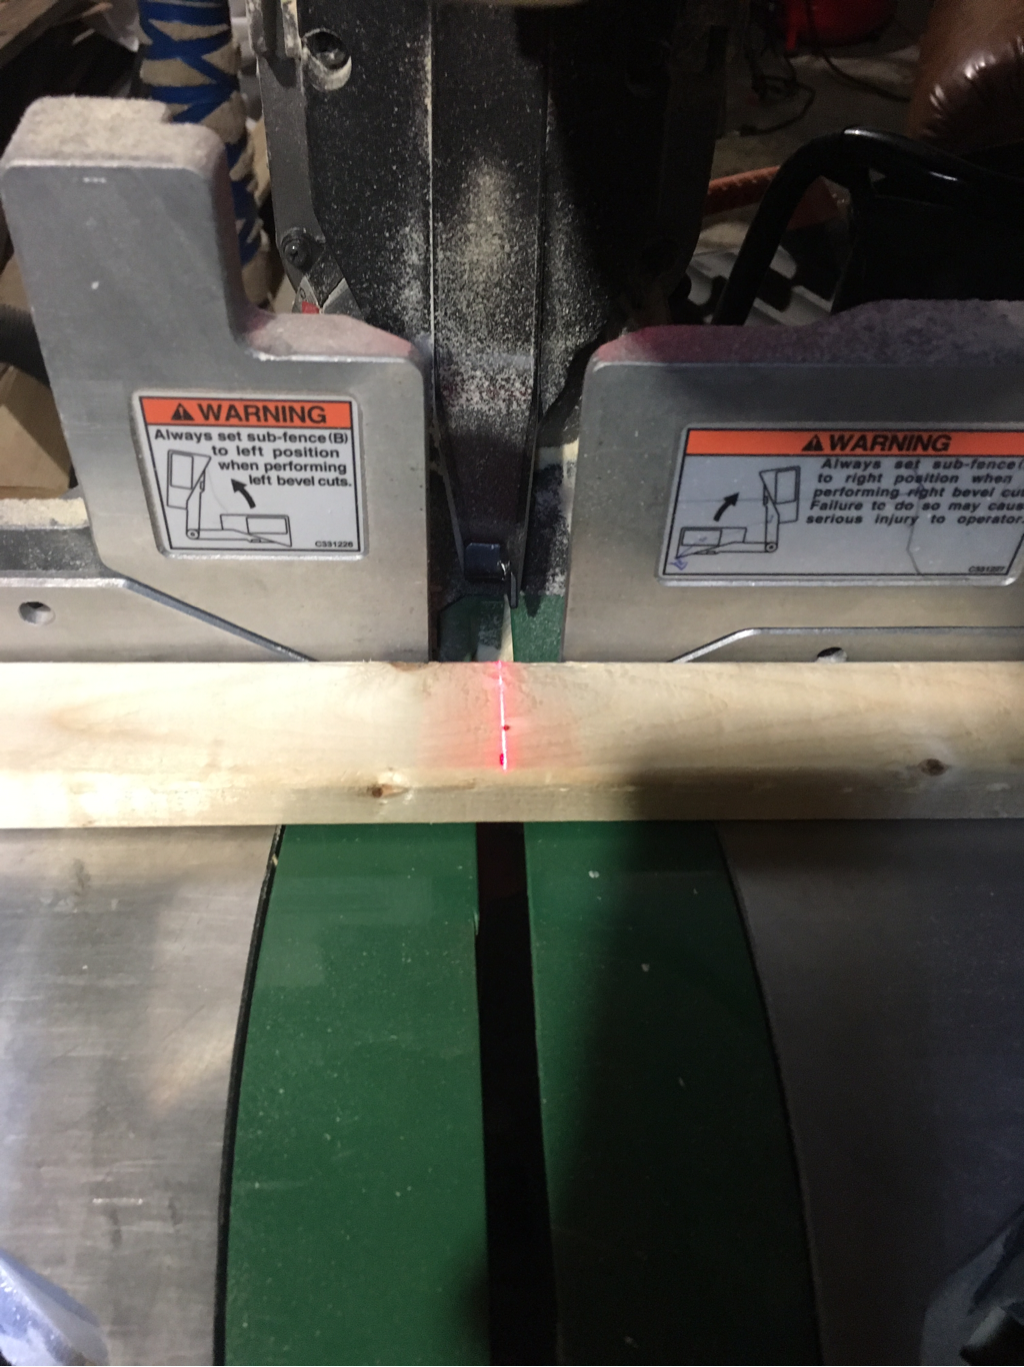
Next you will take your 1x2 and cut it the length of your board. In this case I cut 2@ 26.5 inches.
 |
 |
Now that both of the pieces that run parallel are cut you'll need to measure the width of the board plus your two trim pieces that will be nailed onto the board. I cut 2@ 10.75 inches.
 |
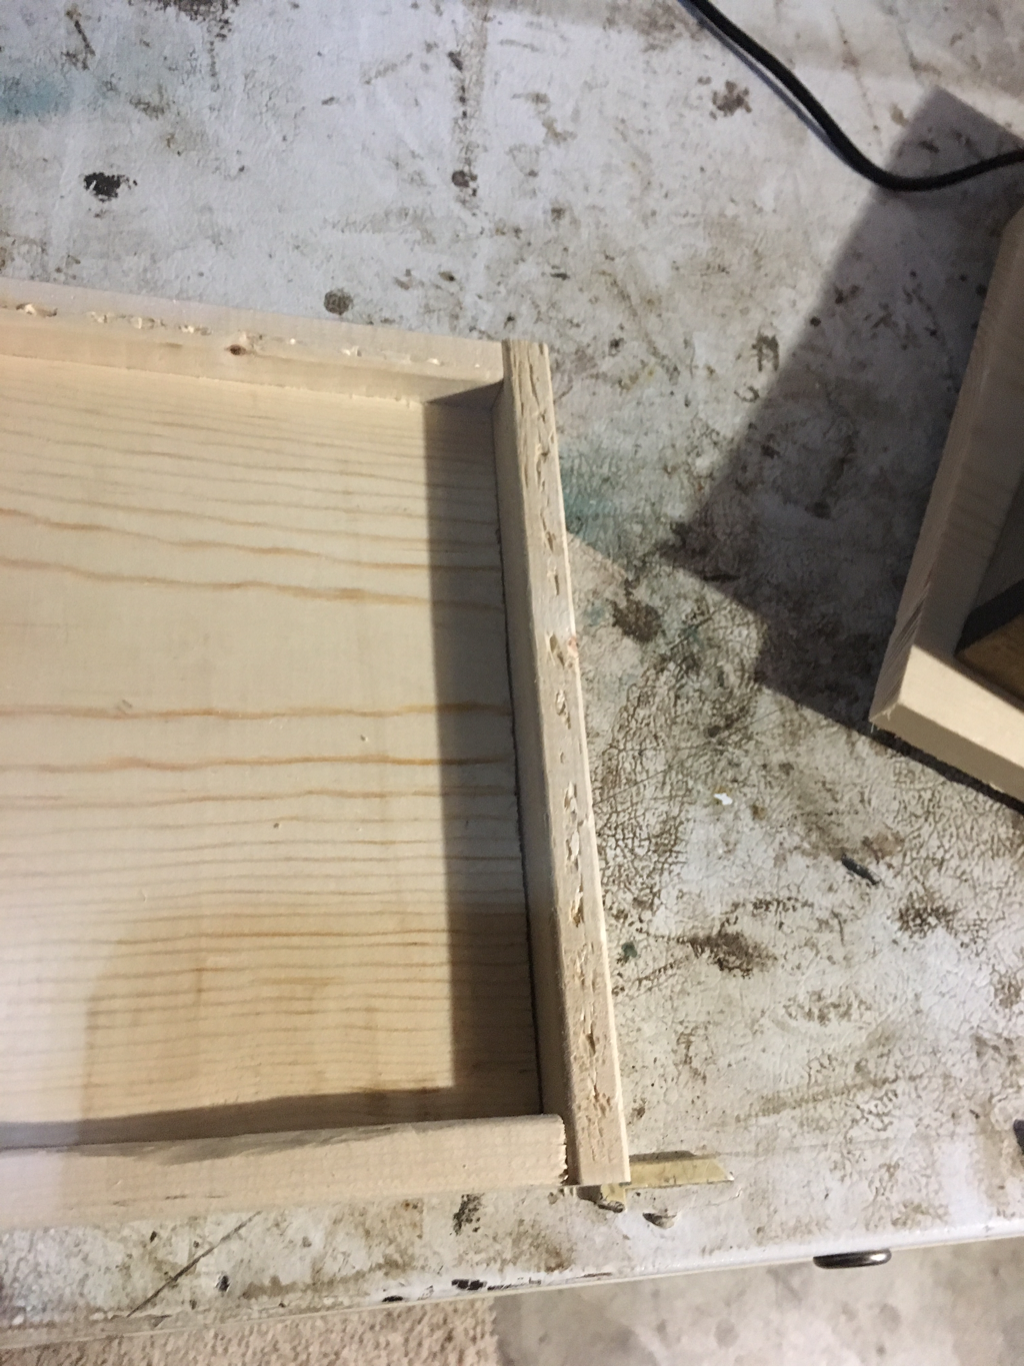 |
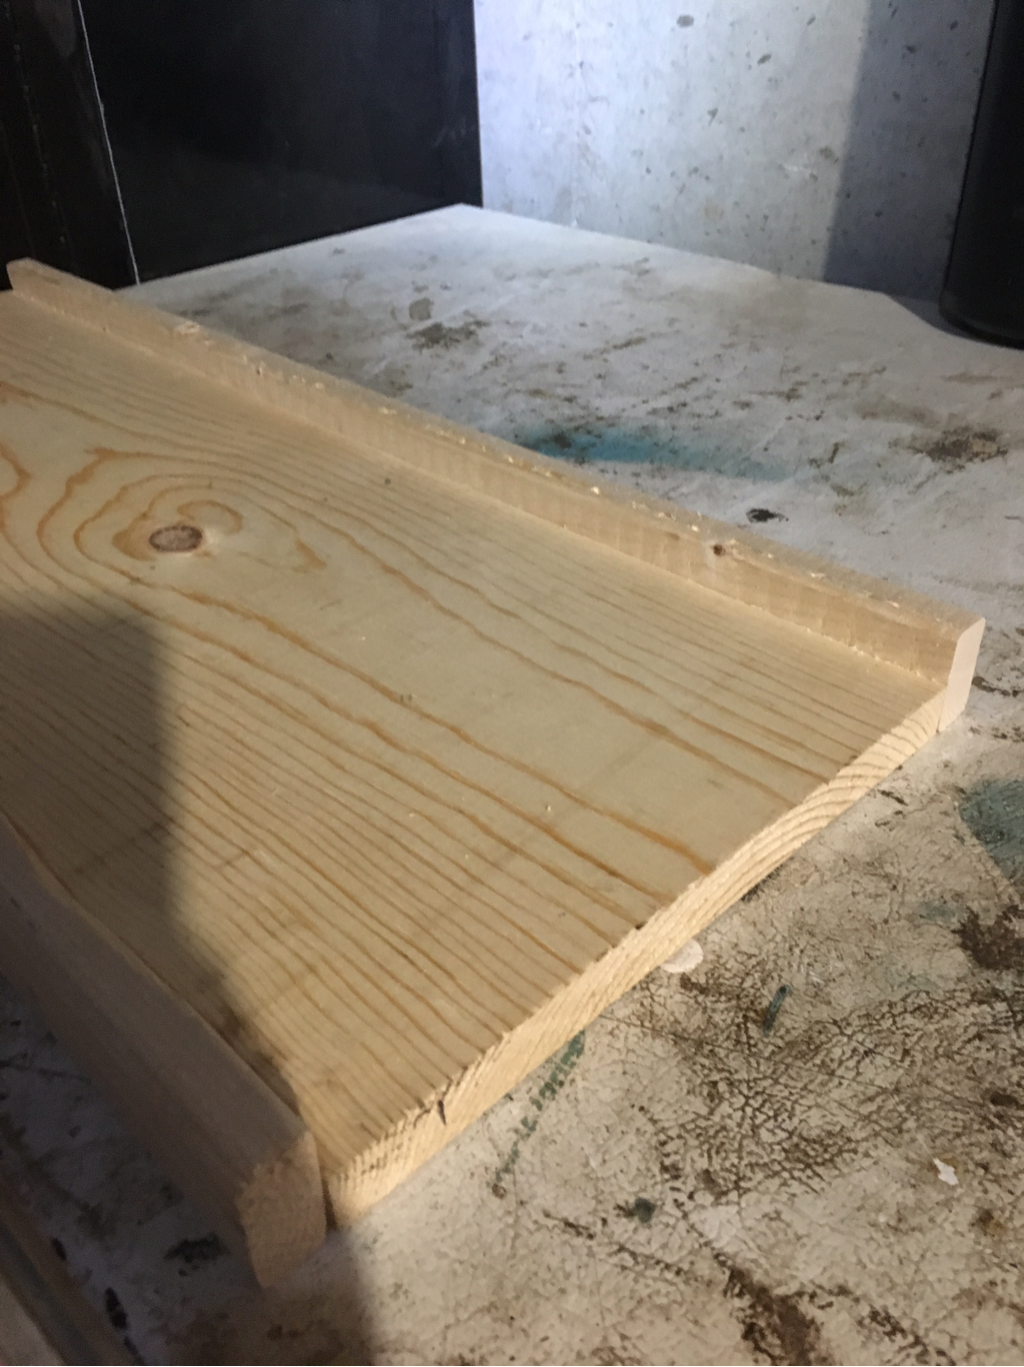
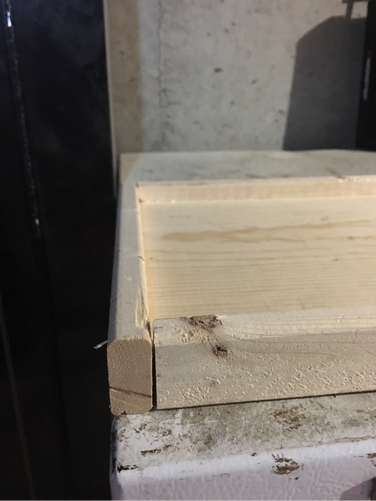
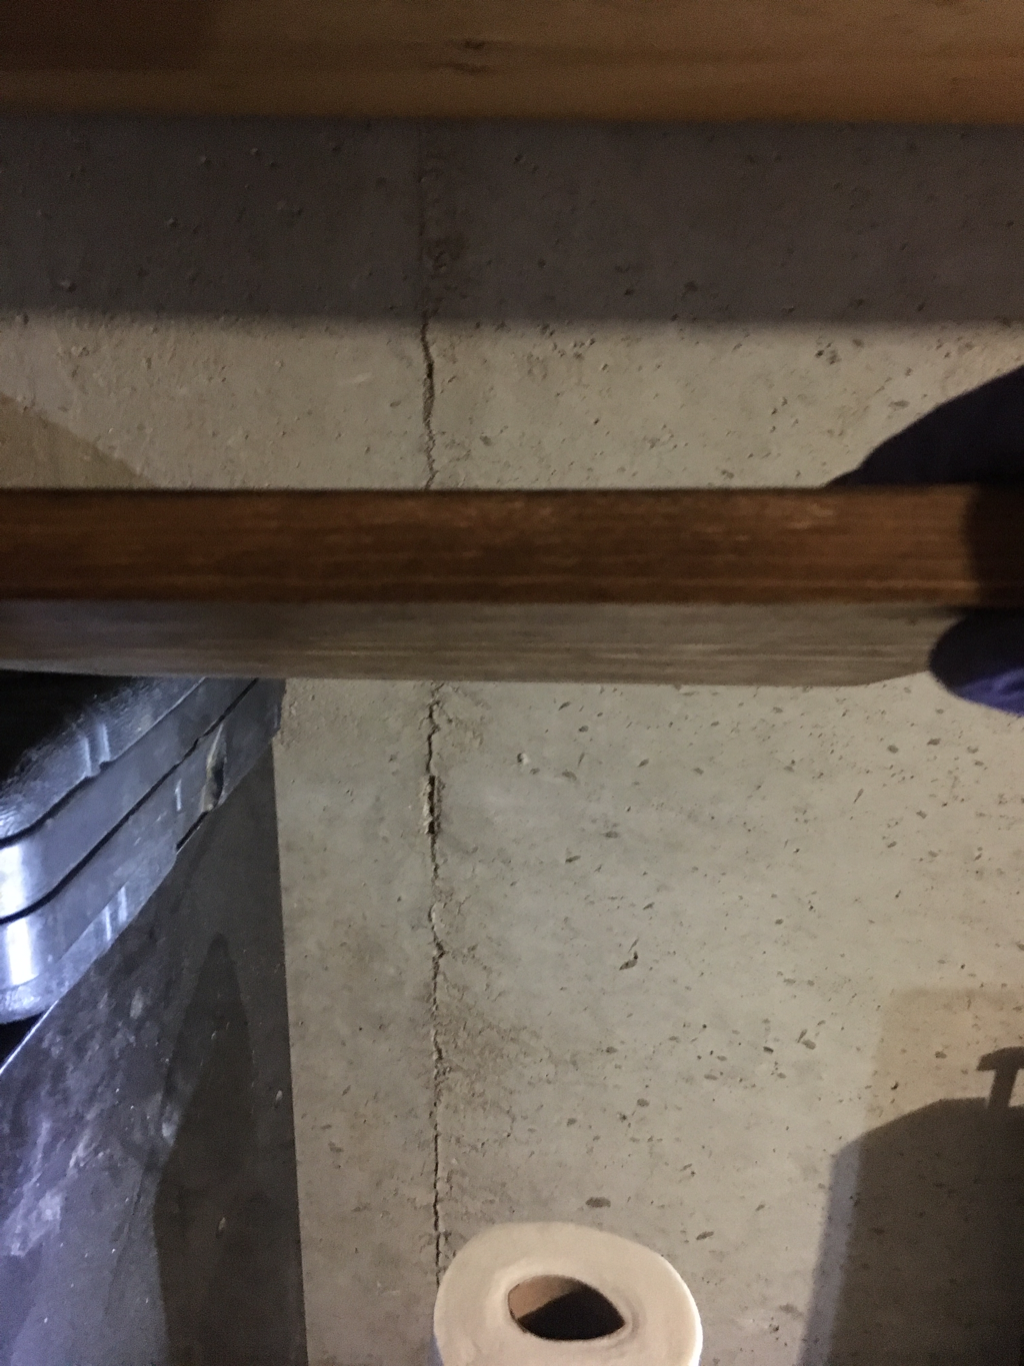
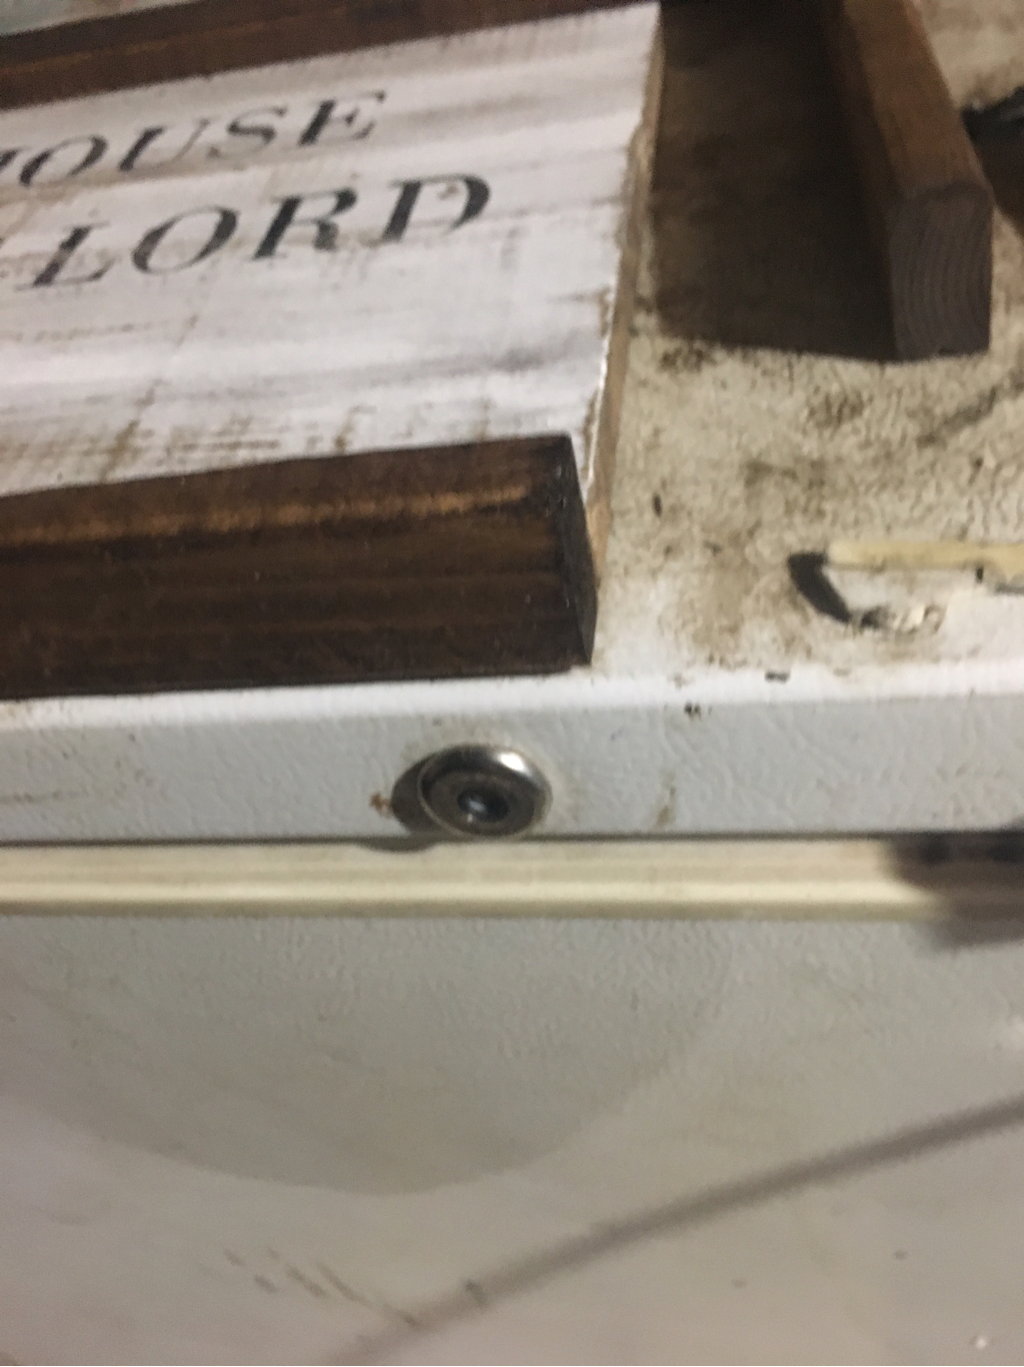
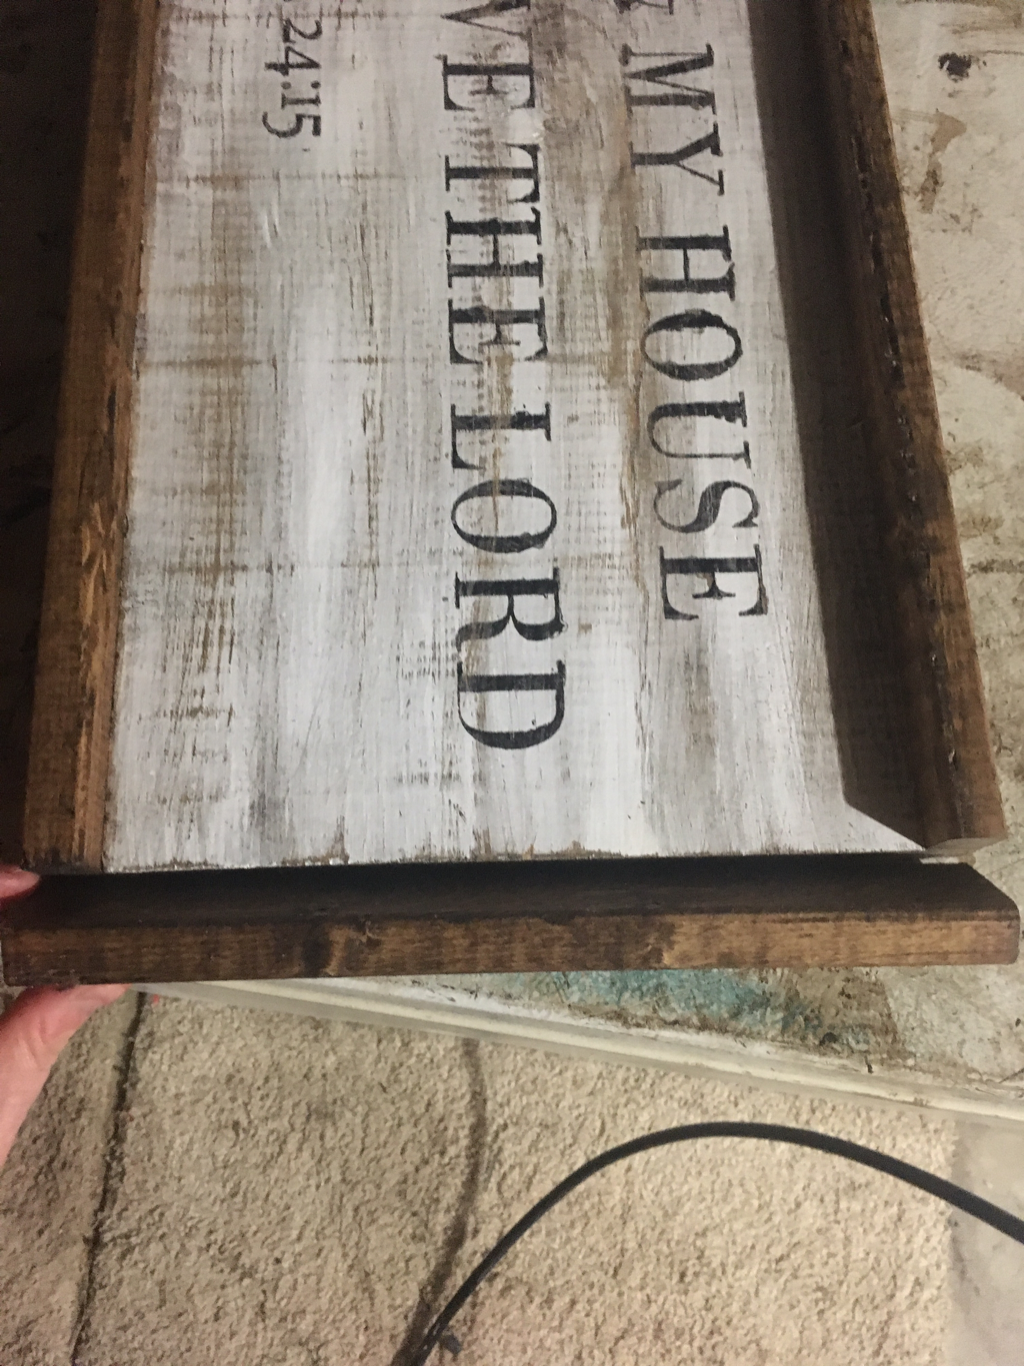
Note the way we have the 1x2's placed around this frame from the photos above. They are not lying flat like the 1x12. They are place up on their sides. It almost gives the look of a tray when done correctly.
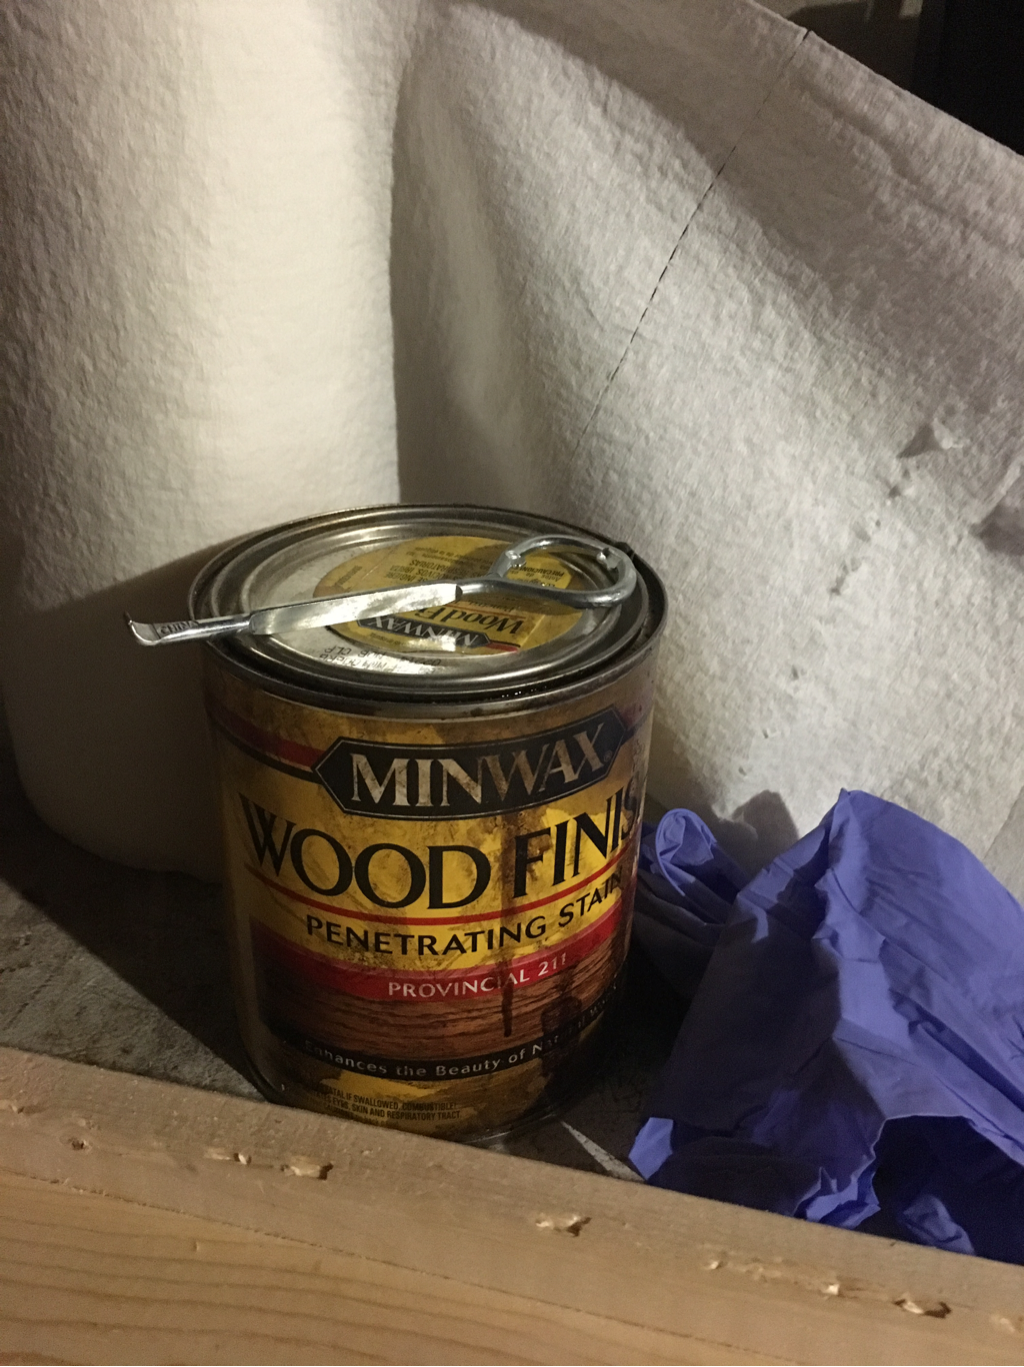
Gather staining supplies- nitrile gloves are a must, an old rag or paper towels, paint can opener, and stain will get the job done!
 |
 |
 |
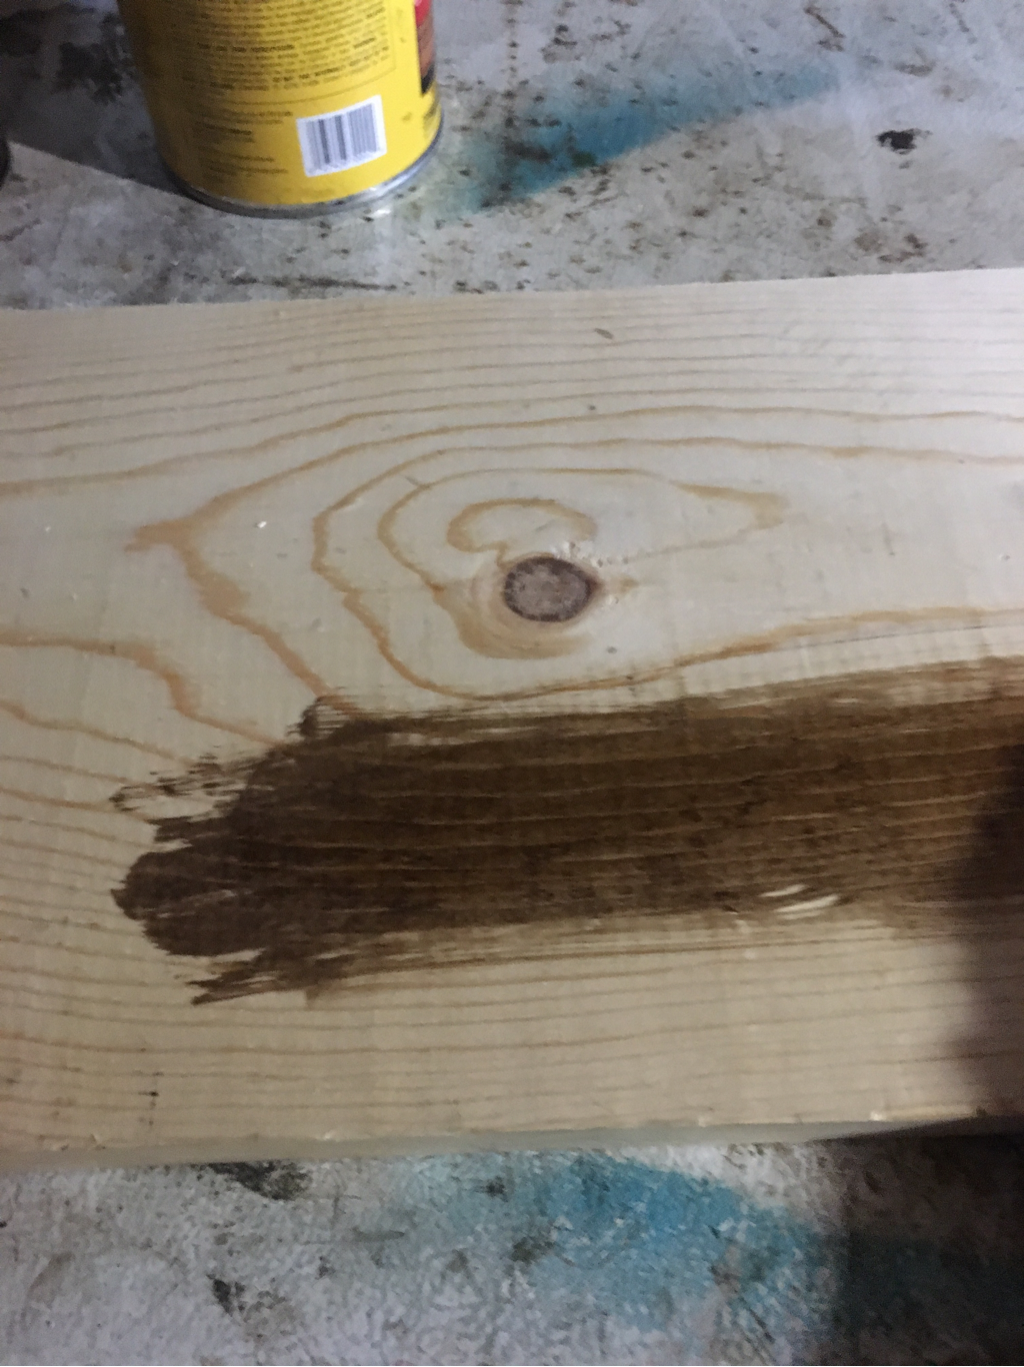
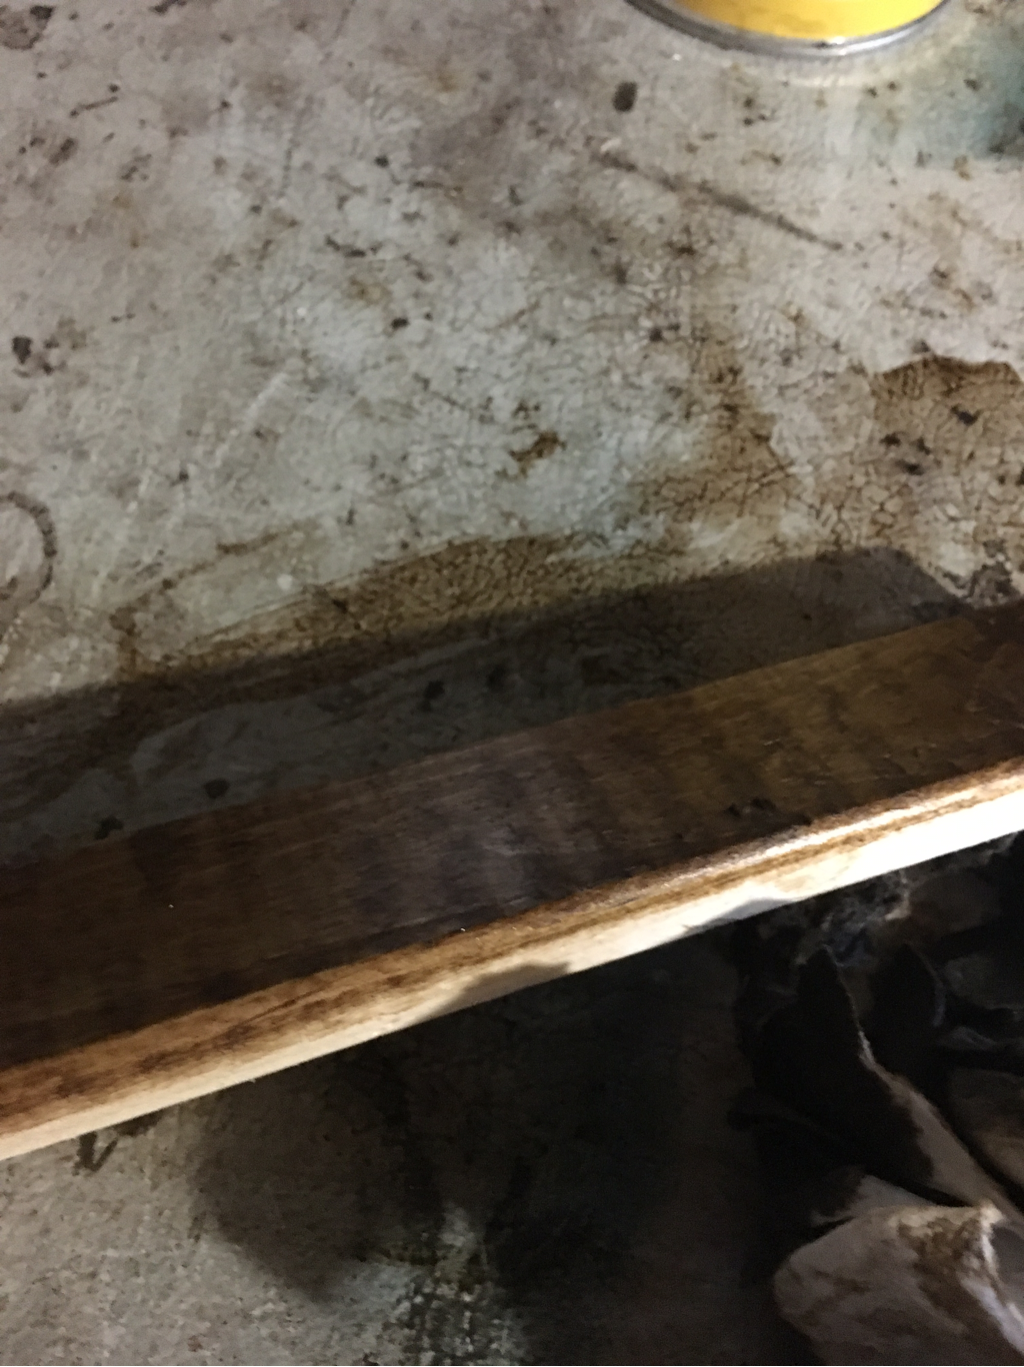
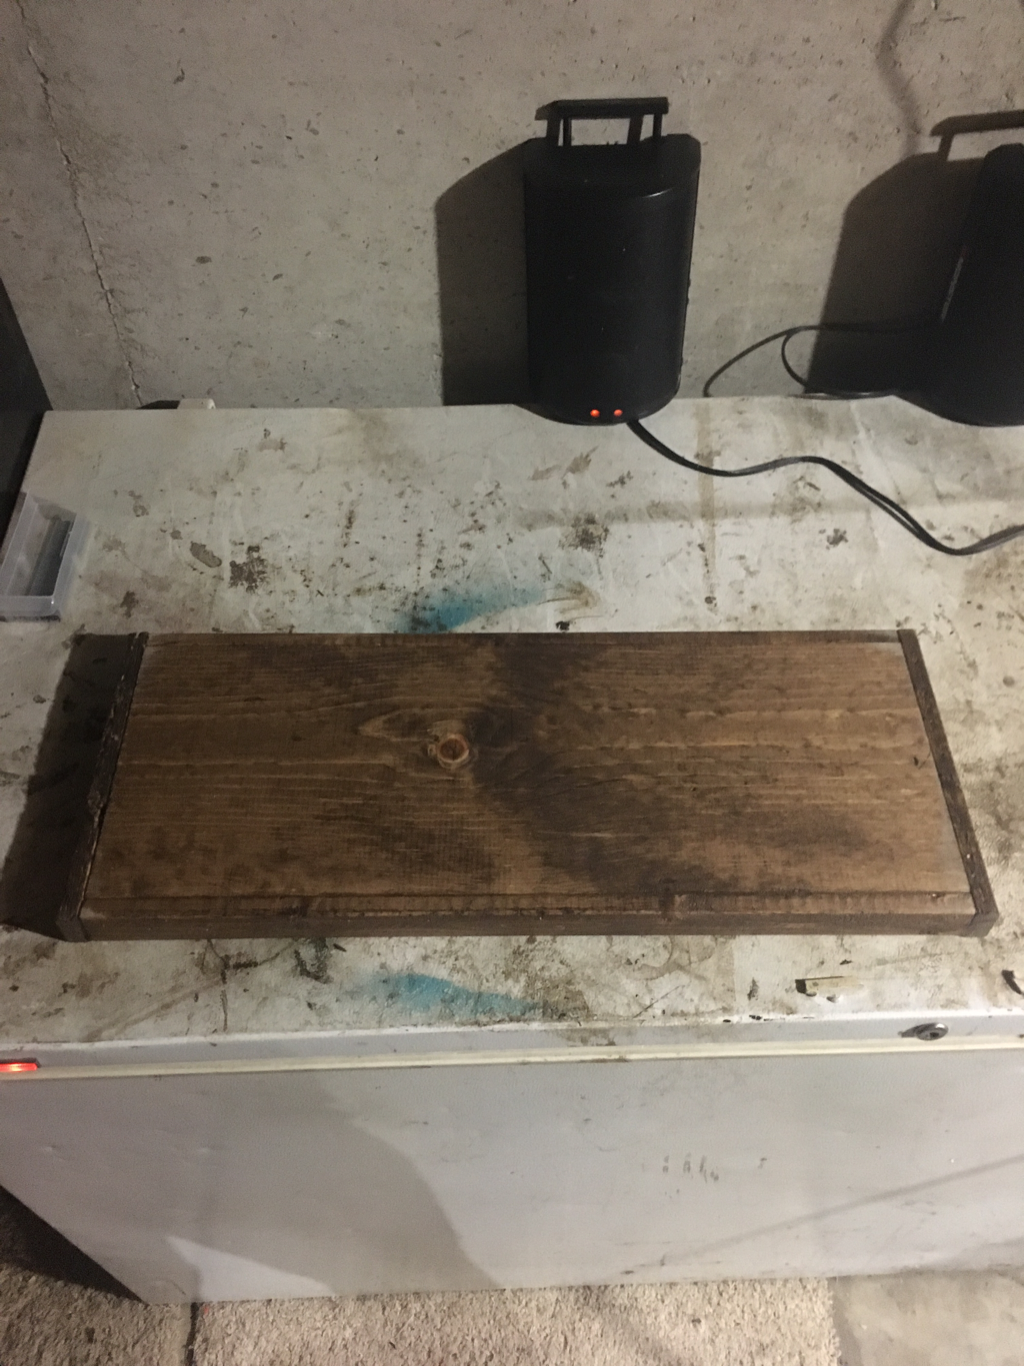
Next stain your Faux frame pieces.*I did not sand my boards because the didn't need it. If you want to smooth edges you can do that before staining but DON'T sand the edges where the frame meets because you could take off more wood than needed and leave a gap at the seams.
 |
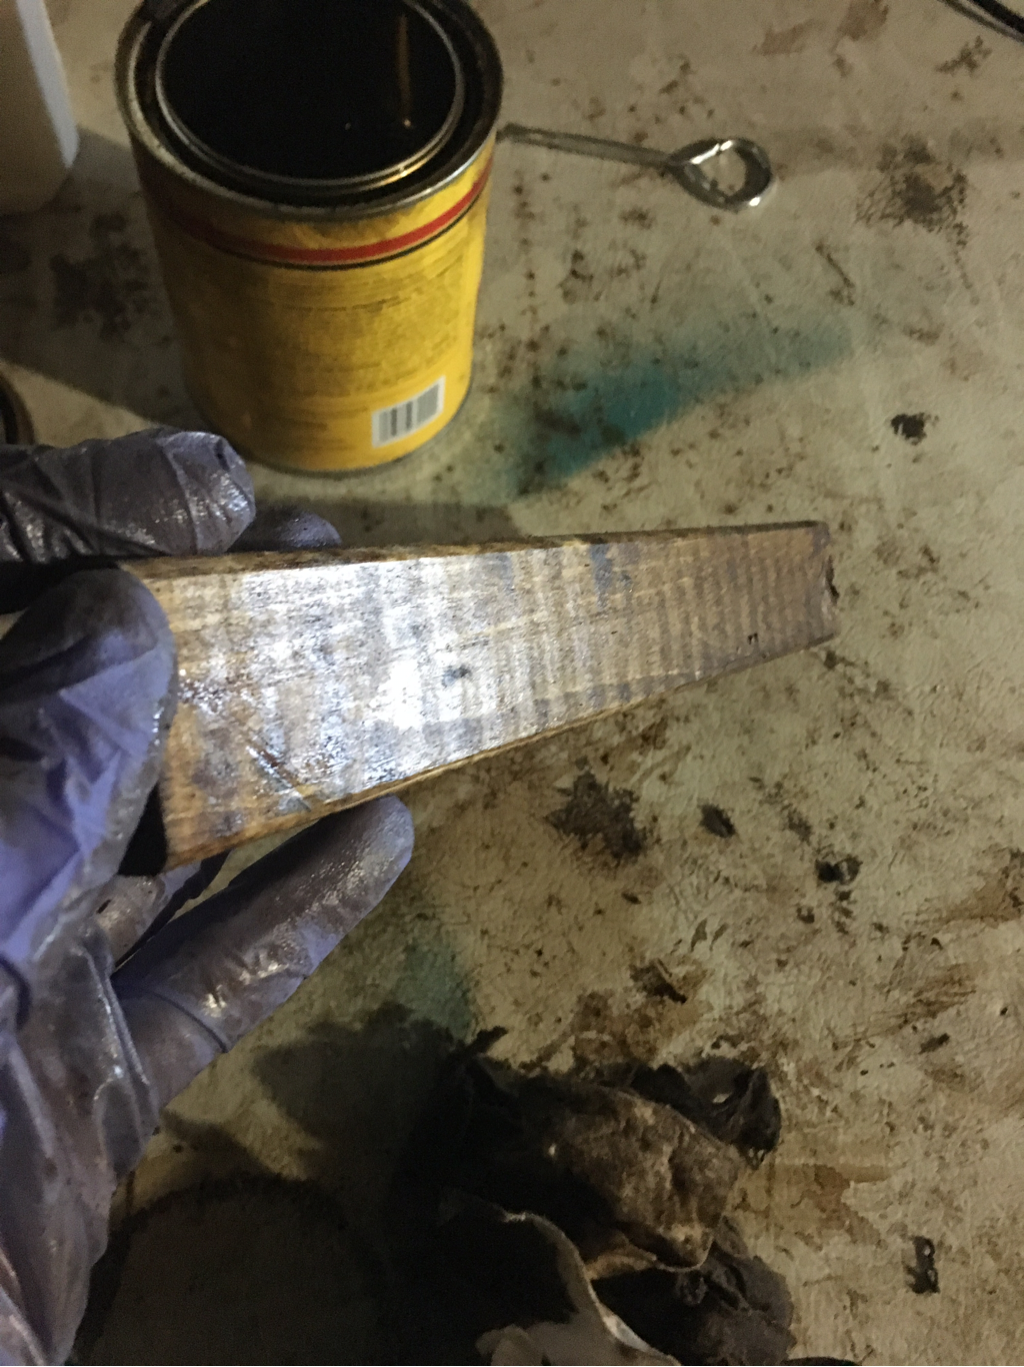 |
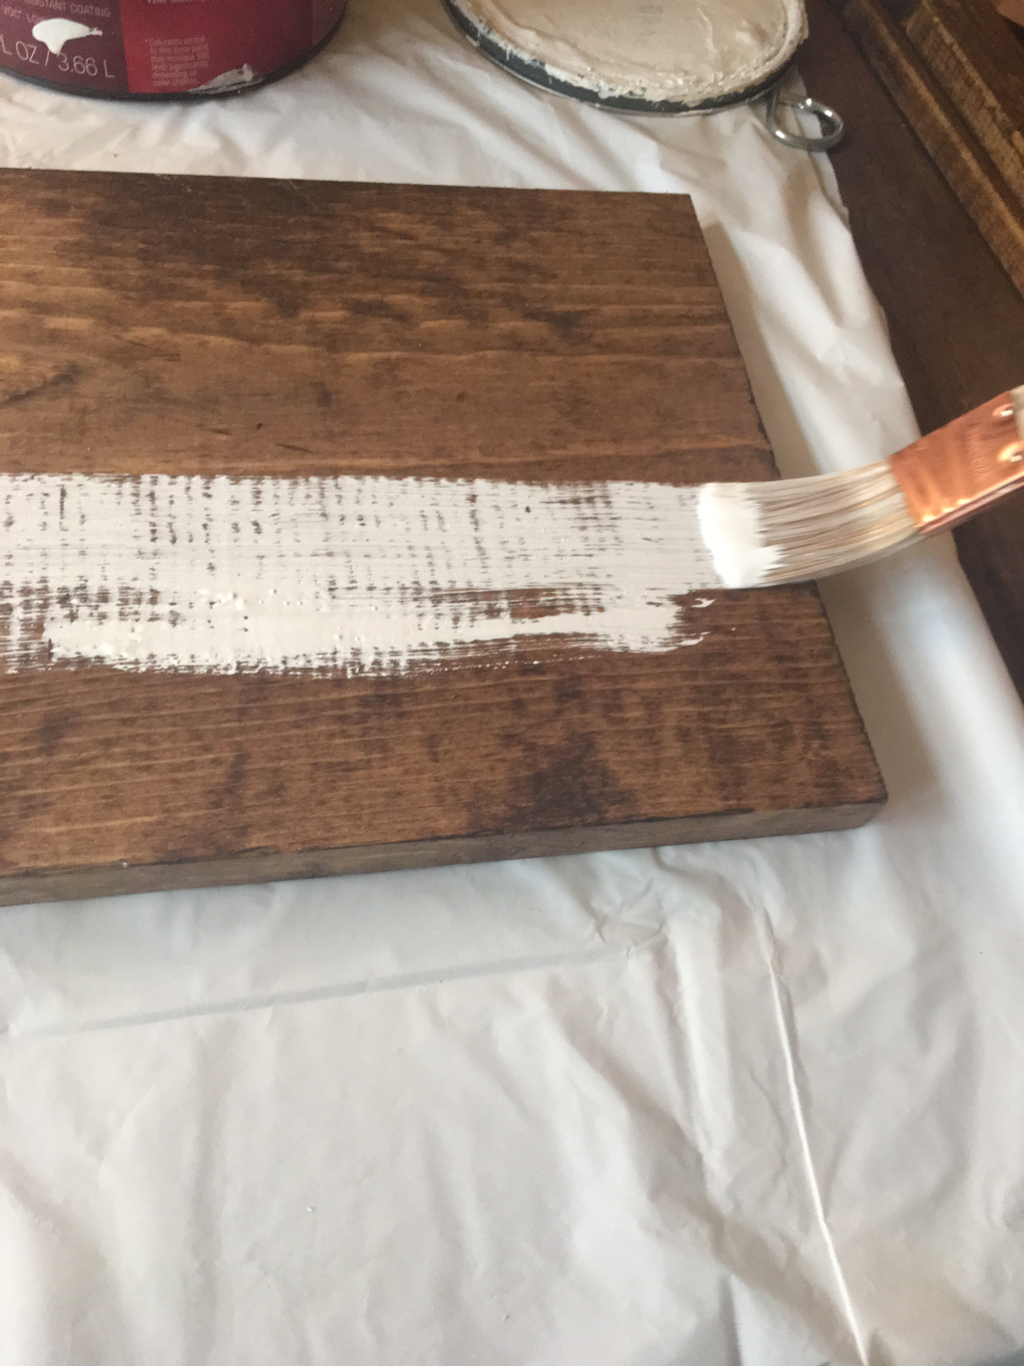
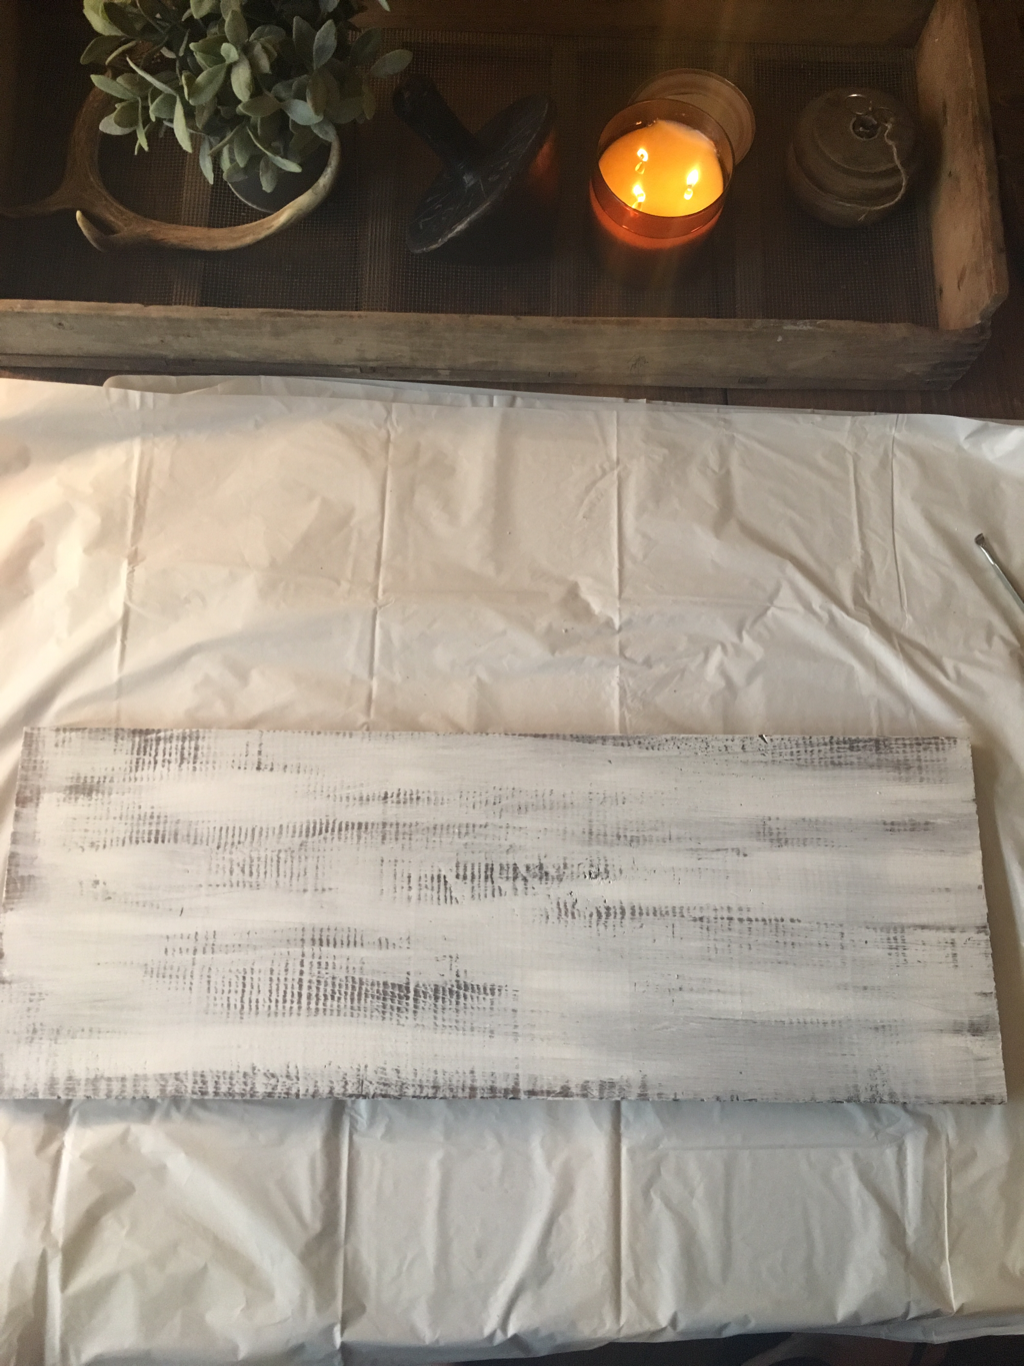
For this sign I'm going for the "old and worn" look! I lightly painted white on so it wasn't super heavy. Some areas I did paint a little more than others.
 |
 |
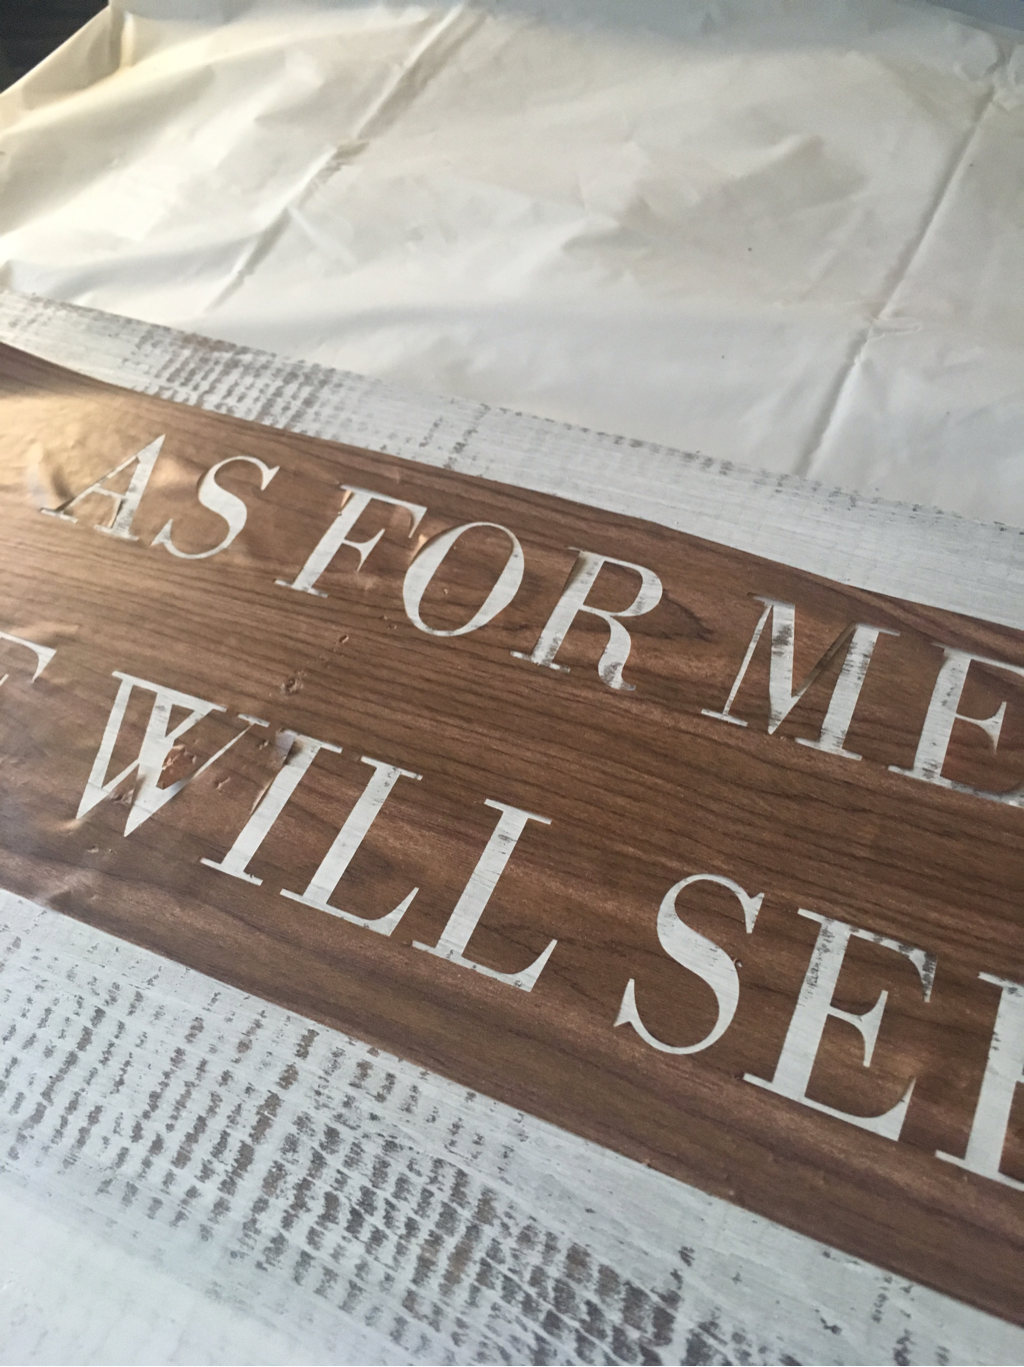
Once it's completely dry you'll apply your stencil. Our super talented friend Mandy over at Sugar Bee Crafts cut this stencil for me! Go check her blog out! She has so many fun things on there!
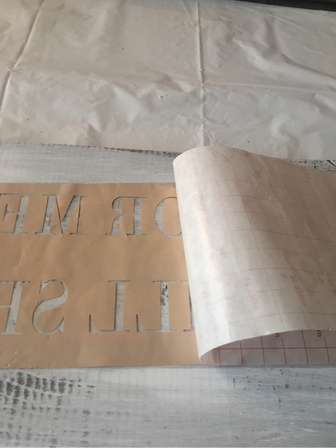
The back of your stencil is the "gridlines". That is the piece you'll remove first. Begin by flipping the stencil...right side facing the table. Then slowly peel the gridlines paper off. Some of the little pieces will want to come with it but you need to press it into the sticky contact paper so you'll have it when painting. *don't touch it with your fingers (the oils on your hands will compromise the adhesive).
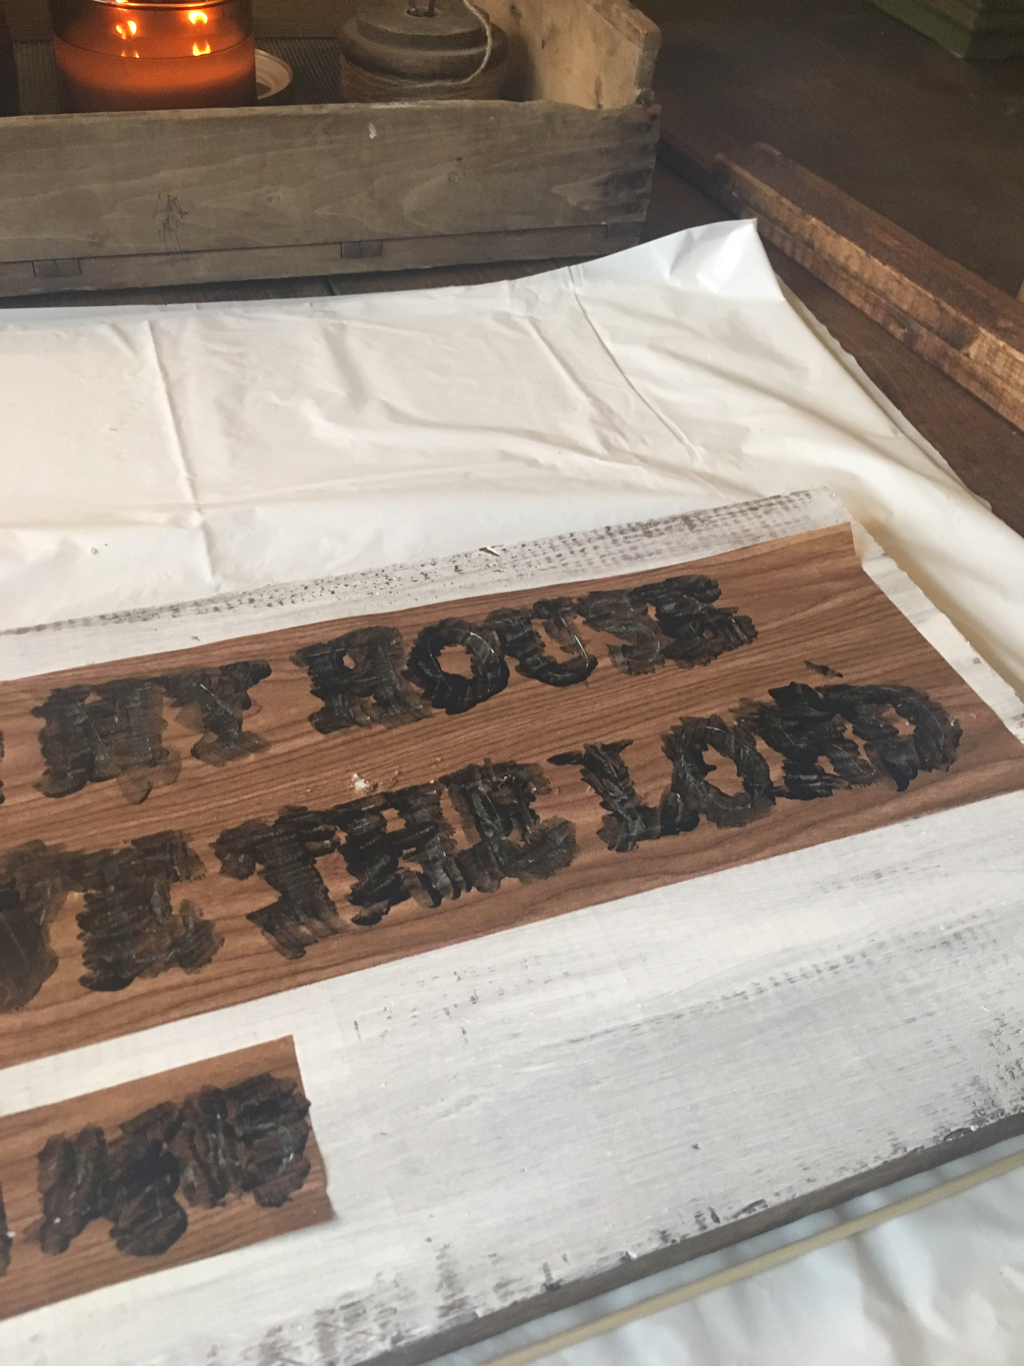
Flip your stencil over and place it on your board. I just eye mine but feel free to measure yours if "eyeing it" makes you nervous. Next place the scripture reference and then press the stencil down so you don't have air bubbles. My stencil wasn't very sticky so I had to press it around the letter then paint each individual letter like that. If it's not pressed against the board you run the risk of the paint bleeding- I know this from personal experience.
 |
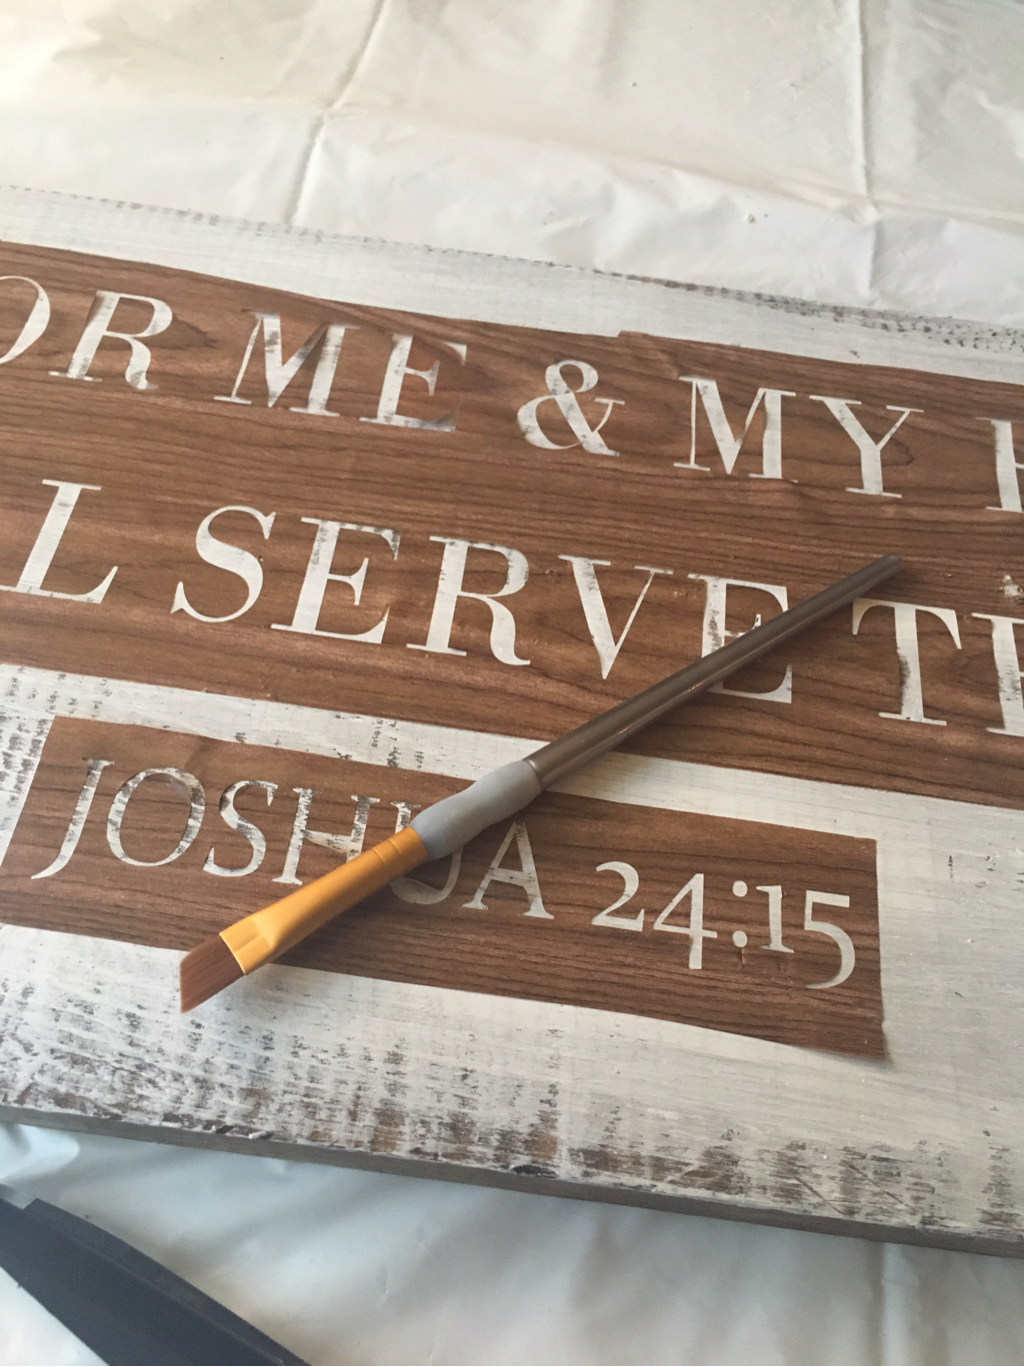 |
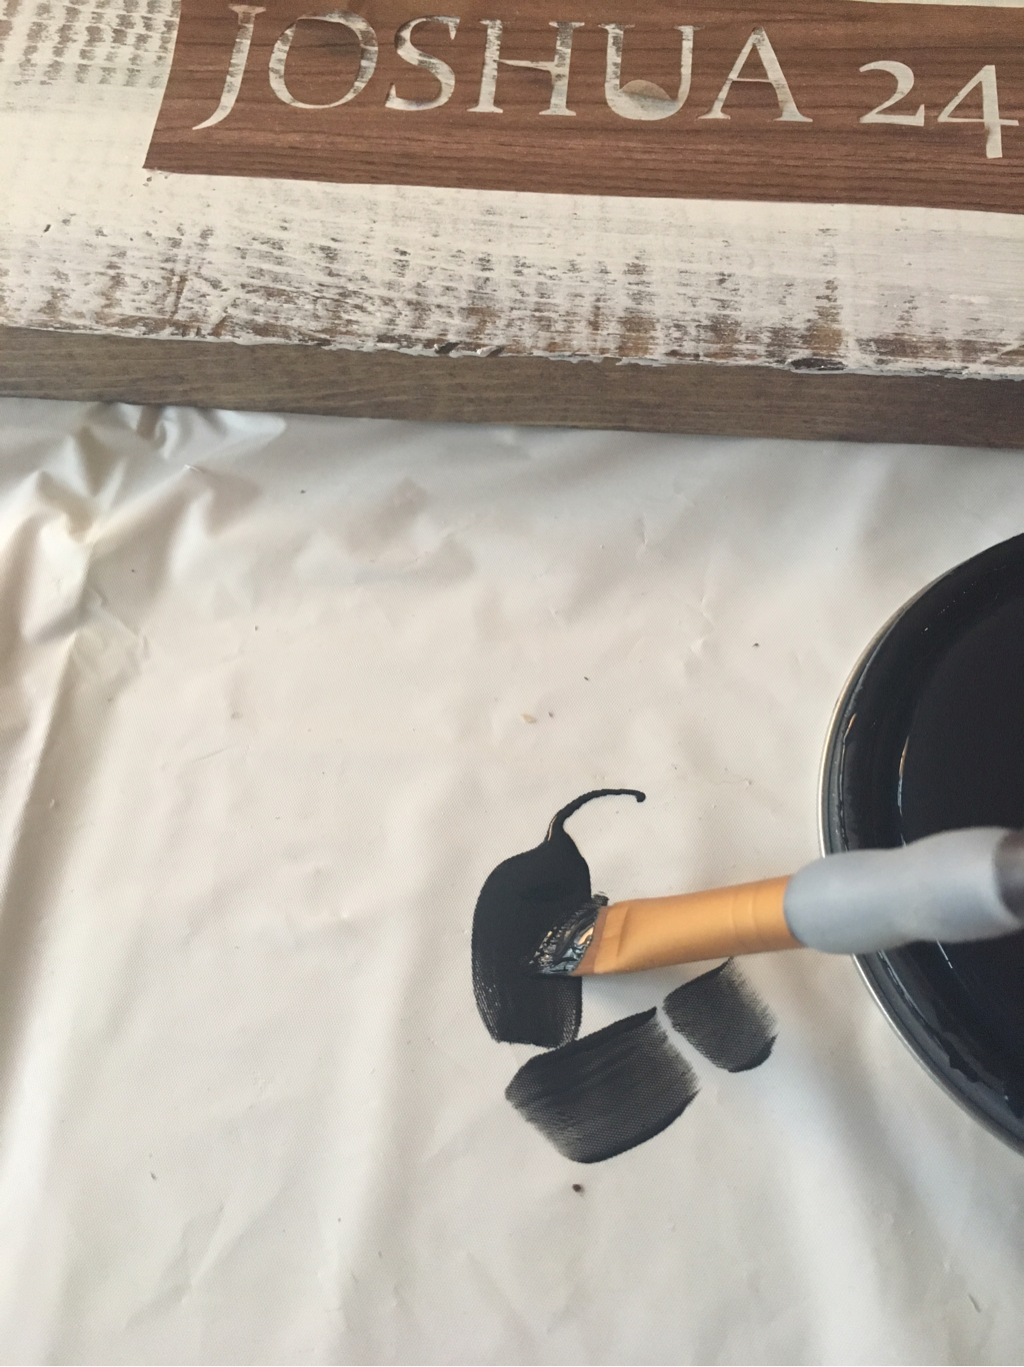
This paint is pretty thin because it's so new. I typically use a sample size paint and I like it best when it's a little thick (dare I admit that I don't seal my paint cans all the way ?) it helps cut down on the paint bleeding! I always put a little paint on my plastic tablecloth or on a paper plate rather than taking from the can. That way I'm able to control the amount of excess paint I have. I've found that less is more :). As far as painting goes, pat the paint on or move from the edge of the letter into the center so you don't get paint under the stencil. If you don't like the stenciled on look (more rustic) then you'd probably like the scripture cut on actual black vinyl so the lines are crisp and clean.
 |
 |
 |
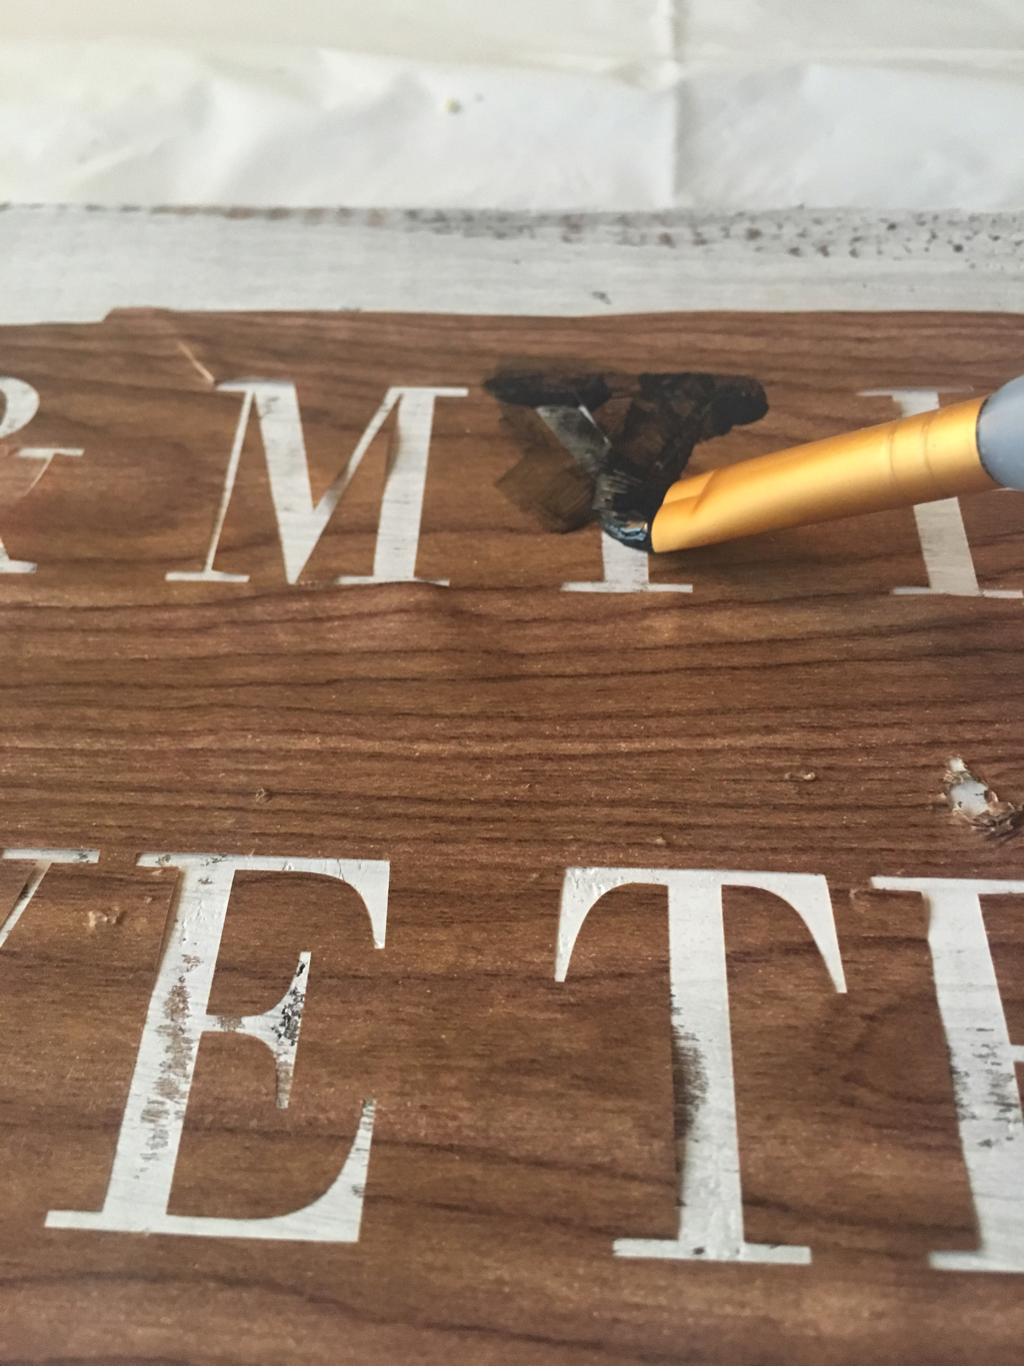
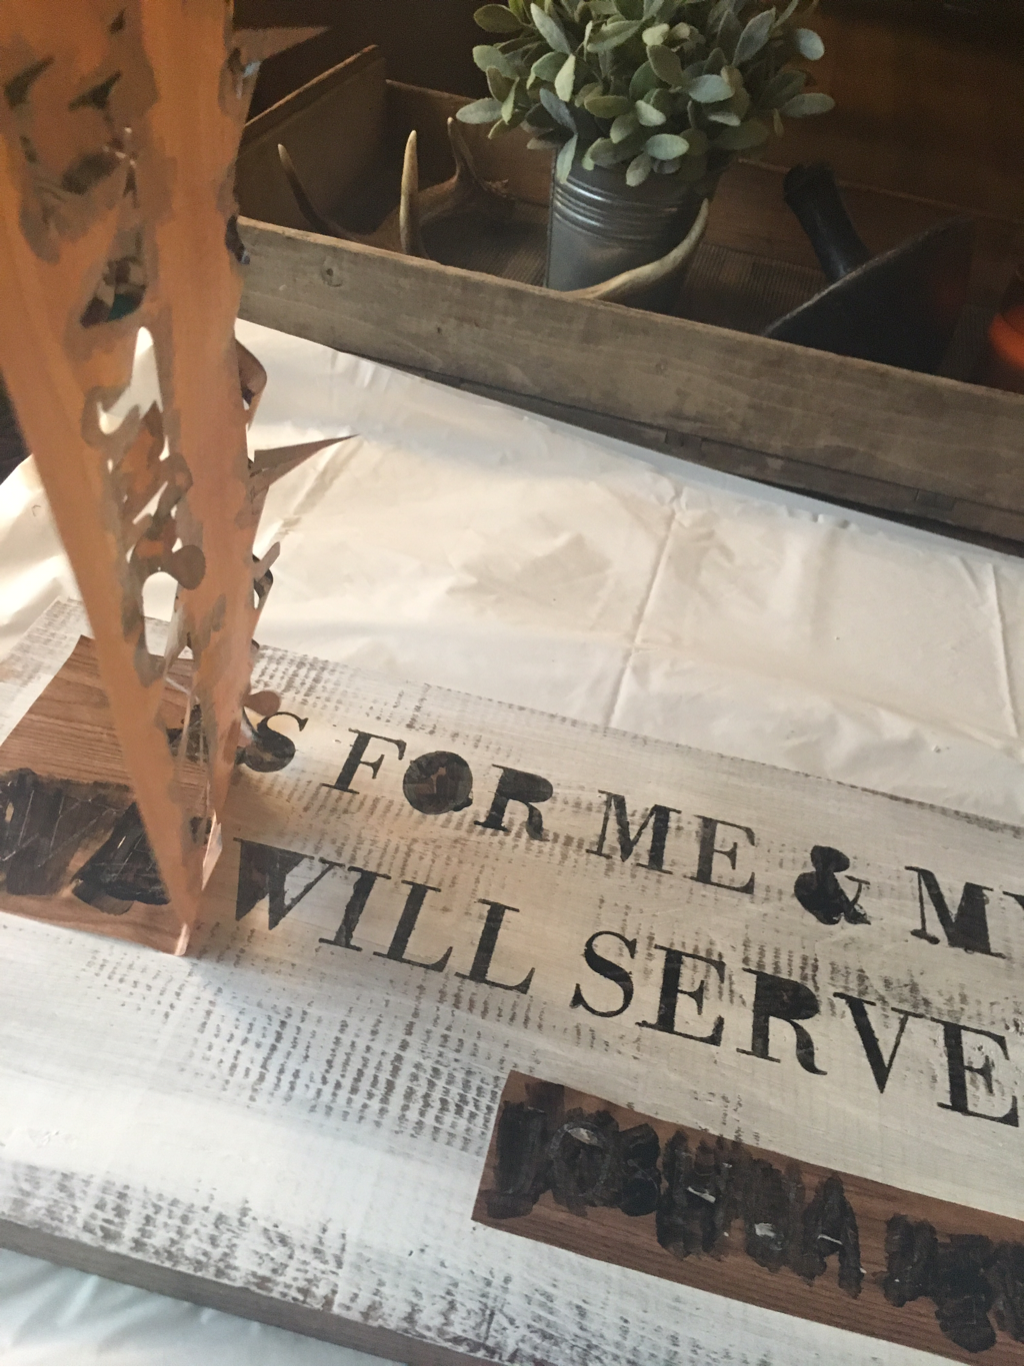
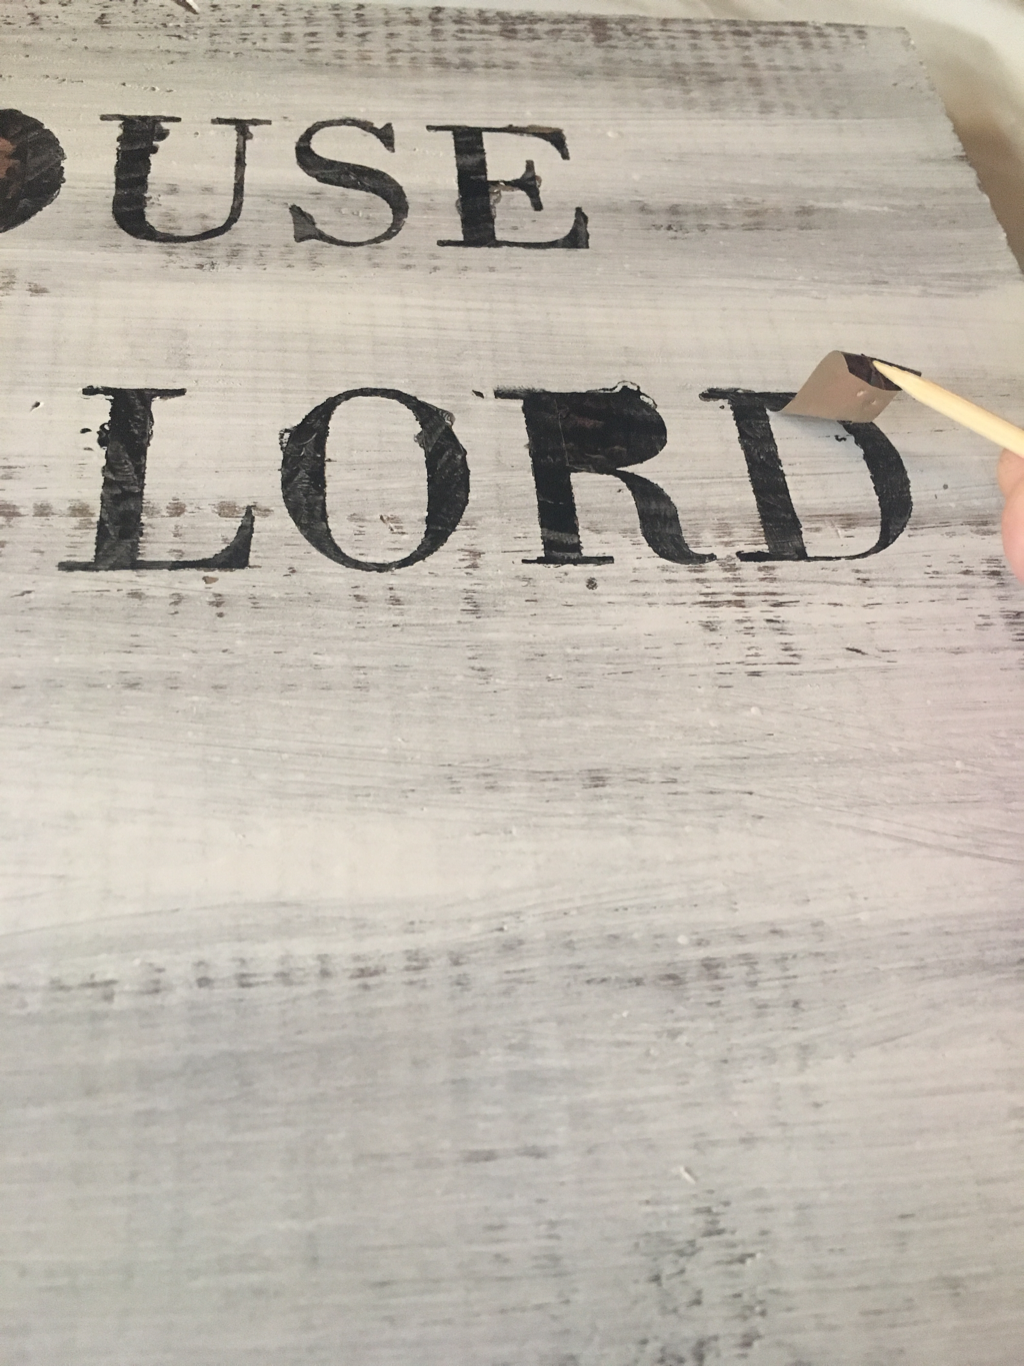
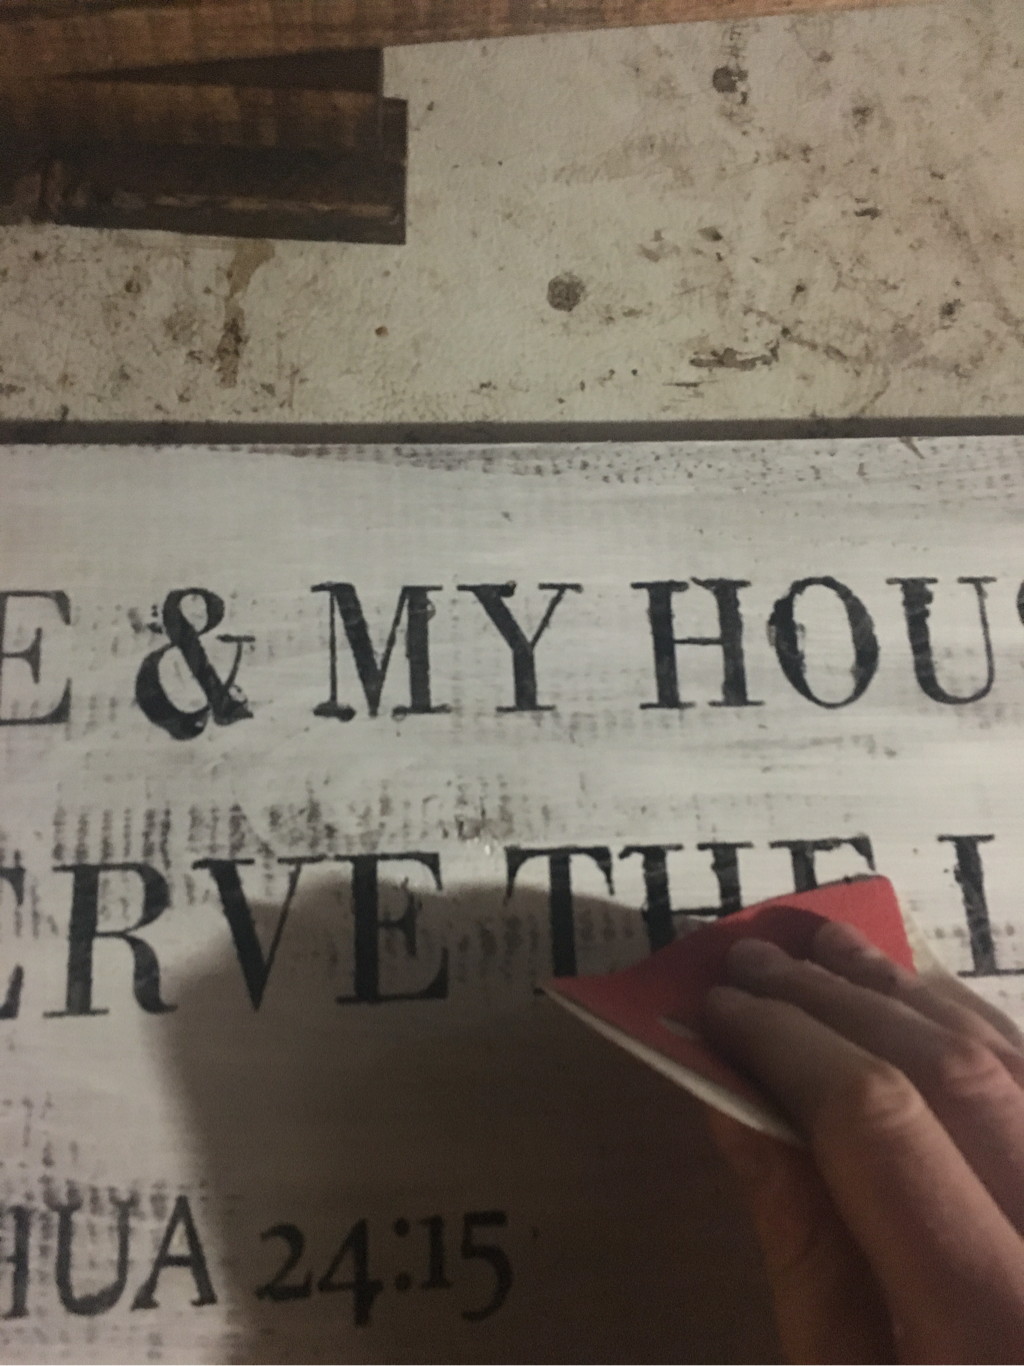
I don't wait for the paint to dry- I've found that it pulls the paint off sometimes....so as soon as I finish stenciling I pull the stencil off at a 90 degree angle as shown in pictures below. Take a sharp object and weed the inside of the letters. Just like that you're done! Don't panic if yours isn't perfect! Find the beauty and character in it!!
 |
 |
 |
Once your black lettering is completely dry you are going to sand it. Use a very fine sandpaper (220 grit) and I recommend you do this by hand so you don't take too much of the paint off.
 |
 |
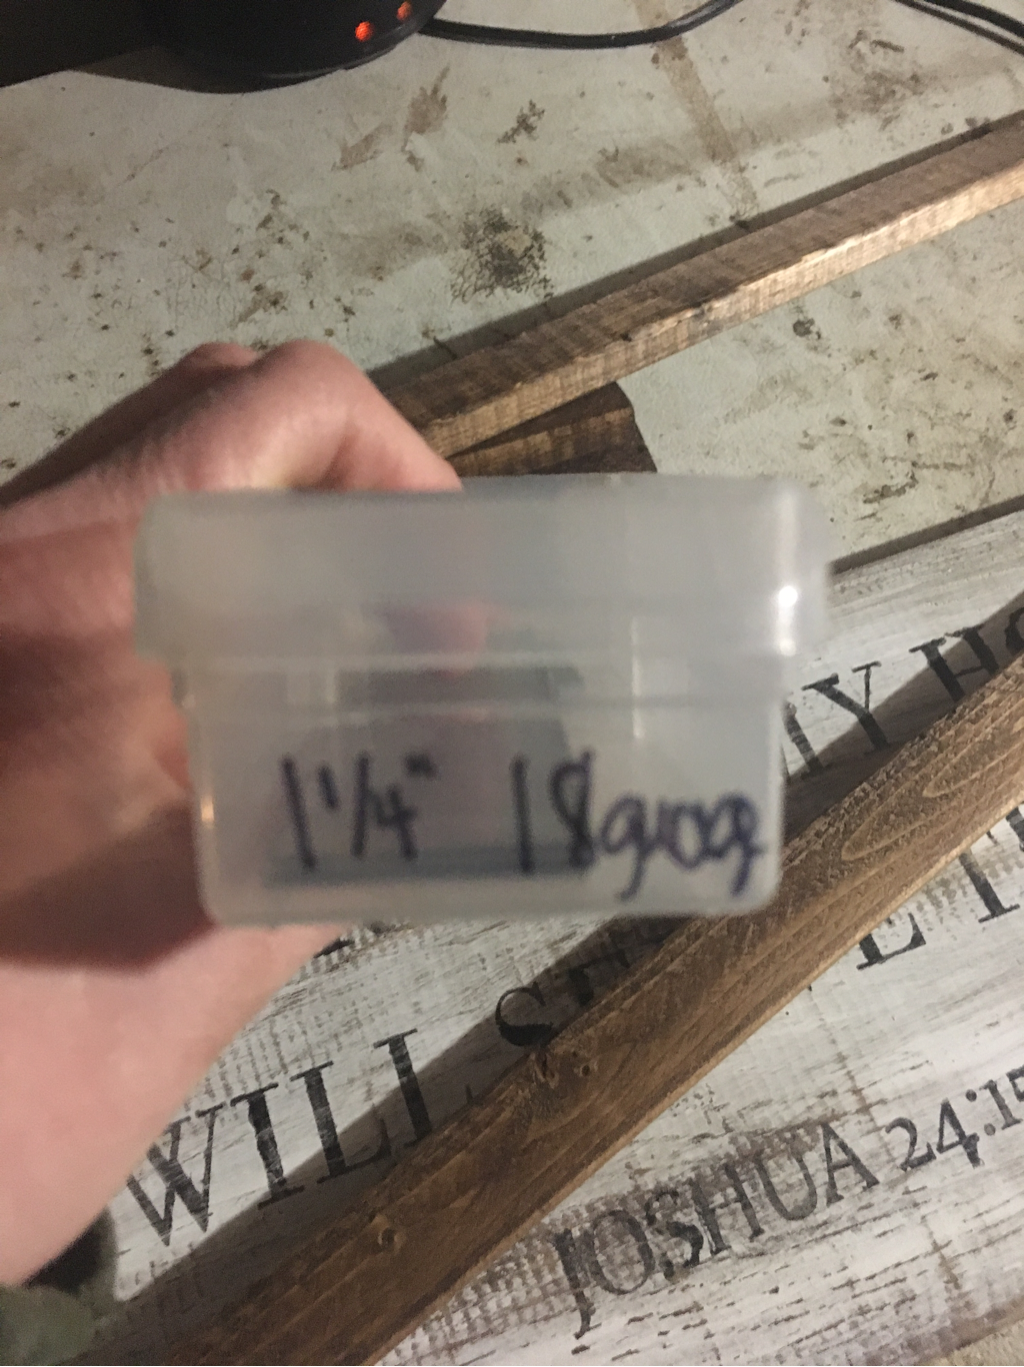
Solid work! Almost done! Time to nail the frame on! Grab the two 26.5 inch pieces. Make sure you're on a flat surface and move everything to the edge so your nail gun is flat against the wood.Nail several times along the edge using 18 gauge 1 1/4" nails.
 |
 |
Continue nailing the last three trim pieces.
 |
 |
Apply a layer of finishing spray. My go to is the Rust-oleum flat finishing spray.
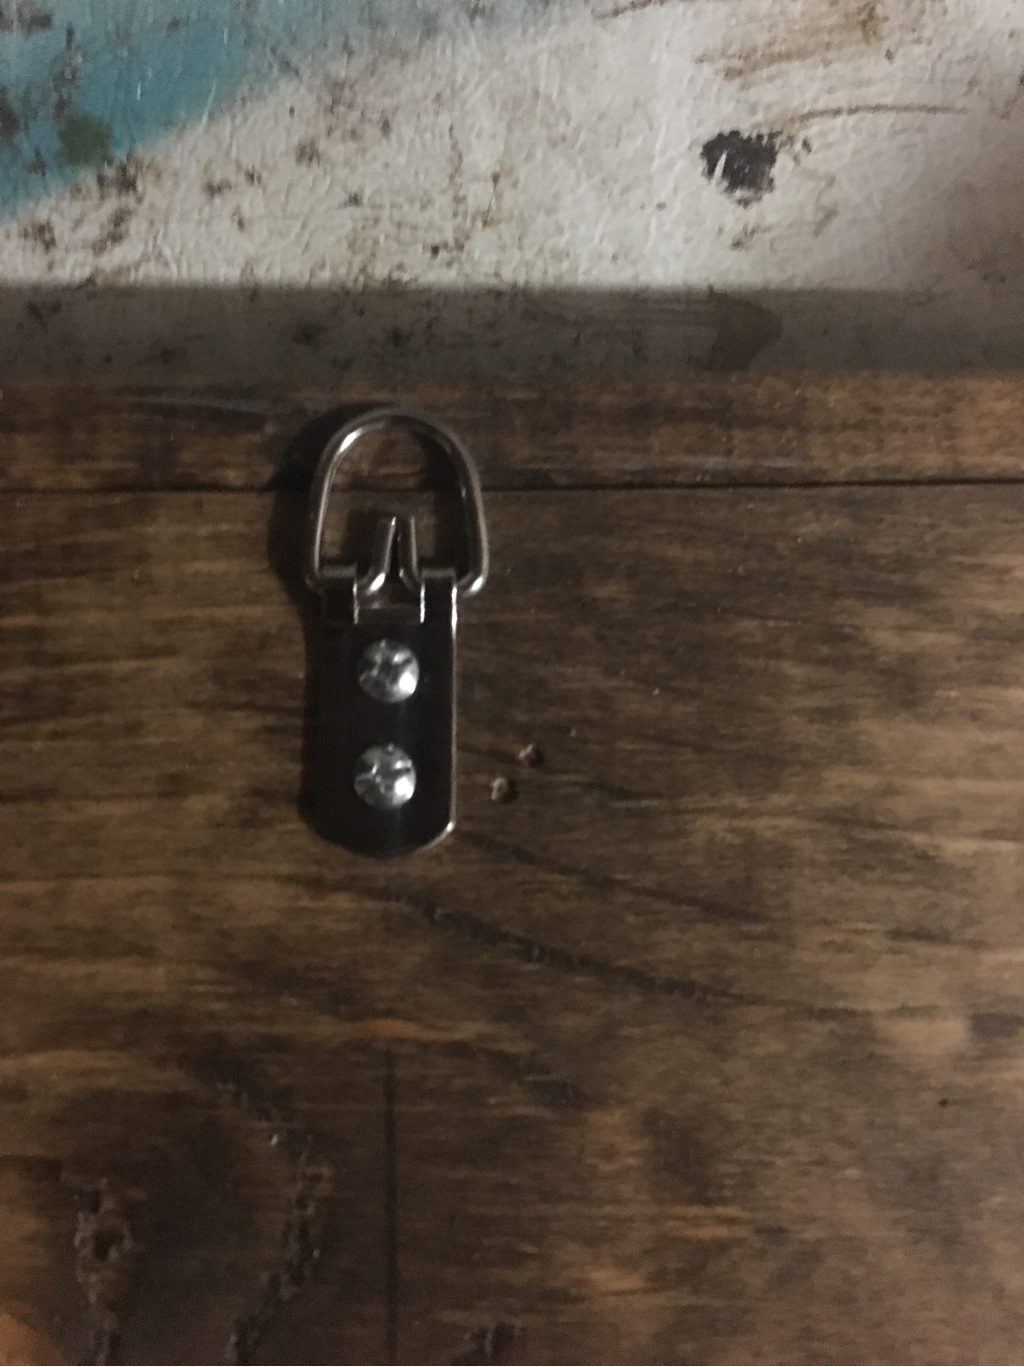
After the sign is dry, add your hanging piece on the back. This is literally the worst part of any hanging project. Sometimes I play dumb so Rex will just do it for me....like I'll stare past him and look confused....that's all it takes! Haha
 |
 |
Pin it!!
Do you still sell stencils?
Hi Susan! No we no longer sell stencils. Etsy has several listings that are similar to ours!