
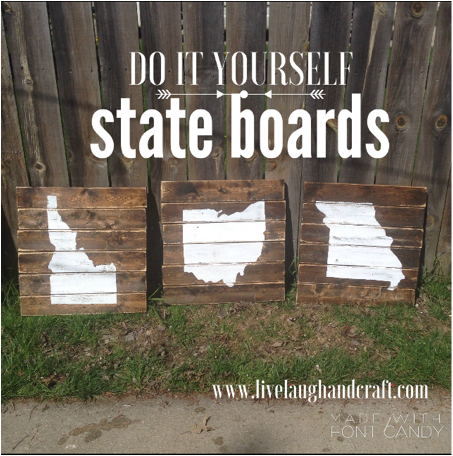
These planked signs are as easy as it gets! I wanted to create these to take up some wall space. I decided I'd paint the states we've lived in as a married couple!
Idaho (where I'm from and where Rex wishes he's from) is where we met! We lived there for 2 1/2 years. In 2012 we packed our little family up and headed to Ohio!
I don't think there are many place more beautiful than Ohio-it will forever have a piece of my heart!
My hubby graduated from medical school in May and we are now in Missouri while he completes a 3 year surgical residency! So there you have it!
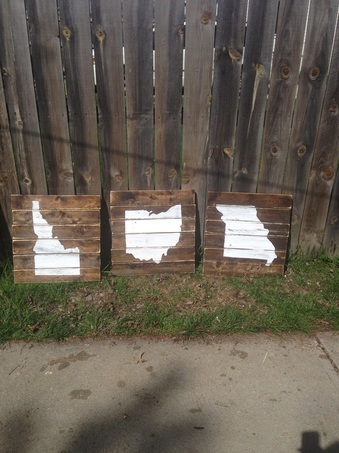
This is why I have Idaho, Ohio, and Missouri hanging on my wall!
These signs are roughly 20x21 inches. Feel free to adjust and make your own!
I picked up some furring strip boards that were 1x4x8 and cut 20" pieces. Cut 2 20" 1x2x8 furring boards per planked sign (I made three signs so I cut 6).
Each sign took roughly 2 furring boards.
- Flip the cut boards over so the side you don't want showing is facing you.
- Lay out 6 pieces and the other 2 pieces will be the support pieces in the back.
- Lay the 6 pieces running horizontal then take the other two pieces and run them vertical at the edge of the horizontal boards.
- Nail them in place with your nail gun and you're good to go!
If this doesn't make sense you can check out pictures here!
|
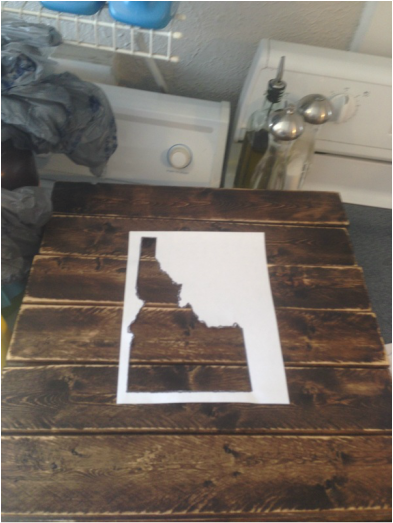
This is Idaho on a regular 8x10 paper. I copied an outline from google and pasted it to a Microsoft Word document.
|
|
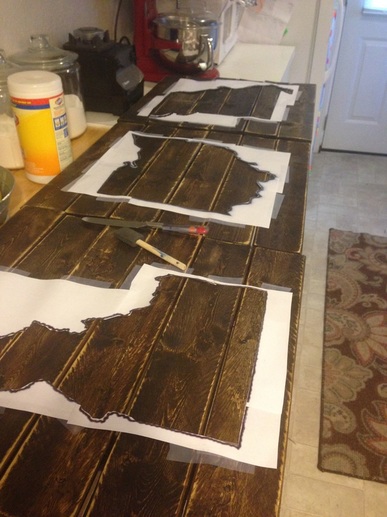
Enlarge it to your preference and cut out the center and pieced the papers together creating a stencil. Tape the papers to your planked board.
|

|
With a foam brush paint your design. I always move from the paper to the wood so I don't smudge the paint.
|
|
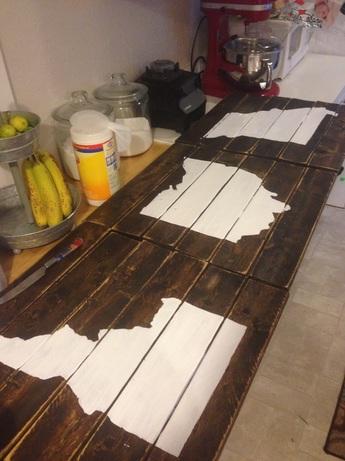
Remove your paper stencil when paint has dried.
|
|
Sand the states with your handheld mouse sander. and spray with Rust-Oleum finishing Spray.
|
Leave a Reply