
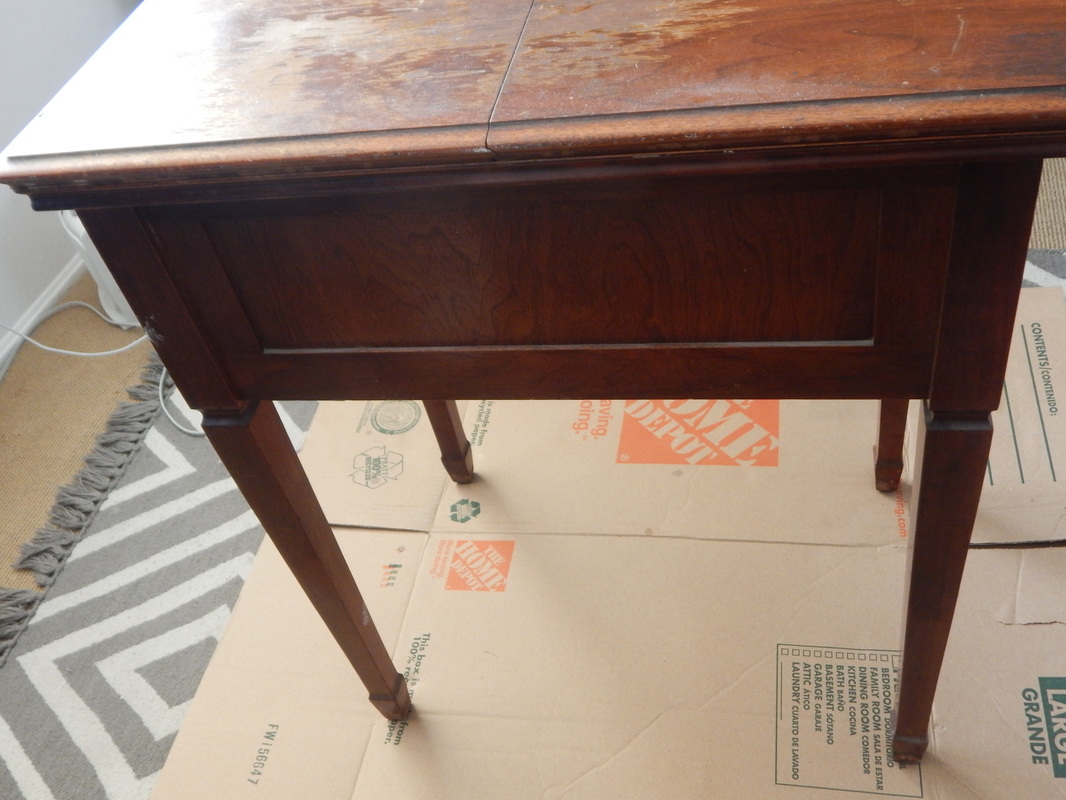
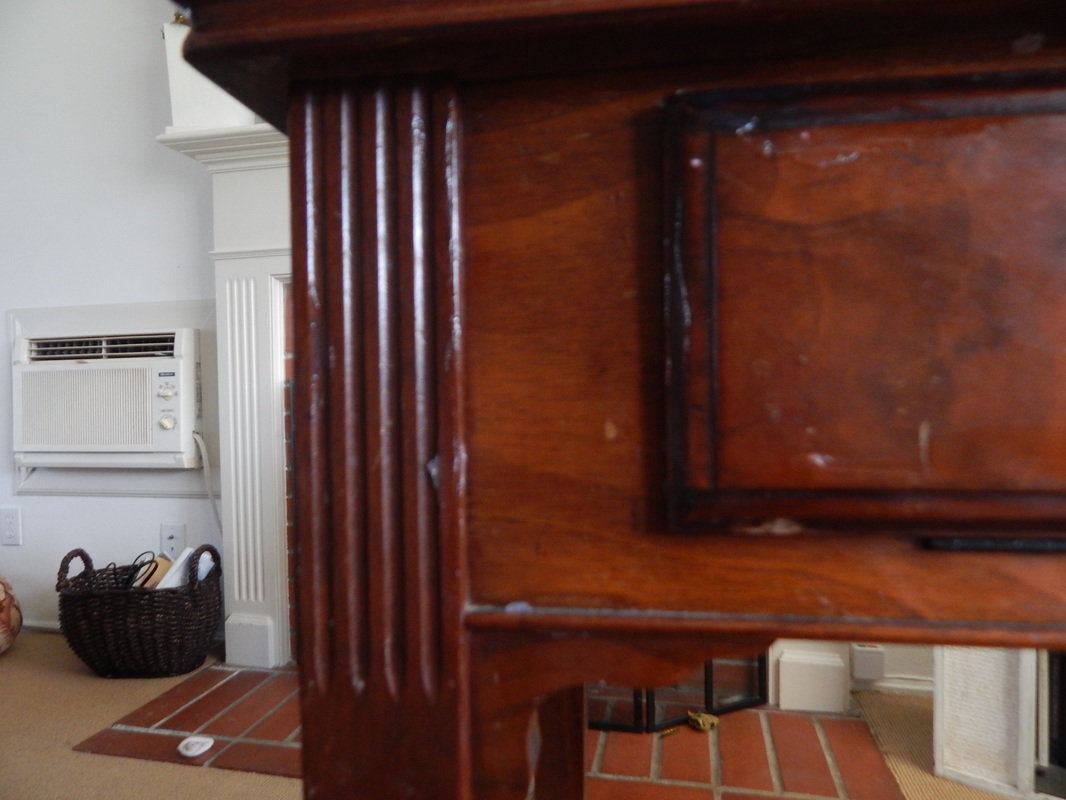
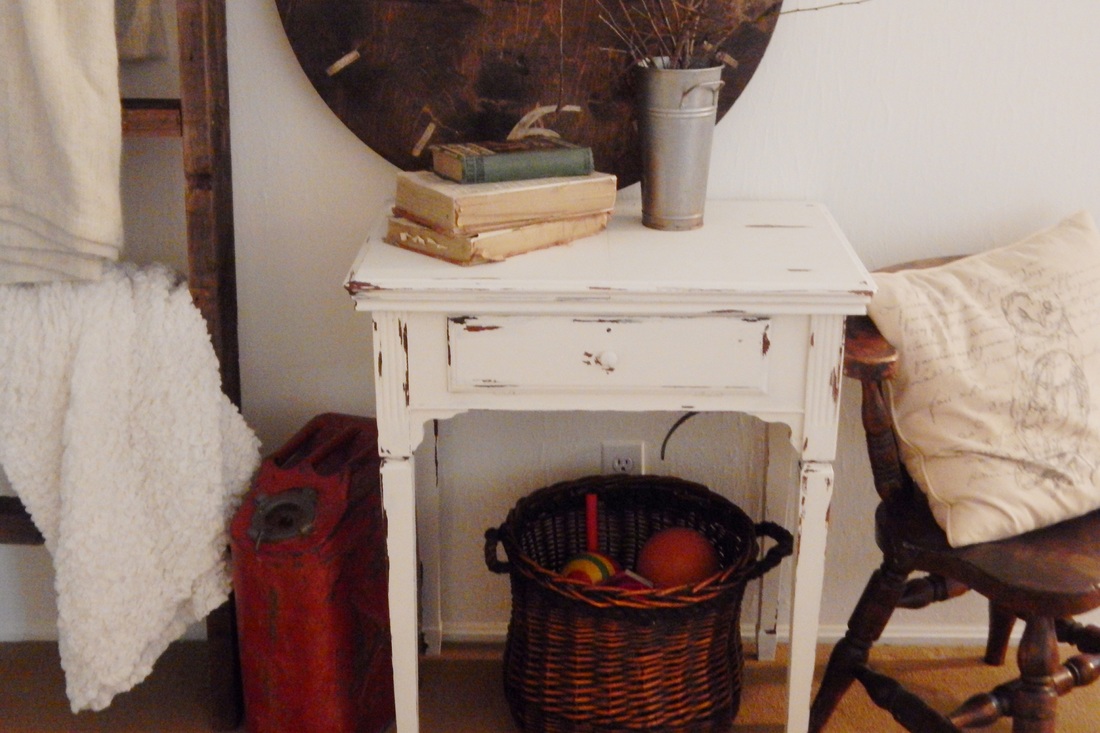
David's Grandma gifted me this sewing table a few years ago. I got an itch to paint it just this last weekend. I am on a "white" kick right now, so it was only fitting to paint it white! I used the "Vaseline" technique for this project.
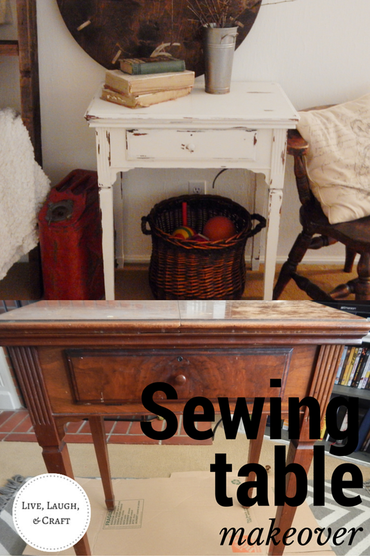
I love this sewing table. I don't have an entry way, but it would go perfectly in one if I had it! The only downside is it is heavy. The sewing machine inside is a heavy piece of equipment.
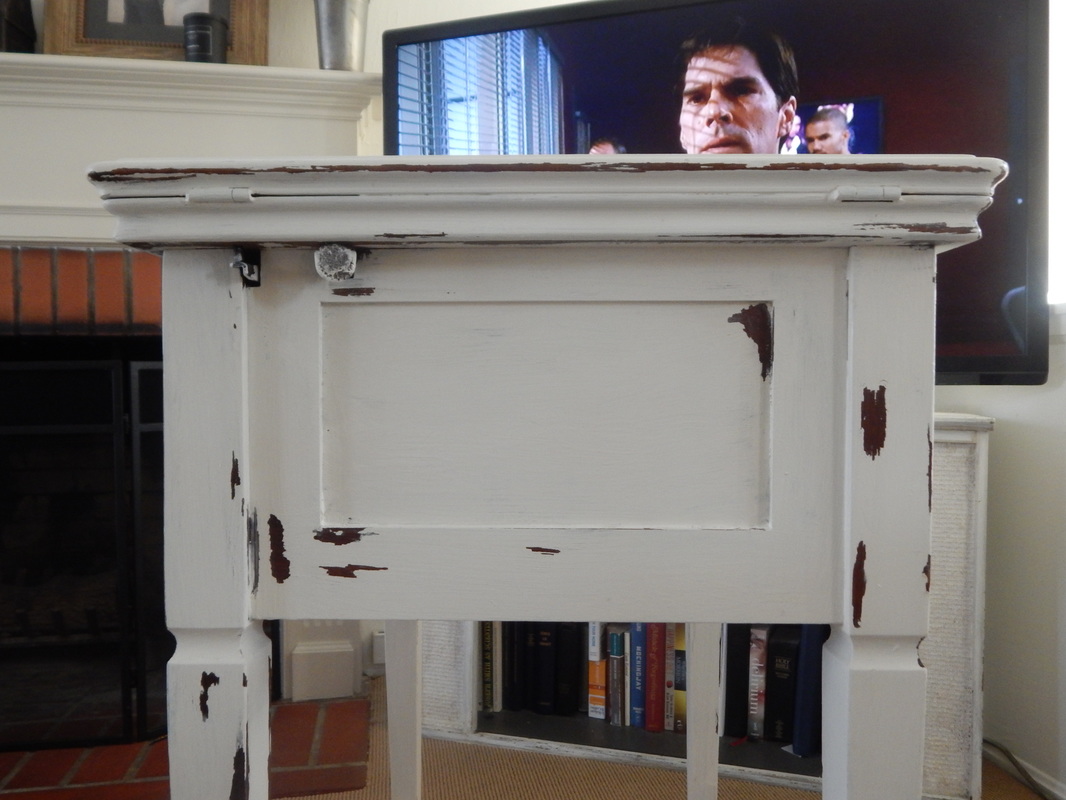
**Warning-- You will see a few toys scattered on the ground, and Netflix playing in the background. That's typically how all of my project play out!
|
|
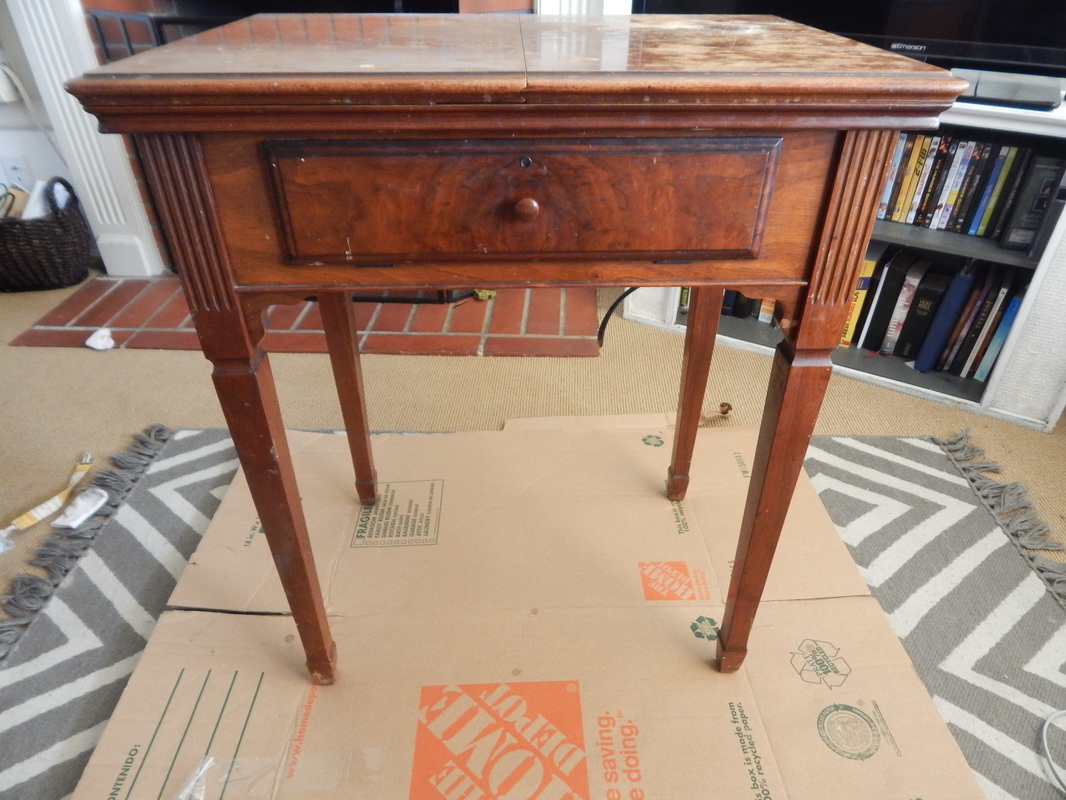
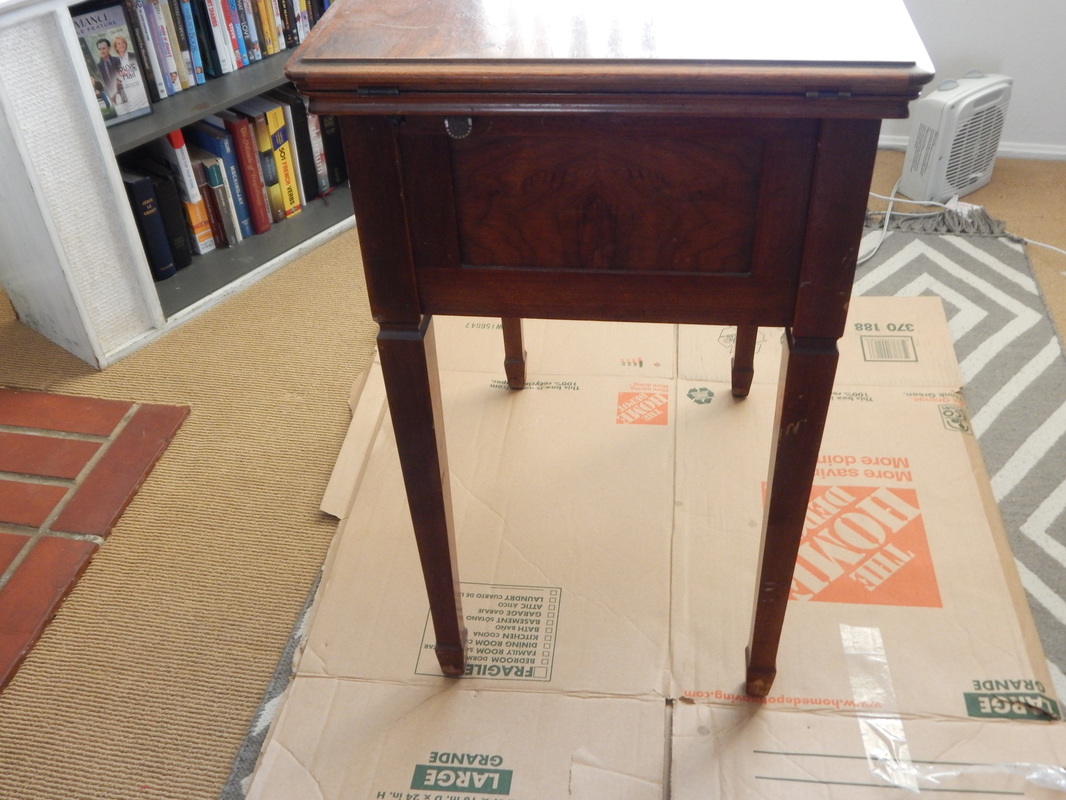
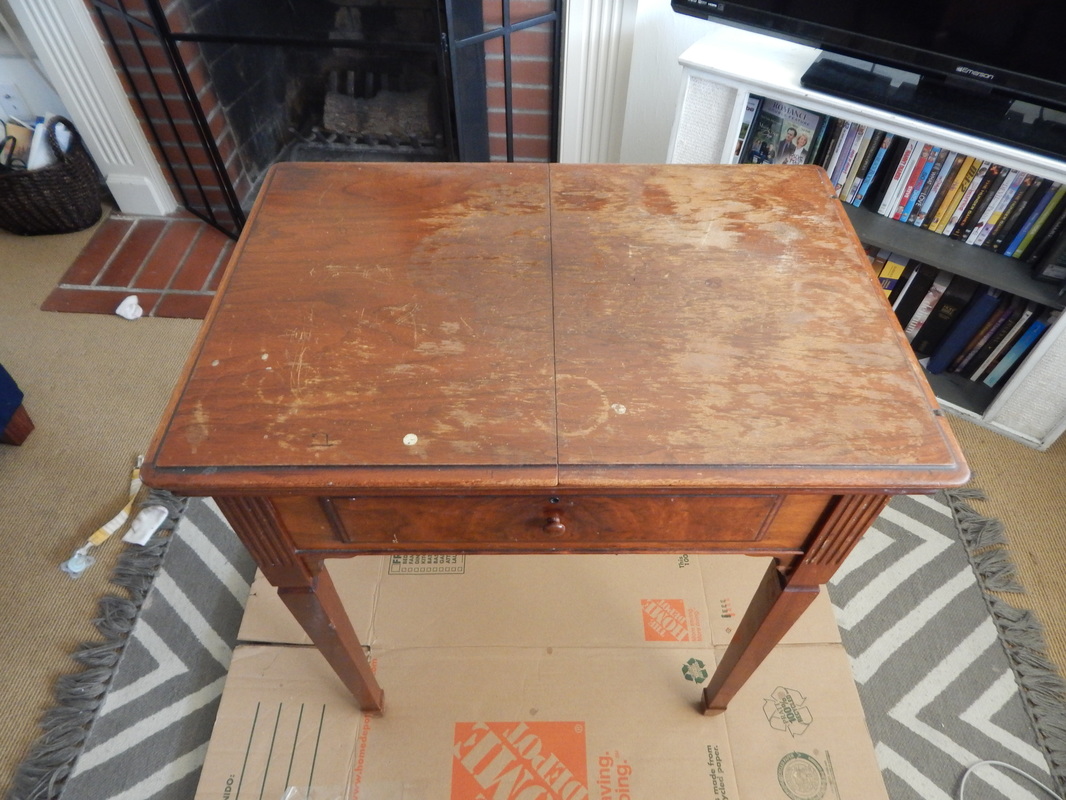
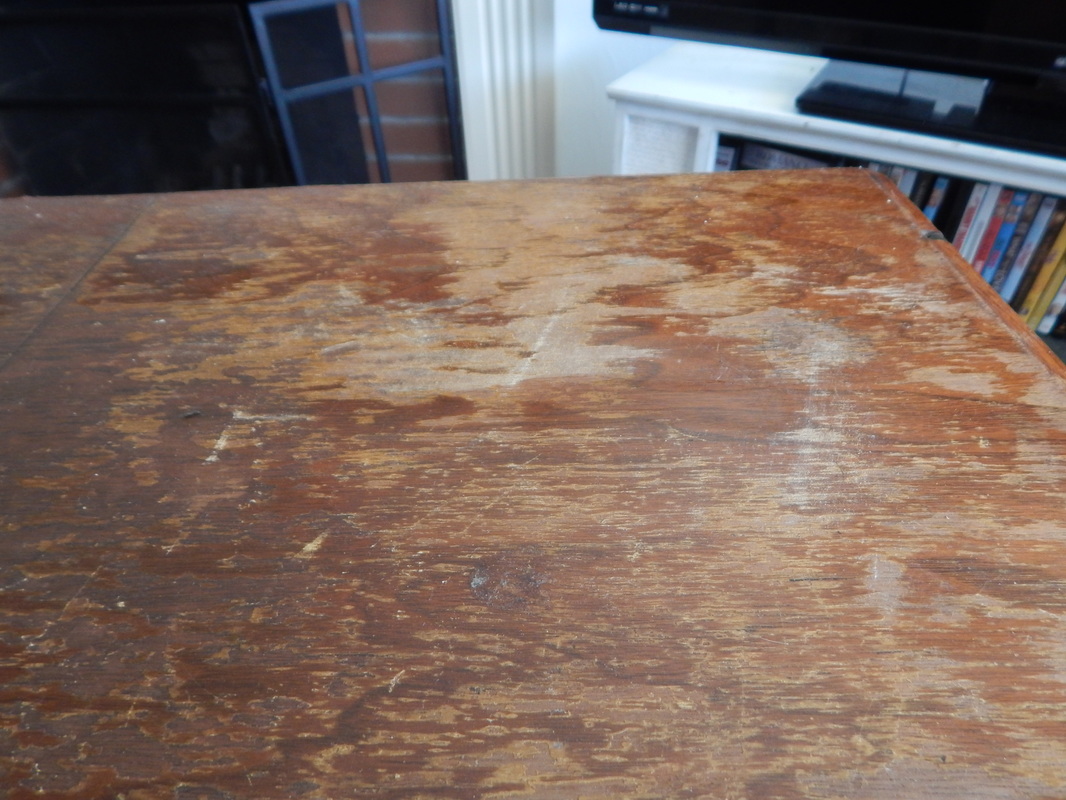
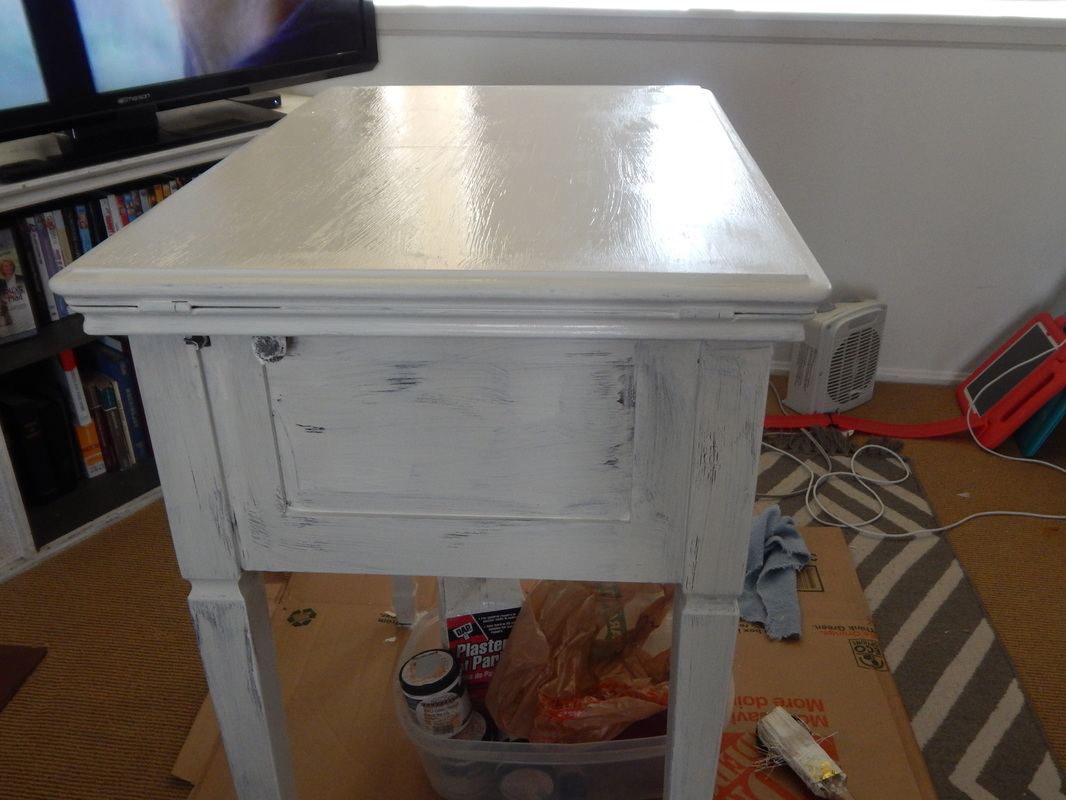
The table was in good shape. It didn't take much prep work. I sanded a few spots that looked uneven. I used the Vaseline technique found here. This time I had a squeezable bottle of petroleum jelly instead of digging my fingers into a jar. I wanted a really chipped paint look, so I was generous with the Vaseline. I used a latex based white paint from Behr. It worked beautifully.
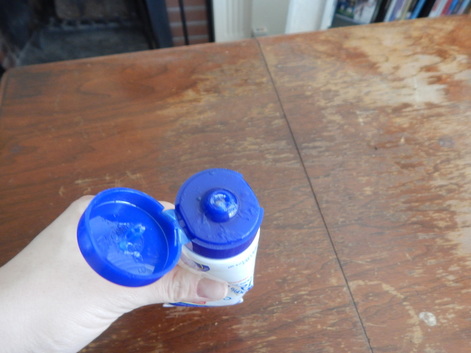
So first, I coated all of the edges with the Vaseline. I also put a few swipes on the top portion.
|
|
|
|
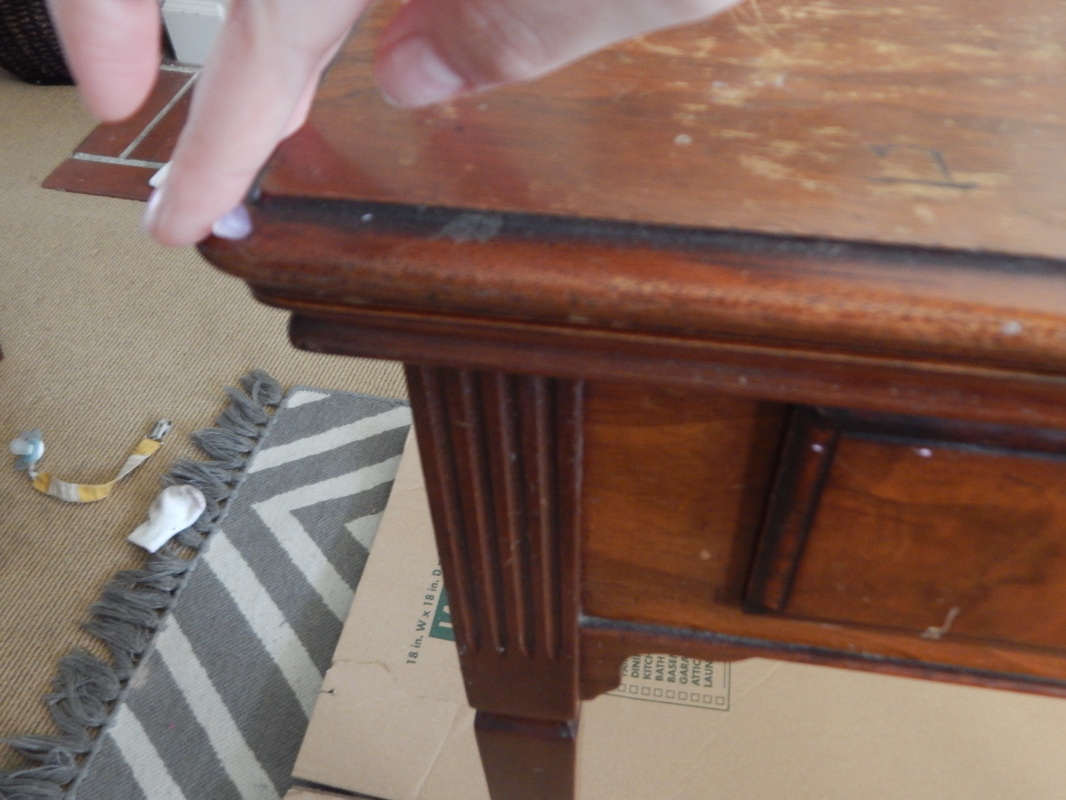
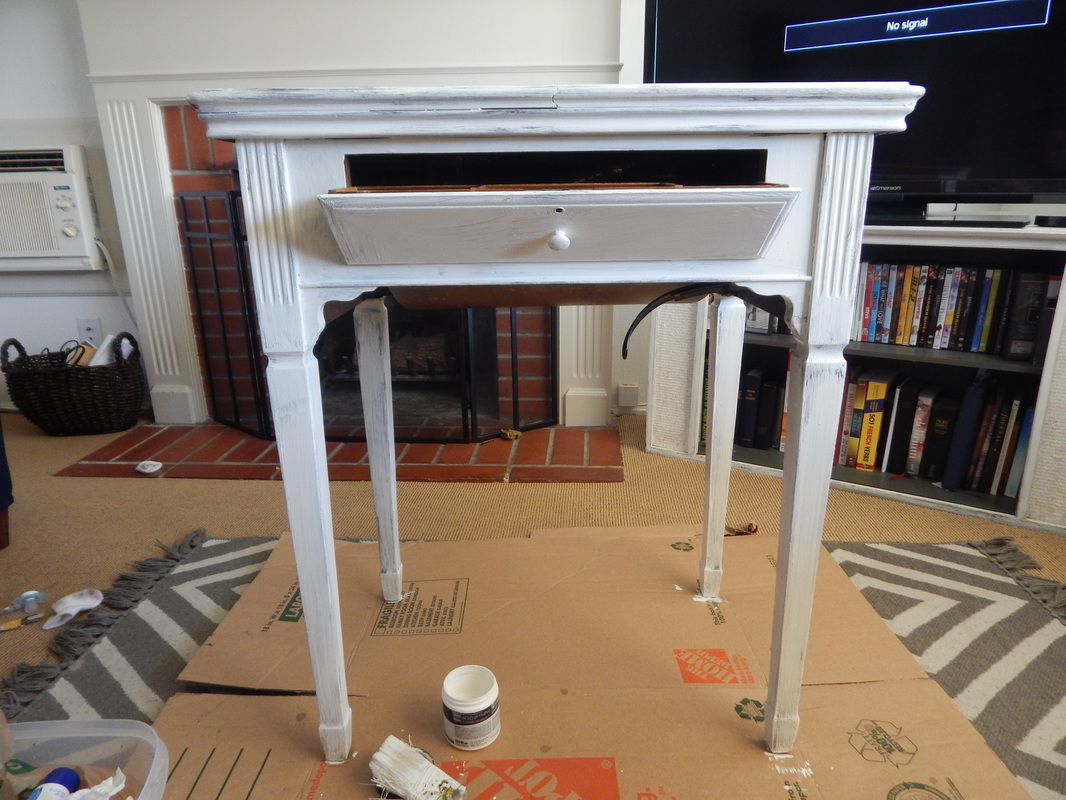
Next, I painted the entire sewing table with a coat of paint. This is what it looked like with one coat. You can see the Vaseline in a few places. It is crackly looking.
|
|
|
|
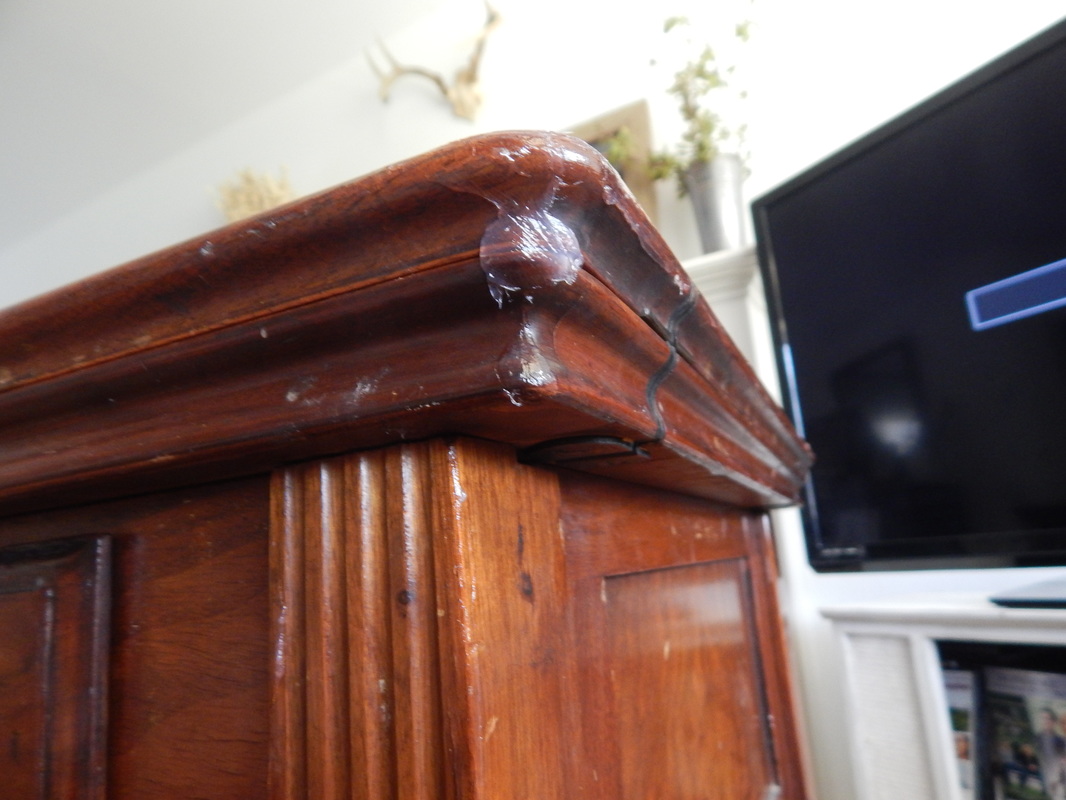
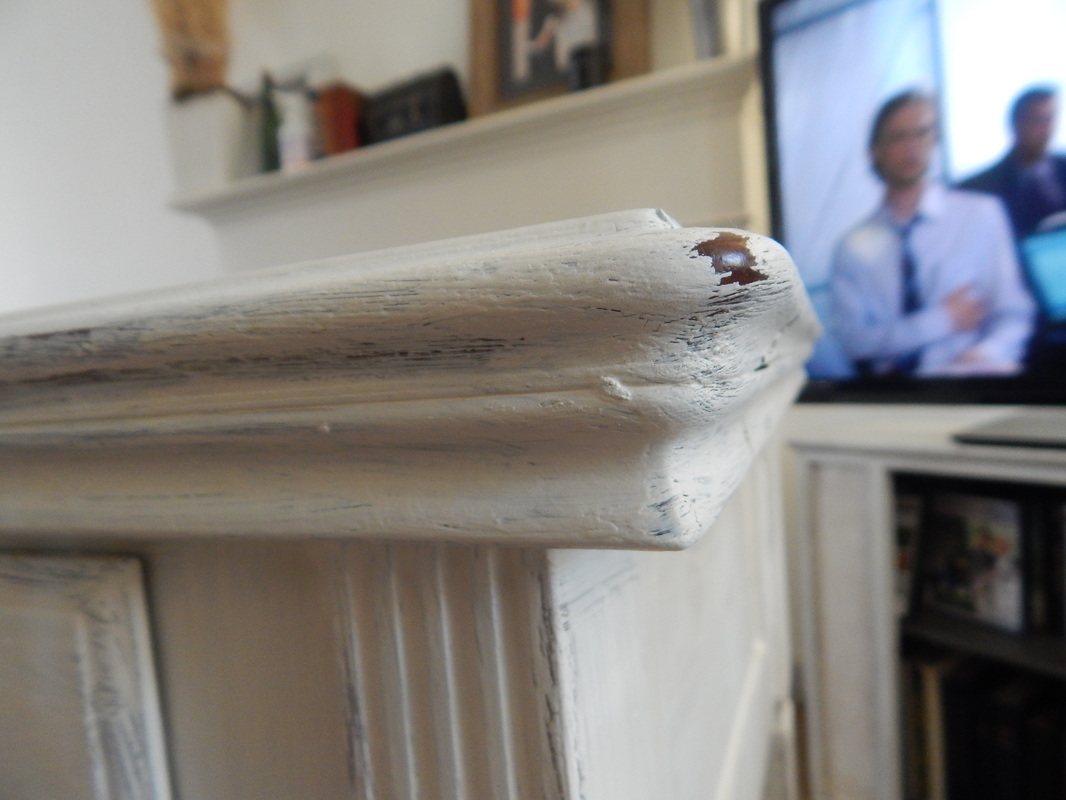
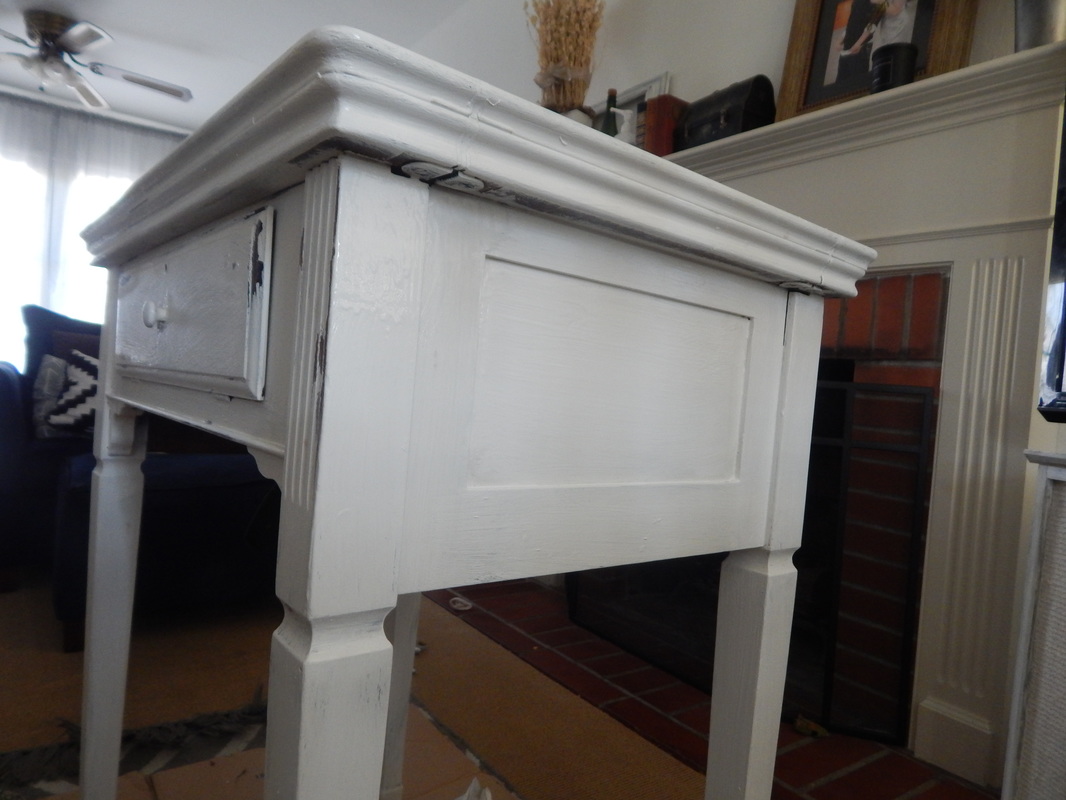
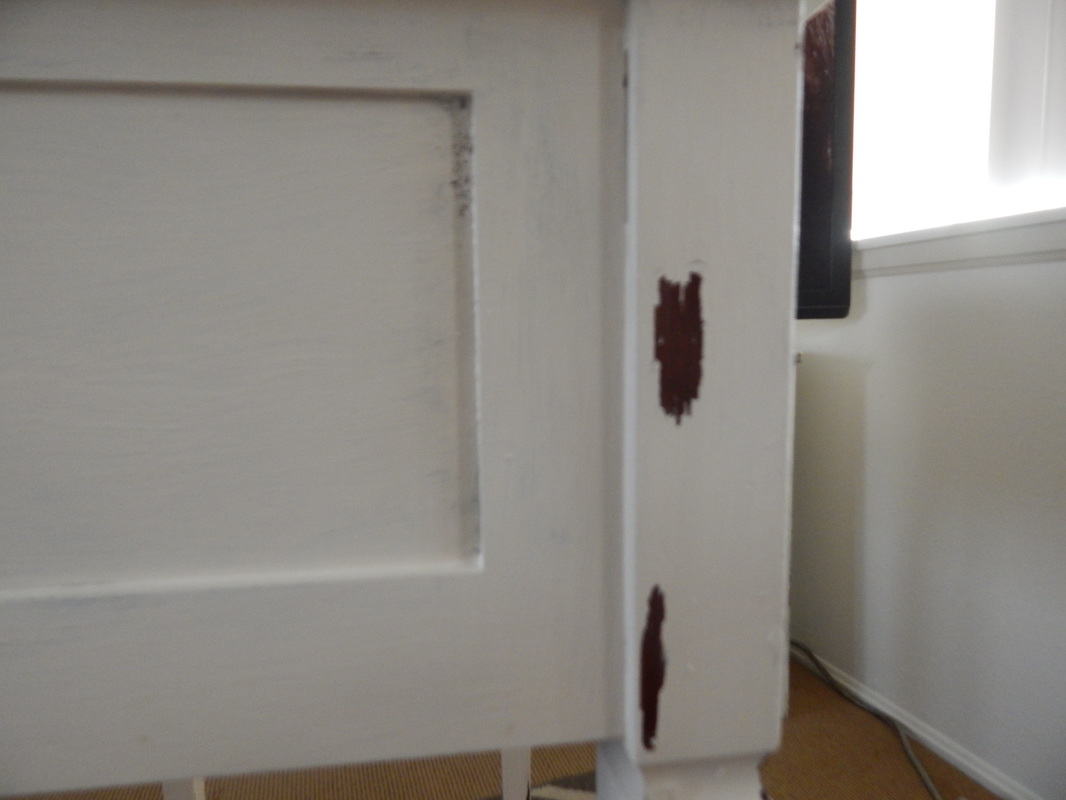
I did one more coat of paint. Since I am going for an aged look, I didn't want my paint to look perfect. I did a "spot" second coat. Basically I only painted the areas twice that I felt needed a second coat. After it dried for 30 minutes, I wiped off the edges and anywhere else I applied Vaseline.
|
|
Finish it off with a finishing spray, and that is it! It was an easy project and I am pleased with how it turned out!
More posts to love!


Leave a Reply