
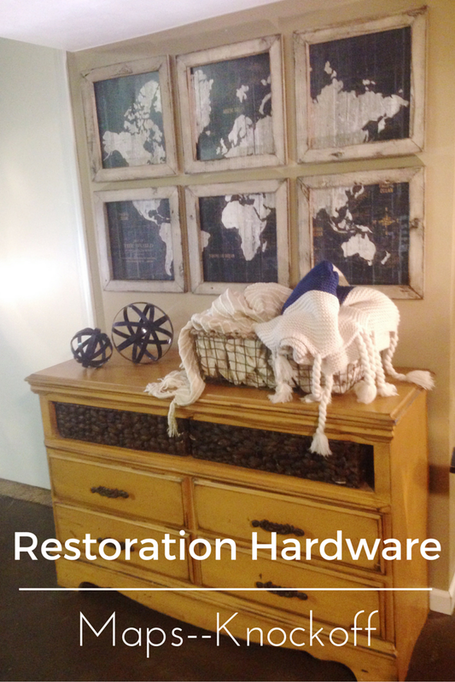
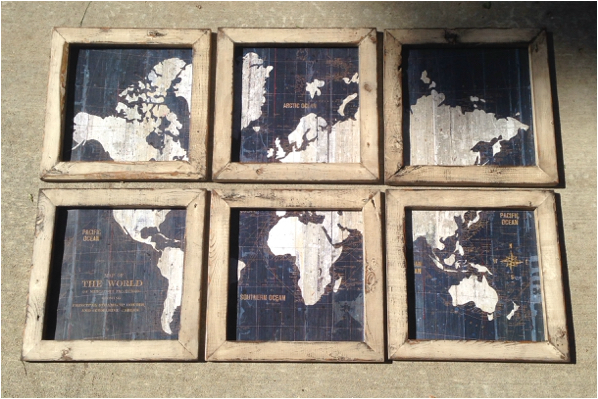
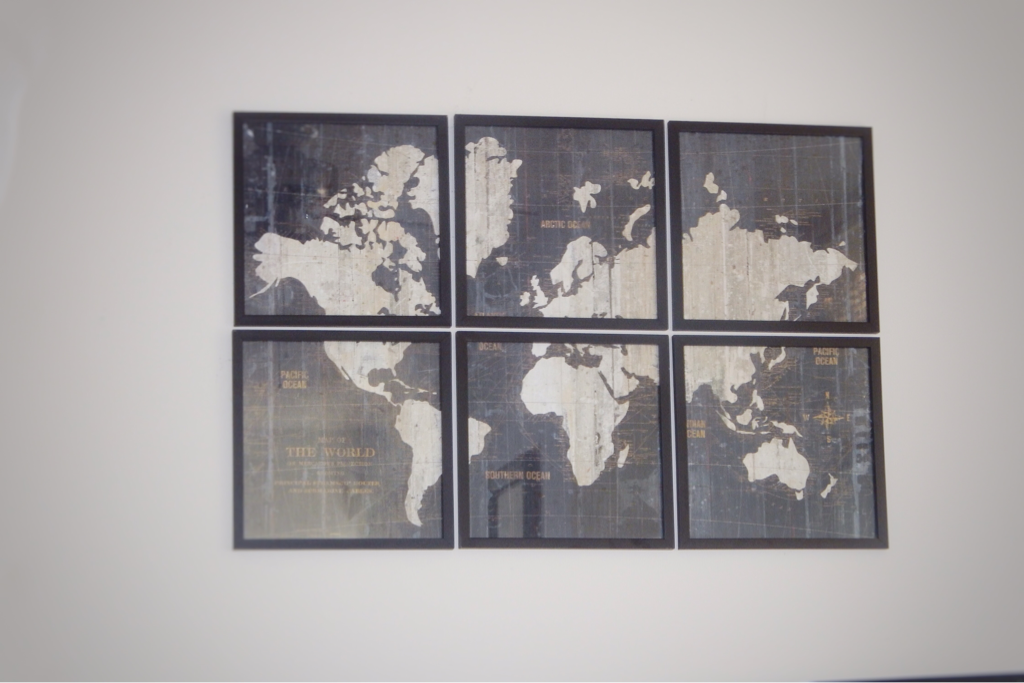
Restoration Hardware Knockoff- Pieced Map. This is a much cheaper version the inspiration we are using!
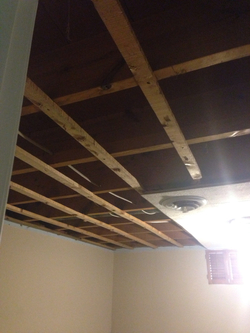
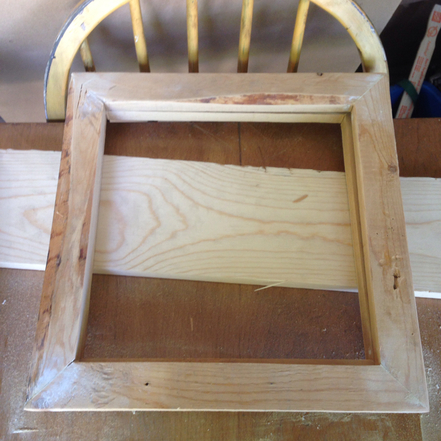
When we removed the tiles from the drop down ceiling in the guest room, I called a heck no on throwing the scrap wood away! I knew this was would be the perfect project to re purpose the wood!
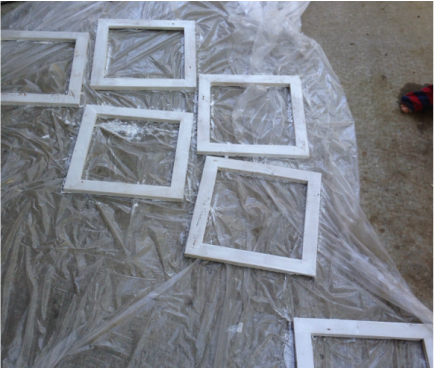
We then, (we as in Rex!) made 6 frames out of the 1" x 2" scrap boards.
The inside measurement are 11.5"x 11.5"
They are super easy to make, If you're nervous about the 45 degree angles do straight cuts since you'll be painting them.
Put your wood glue on the seams and shoot a couple nails in the sides to secure the seams while the wood glue dries.
Lay on a flat surface face down to dry.
Once the wood glue has dried flip the frame over so you are looking at the front.
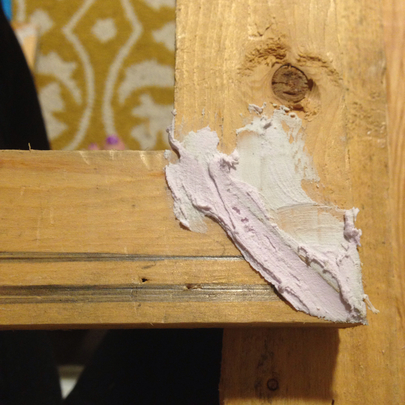
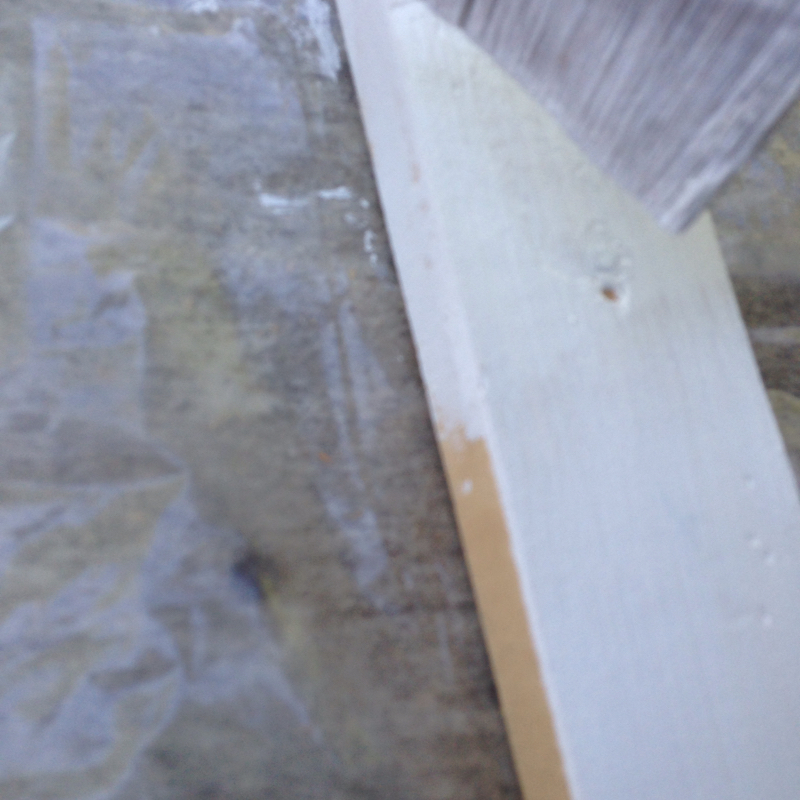
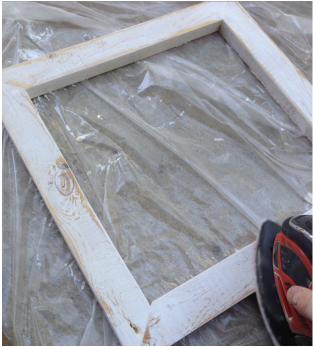
Use wood filler to get all the nail holes filled and the corner seams.
I love this new wood filler made by Elmer'sand it can be found at Home Depot- initially its purple and turns white as it dries.
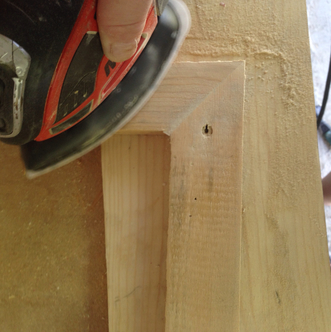
 When the filler has dried take your handy little mouse sander and sand away all that excess filler. I also ran my sander along all the edges to smooth them out.
 |
 |
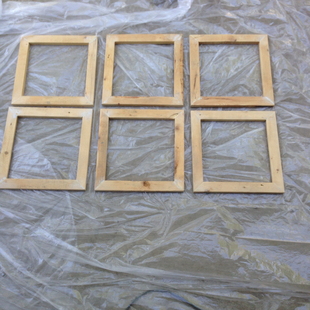
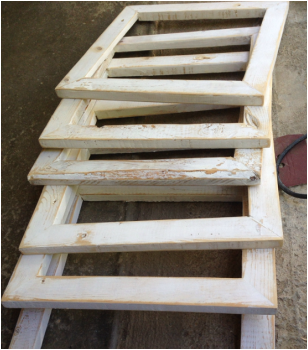
Here are my 6 frames all sanded and ready to be painted.
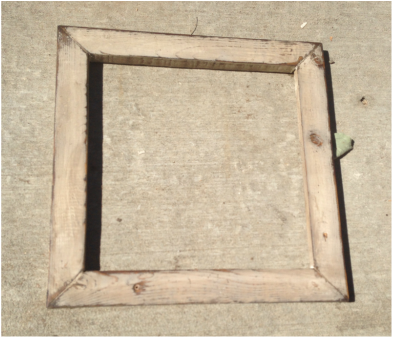
At this point you need to ask yourself if you're going for a distressed look like mine, or a clean look. The more beat up the better in my opinion. So I only did one coat of paint since I'm sanding most of it off anyways.
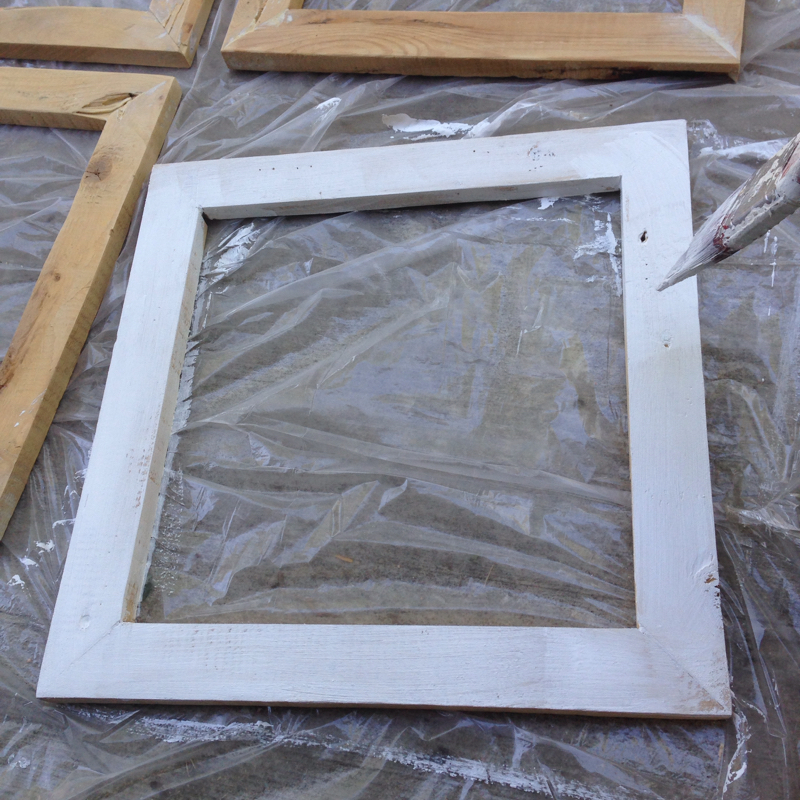
Here are the frames with one coat of white paint in a satin finish.
 |
 |
Now that the frames are dry, take your sander and go to town! Hit those knot holes and the corner seams! This is where you can get a lot of different and fun textures!
 |
 |
I know I should be humble here, but these frames are PERFECTION!!!! I love them!
Now to the map! This little beauty is from Hobby Lobby and it was 50% off. You'll find it back in the art depratment in the unframed posters. It is 24" x 36" so is can be perfectly cut to (6) 12" x 12" prints.
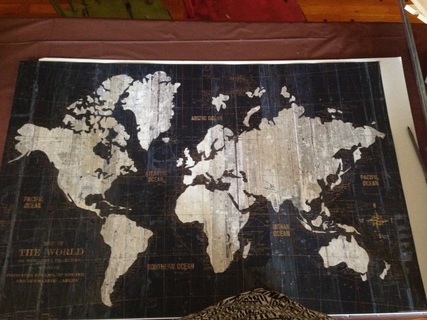
I just used scissors to cut on the lines.
You can use an x-acto blade, but I don't have one and I was too cheap to buy one!
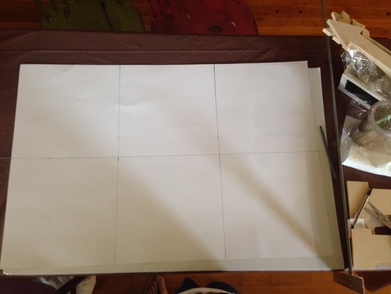
- Turn the map over and with a straight edge ruler mark out the cuts like this.
- Next you'll use spray adhesive found at hobby lobby to spray on the back of the map and place it on the white poster board.
- You'll be able to fit two pieces of the map per poster board.
- I cut about an inch border around the map so I could staple the poster board to the picture frame.
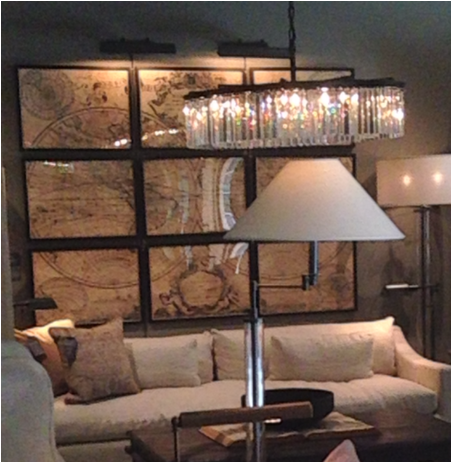
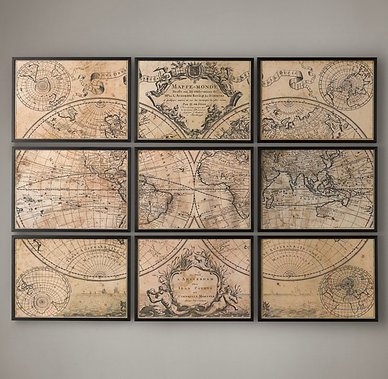
This picture above is from Restoration Hardware. I'm totally in love with this store, but I'm not willing to part with a kidney to buy their maps! I had everything on hand for this project with the exception to the map and the poster board, so I'm into it for under $15!! Happy crafting!!
Here's the beauty is off their website, its massive and so dreamy! The map measures 5 feet by 7 feet and costs $2,495!
If you don't have access to a saw and sander, use this method that Sadie used:
- Cut map into 6 12x12 pieces.
- I used the piece of glass from my 12x12 frame to cute my pieces to size.
- Lay the glass over the map and use an exacto knife to trace alone the edge.
- Repeat this process across the map until you have 6 individual pieces.
- Put each map section into a frame and you are done!
I got my map and frames at Hobby Lobby. Both were 50% off!
Leave a Reply