
We are so excited to be part of the Valentine's Day blog hop. Scroll to the bottom to see the line up of all of the fun V's D ideas!
Here you will find our p.s. I love you sign tutorial. We seriously love an easy DIY Project. This one is no exception. You can throw it together in 30 minutes!

Supplies Needed:
Silhouette Cutting Machine (I use the Cameo 3)
Vinyl & Contact paper for stencil (we used shelf liner for our vinyl portion)
12x12 in. cutting mat
1x6 board cut to 12 in. long
(2) 1x2's cut to 13 1/2 in.
(2) 1x2's cut to 5 3/8 in,
Stain for your 1x'2's which will make your frame
White paint for your 1x6 board which is the face for your stencil
Pink or red paint for the stencil
| Ps I love you cut file |
Download File
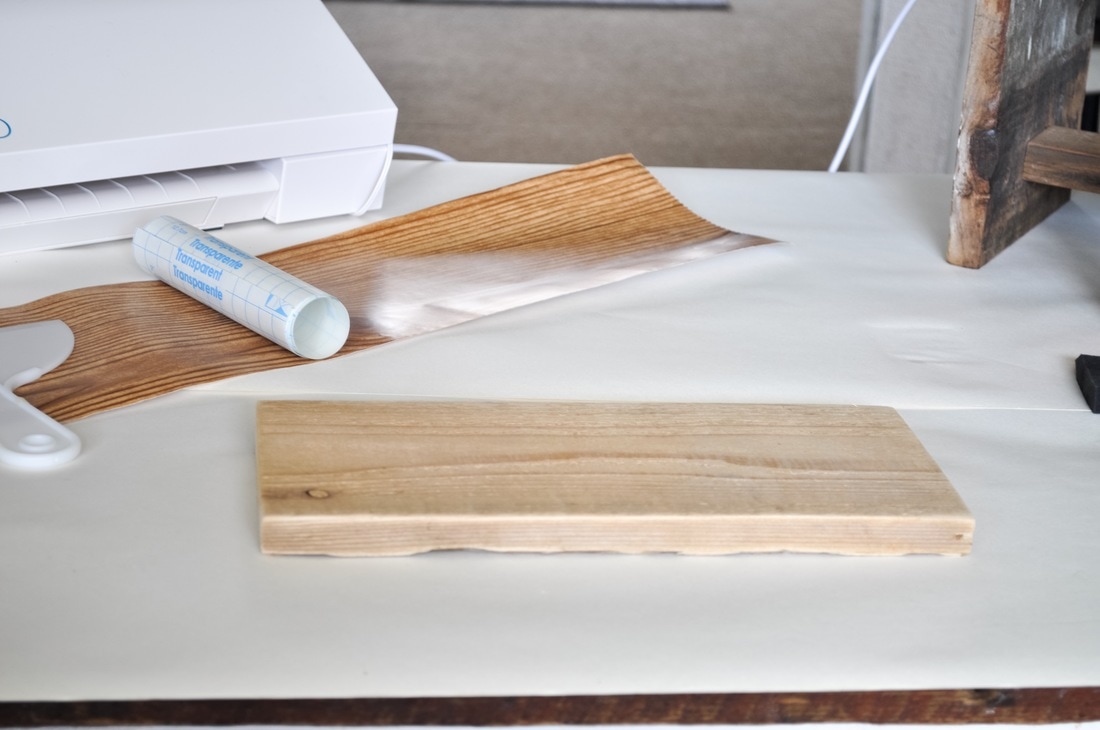
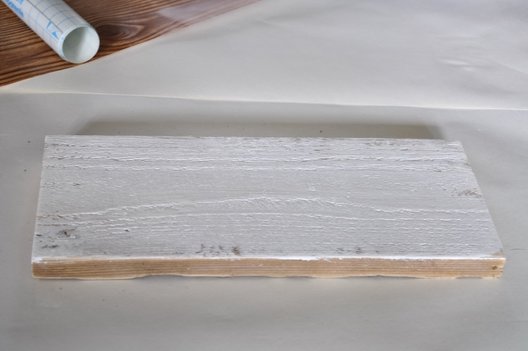
Instructions: Cut your 1x6 board down to a 12 in. long piece. Sand and prepare it as you normally do. Cut down your 1x2 piece into the 4 pieces that make up your frame. 2 13 1/3 in long pieces, and 2 5 3/8 in. long pieces. Stain your frame pieces and allow them to dry. Paint your 1x6 white, and allow it to dry as well.
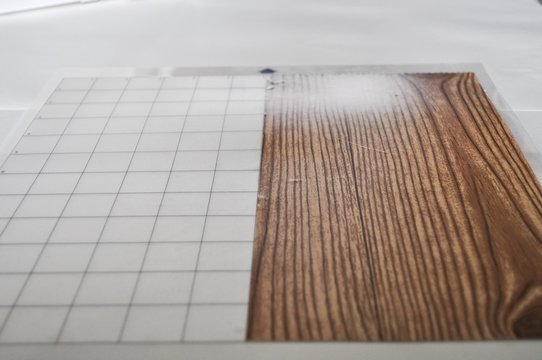
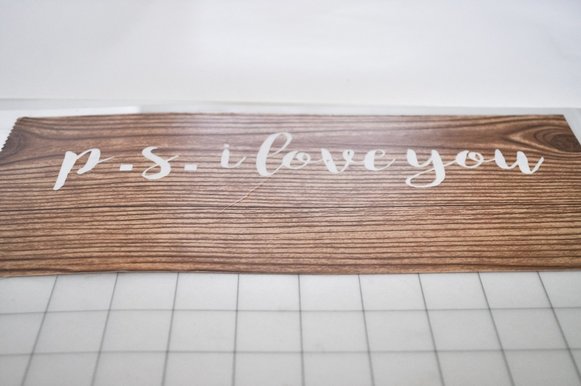
While your wood is drying, cut your stencil.
Cut your vinyl (or shelf lining) to the appropriate size. The size of the "p.s. i love you" is 2.58 in. tall, and 9.70 in. long.
Our setting are:
Our setting are:
Cut mode: Standard
Cut style for selected shape: Cut
Material type: Vinyl
Cut style for selected shape: Cut
Material type: Vinyl
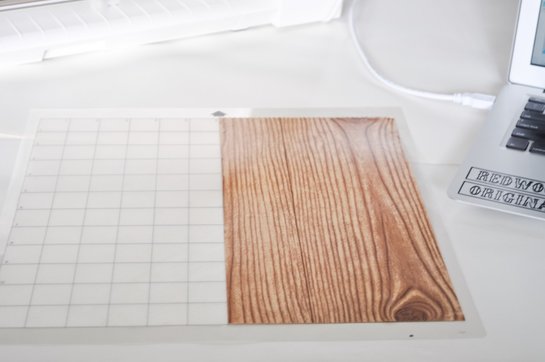

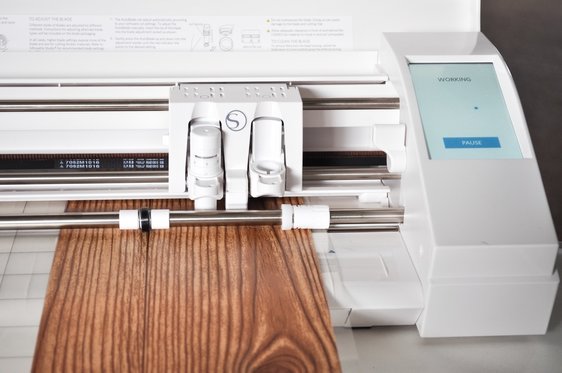
Once the appropriate settings are entered, load your cutting mat, and send your job to the Silhouette.
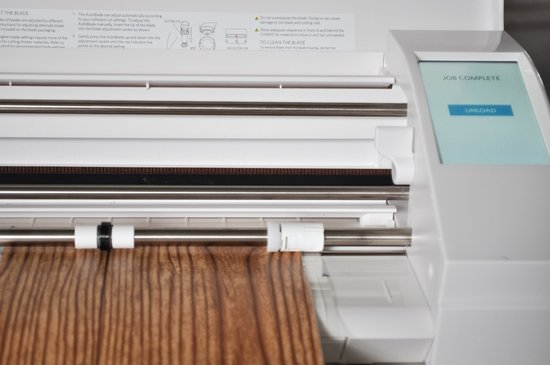
Once the cutting is complete, unload the machine, and weed the letting off of the vinyl. This leaves you with a "stencil".
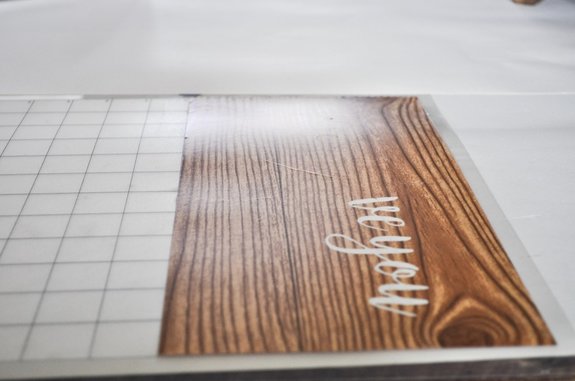
Next cut clear contact paper to the same size as your vinyl piece, and carefully cover the front of your stencil. This will give your project stability.
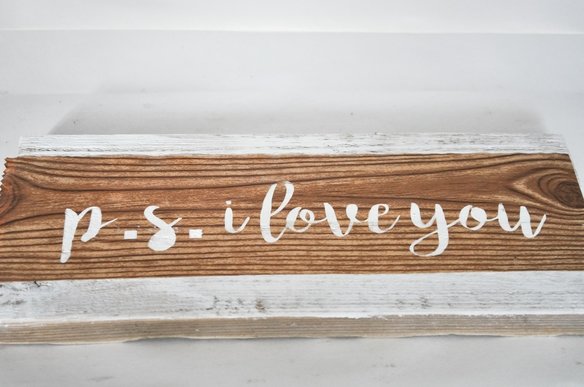
Apply the stencil to the center of your painted and dried 1x6. Once it is centered, rub and burnish the vinyl so it sticks properly to the wood. Then remove the top portion of clear contact paper. Be slow in removing this portion so as to keep the integrity of the stencil below. Removing too fast can damage your stencil.

Next you will paint your stencil. Use a dabbing motion to lessen the chance of "bleeding".
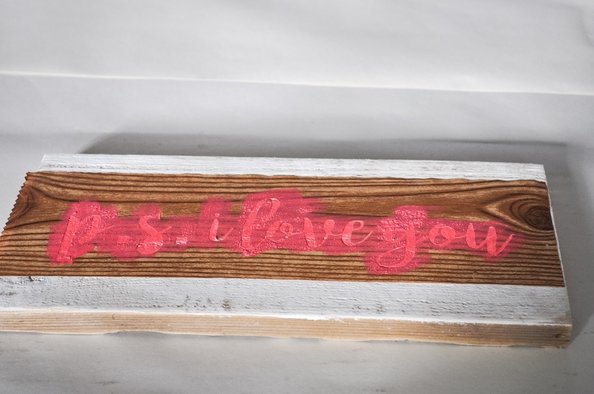
Remove your stencil while the paint is wet. Allow your sign to dry.
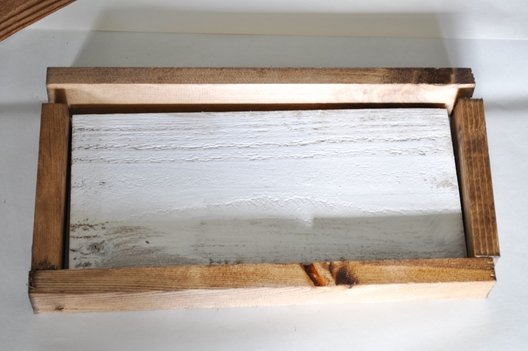
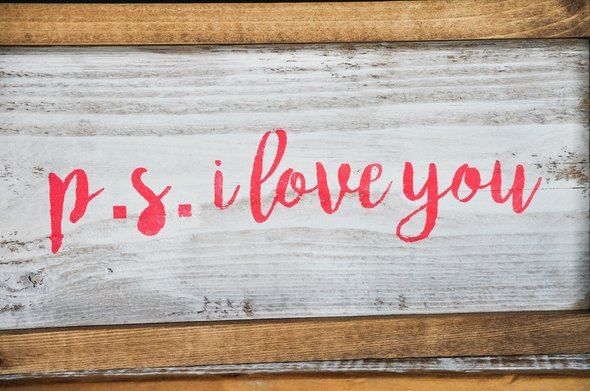
Using 1 1/4 in. nails, nail in the sides of the frame. Keep your nail gun as straight as possible so the nails do not shoot through the top of the sign. Spray with a polyacrylic finishing spray and that is it. Put this beauty out on your shelf for Valentine's Day and enjoy year after year.
If you have any questions about this tutorial, or the Silhouette in general, please let us know. Attached is the file needed to complete this project with your Silhouette.
| ps i love you cut file |
Download File
Don't forget to pin it!

Leave a Reply