
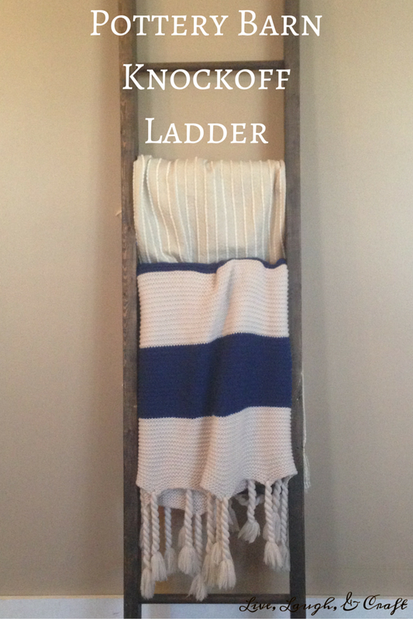
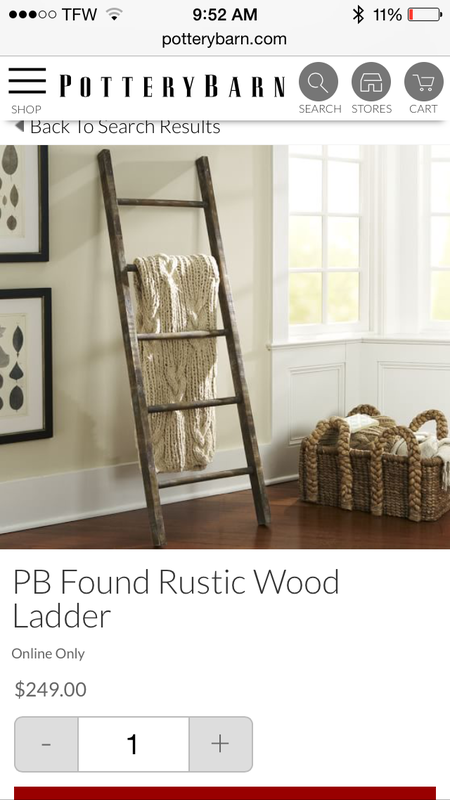
I fell in love with the "blanket ladder" the first time I saw one! I decided I HAD to come up with an affordable way to make one because I wasn't willing to pay a ton of money for one!!
 |
 |
If you want one of your own, follow these steps and you to can have this beauty in your house too! My version in an inch narrower and a foot taller...if you don't like it, adjust yours!
Supplies
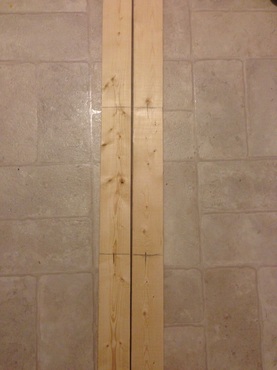
2- 2x3 boards (home depot for cheap cheap cheap!)
3- 1" dowels (I bought mine at a little craft store in Ohio, but I found some at Walmart 7/8" for $1.97. What ever diameter size you decide on, make sure you use the same size drill bit!)
Tape measure
Pencil
Saw
Power drill
1" Spade bit (for your power drill, this is what makes the hole for the dowel! **remeber to adjust to the same size as your dowel if you don't use the 1" dowel!)
Wood glue
Nails/hammer or Nail gun
Paint/varnish
Finishing spray
- First you will cut your 2x3's to 72" each
- Cut your dowels to 17" giving you 6 total.
- Next mark each board every 11" you'll make another line in the center of the horizontal line that runs vertical giving you a "plus sign"
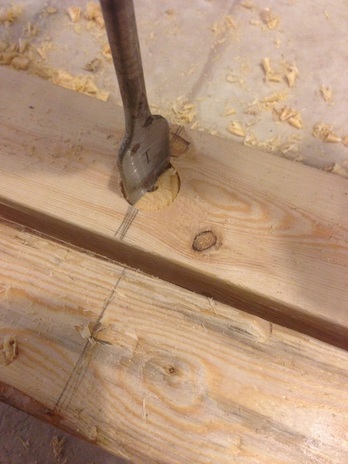
- The center of this plus sign is where the tip of your spade bit will be placed, making it the very center of the hole for your dowel! I didn't want my dowel to show on the side of the ladder so I only drilled down 3/4'' on each hole.
- Then you will clean out all the wood shavings and apply your wood glue and dowel.
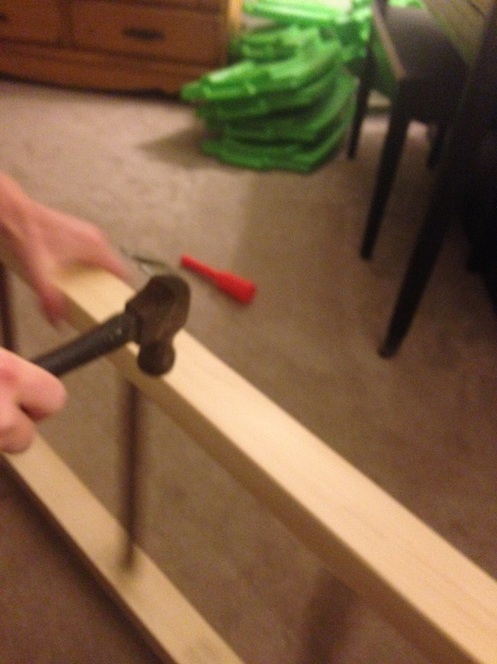
- Drive a nail through the side of the ladder and into the dowel. Rex did this part and he acted like he was sick about it, but he really did enjoy it (little punk.)
- Fill in any nail holes if you choose too (I'm self diagnosed OCD so I did)
- sand and either paint or varnish and seal with a finishing spray!
Step by step
First you will cut your 2x3's to 72" each and cut your dowels to 17" giving you 6 total.
Next mark each board every 11" you'll make another line in the center of the horizontal line that runs vertical giving you a "plus sign"
The center of this plus sign is where the tip of your spade bit will be placed, making it the very center of the hole for your dowel!
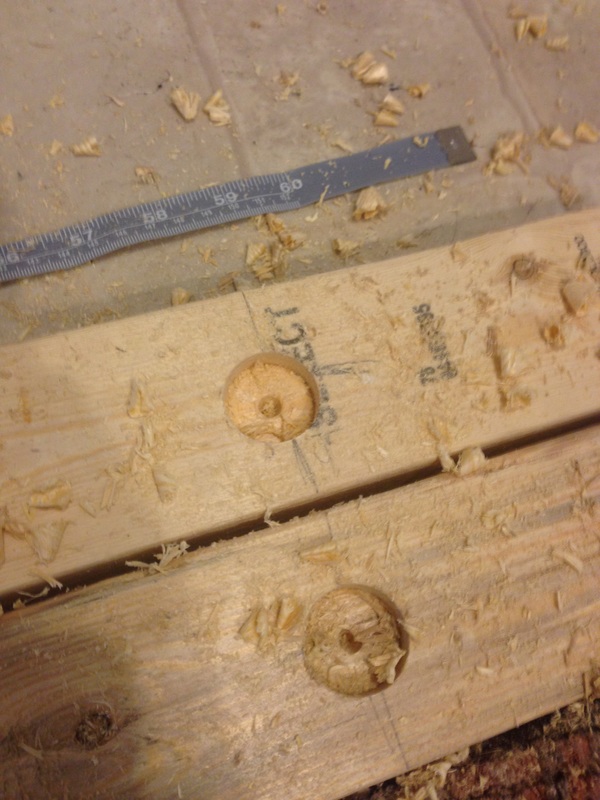
The pencil lines are exactly 11 inches. The center of the "+" is where your pointed tip will be set.
I didn't want my dowel to show on the side of the ladder so I only drilled down 3/4'' on each hole. Then you will clean out all the wood shavings and apply your wood glue and dowel.
 |
 |
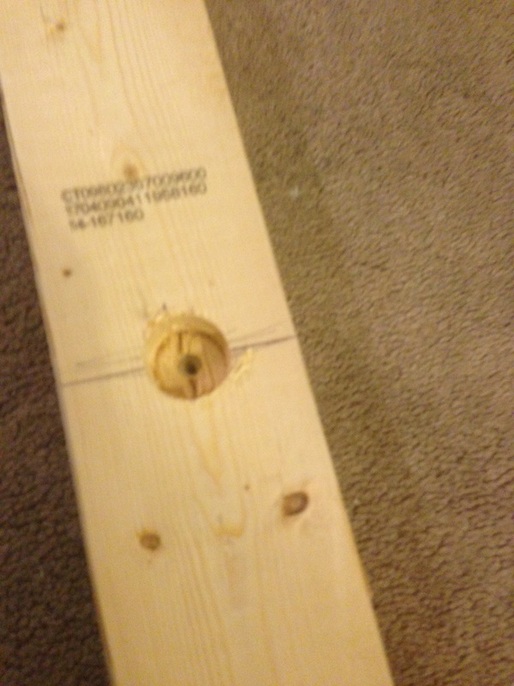 |
Apply your wood glue and dowel.
Drive a nail through the side of the ladder and into the dowel. Rex did this part and he acted like he was sick about it...but he really did enjoy it (little punk.)
Fill in any nail holes if you choose too (I'm self diagnosed OCD so I did).
Sand and either paint or varnish, and seal with a finishing spray!
 |
 |

My ladder version cost around $10 since I had 99% of the supplies already. That is over a $200 savings!!!!
I've made some for gifts, bunco prizes, and for my home. I hope you enjoy making this knockoff!!!
Here are a few other projects we love!

Leave a Reply