• Skip to primary navigation
  • Skip to main content
  • Skip to primary sidebar
  • Skip to footer
Clover Lane
  • Home
  • About Clover Lane
    • Legal Disclaimer
  • DIY
  • Home Decor
  • Recipe Box
    • Appetizers
    • Dessert
    • Drinks
    • Entrees
    • Sauces and Dressings
    • Side Dishes
  • Welcome to Clover Lane All Things DIY and Home

Home » No fray no sew 4th of July Party Tassels

No fray no sew 4th of July Party Tassels

June 29, 2017 by sadie lish Leave a Comment

Tassels add so much cuteness to a party! We usually string them up on the front of the food table. It adds a lot for a little bit of work and money. We typically use tissue paper for our tassels. With tissue paper you have a lot of design pattern and color ideas....there is a downfall though. Tissue paper wrinkles and rips, making the banner a one (maybe two) time use item. We have the perfect solution to this problem. Insert Oly*Fun!
Cute 4th of July banner

Oly*Fun is a no fray fabric material that is so versatile. The possibilities with this stuff really are endless. If you enjoy crafting, Oly*Fun is a necessity to have around. My favorite pack is below.
Best material to use for tassels and banners

You have a variety of color options and they are in convenient 12"x18" sheets. You can buy Oly*Fun here.
For this project you will need the following materials:
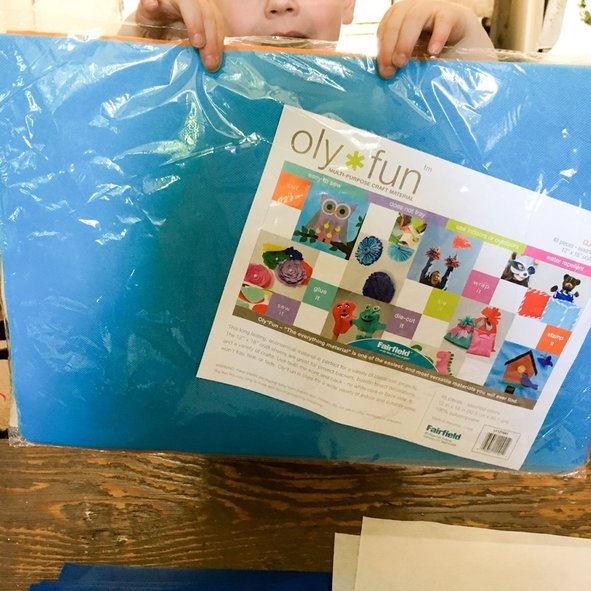
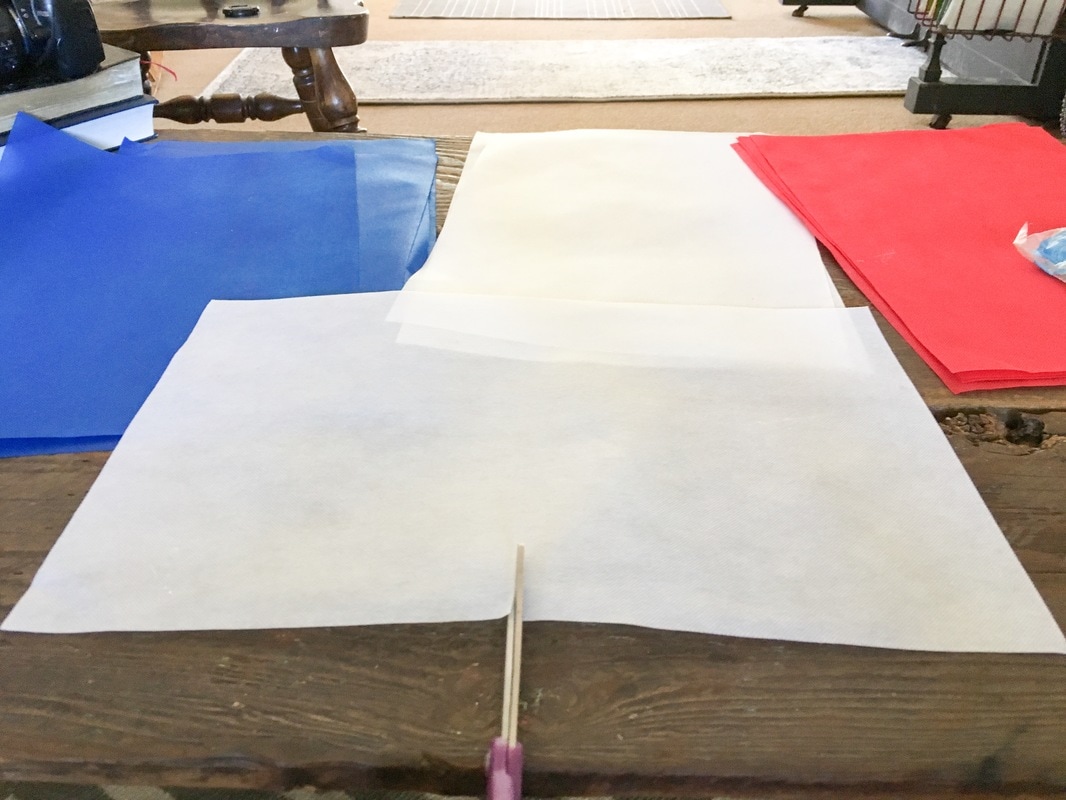
(12) Oly*Fun 12"x18" sheets. Red, white, & Blue. (4 of each color)
Glue gun
Scissors
Fishing line
*Scroll to the bottom of this post to watch a video tutorial
​
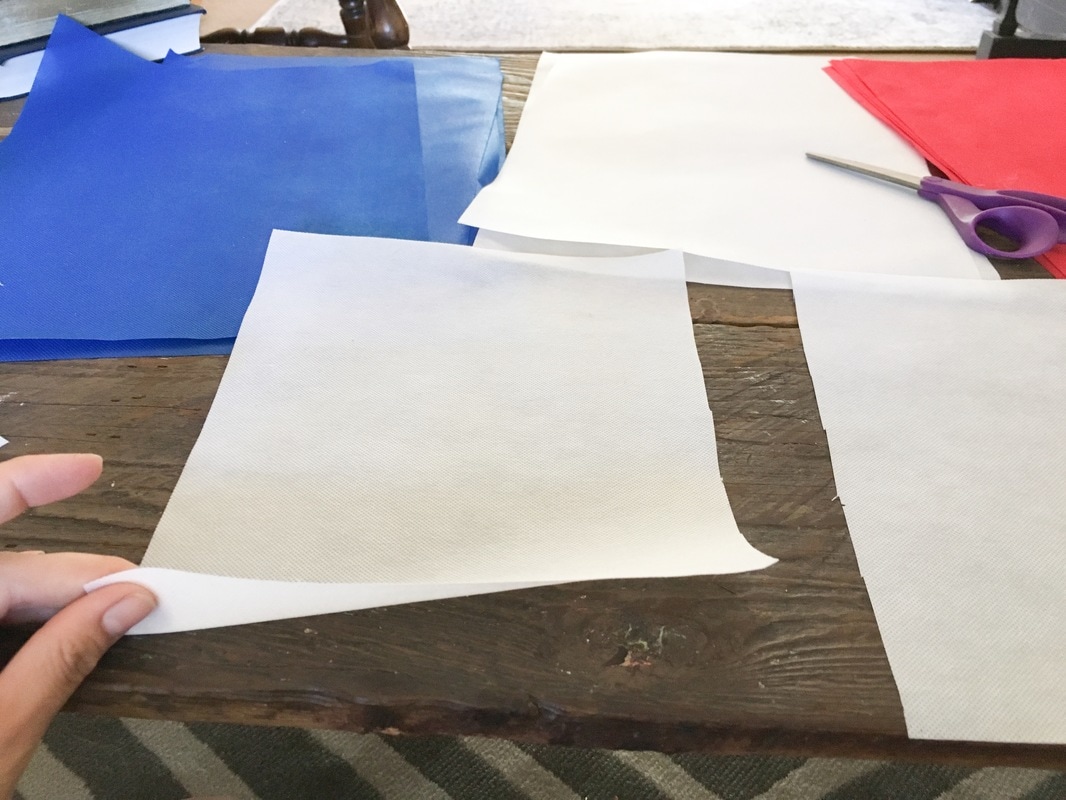
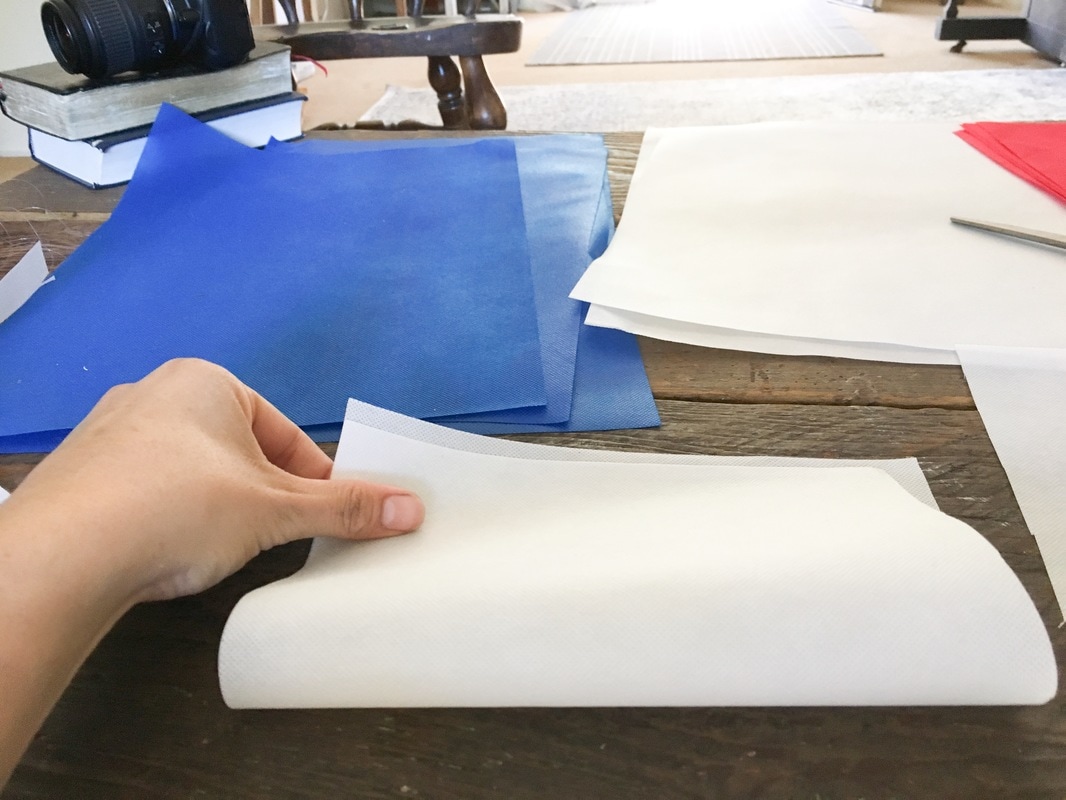
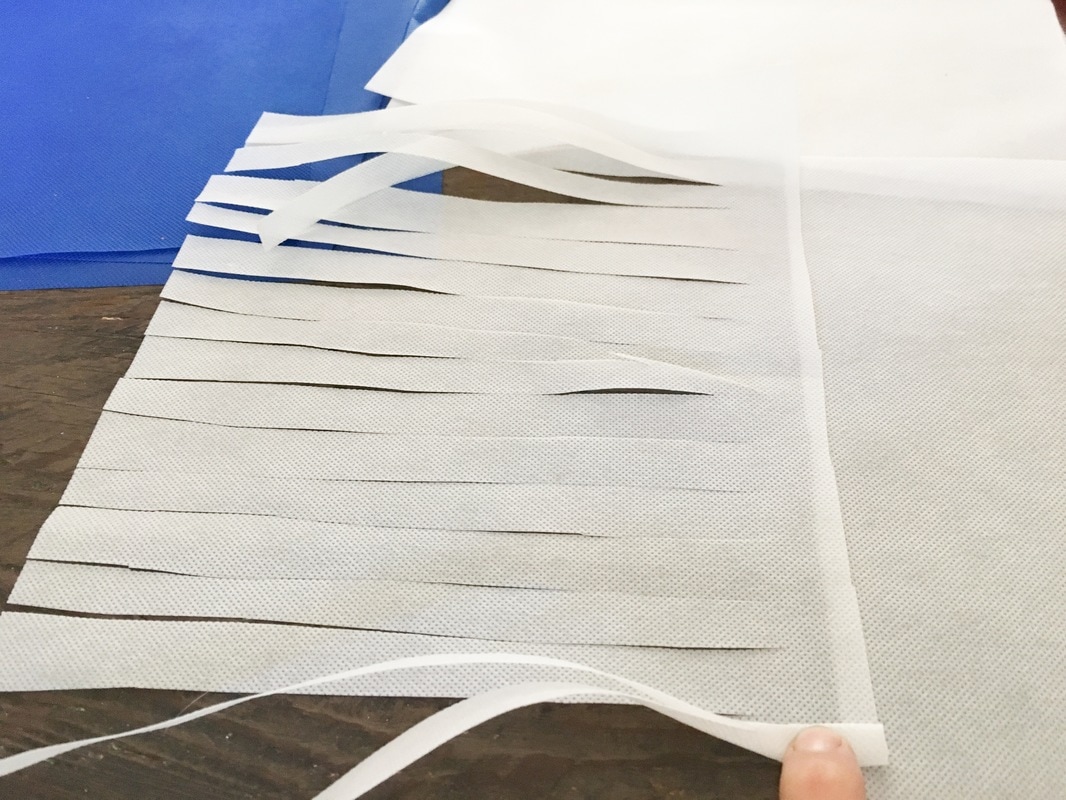
Step by step-Cut each sheet of Oly*Fun in half hot dog style. You will end up with 2 12''x9'' sheets per 1 sheet of Oly*Fun.

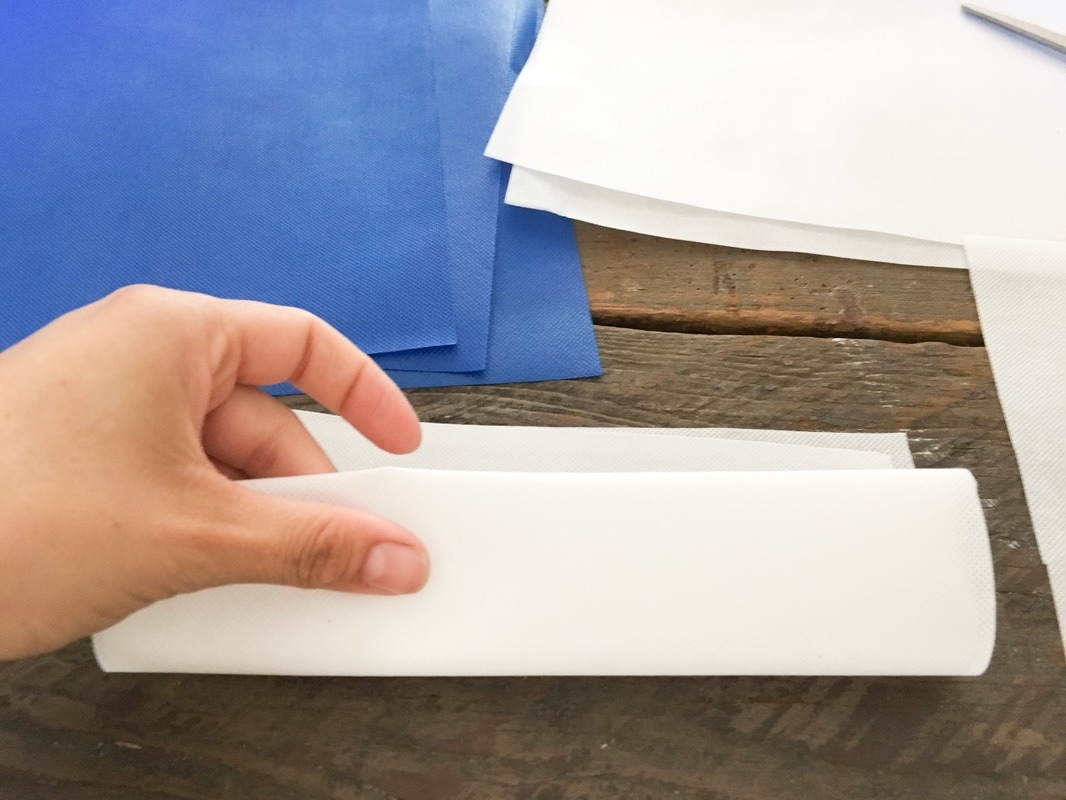
-fold one of the cut sheets in half twice.

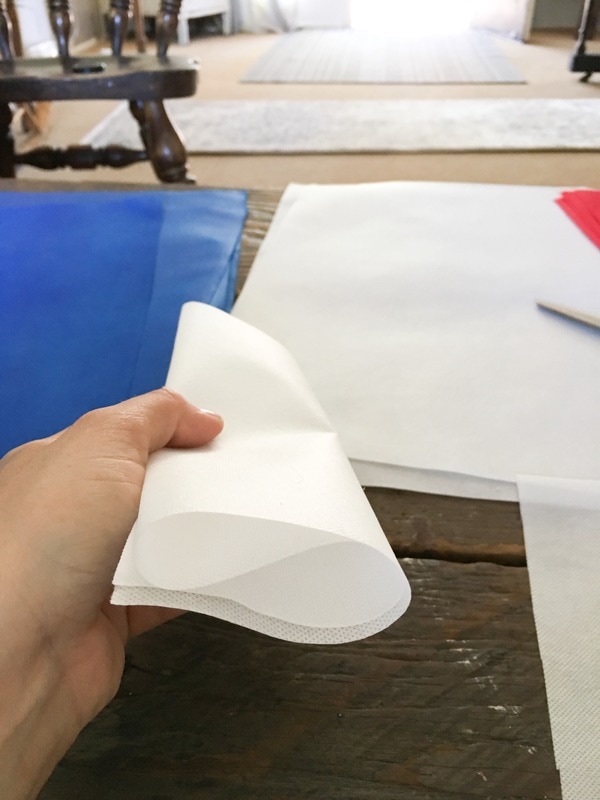
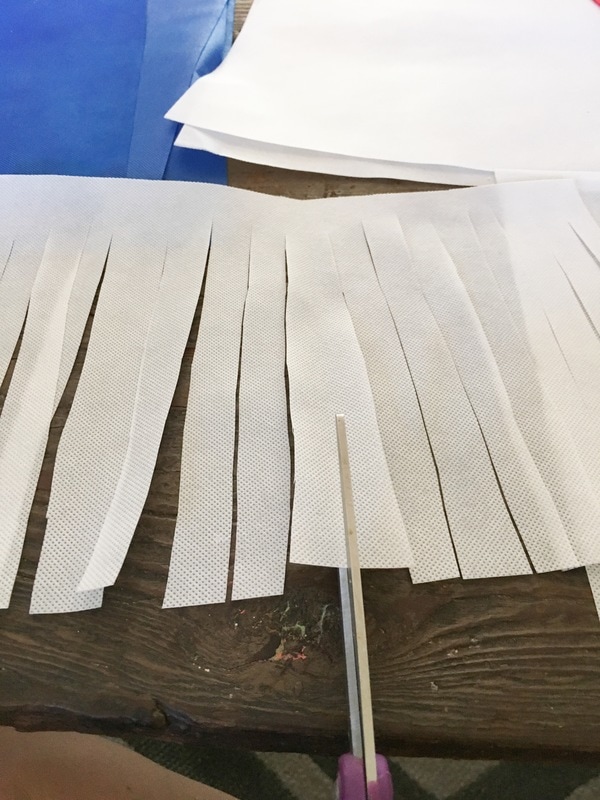
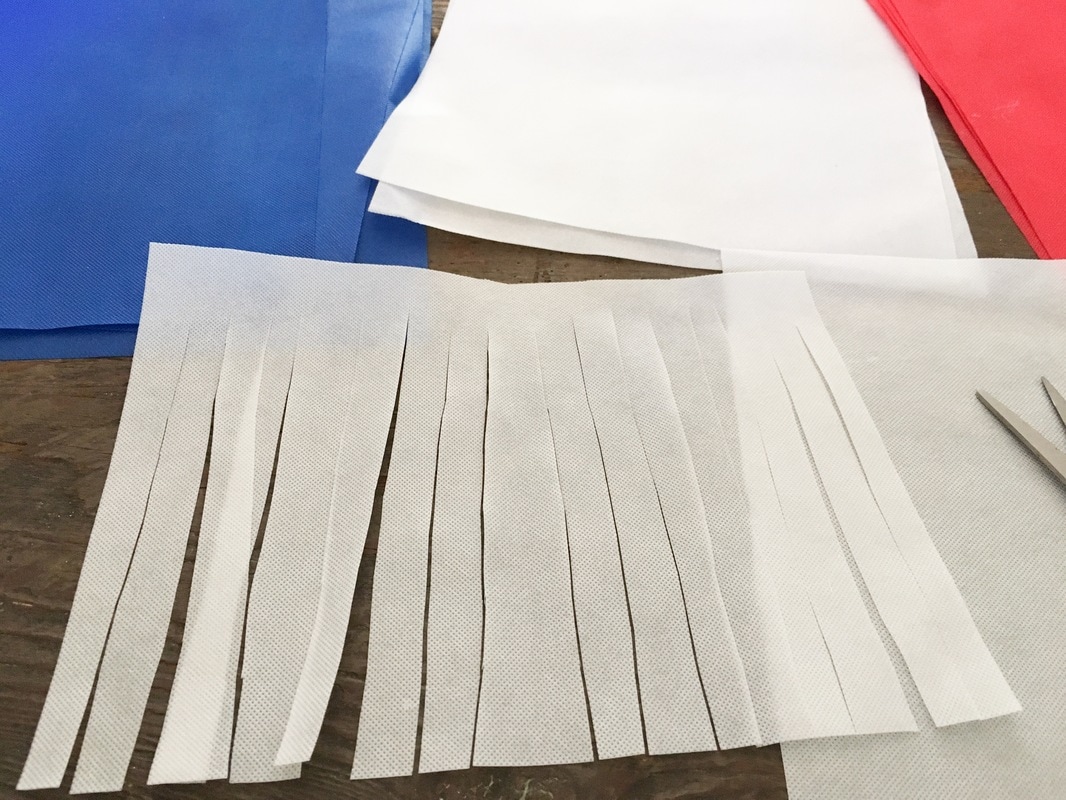
-Cut slits up the rolled sheet leaving 1"-1 1/2" at the top uncut.

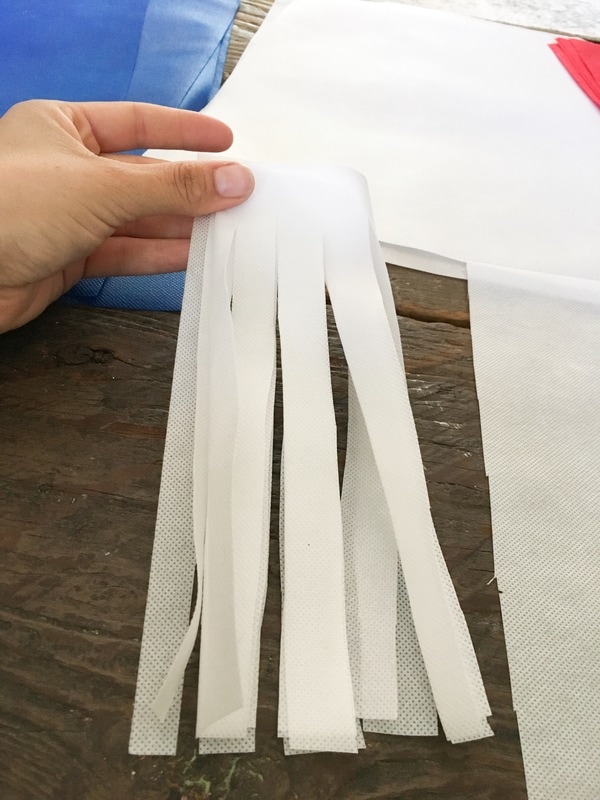
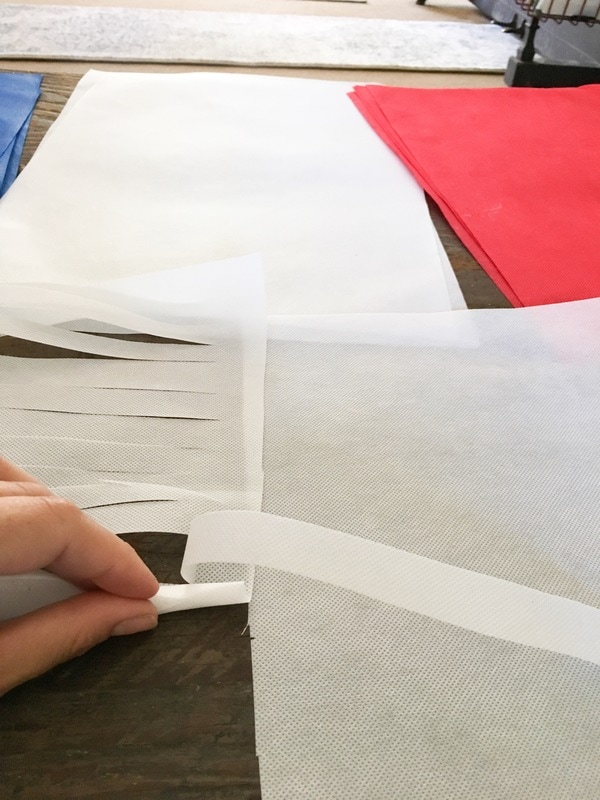
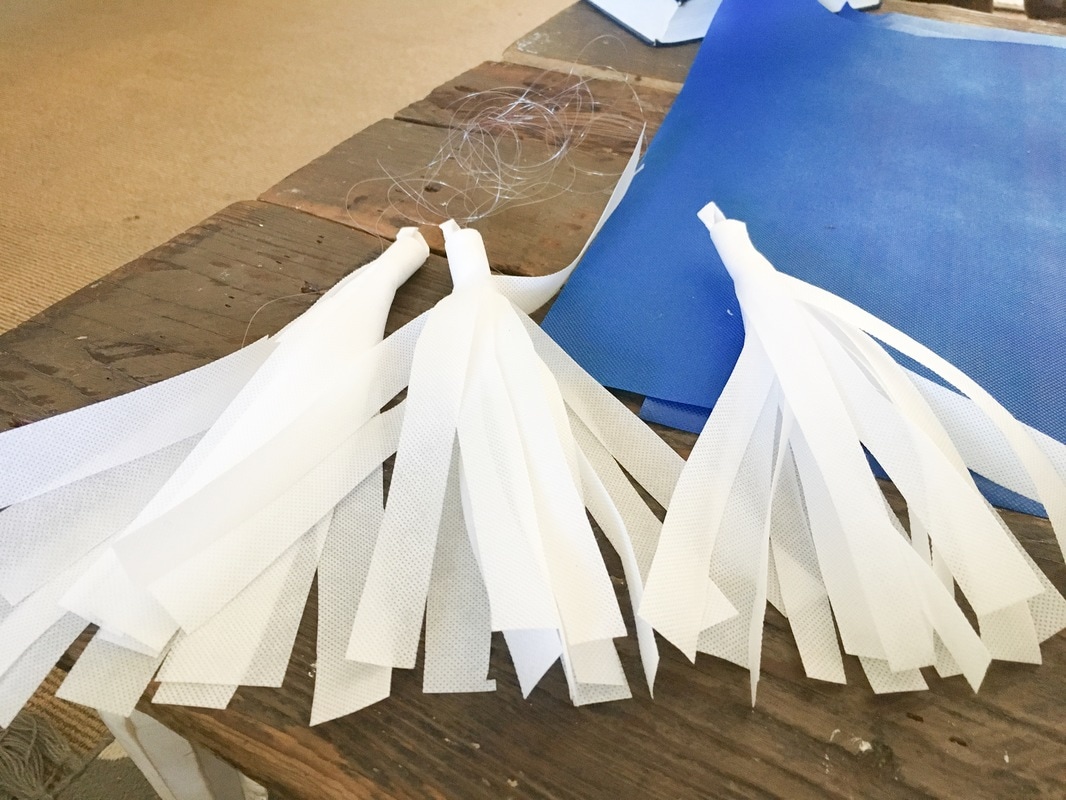
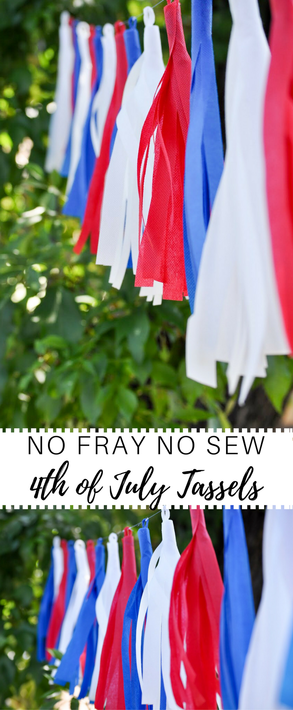
-Roll out the sheet and you will see your tassels.

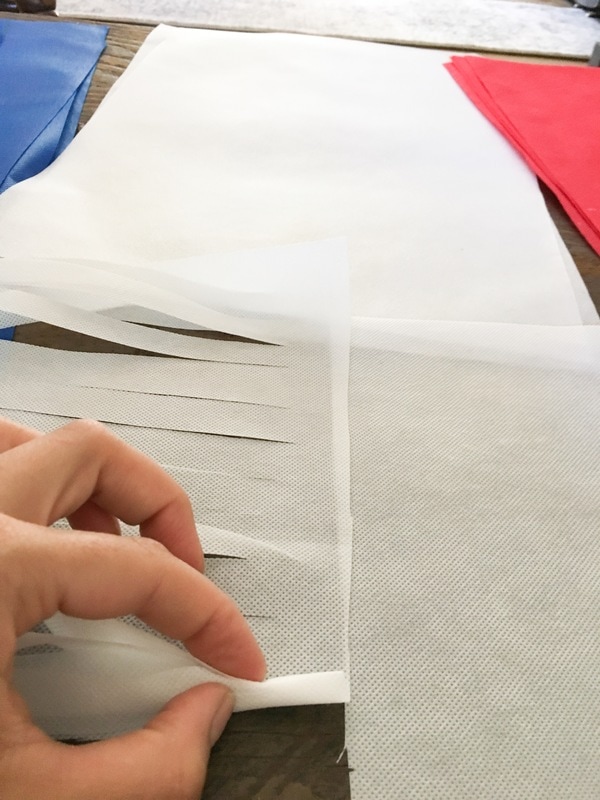
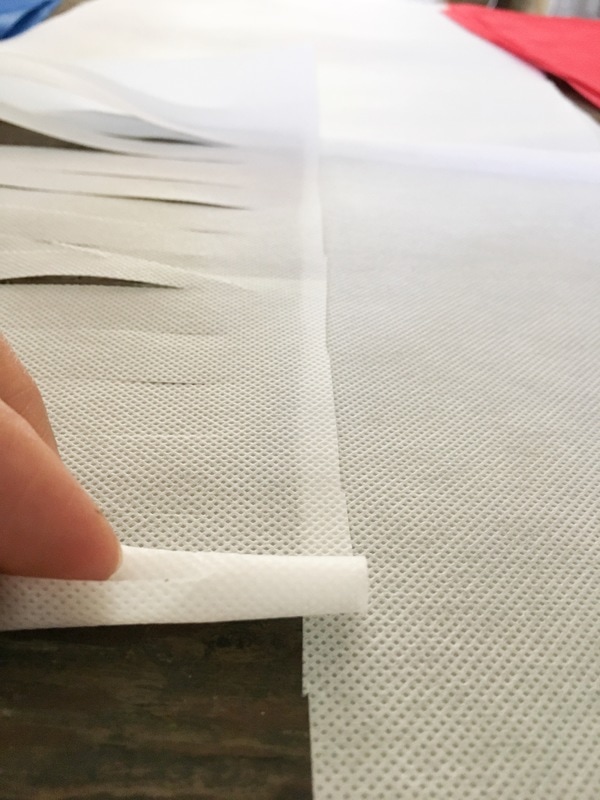
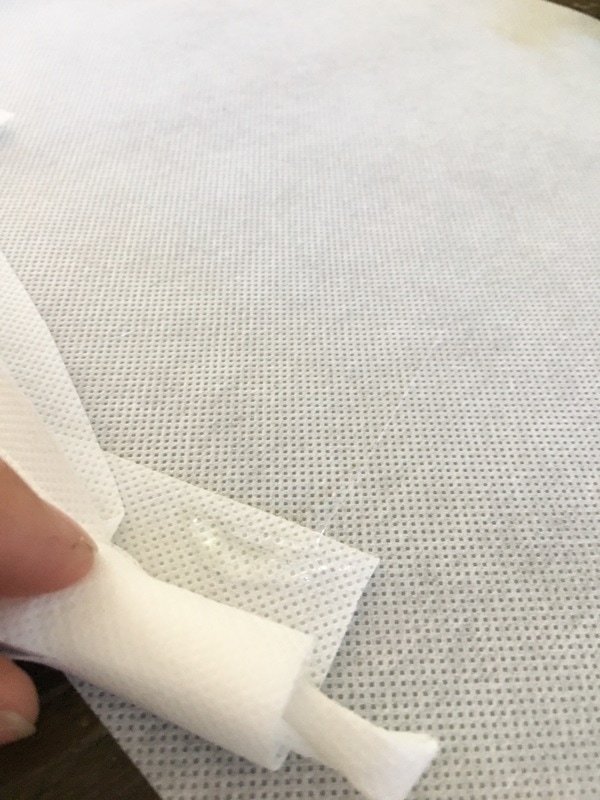
-Start rolling the end of your sheet up on the area that was left uncut (this is the 1''- 1 1/2" area)

-Occasionally add a dot of glue as you are rolling to ensure that your tassel won't unravel.

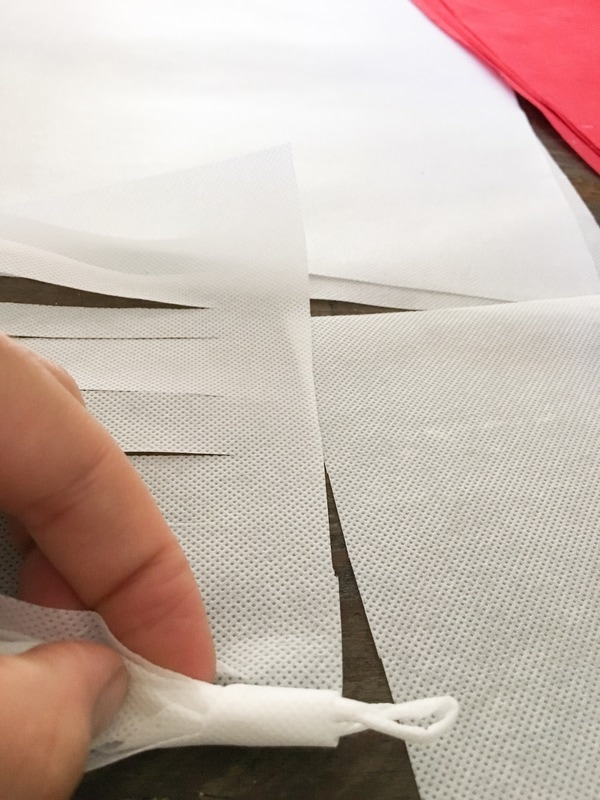
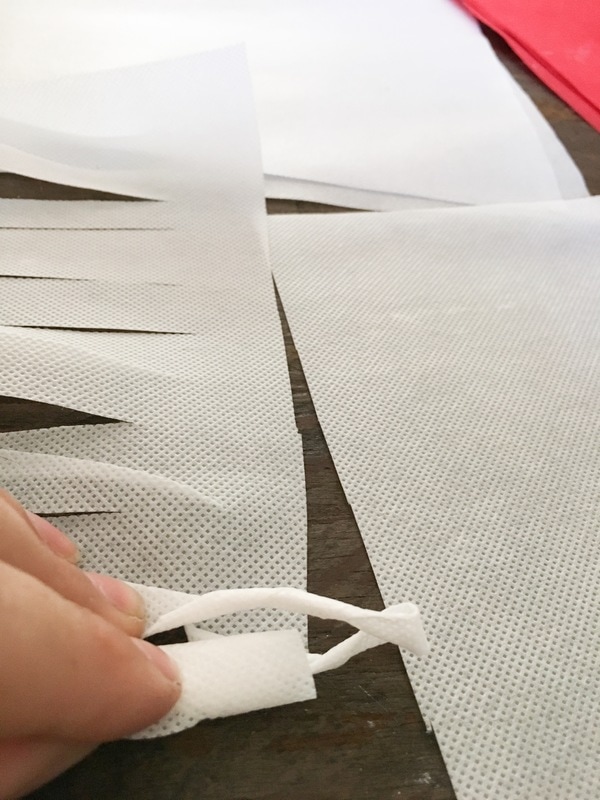
-Once you have rolled the tassel halfway, pull one of the tassels backward and twist it around until it looks like a tightly wound piece of yarn. Fold it back down and roll over it. This leaves a hook for you to put your fishing line through. If this part sounds confusing, look at the photos below and watch our how to video. It is super easy once you see it done.

-Finish off by gluing the last big down by the seam.

-Fluff out the tassel and set it aside while you cut and roll the remaining pieces of Oly*Fun.

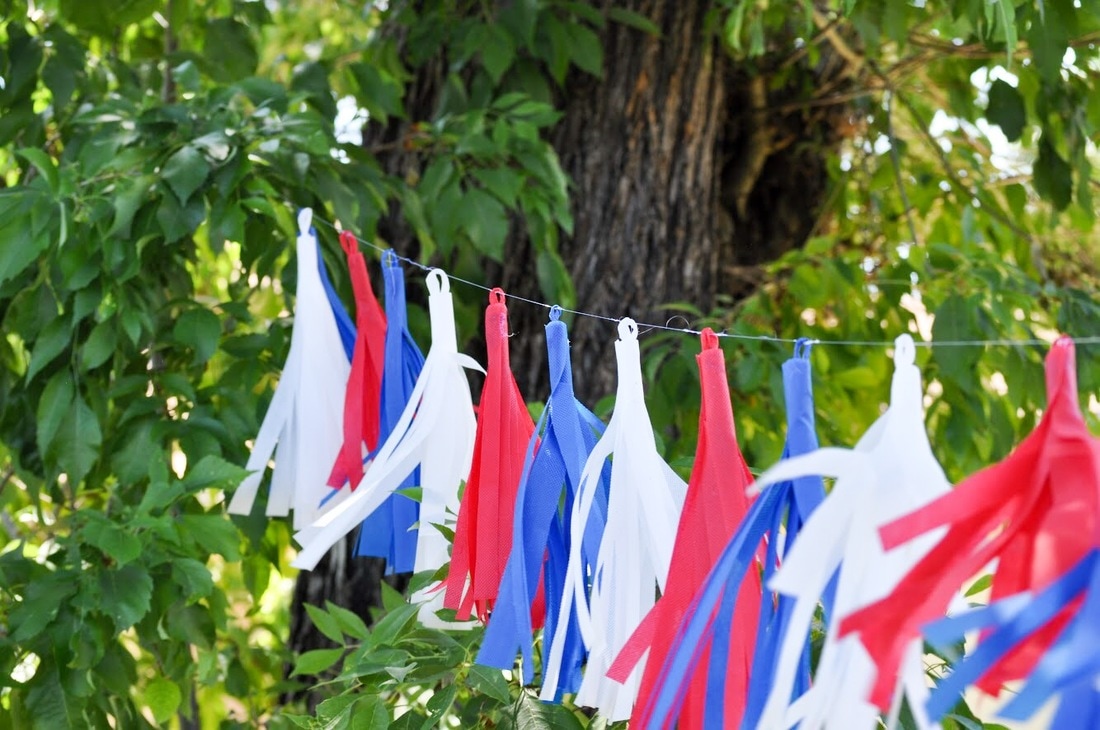
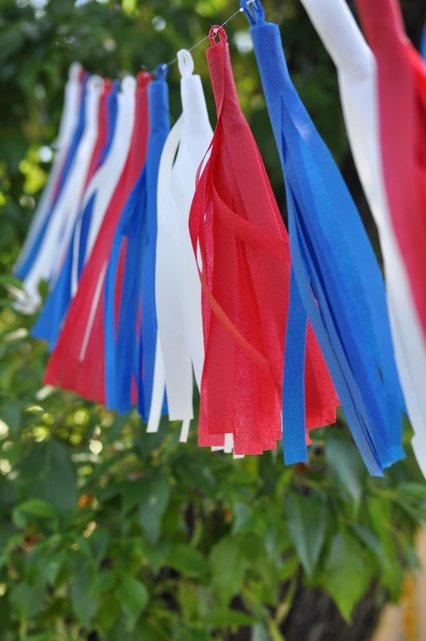
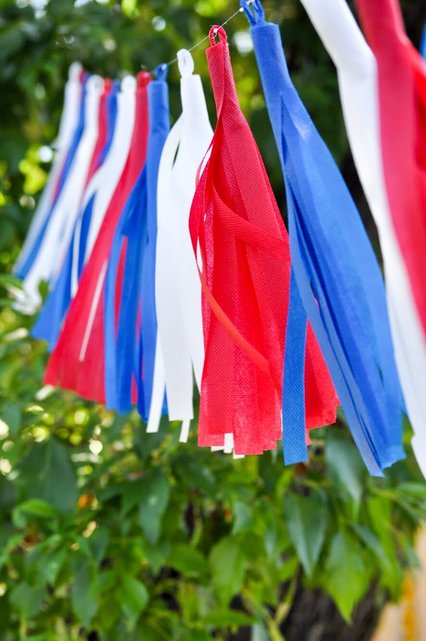
-Measure out your fishing line. Mine is 8' long. My tassels are strung and glued on (so they don't move) every 5". I left 6" of slack on each end of the string to tie it to wherever I'll be using it.

-You do not need to glue the tassels to the fishing line, but they will slip around so it isn't a bad idea to glue them.

-You can use any type of wire/jute string to hang these. If it feels like it can support the weight, use it! Use your imagination here and customize this project to match your tastes.

You'll be able to enjoy this cute project for years to come!
4th of july decor
cutest 4th of july decor
Don't forget to pin it!!
Cutest 4th of July tassels for your 4th of July party

Share it on Facebook!

Filed Under: DIY

Pages

  • About Clover Lane
  • ALL THINGS HOME
  • Legal Disclaimer
  • Privacy Policy
  • Recipe Box
  • Welcome to Clover Lane All Things DIY and Home
  • Welcome to Clover Lane...we're happy you stopped by!
Previous Post: « Mt. Dew Smoked Chicken
Next Post: Farmhouse Table- Amy Howard At Home Paint Line »

Reader Interactions

Leave a Reply Cancel reply

Your email address will not be published. Required fields are marked *

Recipe Rating


This site uses Akismet to reduce spam. Learn how your comment data is processed.

Primary Sidebar

About Us

Welcome to Clover Lane! We are Cassie and Sadie-- A sister DIY duo with serious "go get 'em" personalities. We take boring rooms and make them not-so-boring by knocking down walls and getting stuff done!! Oh, and we LIVE to eat.

Footer

Copyright © 2021 Clover Lane on the Foodie Pro Theme