
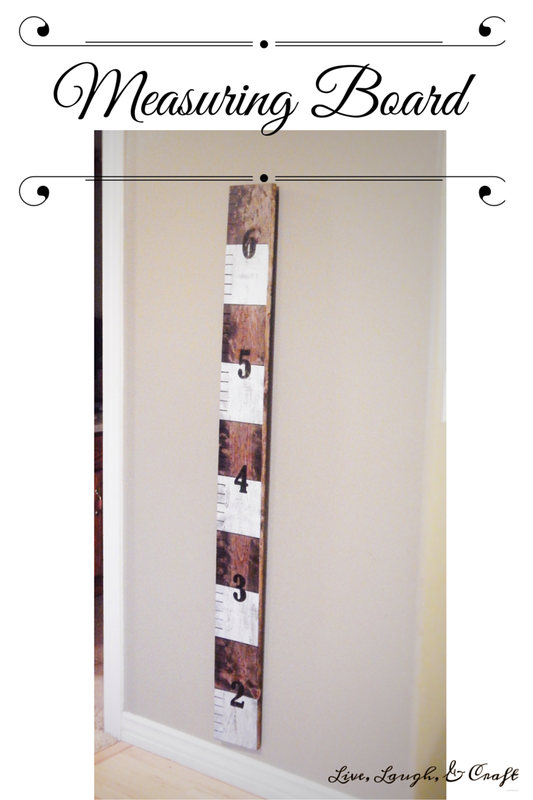
DIY Measuring Board
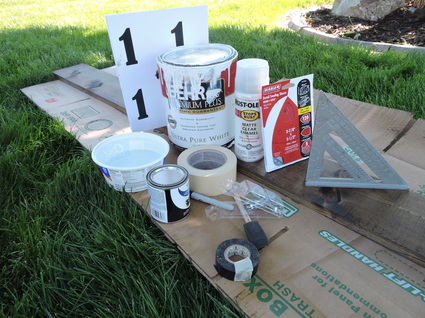
Supplies
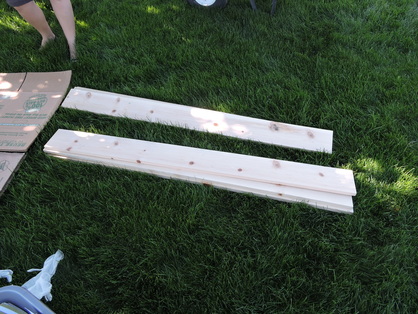
1x6x5 White Pine Board (1 inch x 6 inch x 5 feet)
Minwax Varnish (Dark Walnut)
Sandpaper
Mouse Hand Sander
White Latex Paint
Black Latex Paint
Rust-Oleum Finishing Spray
Tape
Sponge Brush
Speed Square
Permanent Marker
Tape Measure
Number Stencil Printout
Water (for the white wash)
1x6x5 White Pine Board (1 inch x 6 inch x 5 feet)
Minwax Varnish (Dark Walnut)
Sandpaper
Mouse Hand Sander
White Latex Paint
Black Latex Paint
Rust-Oleum Finishing Spray
Tape
Sponge Brush
Speed Square
Permanent Marker
Tape Measure
Number Stencil Printout
Water (for the white wash)
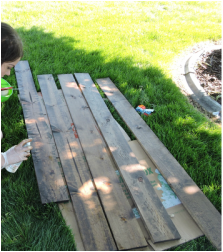
We made 6 of these, but the supply list will be for one board. So hopefully this won't be too confusing!
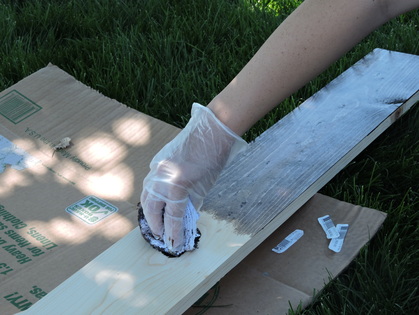
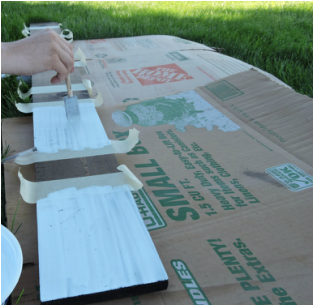
 Put on your latex gloves and apply the varnish with a clean rag, wait a couple minutes and wipe it of with another clean rag or paper towel.
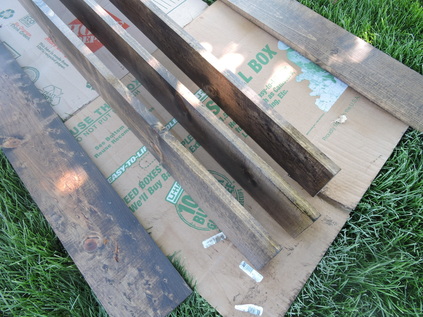
Spray the board with the finishing spray and let it dry.
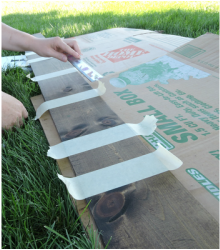
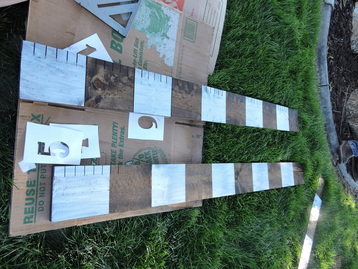
With your tape measure or speed square, tape off 6" sections. The board is 5 feet long so you will have 5- 6 inch dark walnut sections and 5- 6 inch white washed sections. The tape we used was 2' wide so it looks funny because there's 6 inches, tape, 2 inches, and then tape. I hope this doesn't confuse you, but make sure you figure that out before you paint.
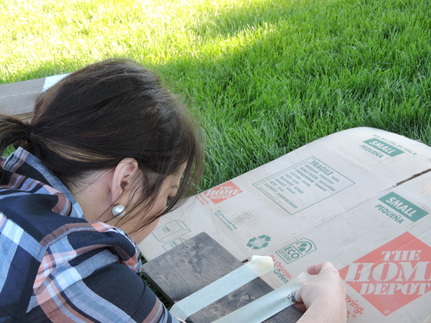
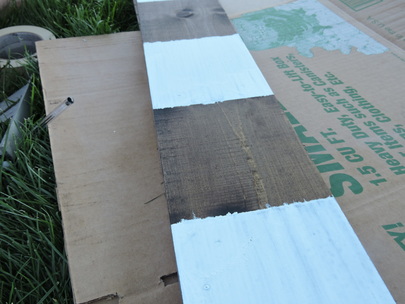
Next you'll mix your whitewash, we used 1 part paint to 2 parts water. Mix well then paint on the six inch sections.
The masking tape we used wasn't super great so there was some bleeding; if this happens to you, no biggie....don't panic!
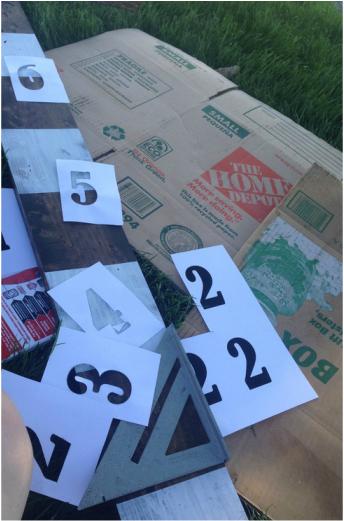
 Print the number templates or have vinyl cut. Our numbers are roughly 3 1/2 inches tall. Feel free to use ours, or make your own!
| measuring__stick_numbers.docx |
Download File
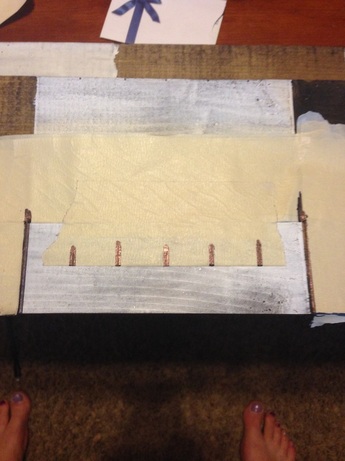
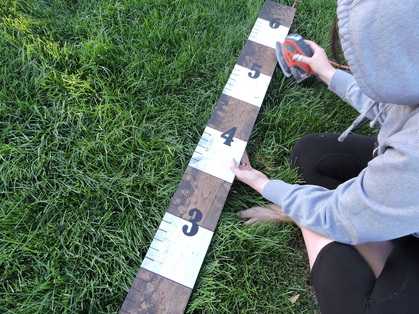
 We made this little template to make our lives easier, since we made 6 boards. This is total preference, but this is how we marked ours. With the permanent marker, make a solid line on all the sections. Then mark 5 "1 inch" lines in each section.
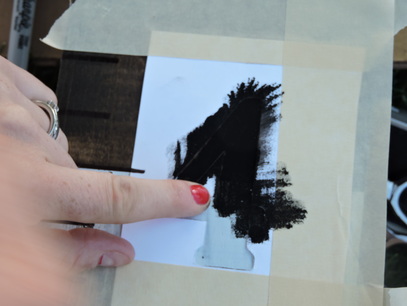
Cut out the black part of the numbers, creating a stencil.Center on the solid line, that breaks up the white and stained sections. Paint with the black latex paint.
When the numbers are dry, take your mouse sander and run it along the edges. We also roughed up the top, if this makes you nervous don't do it.
 Attach the picture hanger on the back and spray another coat of finishing spray on and you're done! **Be careful when you do that finishing coat. Hold the spray can back to avoid runs from too much product and the permanent marker.
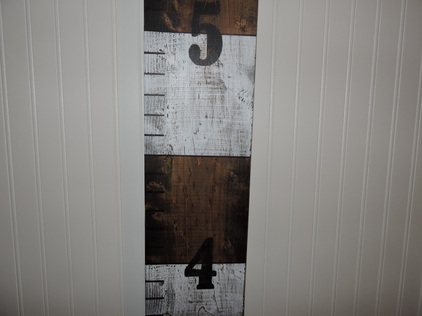

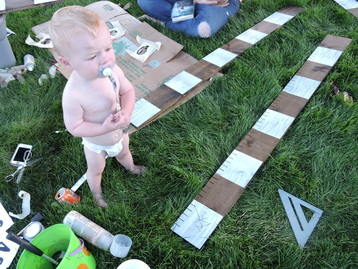
We started numbering at 2, the board is 5 feet tall, start at 1.5 feet and goes to 6.5 feet. Again, adjust as you want. If you follow our tutorial hang the board 6 inches off the ground.
Leave a Reply