
Basement Update

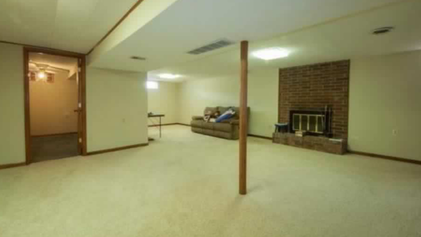
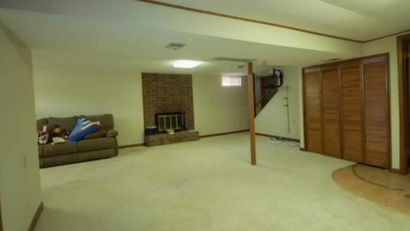
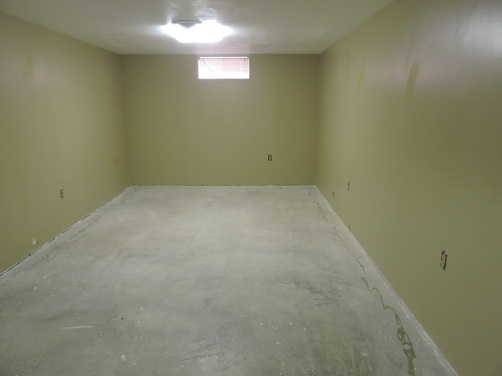
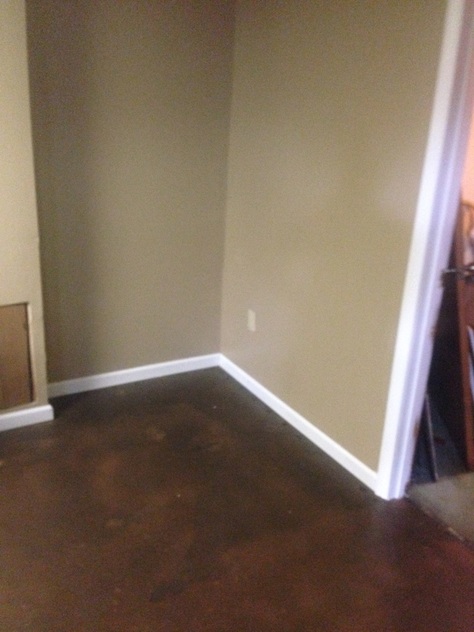
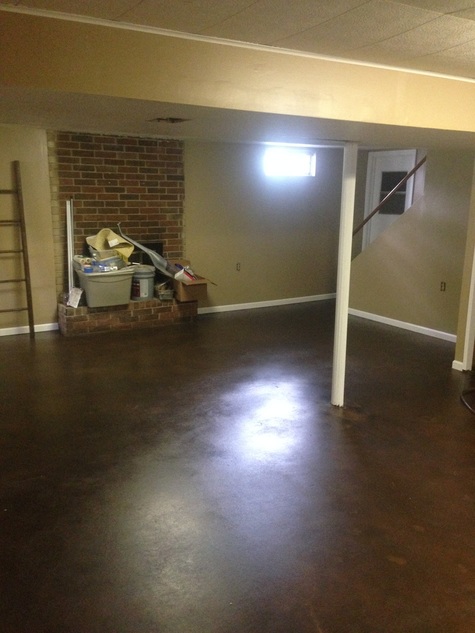
It's time for a basement update! Here are a couple before pictures!
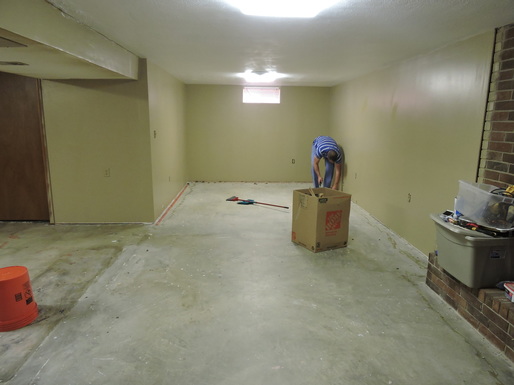
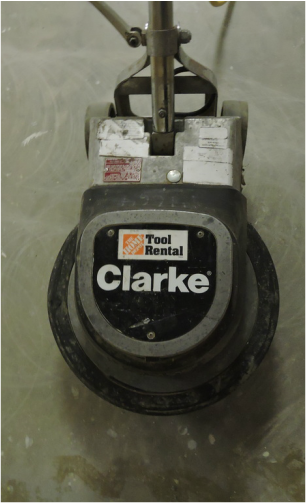
We removed all the baseboards, carpet, and linoleum. Rex and I painted the walls a Sherwin Williams color "Latte", but we had Home Depot mix it for us. We then removed all the nail strips from the concrete and patched the holes with quickset concrete that we picked up at Home Depot. Then we rented a floor buffer that removed all the glue and other imperfections from the concrete.
Here's the floor after several passes with the buffer. To prep for the "concrete dye" we used this prep solution made by Behr. We washed the concrete with water several times to make sure all the concrete fragments were gone.
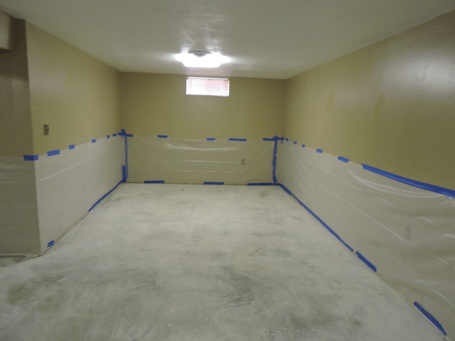
Plastic was taped to the walls to protect it from the floor dye.
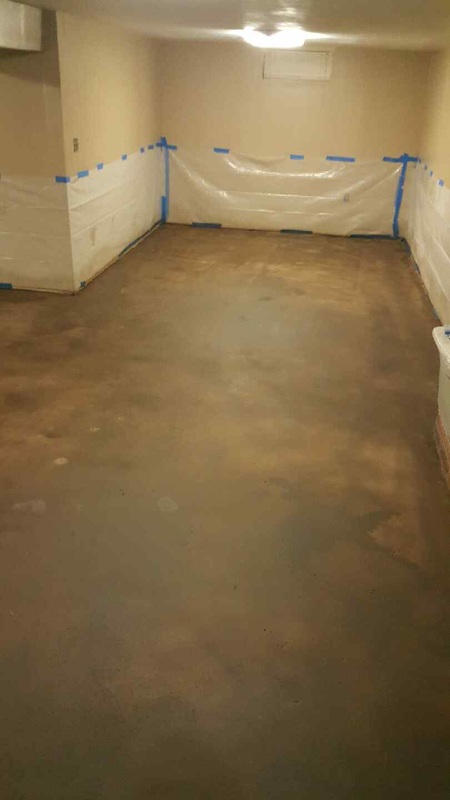
 The dye was applied in two steps, first the base color. This was mixed at Home Depot, then poured into a spray fertilizer bottle and applied that way.
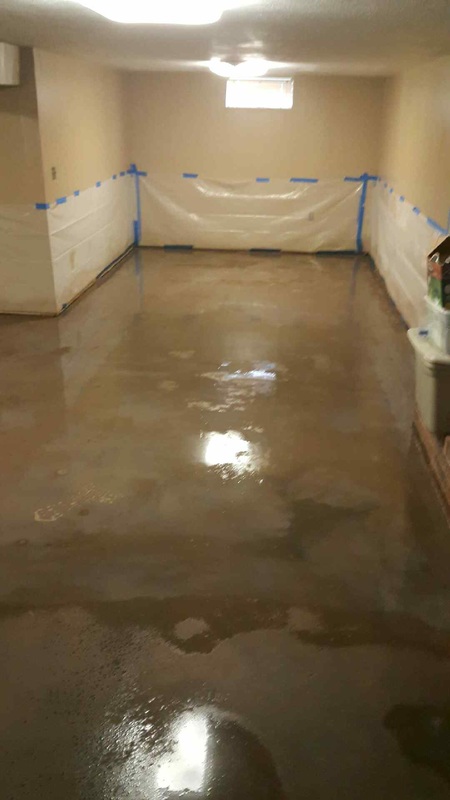
Once that first color was dry the "accent color" was applied using the same application method.
The ugly banister is still a work in progress.
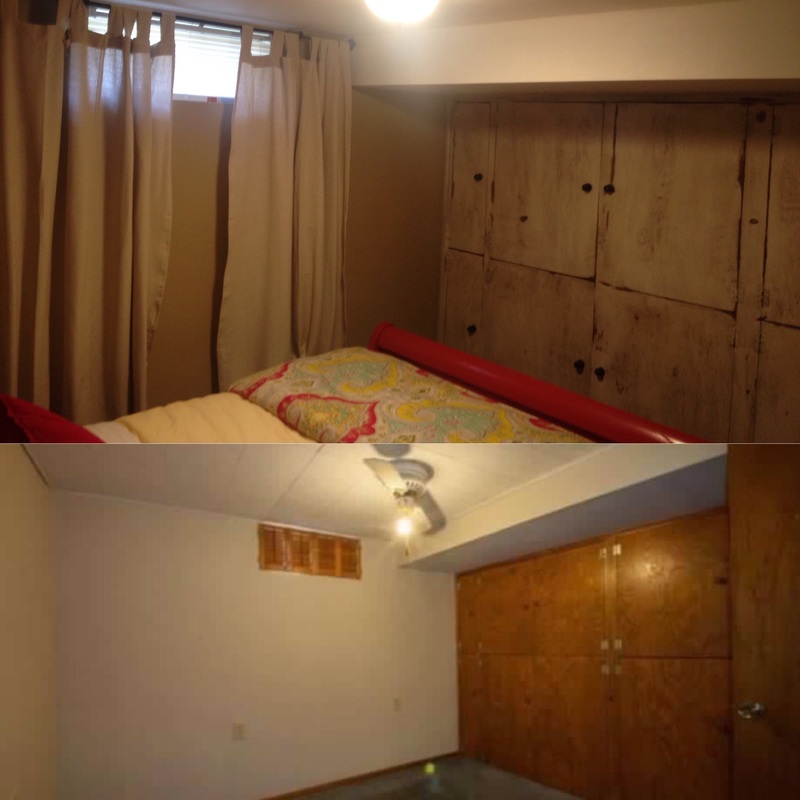
I painted the shutter doors white and used oil brush bronze hardware that matches the kitchenette cabinets. The support beam got a fresh coat of paint to hold us over for a bit. We are planning on wrapping it with wood eventually.
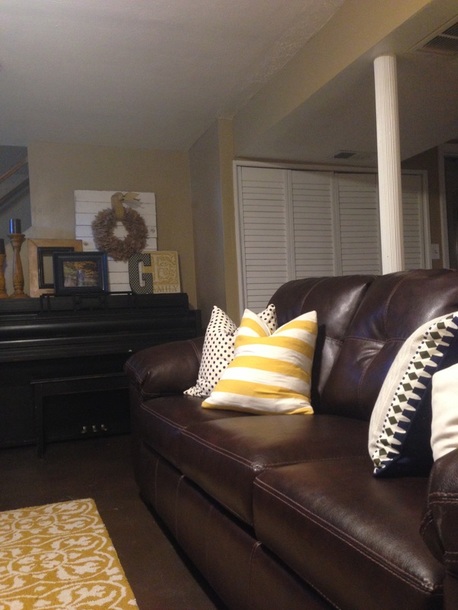
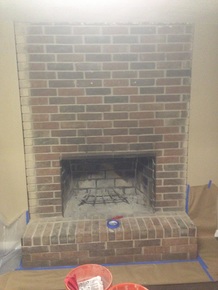
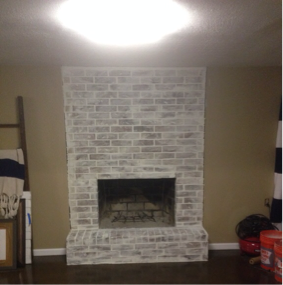
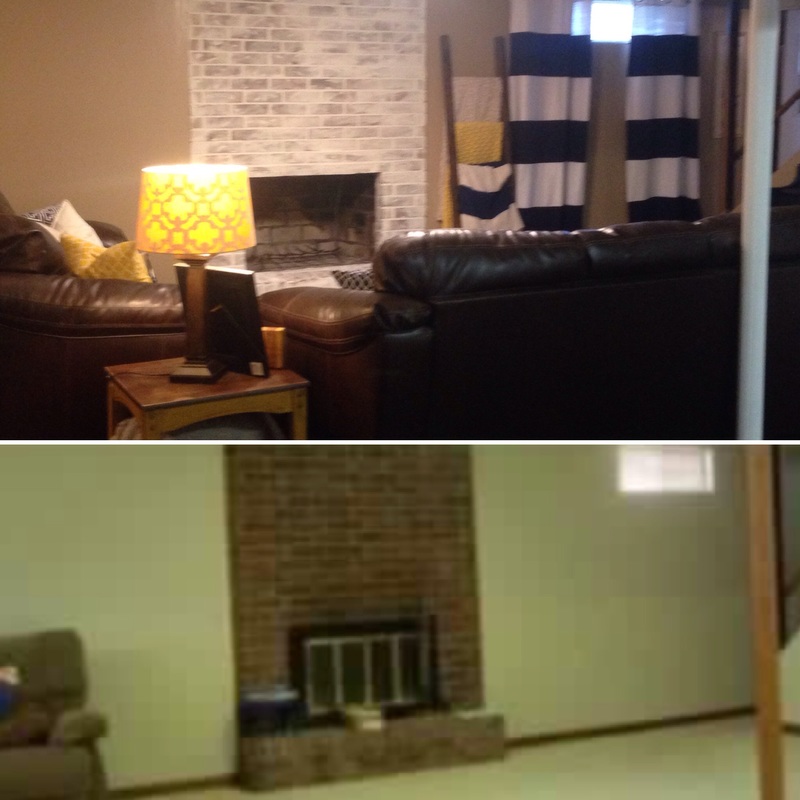
I applied white grout to the fireplace and I think it made a huge difference. Eventually we will build a mantle piece and put a framed TV up, but for now I can live with it- especially since it was a $12 fix!
 |
 |
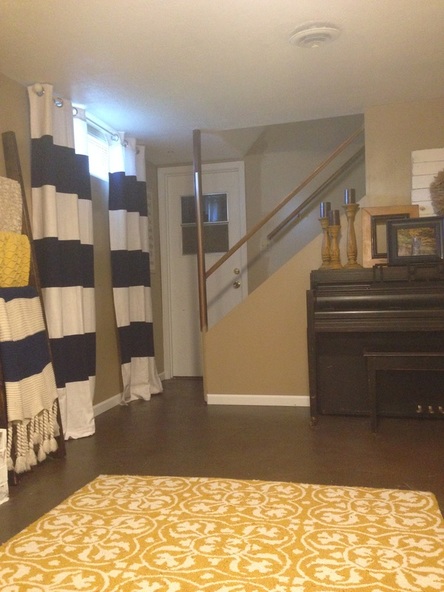
Before and After's
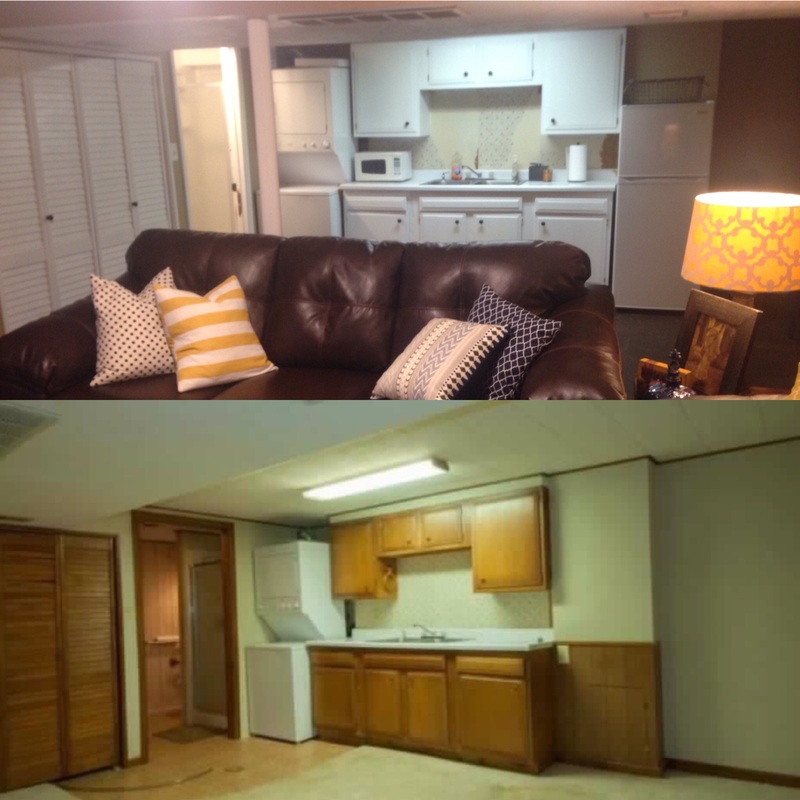
The kitchenette cabinets got a few coats of white paint and new hardware. We have granite that's ready to go in when we get some time to do it and I'm still trying to decide what I want to do for the back splash. Stay posted for that update!! We rent our basement out to visiting medical school students, so there's a fridge and other appliances that aren't normally in a basement. Paint and hardware for the entire basement area is under $150 and made a huge improvement!
I'll be doing a separate post on the boys play area, but you can see that in the background. Let me tell you, it's been life changing to have the toys out of our "everyday" living space!
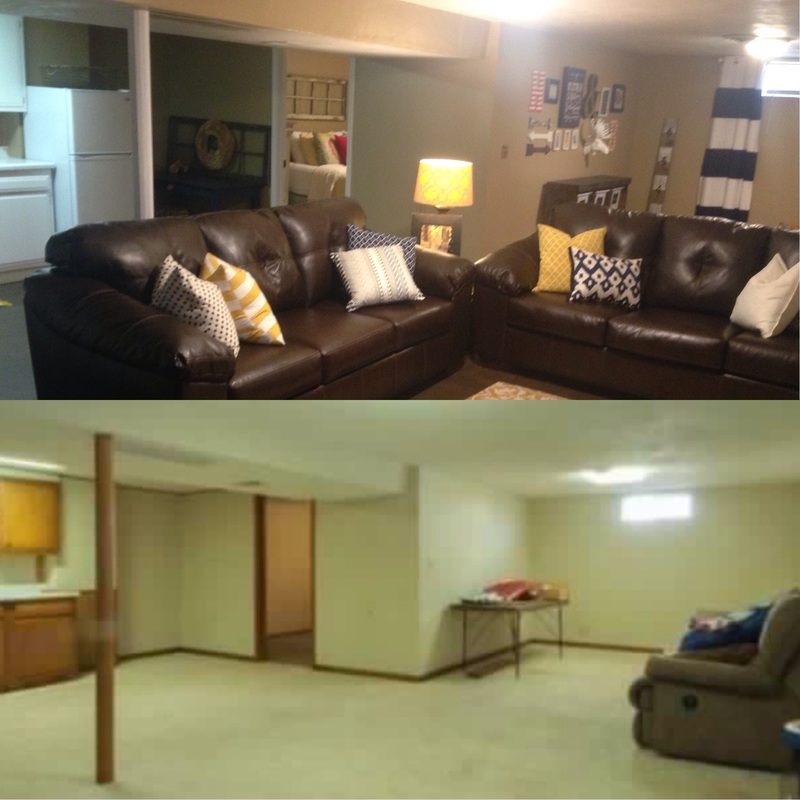 Like I said earlier, the fireplace and the weight bearing pole still need some work. They look a ton better being white, so they are at least bearable!
 You can checkout the update on the bedroom here. It is crazy how you can improve a space with just a little money and time!
Leave a Reply