
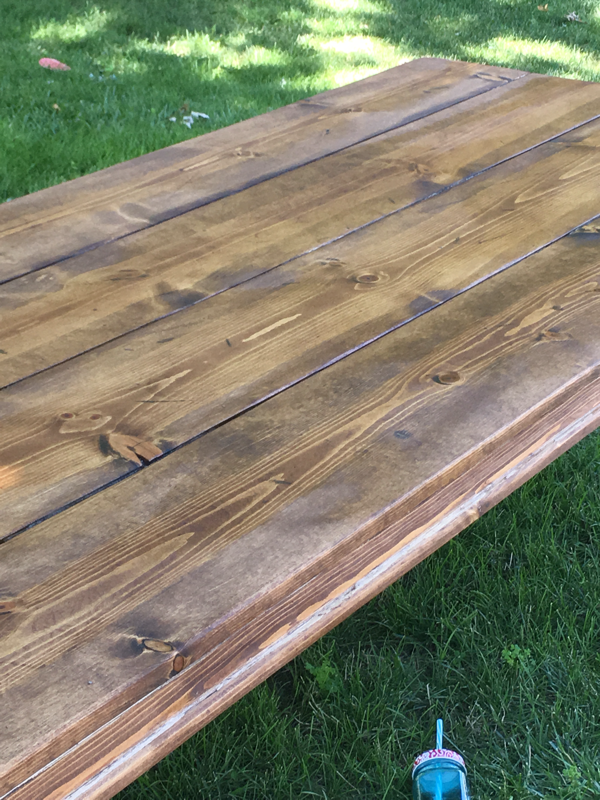
Stain
Matte Finishing Spray
Latex Paint
Amy Howard Toscana Milk Paint-Strasbourg White
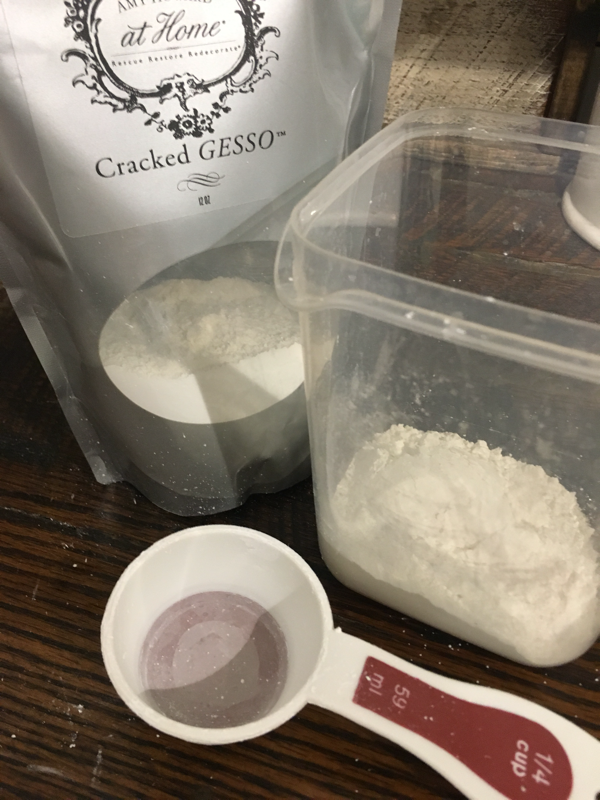
Amy Howard Cracked Gesso
Amy Howard Antiquing Glaze
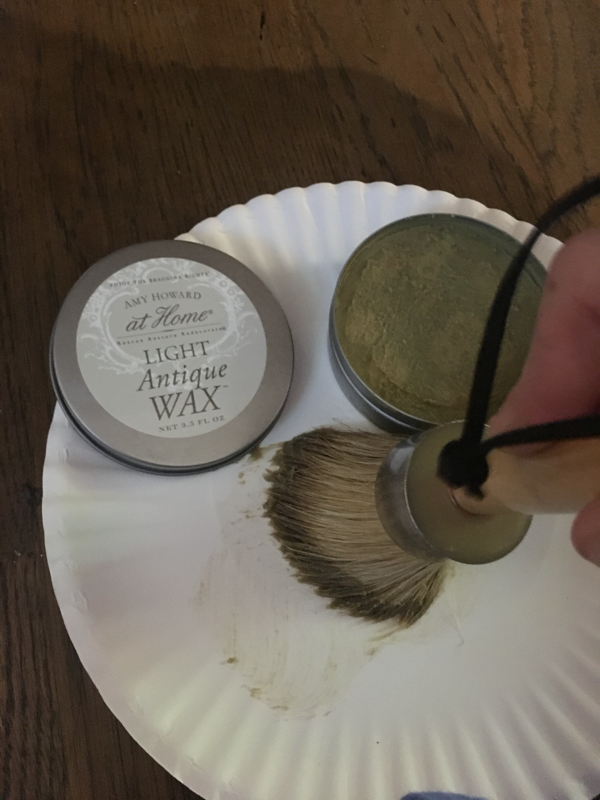
Amy Howard Light Wax
Amy Howard Dark Wax
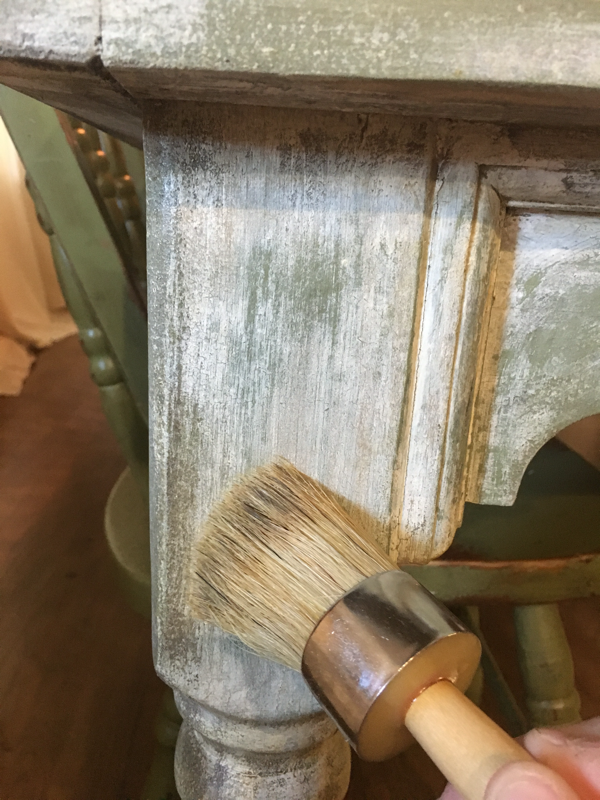
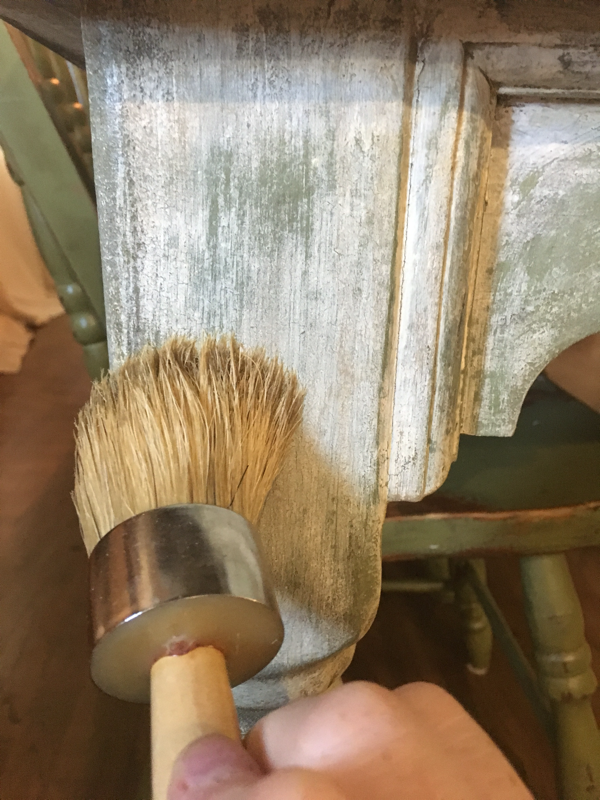
Amy Howard 2" Round Hog Hair Paint Brush
Amy Howard 1.5" Flat Paint Brush
Cheesecloth
Measuring cup
Airtight Container
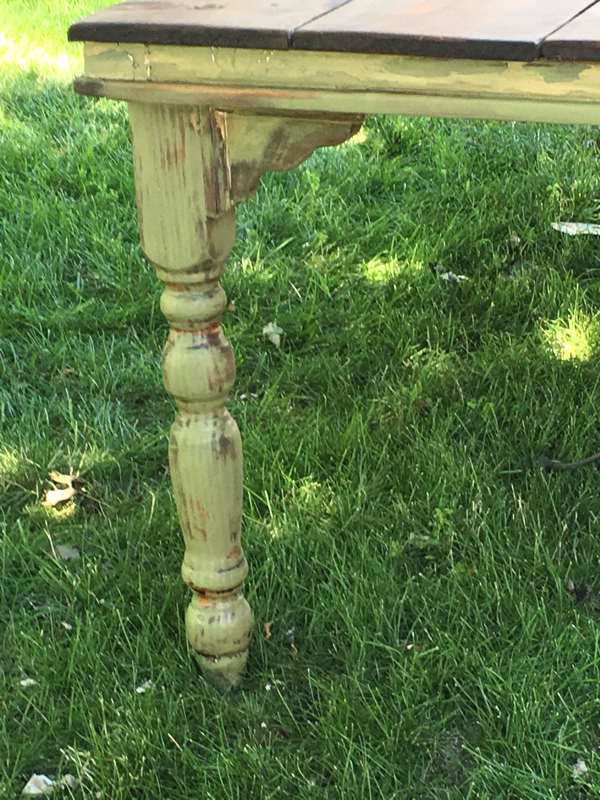
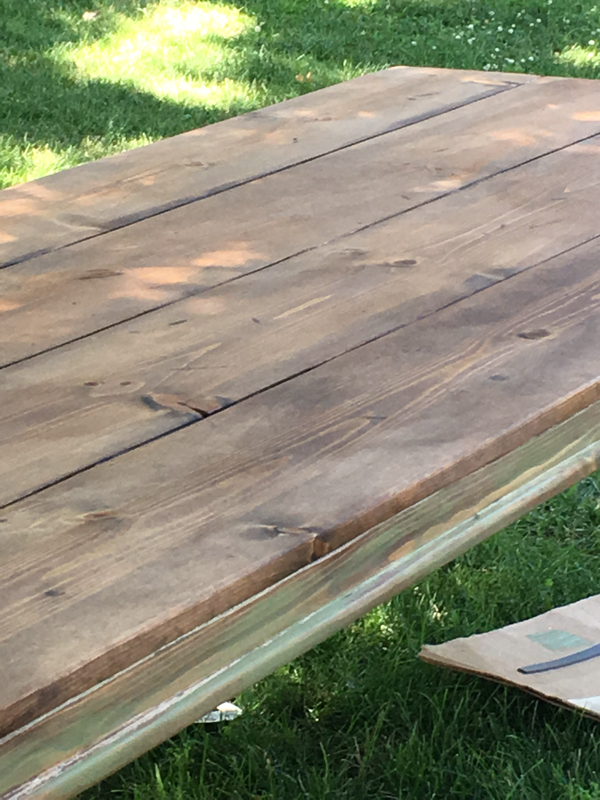
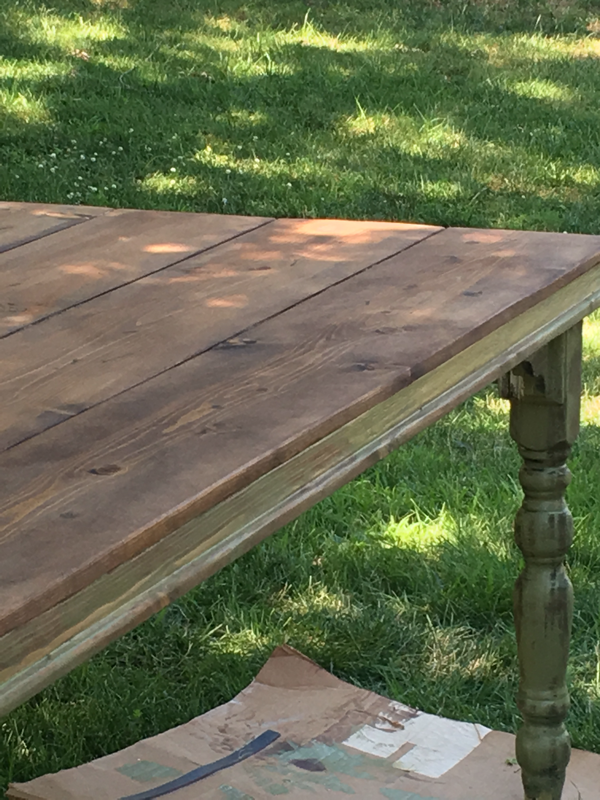

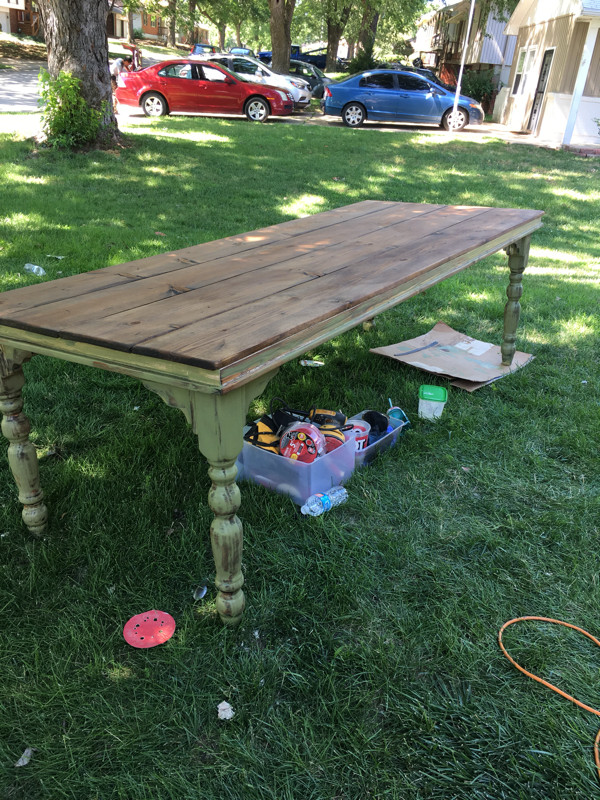
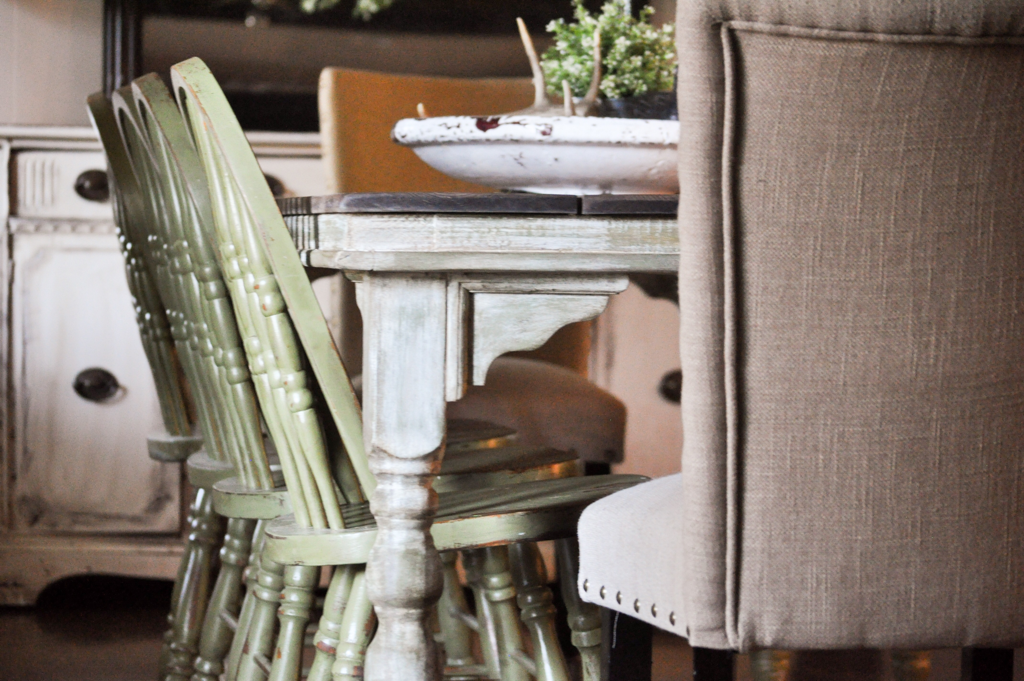
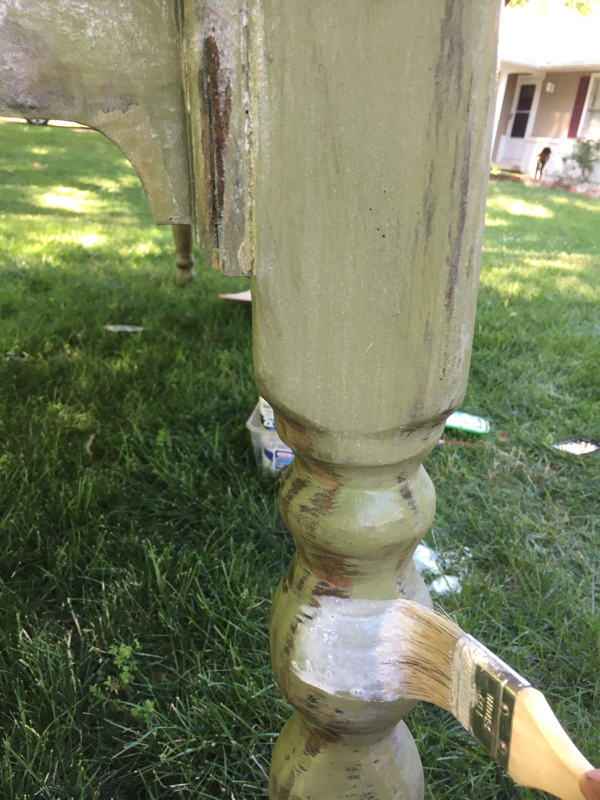
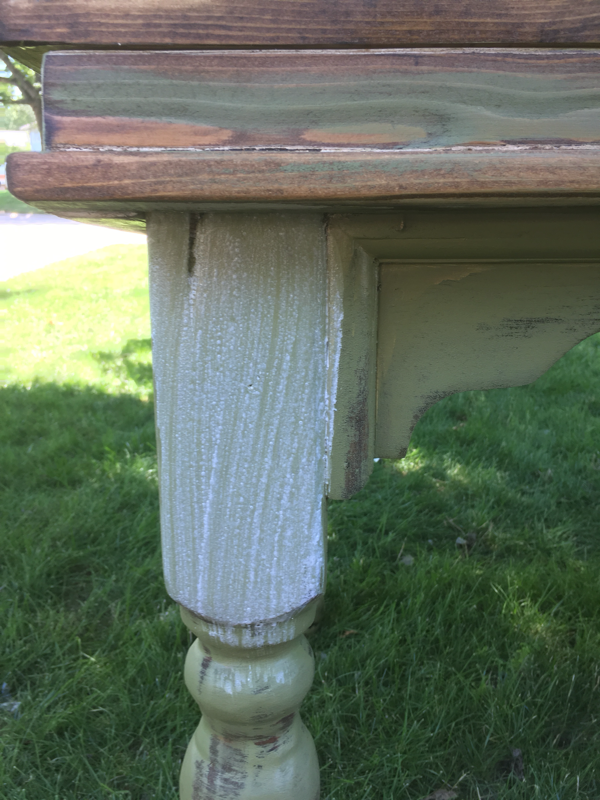
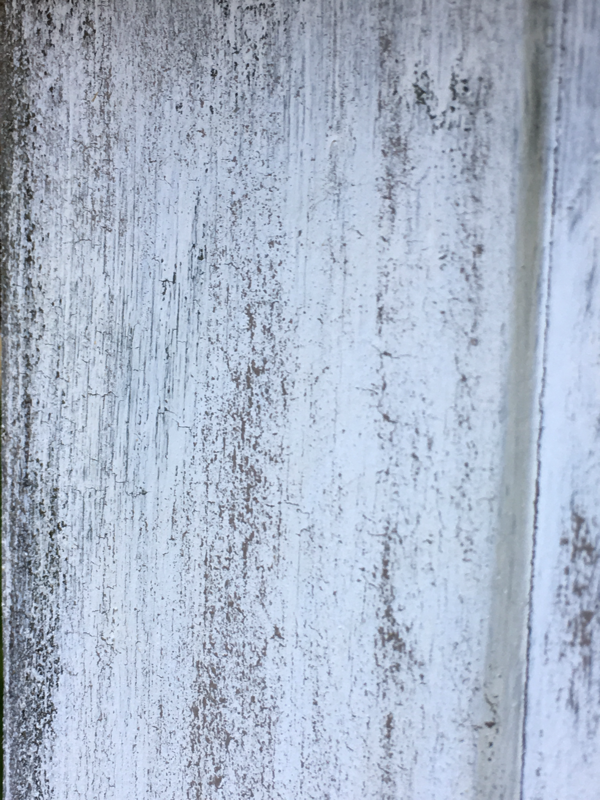
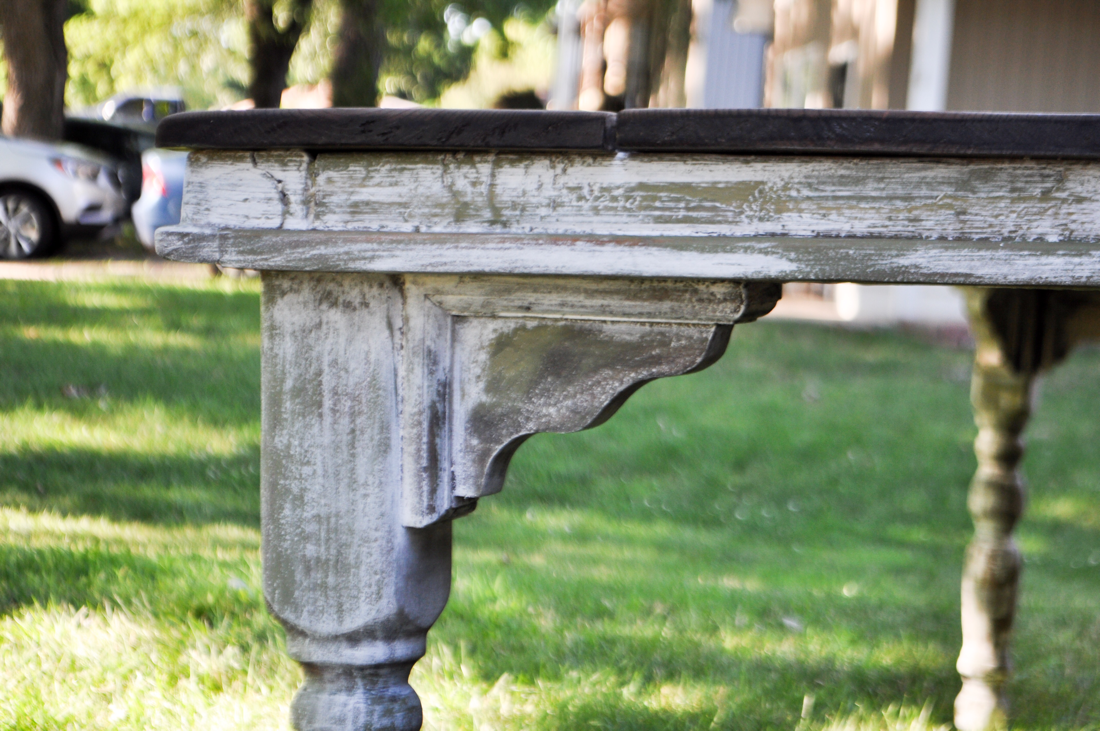
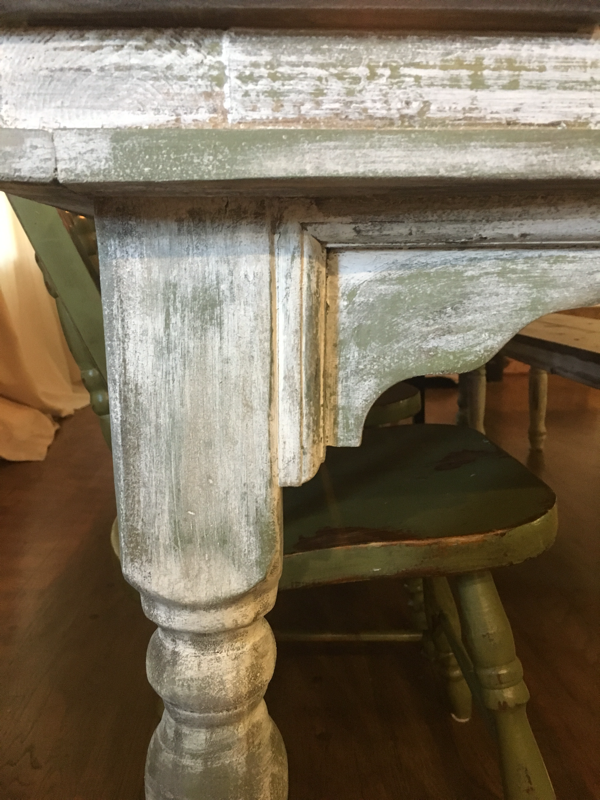
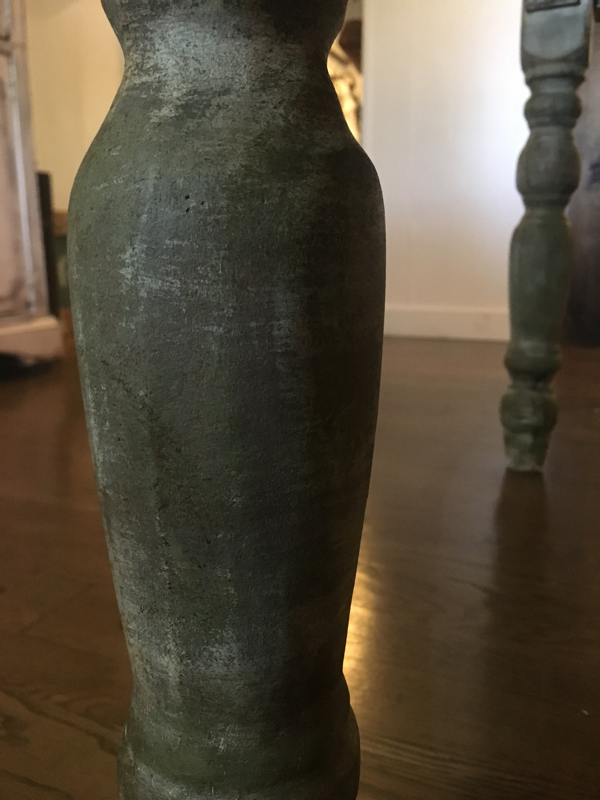
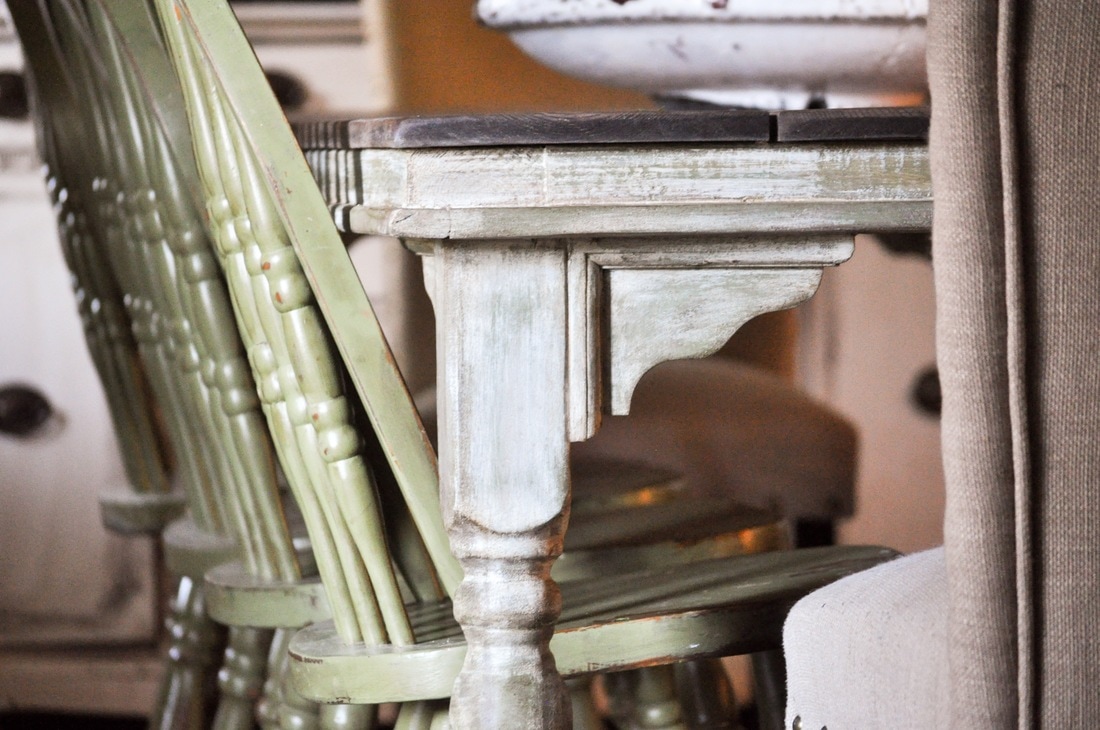
Using a 1.5" straight brush, paint your table! I varied how thick I painted on the milk paint. I only did one coat so the green and stain would really show!

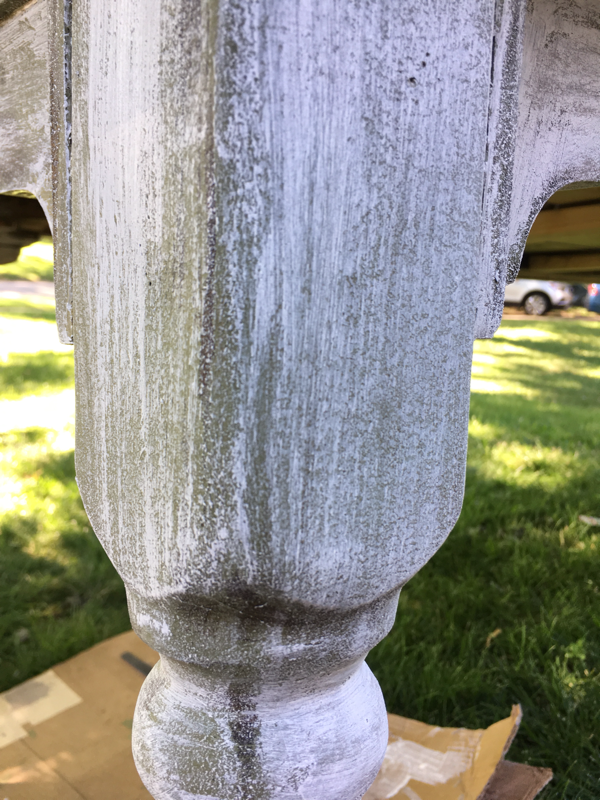

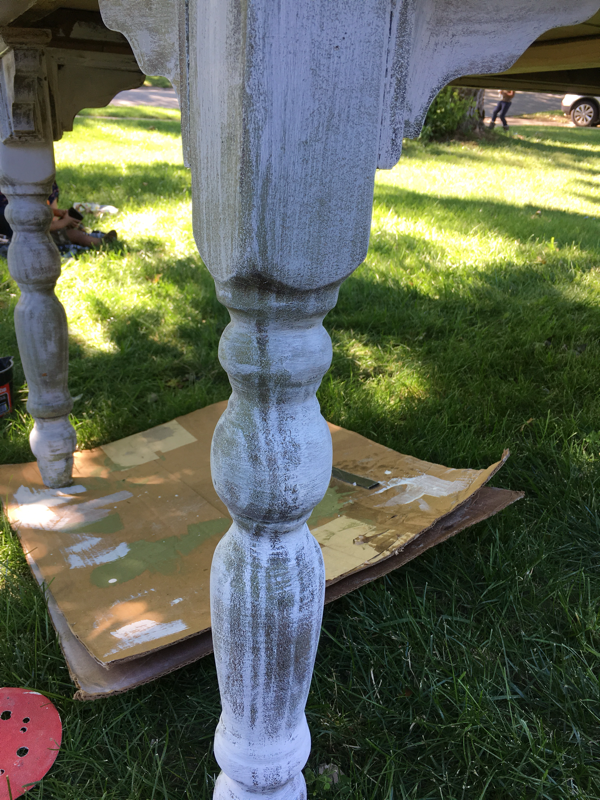
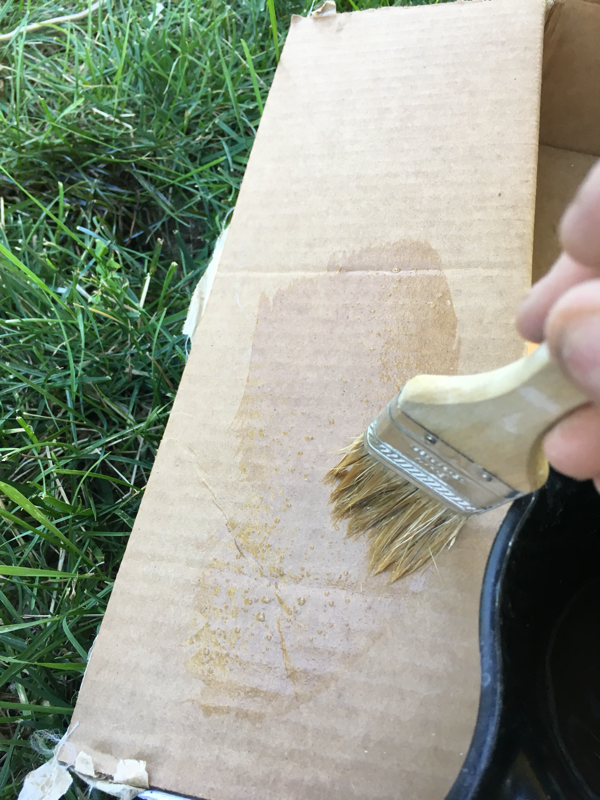
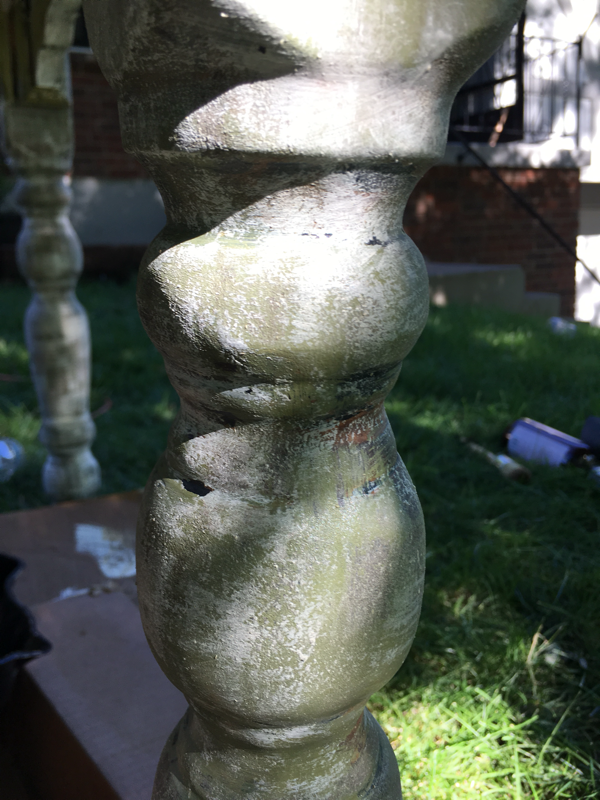
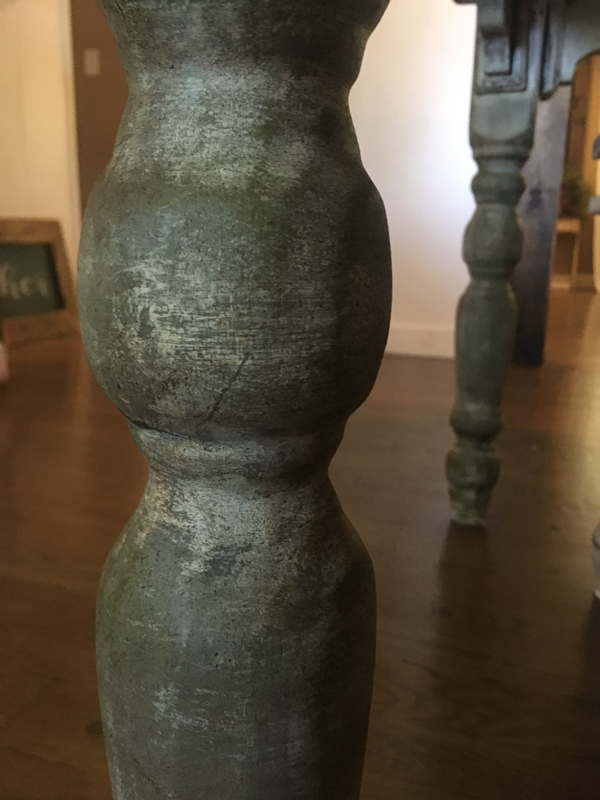
Using your 1 1/2" straight brush, dip in the antiquing glaze, then dab it onto cardboard or a paper plate to get rid of some of the excess solution. Then working your finger up from the back of the brush to the front, flick the glaze onto the piece. The milk paint will react with this antiquing glaze; lifting and cracking the paint from the Gesso!
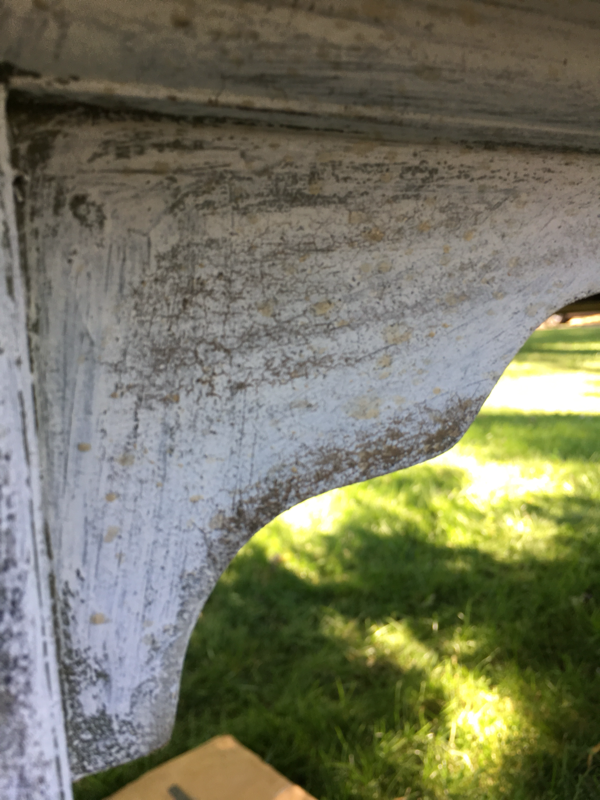
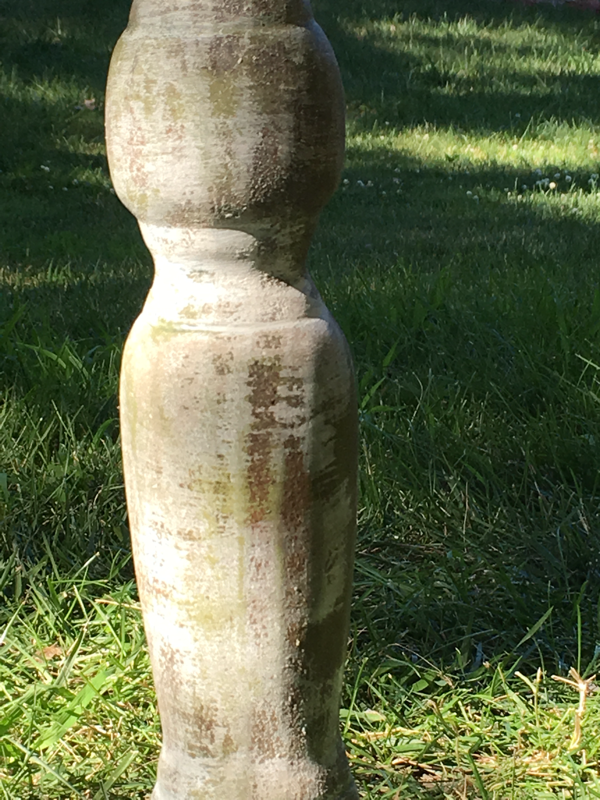
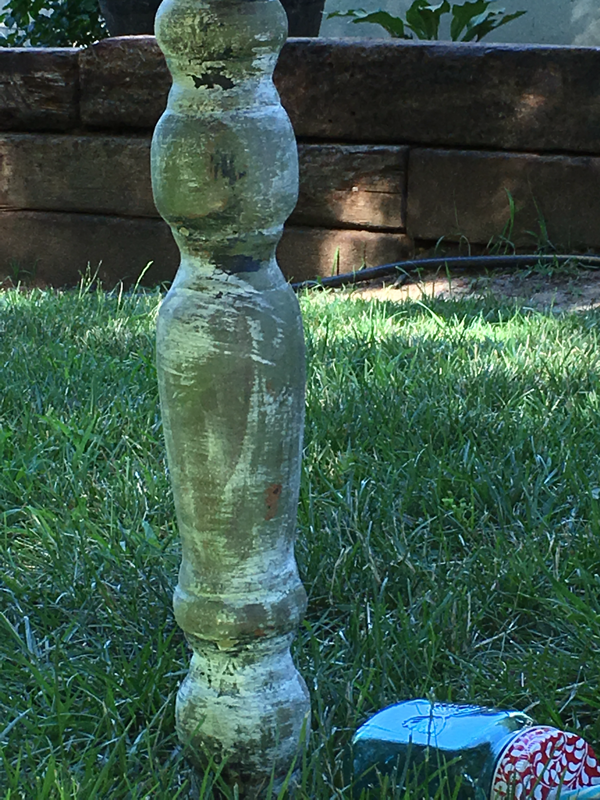
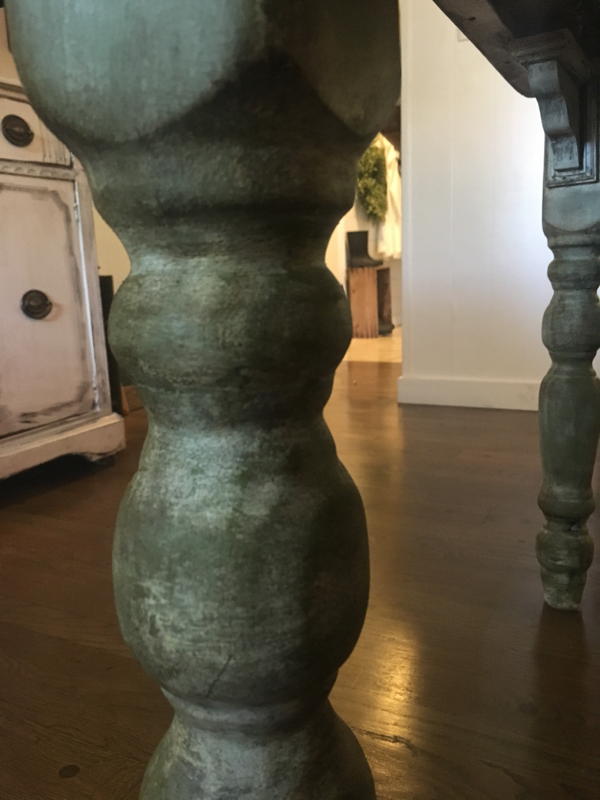
Dip your "natural sponge" into water so it is back to its natural state of being spongy. Ring out any excess water, then dip into your antiquing glaze and dab onto your furniture piece. You will be removing your paint, so dip your sponge often to keep it clean! Learn from my mistakes- I used the back and forth motion too much. Dab at the area to avoid the streaking.


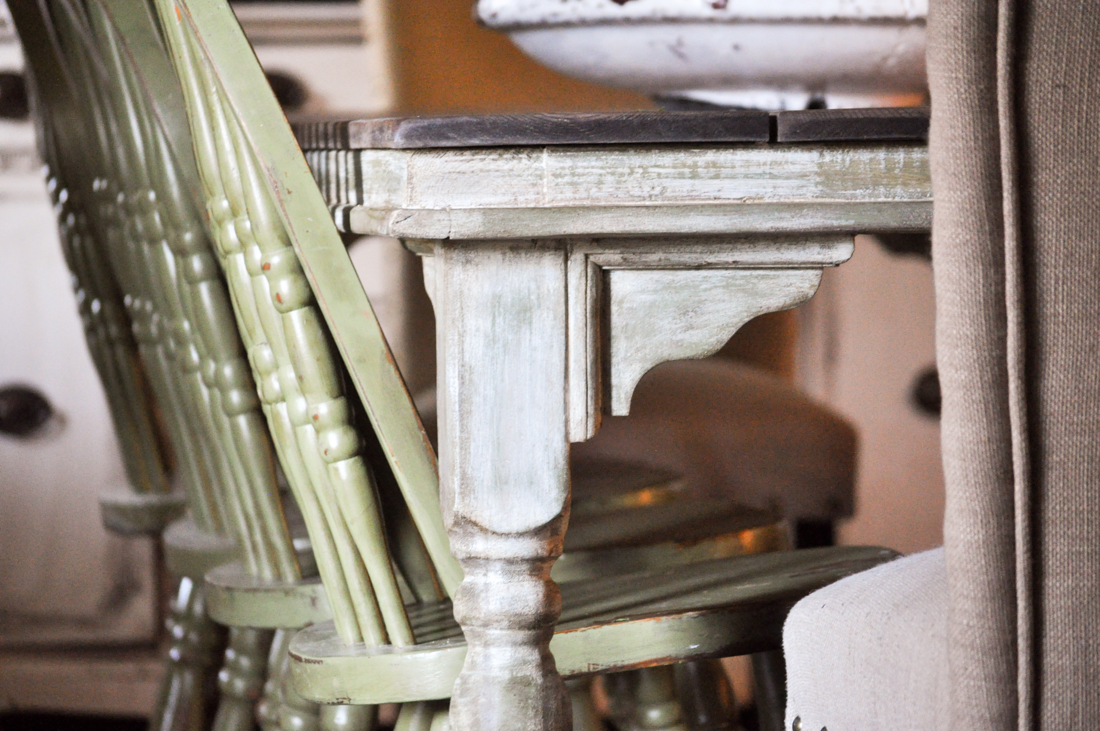
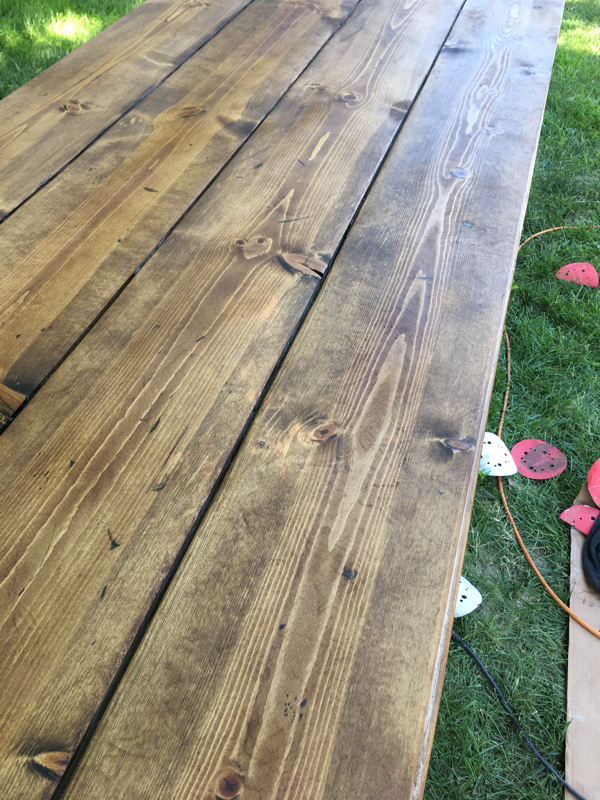
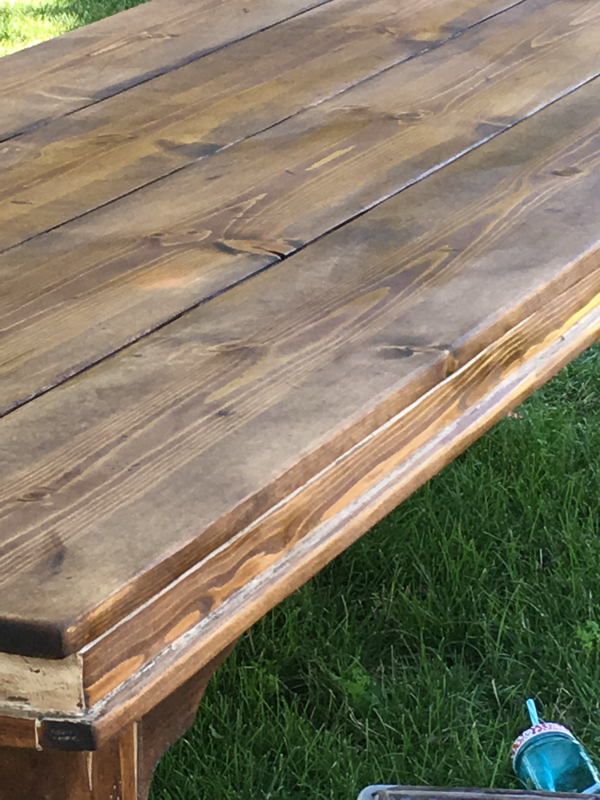
I love this look! What kind of stain/color did you use?? Thank you so much for your generosity in sharing this!!!
Hi Leigh! Thank you for your kind words! The stain was Minwax Dark Walnut and I can't recall the green and I no longer have it! So sorry about that!