
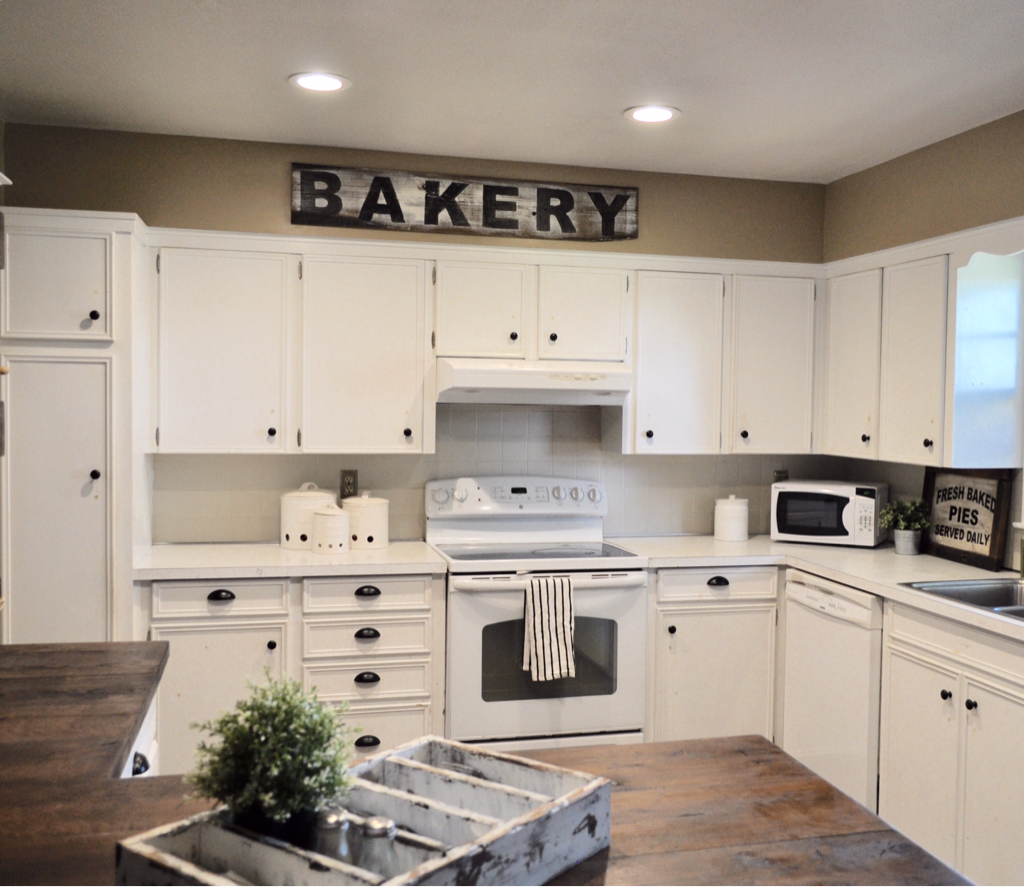
I've been obsessing over farmhouse signs for sometime now, we had a scrap piece of wood from the first phase of our counter top update so I took it as a sign to make this beauty! Mine is huge! My dad made fun of it when he saw it during our FaceTime chat, he asked if I made one for above the toilet so people would know what bathrooms are for. ? Really I think he's just jealous.
This tutorial will walk you through the steps I took for my sign. You will need to adjust the size of your font once you decide on dimensions, and the saying you pick!
Supplies
Wood (I used repurposed barn wood)
Minwax Stain, Dark Walnut & staining supplies
White paint, latex
Black paint, latex
Craft Paintbrush
Letters (I attached two options below)
Foam paintbrush
Measuring Tape
Pen
Sander
Finishing Spray
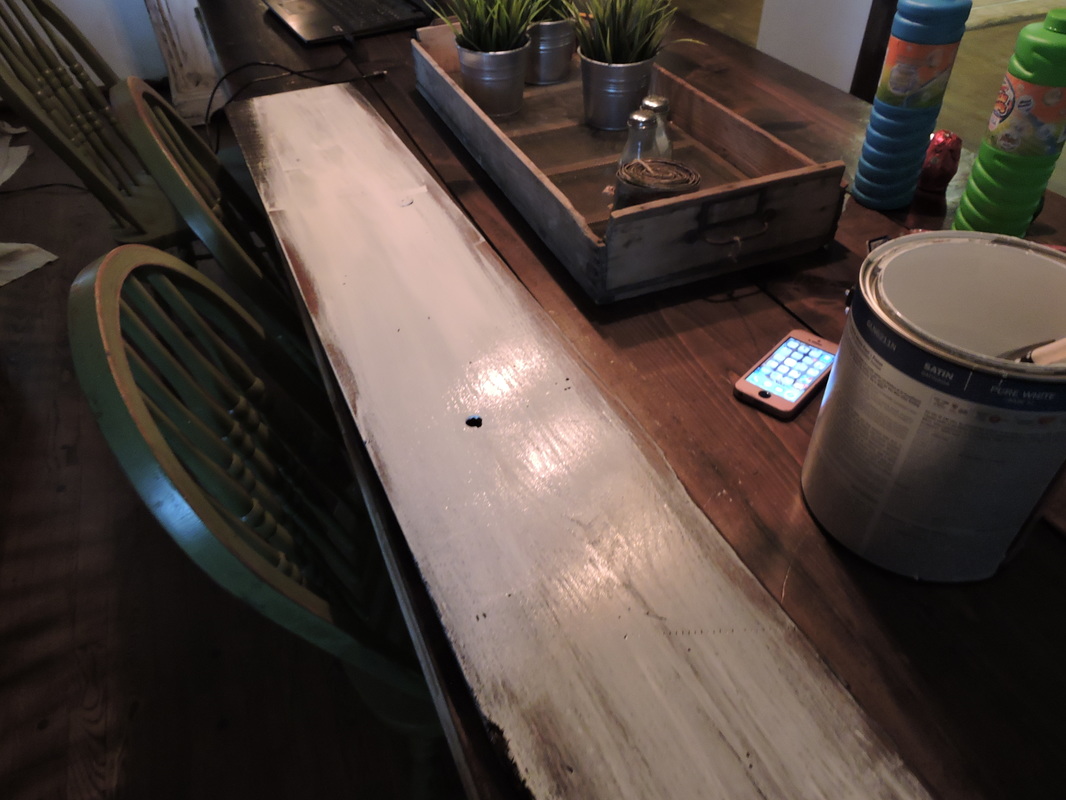
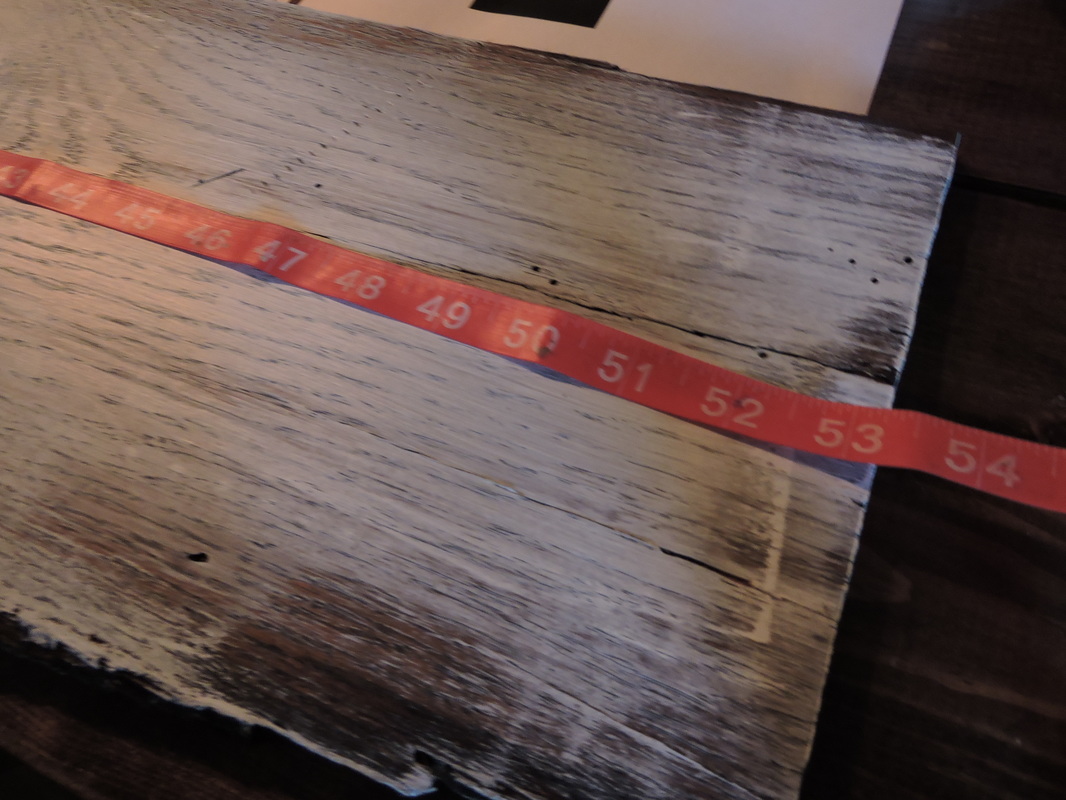
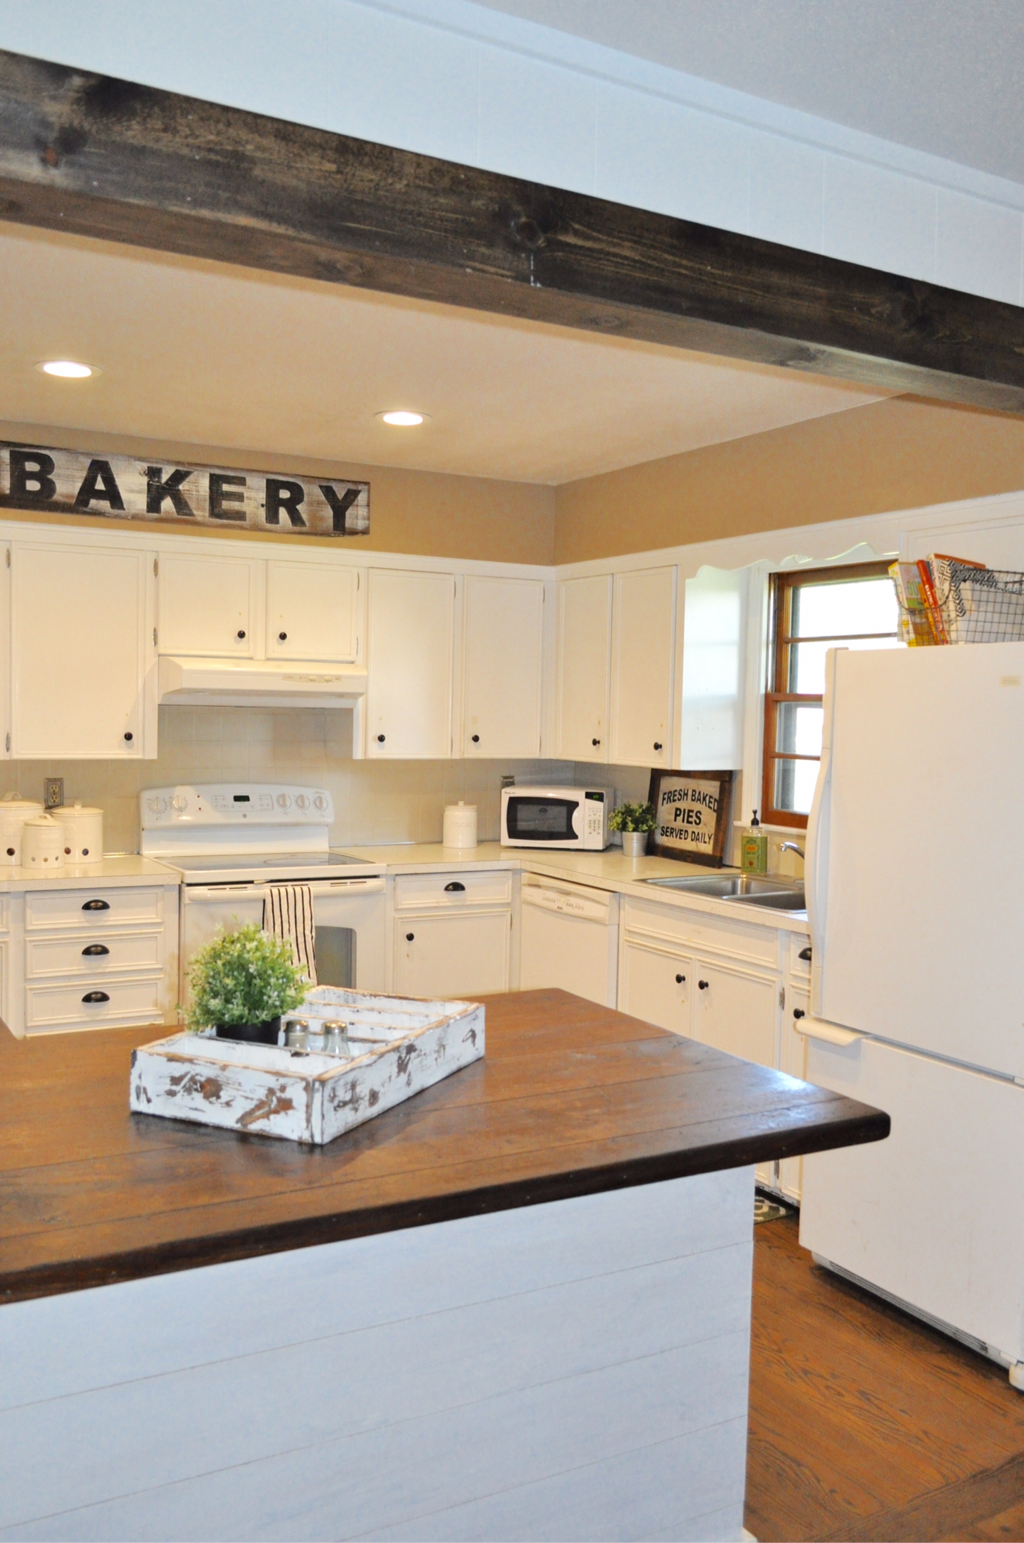
Once you have your board at the desired length (mine is 53"x 9.5") stain it using Minwax varnish. Our go to color is Dark Walnut. Let that dry, then paint one coat of white paint and don't worry about it looking perfect. You want it to look aged!
Wood (I used repurposed barn wood)
Minwax Stain, Dark Walnut & staining supplies
White paint, latex
Black paint, latex
Craft Paintbrush
Letters (I attached two options below)
Foam paintbrush
Measuring Tape
Pen
Sander
Finishing Spray
Once you have your board at the desired length (mine is 53"x 9.5") stain it using Minwax varnish. Our go to color is Dark Walnut. Let that dry, then paint one coat of white paint and don't worry about it looking perfect. You want it to look aged!
|
|
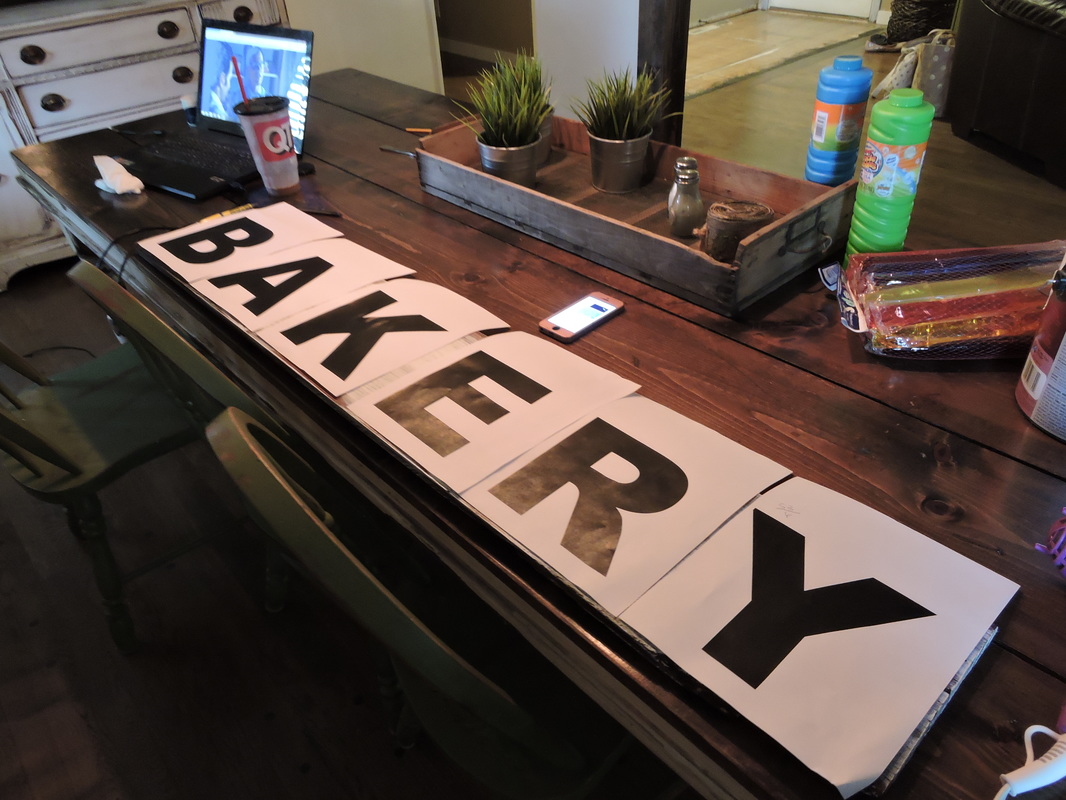
Space out your letters exactly how you want them to appear.
|
|
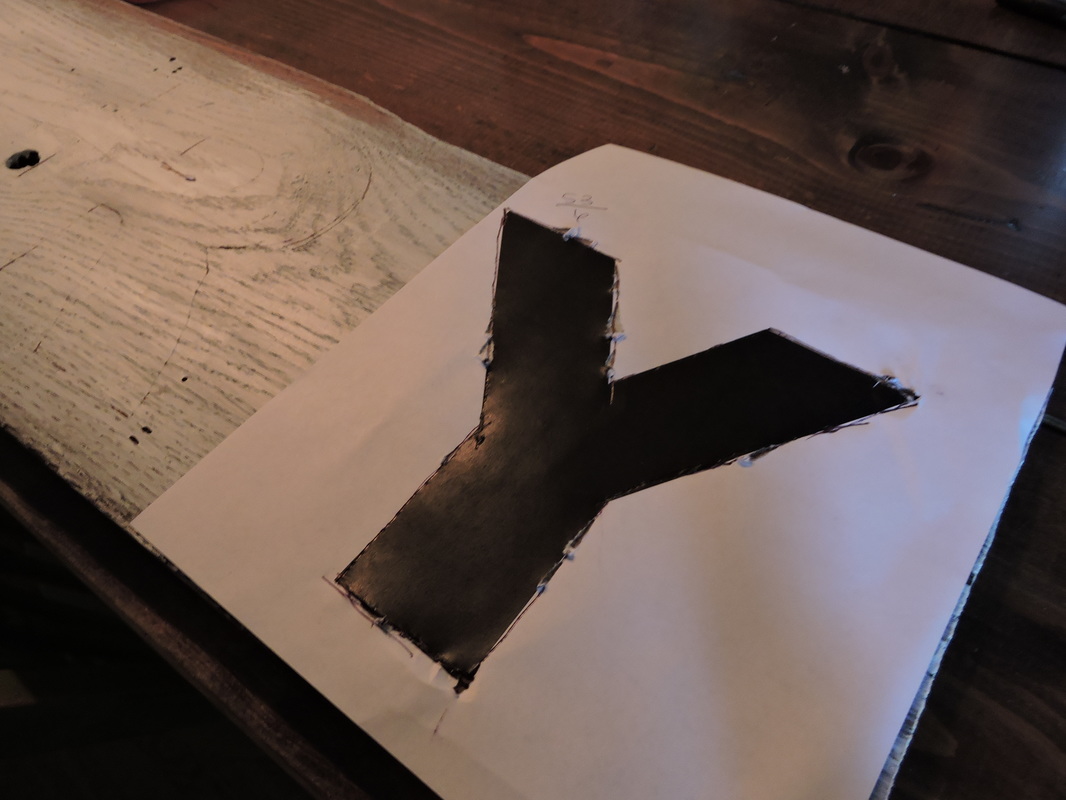
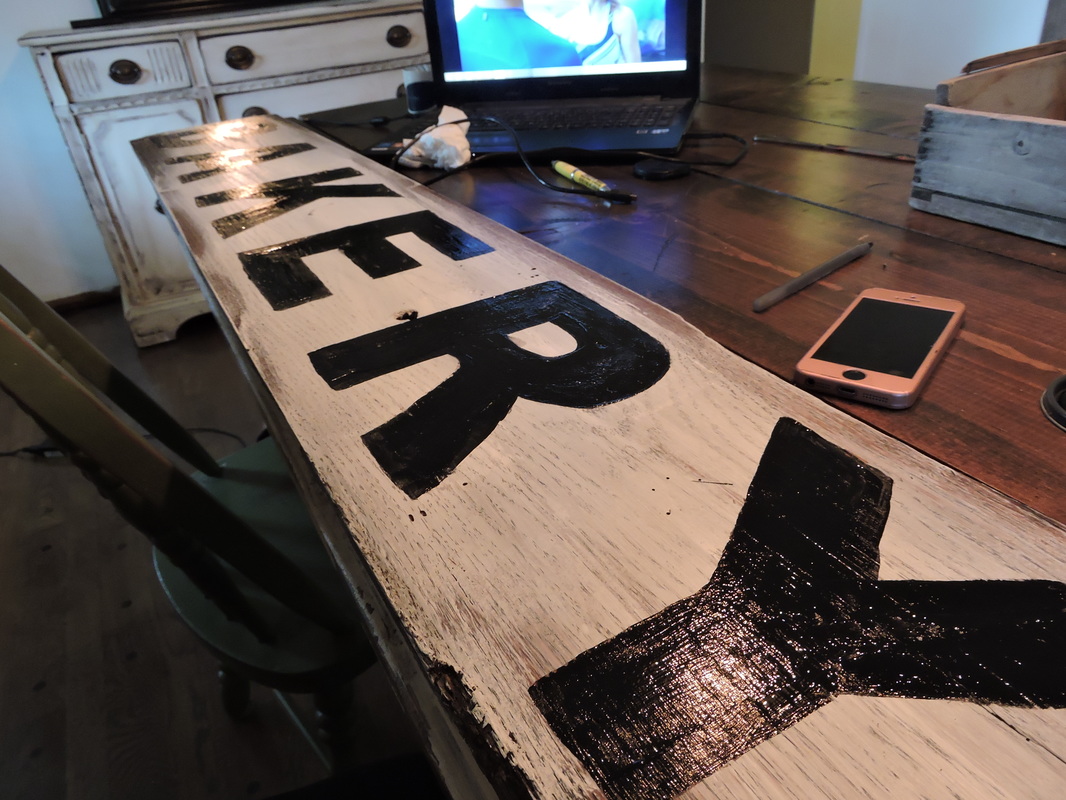
You will be tracing the letters to leave an imprint on the wood so you can fill it in with paint afterward. My wood is hardwood, so it was pretty hard to make an impression with my pen, but do your best! Simply outline the letters with a pen.
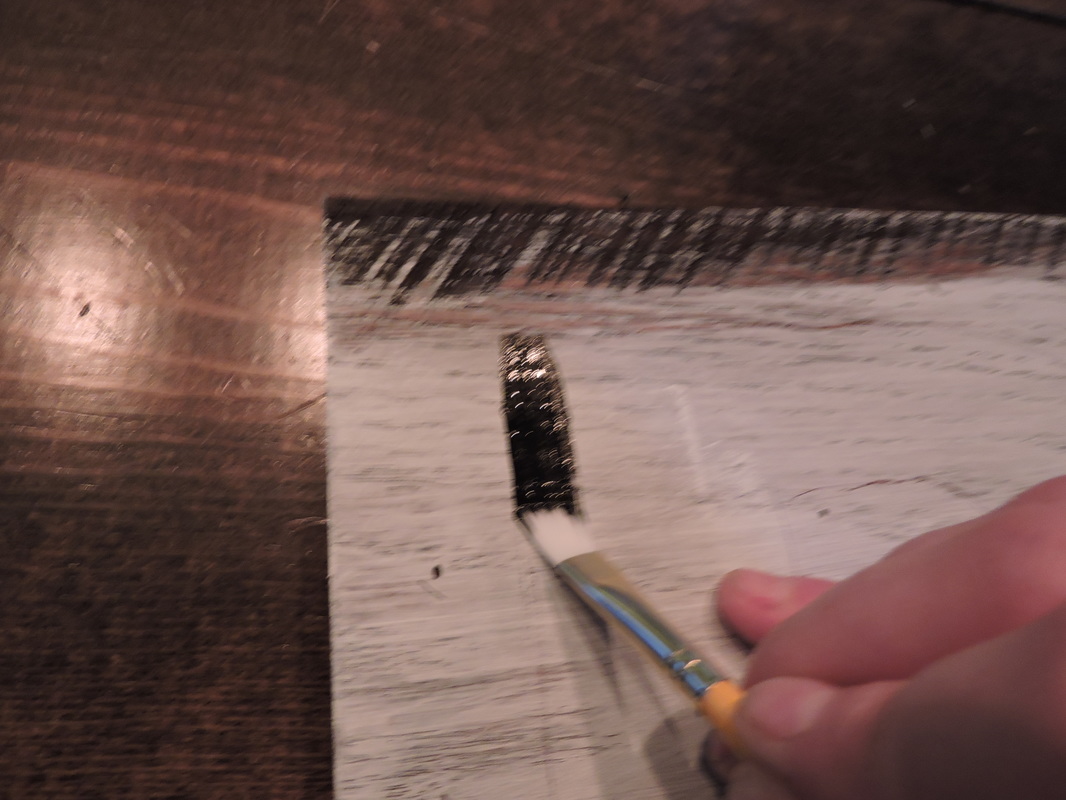
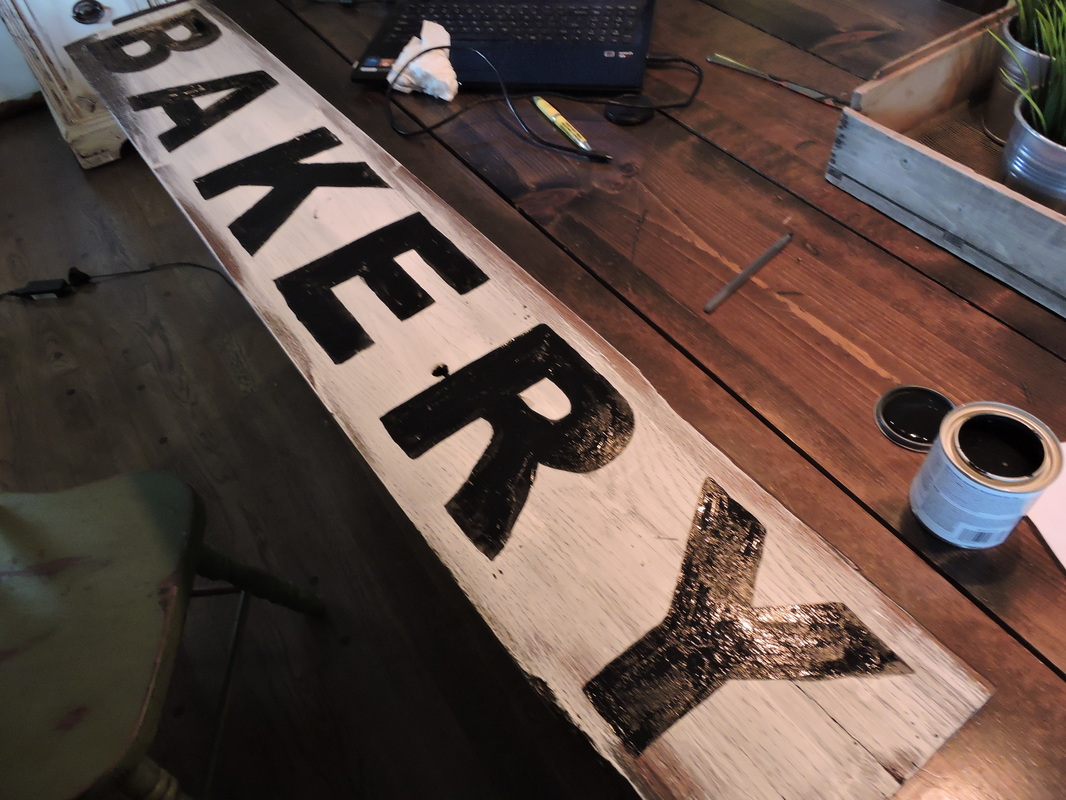
Now that they are all outlined, fill in the outline with your black latex paint and your crafting paintbrush. I bought a big pack of these at hobby lobby and they are dang cheap!
|
|
|
|
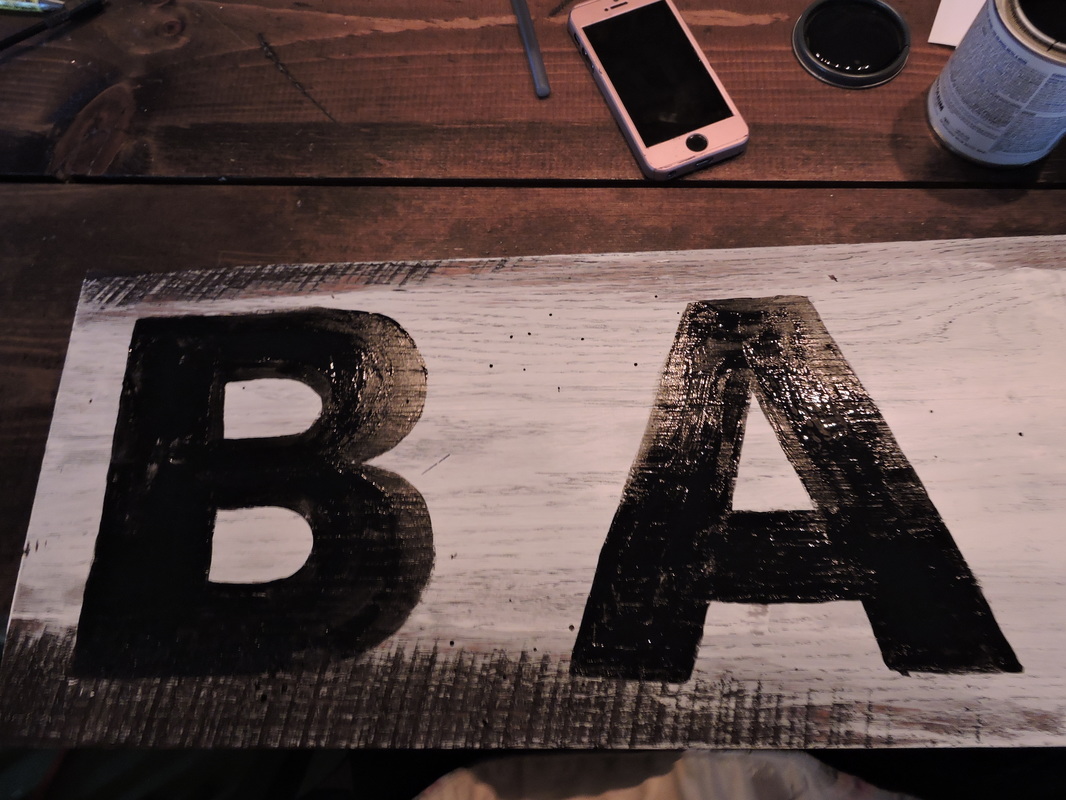
I only did one coat of paint on my letters. Again this is yours, so personalize it! I'm certainly no expert, this technique is the easiest and most economic for me. Don't be afraid to try it a different way though! Now you wait for your sign to dry.
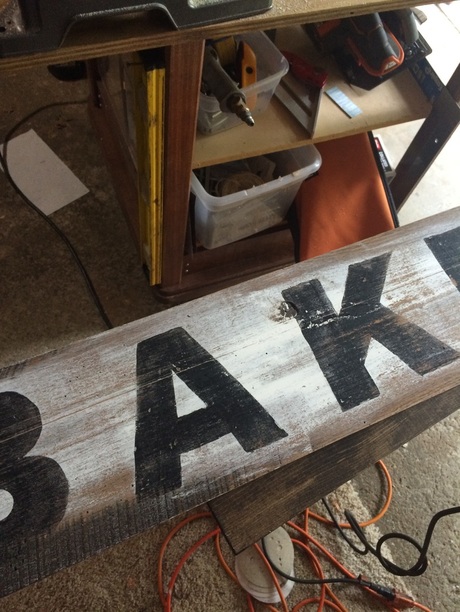
Once the sign is completely dry, give it a good sanding. I distressed the sides and top. Don't be afraid to sand some of the black letters off on their edges! Give the sign a good wipe down with a dry towel/rag and then spray it with poly acrylic finishing spray!
The fun thing about these signs, is the sky is the limit! There are so many fun phrases. A few ideas are:
Apothecary
Bakery
Market
Milk and Cream Co.
Grocery
Pharmacy or Pharmacie
Mercantile
Supermarket
Farm Fresh
Farm Fresh Eggs
Farmhouse
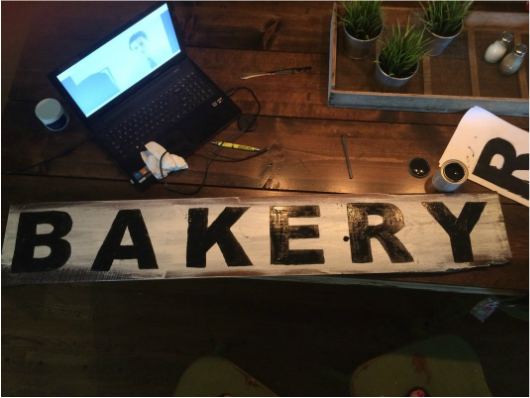
Here are letters from two signs I made. My signs are pretty big! The Bakery sign measures 53"x9.5" and the Market sign measures 53"x 7.5".
| bakery.pdf |

| market.pdf |
Leave a Reply