
Fall Wreath
This wreath is as inexpensive as it gets! I love the texture- I wanted the paper to look like leaves, and the crumbled painter's paper did just that!!! This total project took about 6 hours, and took no brain power, so I was able to work on it while the boys were down for the night. Rex was relieved I was working on this instead of tearing more walls down!!
|
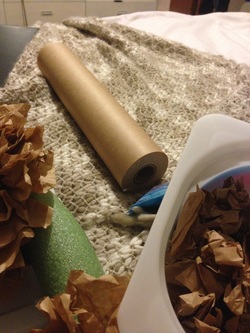
Supplies |
|
The painter's paper is 12 inches wide:
- Cut your pieces roughly 12" by 12"
- Then stack several and cut each square into 9 small squares
- They will all be different sizes, but shoot for 4 inch by 4 inch squares!
- Then take each piece and crumble it up.
|
|
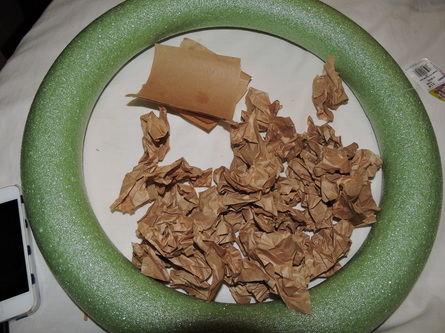
I eventually got smart and and started putting the little paper balls in a container from Ikea, so this is where the "bowl" comes in on the supply list above!
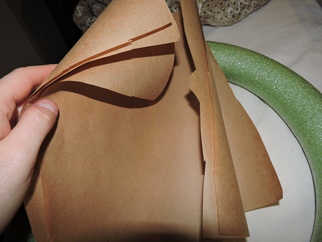
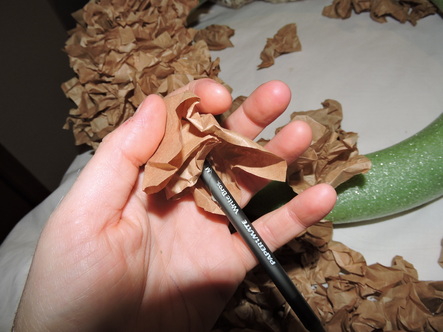
So you take the paper and pull it apart so its back to a square...Its going to be crinkled so don't pull it out flat.... leave some texture to it.
Then take your pen or highlighter and put it in the middle of the square, pulling it up along the pen.
Put some hot glue on the paper where the bottom of the pen is, and stick it to the wreath form allowing the glue to dry for 10 seconds or so.
**I used a pen because I wanted my wreath to be very full. If you use something thicker like a large highlighter then the base will be bigger and you'll use less paper, I think both will look great, so it's personal preference!
 |
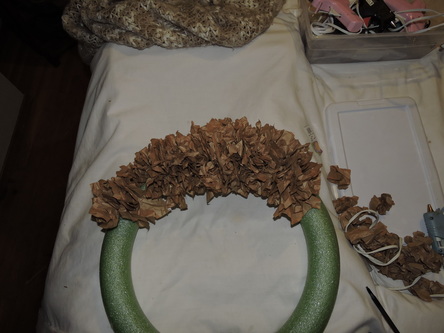 |
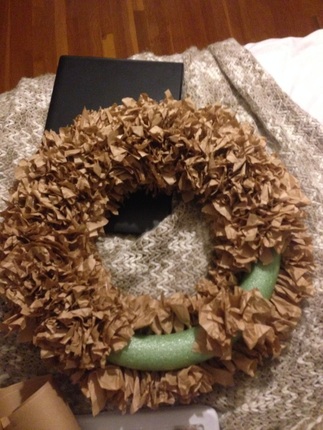
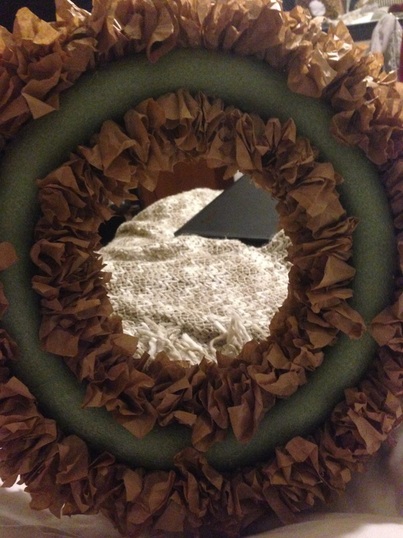
Keep on going with this same process until it's covered! This is the back-I put mine up against a mirror so I didn't wrap my wreath form with ribbon, but wrap it if you're hanging it on a wreath hanger pole, or on a storm door.
 |
 |
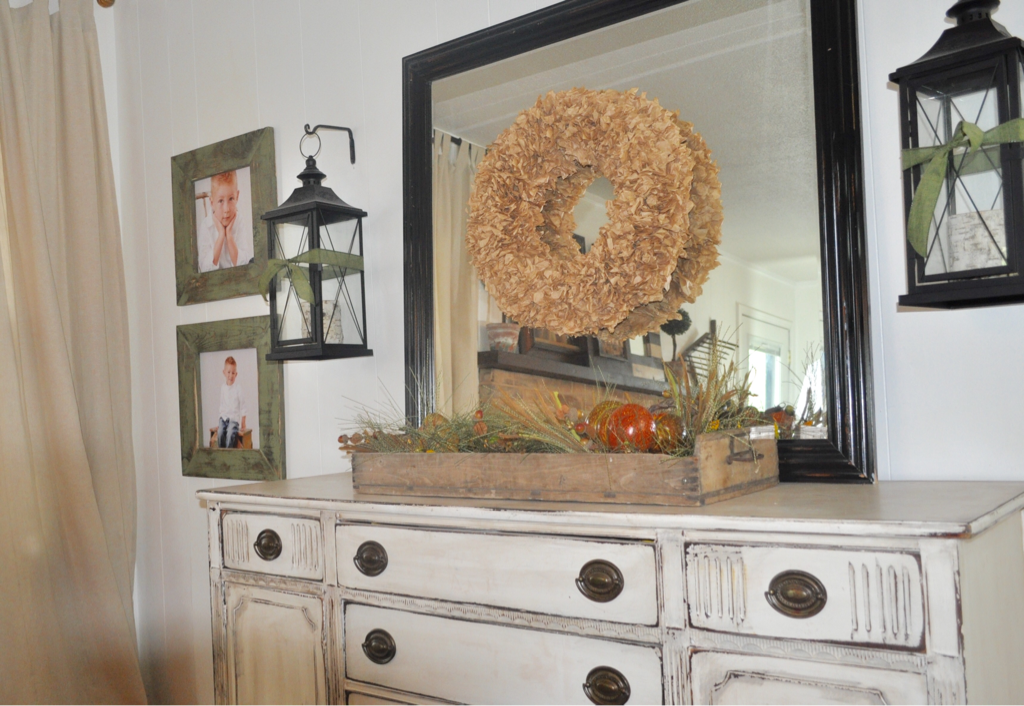
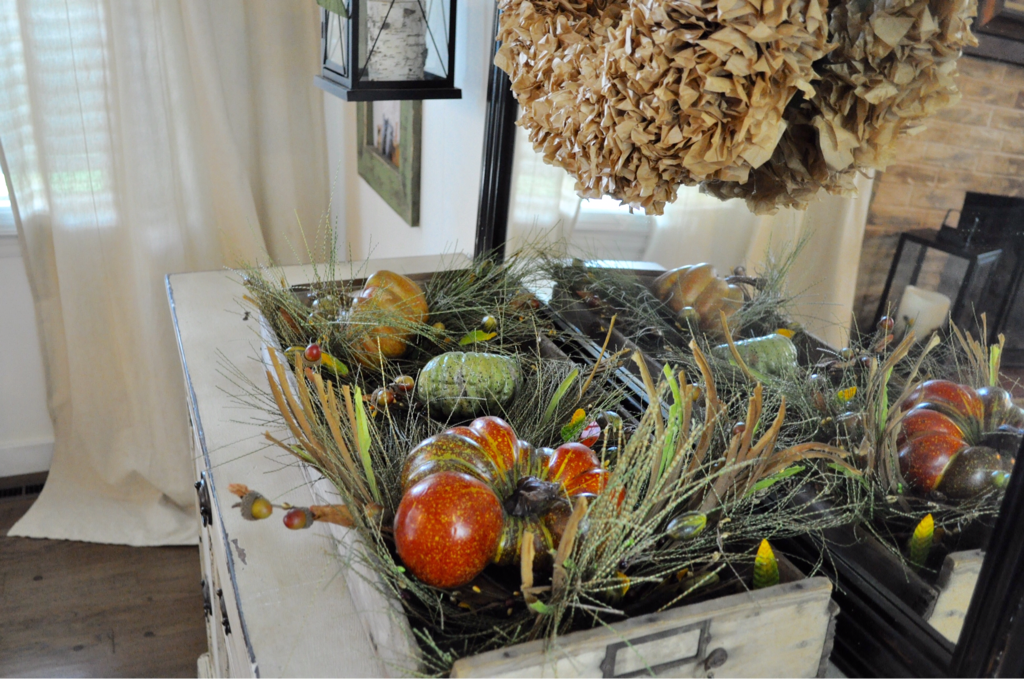
Here's the finished wreath in my dining room.

Leave a Reply