
There are NO words to fully describe the love I have for chalk paint!! It will change your life when it comes to DIY projects!
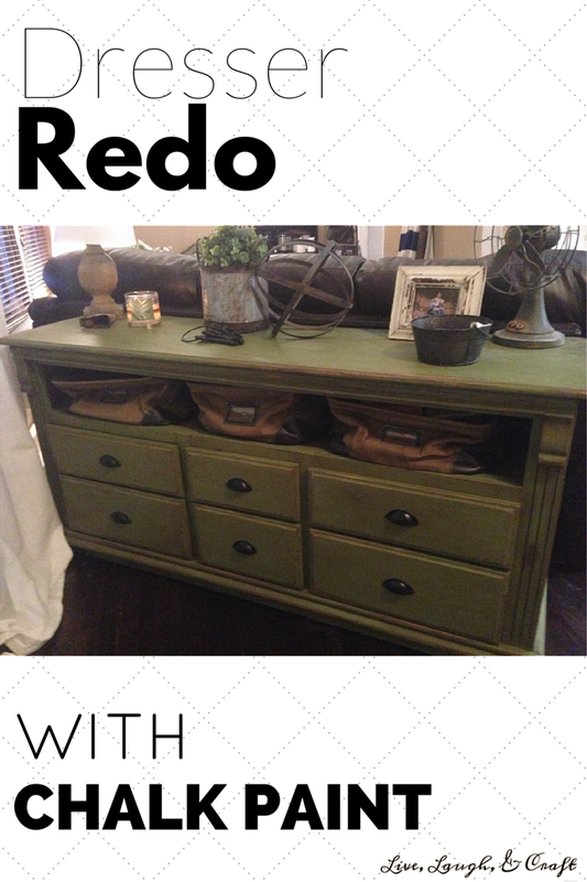
I got this dresser from a family I go to church with. It was painted a really pretty color, but it didn't go with my house colors so I needed to paint it. The dresser had a little sheen to it, so I knew this was the perfect project to test chalk paint on!!
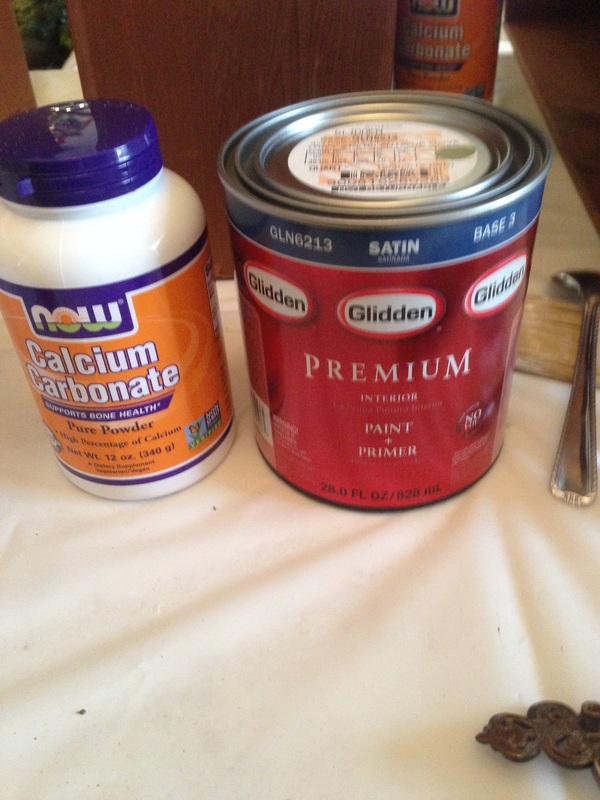
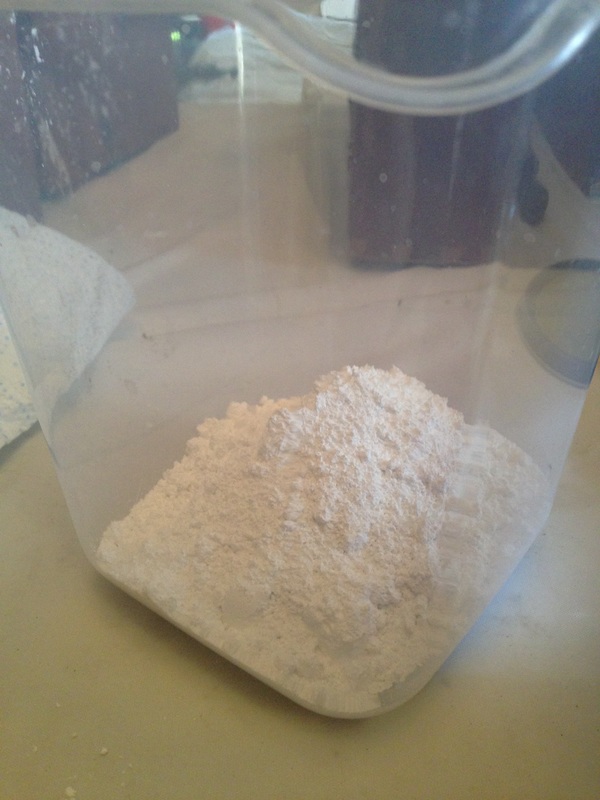
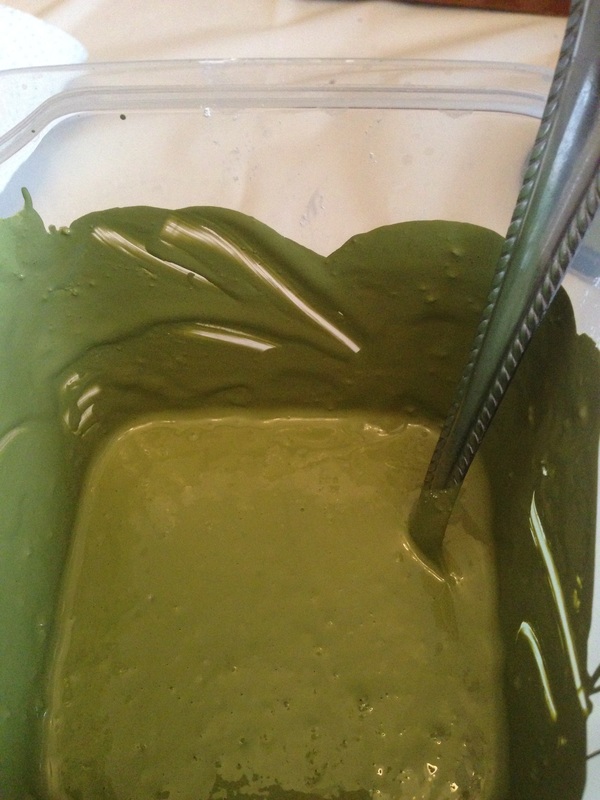
The drawers where finished after the first coat and I did two coats on the dresser itself. The recipes for paint chalk is one part calcium carbonate and two parts paint. It was a little clumpy but smoothed out great!
Here's a before shot of the drawers. I had hardware on hand so I removed the original hardware and kept it for a future project. My house is pretty rustic so I decided on a simple drawer pull for this project!
|

|
DIY Chalk Paint
(this recipe was enough for the entire dresser project with some leftover!)
1/2 cup Calcium Carbonate
1 cup Latex Paint
1/2 cup Calcium Carbonate
1 cup Latex Paint
Stir together and work out the lumps as good as you can. They will smooth out the rest of the way while you're painting.
|
|
|
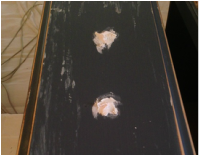
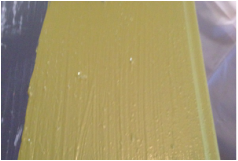
If you are changing out the hardware, remove the existing and fill the holes with wood filler. Once dry, sand that area getting rid of the excess. The paint has calcium clumps, but they work out in seconds as you're painting. They drawers were perfect after just ONE coat!!! Amazing!
|
 |
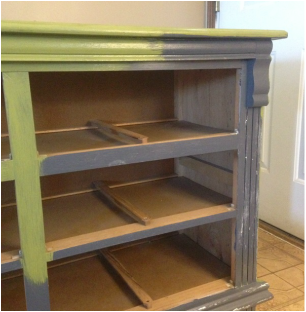
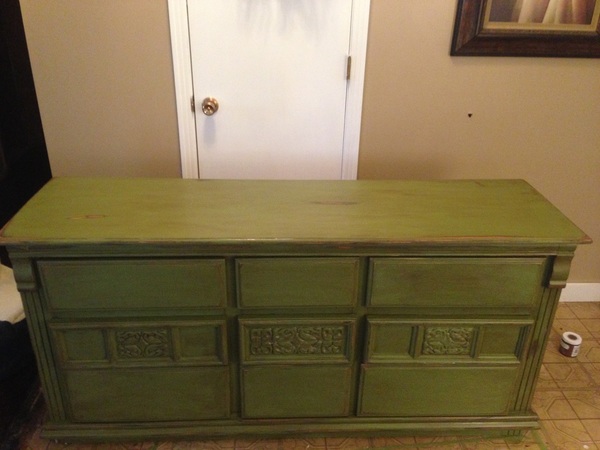
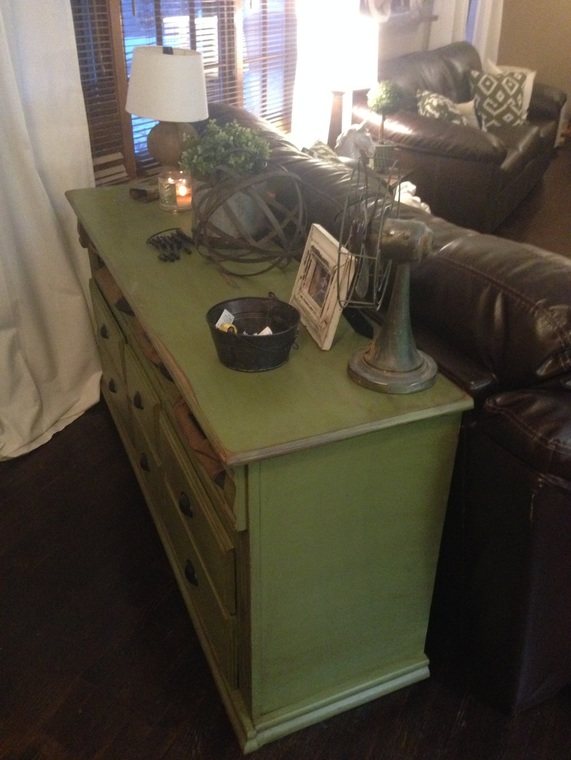
The dresser is the same process, but I did do two coats just to make sure it was flawless! Also that floor you're looking at is really life!! It is so nasty and the edges are extra nasty from the varnish when Rex refinished the floors! Stay tuned for the new flooring coming soon... HOPEFULLY!!!
|

|
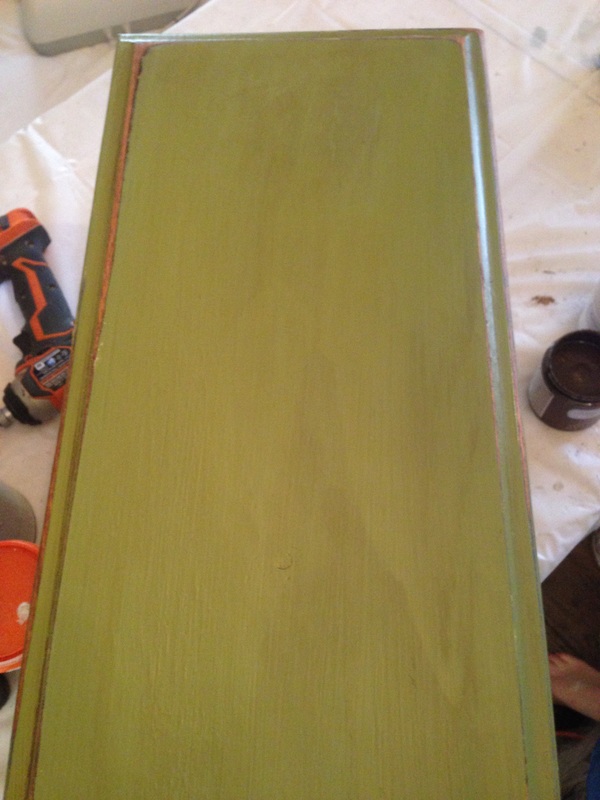
I decided to antique this dresser (shocking I know) so I sanded the edges and applied a glaze that I picked up at home depot. Once that dried, I used a clear wax to seal everything.
*below I talk a little more about the antiquing process.
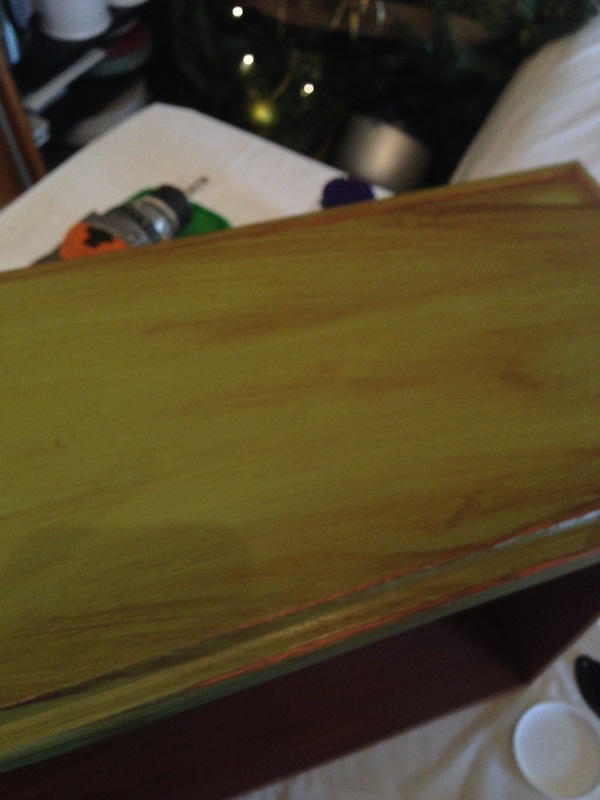
Same process on the dresser. Work in small sections and move fast because the glaze dries pretty quick!
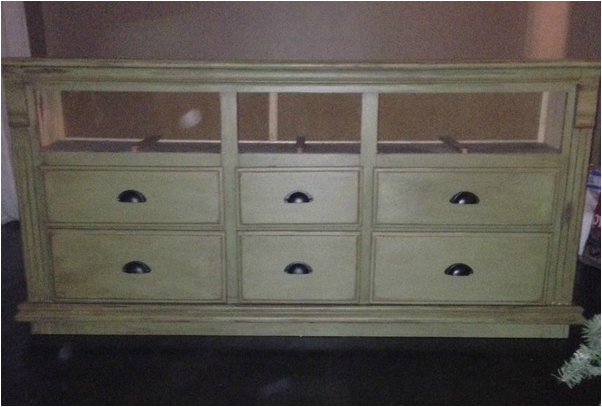
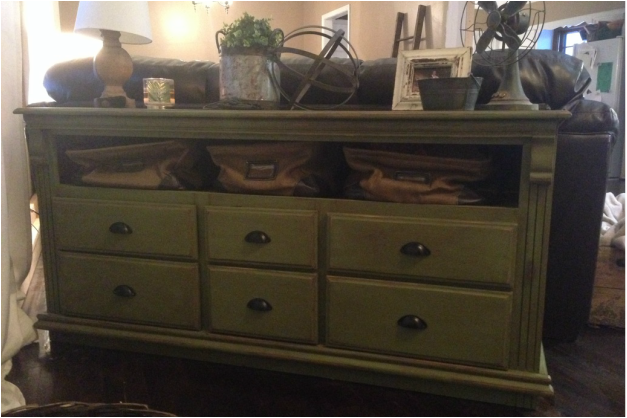
So this picture is terrible, but this is when we decided to eliminate that one row of drawers. There were a couple tracks that needed repaired, so we decided to move the top row down and cut out the upright sections.
I'm not necessarily in love with these baskets, but I took them from the boys room so they'll do until I find the perfect ones! Seriously though, I'm sure I'll just keep these ones here-way easier, haha
*if you look to the right of this picture you can see my fridge- I accidentally knocked a hole in the wall with a hammer (wink wink) so that wall game down and it's amazing! Reveal coming soon!!!
This project was a win for this little family- it holds a ton of games and puzzles which keeps us all sane (I love an occupied child) and that basket keeps Rex's pager and keys handy.
Get to work!!! Now is a great time to start and finish that piece of furniture that's been on your "to do list" for a year!
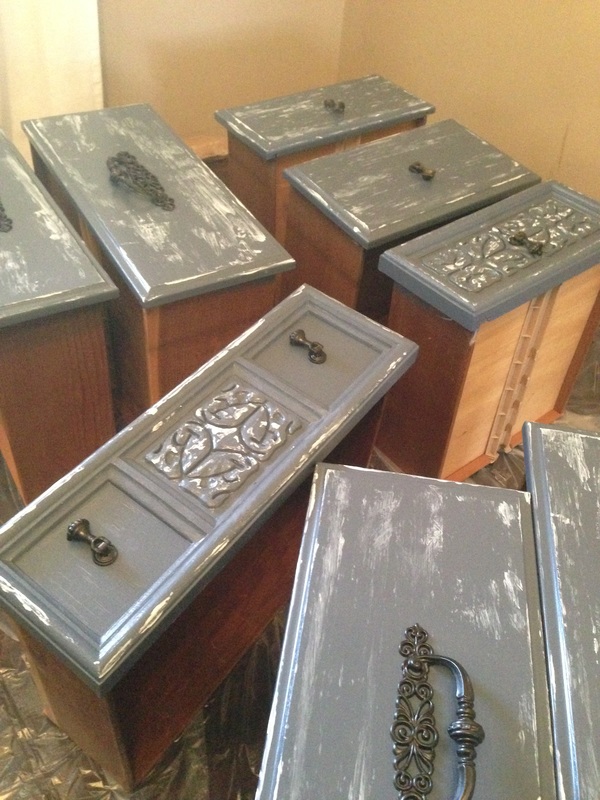
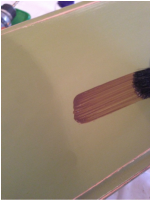
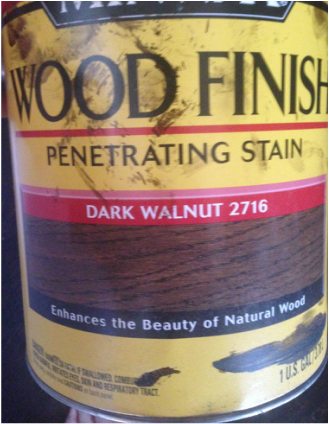
Minwax
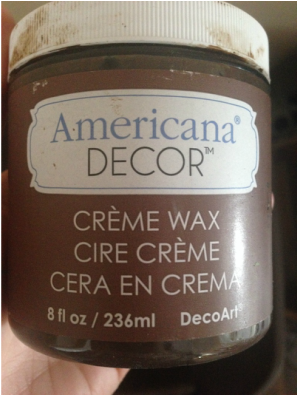
Creme Wax vs. Minwax Stain
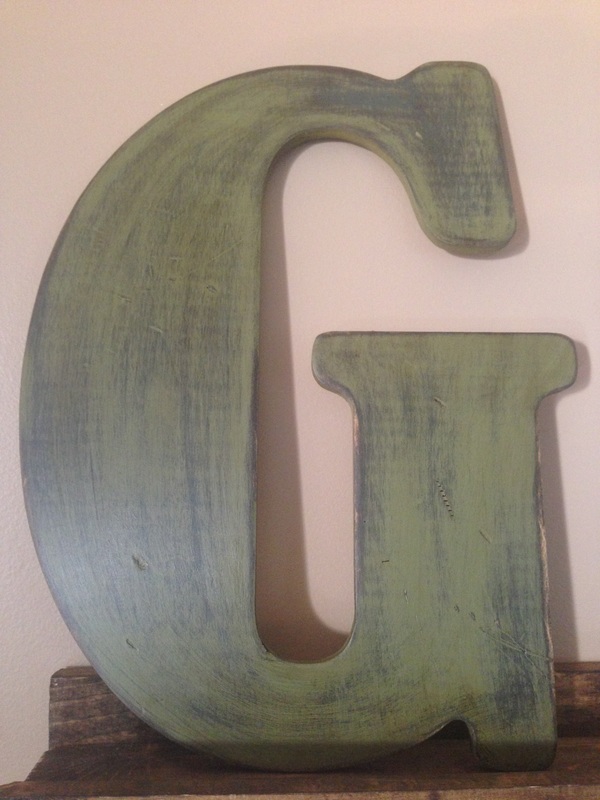
I was terrified to try the minwax on chalk paint but I'm here to tell you that I love it! I tested it out on this "G" and the Noel signs. The chalk paint takes the stain on a little darker, but I love it!
 |
 |
Creme Wax
|
 |
Leave a Reply