
The second I laid my eyes on a plethora of big wood tile crates, I knew I wanted one for a coffee table! Fast forward a few months and this obsession never left. I was too chicken to ask the tile store if they were up for grabs.....insert my amazing friend Mikaela- she did the dirty work and called the store. They gave us free reign on any and all crates behind their store! If you love this table as much as me, don't be a chicken like me and call your local tile store or Home Depot!
Just a note- I'll give you the details on my crate, but all crates measure different. Adjust your numbers as needed. You will need to use different size wood for your top if your crate measures different than mine!
Materials
Wood Tile Crate- I got mine from The Tile Shop
reciprocating saw
electric sander
80 grit sand paper
paint (I used white with a satin finish)
paint brush or mini roller
2 1x12x8 pine boards (you will need to adjust this according to your crate size) If you are a newbie and need help figuring these numbers out, don't hesitate sending us an email!
18 gauge nail gun
2 inch nails that are 18 gauge- Good price here
saw (you will just need to make straight cuts)
stain- This color/brand here is the one we use for literally everything.
finishing spray
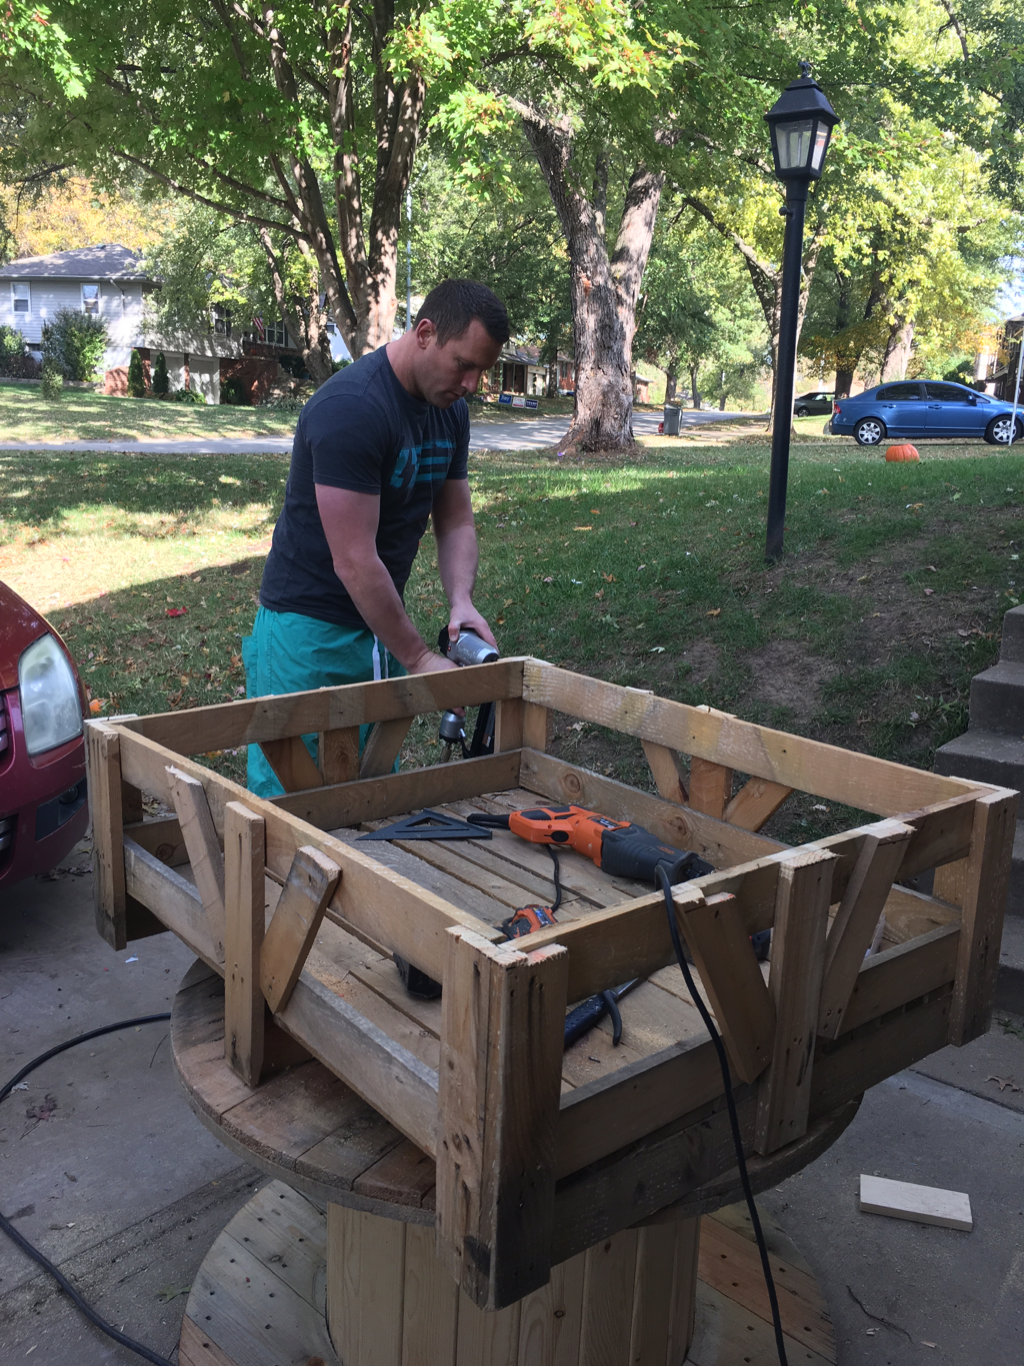
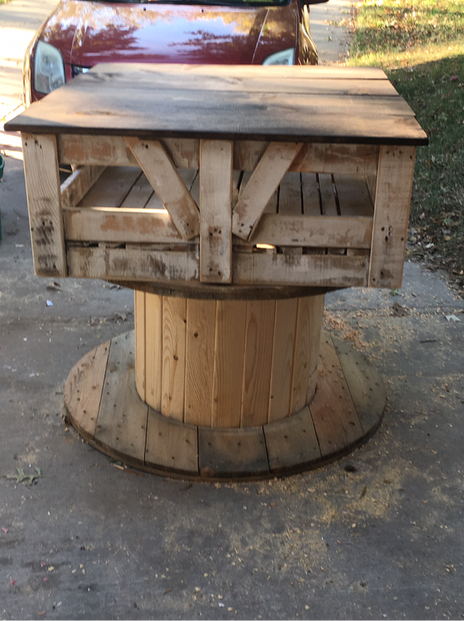
I made a deal with Rex- I'd clean the garage while he worked on this beast. He used a reciprocating saw and cut the first side 15" from the bottom.
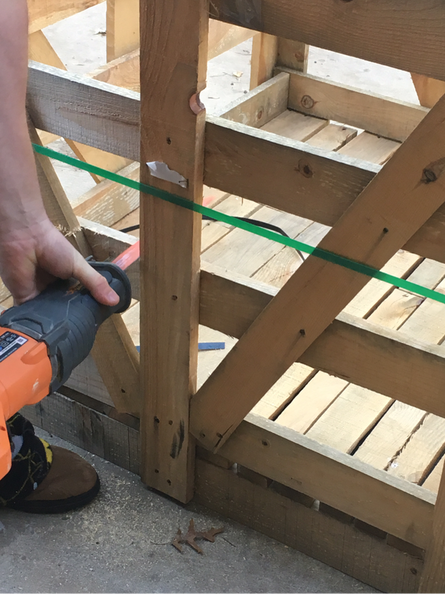
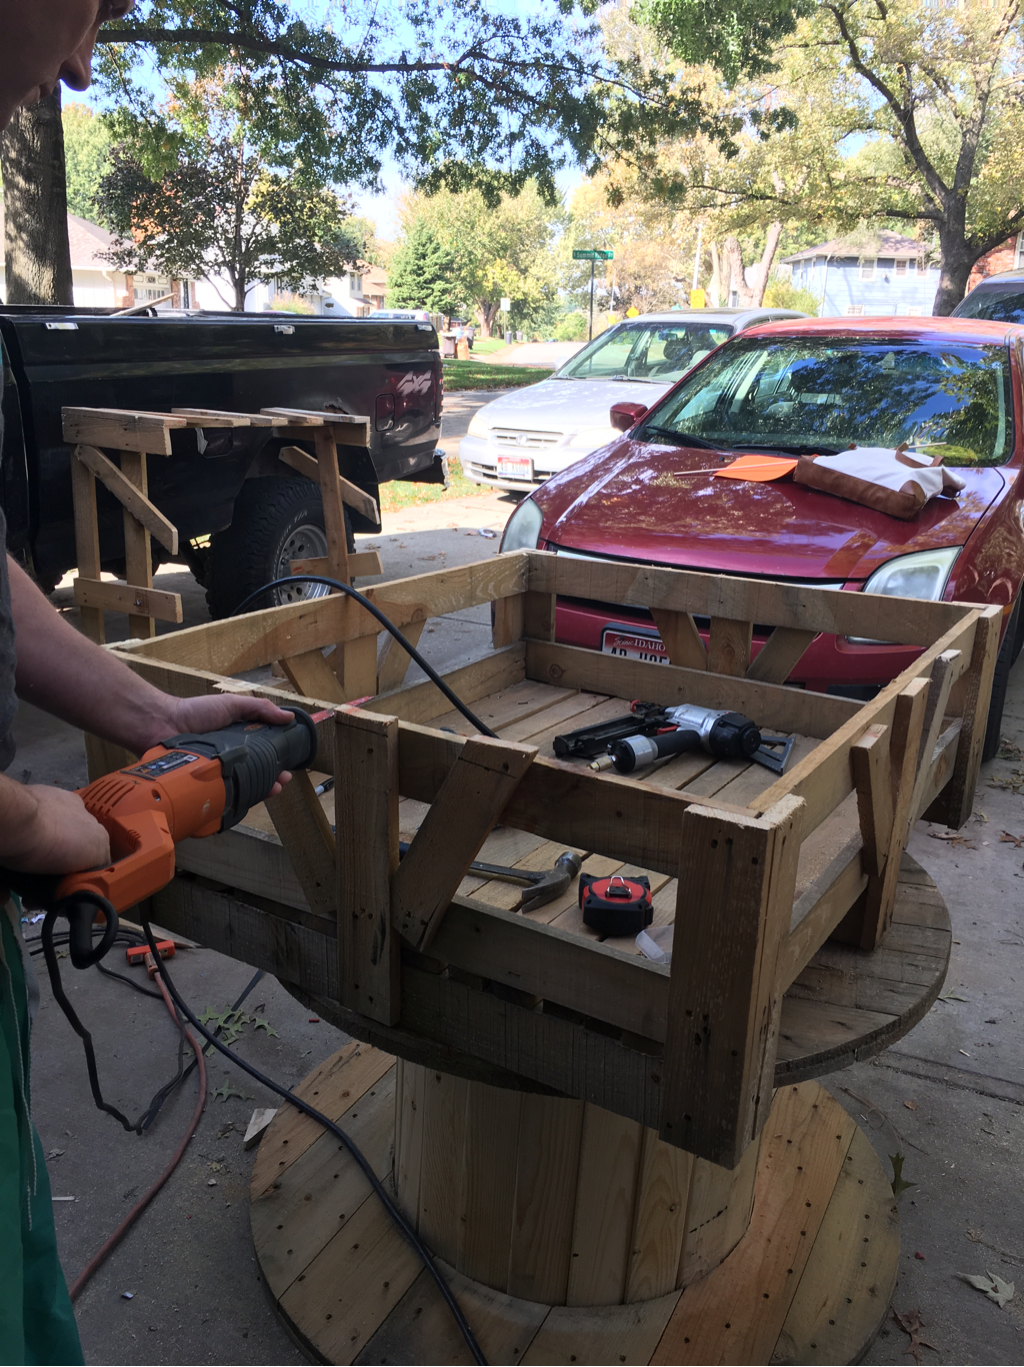
Once the first side was cut we realized they were all different (this is the only down fall to pallet material) so Rex ended up taking the horizontal boards off the top. He then cut all the sides 15" from the bottom of the crate.
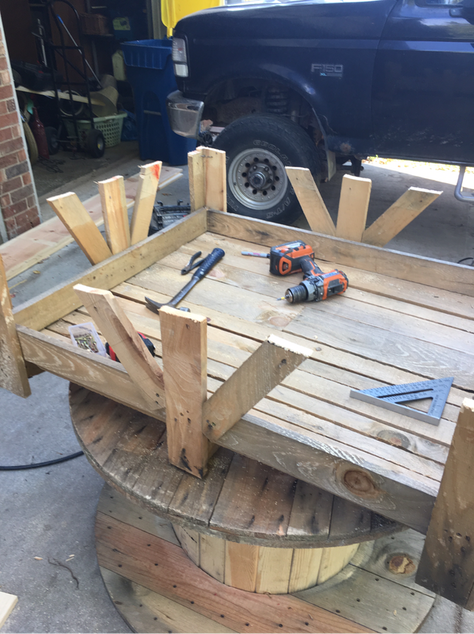
Then he nailed the top boards back in place and cleaned up the uneven tops again with the reciprocating saw.
|
|
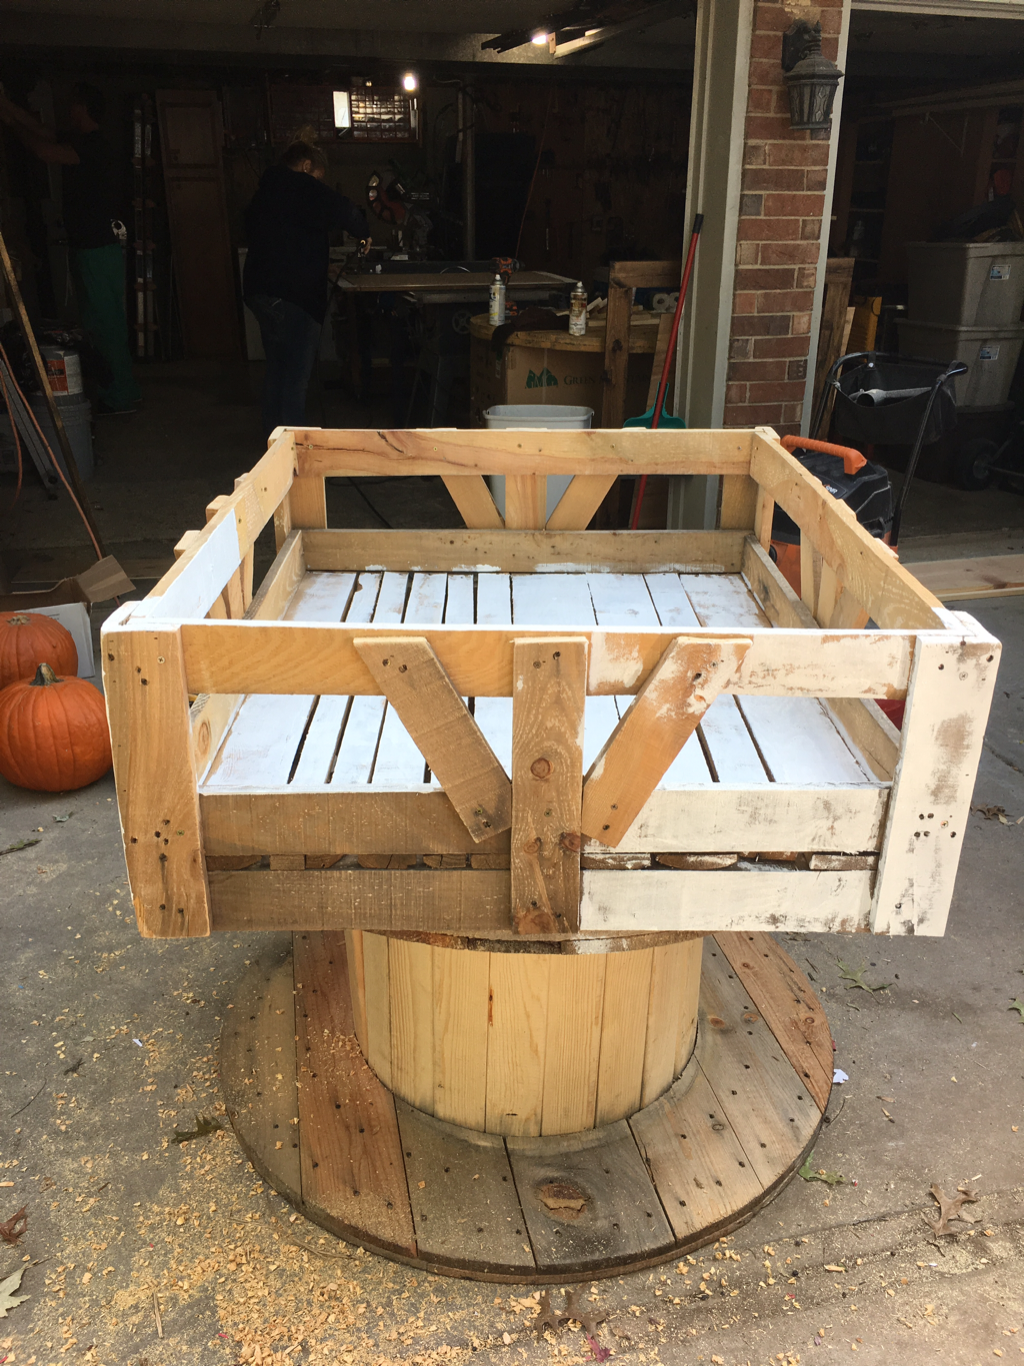
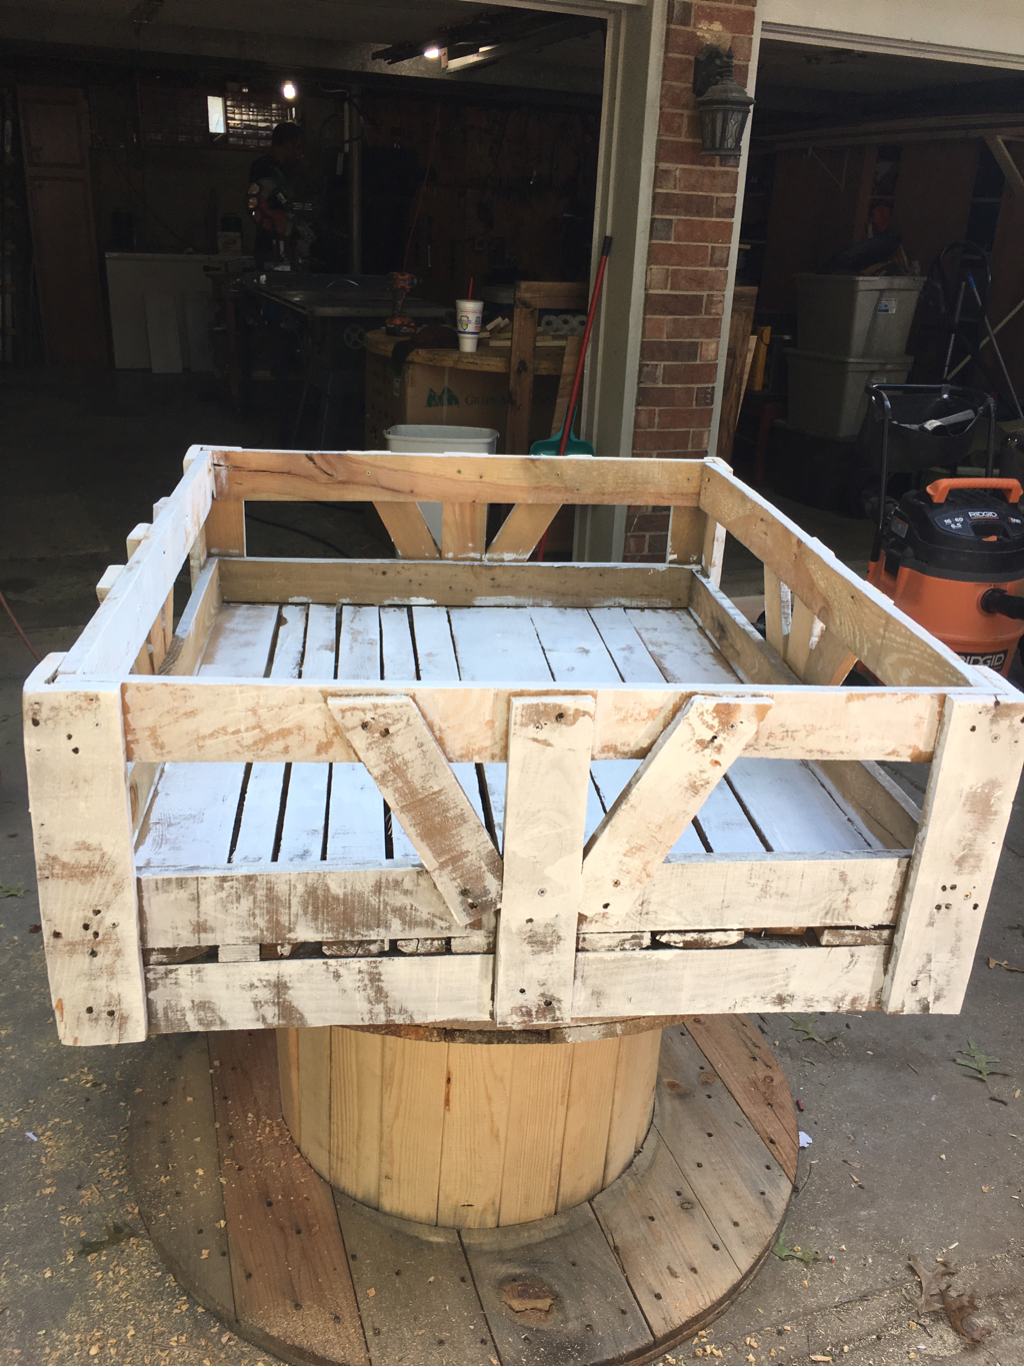
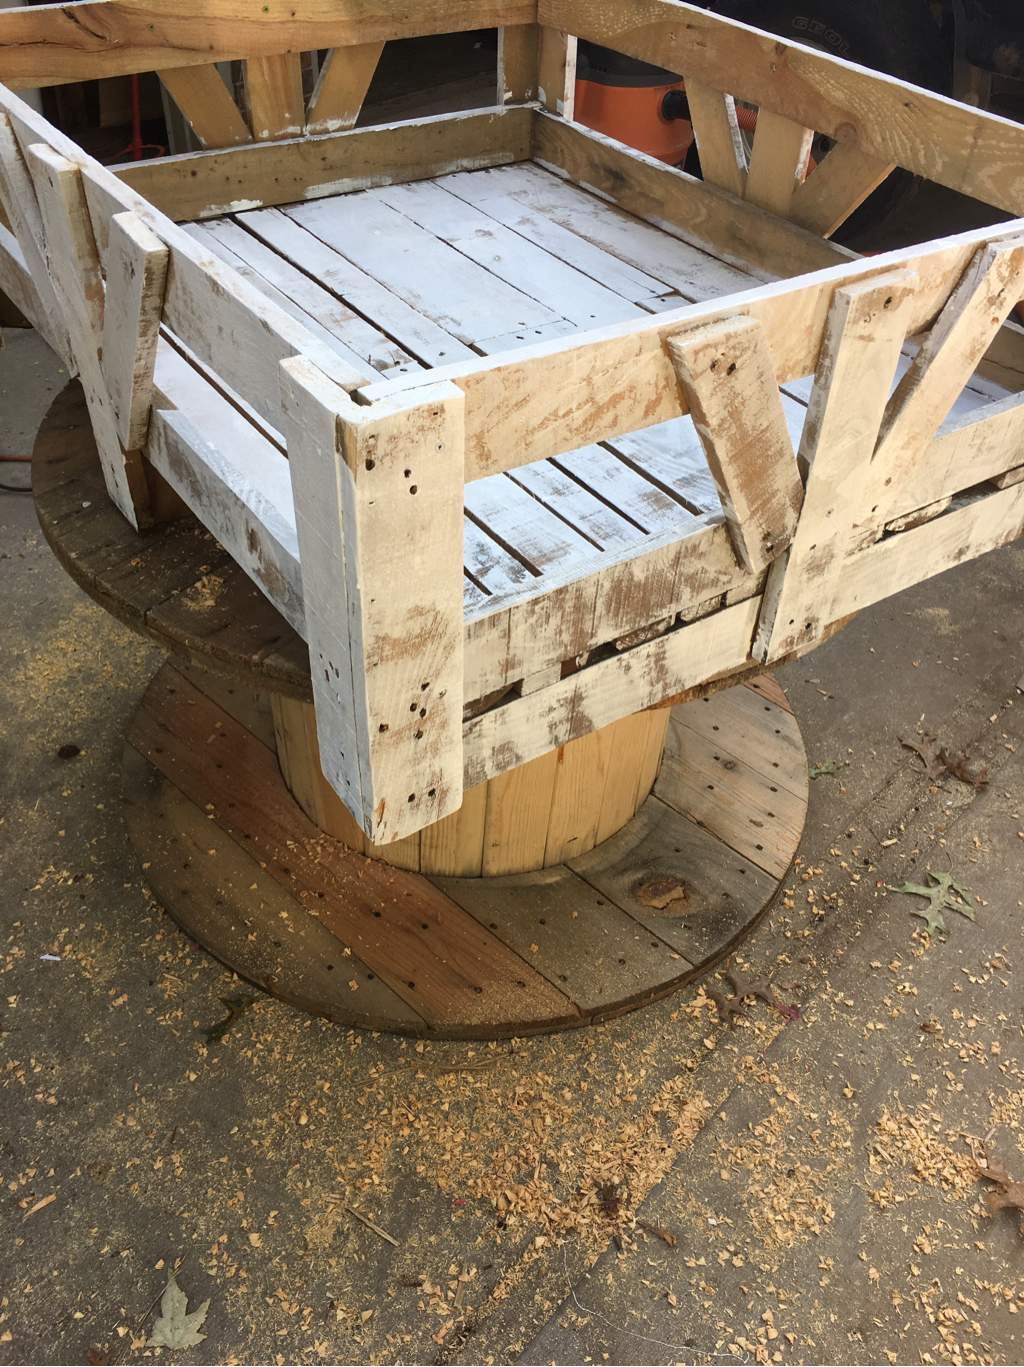
I sanded the whole crate with 80 grit sandpaper then gave it a quick (uneven) coat of white paint. I found it easiest to use a mini roller. Also these pictures aren't the greatest, I painted the inside and outside of the crate.
|
|
|
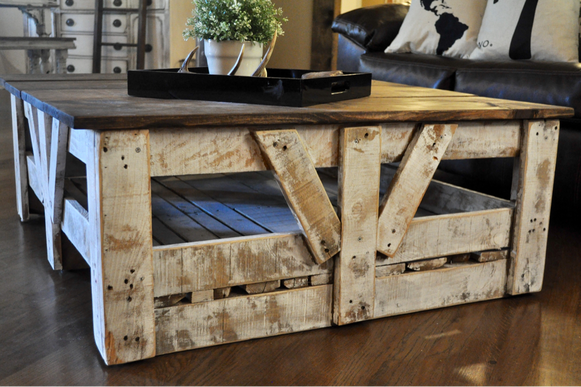
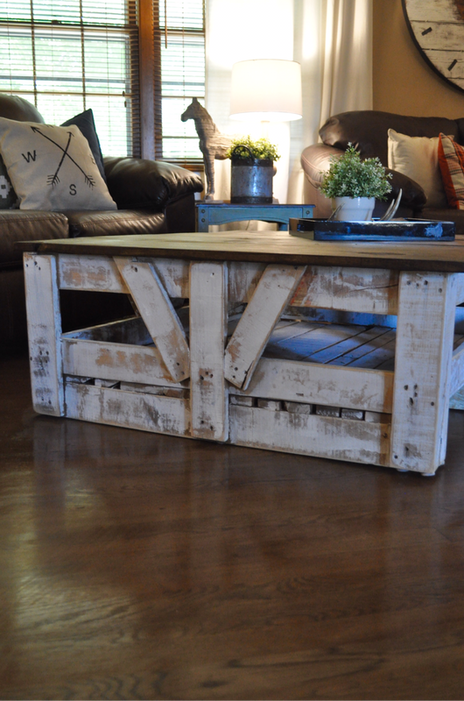
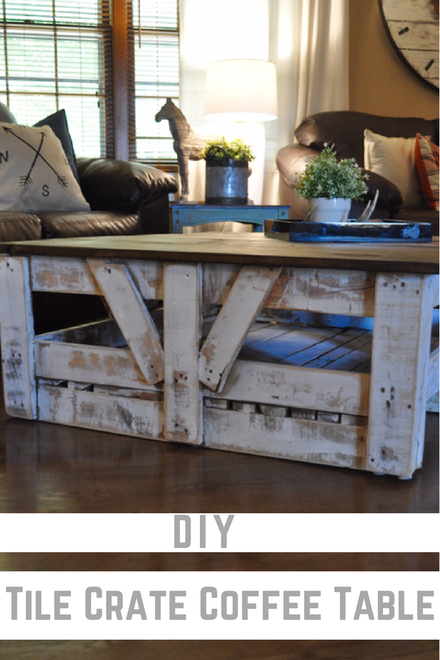
As soon as the paint dried I sanded it again with 80 grit sandpaper. Initially I had plans to stain it with dark walnut, but I fell in love with the white. Closeup it looks like old barnwood! The measurements to my table are 37 1/4" by 43 1/2" so I purchased 2 1x12x8 (1x12's are really 3/4" x 11 1/2") so 4 side-by-side is 46 inches. I subtracted 43.5" from 46" leaving me with 2 1/2 inches for my overhang. Each side of my table has 1 1/4" table top overhang. Now that I had the number ready for the overhang, I cut 4 1x12's that are 40 inches long (again the crate is 37 1/2" so I added 2 1/2" for that overhang). Sand, stain, and seal each plank, then secure to your crate with 16 gauge nails that are 2 inches long.
*To be completely honest we didn't secure my top yet. We are going to tie in two planks together and use hinges on the side of the table, so I can store blankets and a basket with our scriptures inside the table.
*To be completely honest we didn't secure my top yet. We are going to tie in two planks together and use hinges on the side of the table, so I can store blankets and a basket with our scriptures inside the table.
Sit back and admire your $14 beauty!!

Pin the image below!
Here are a few more tutorials you might like!.....

|
|
|
Leave a Reply