

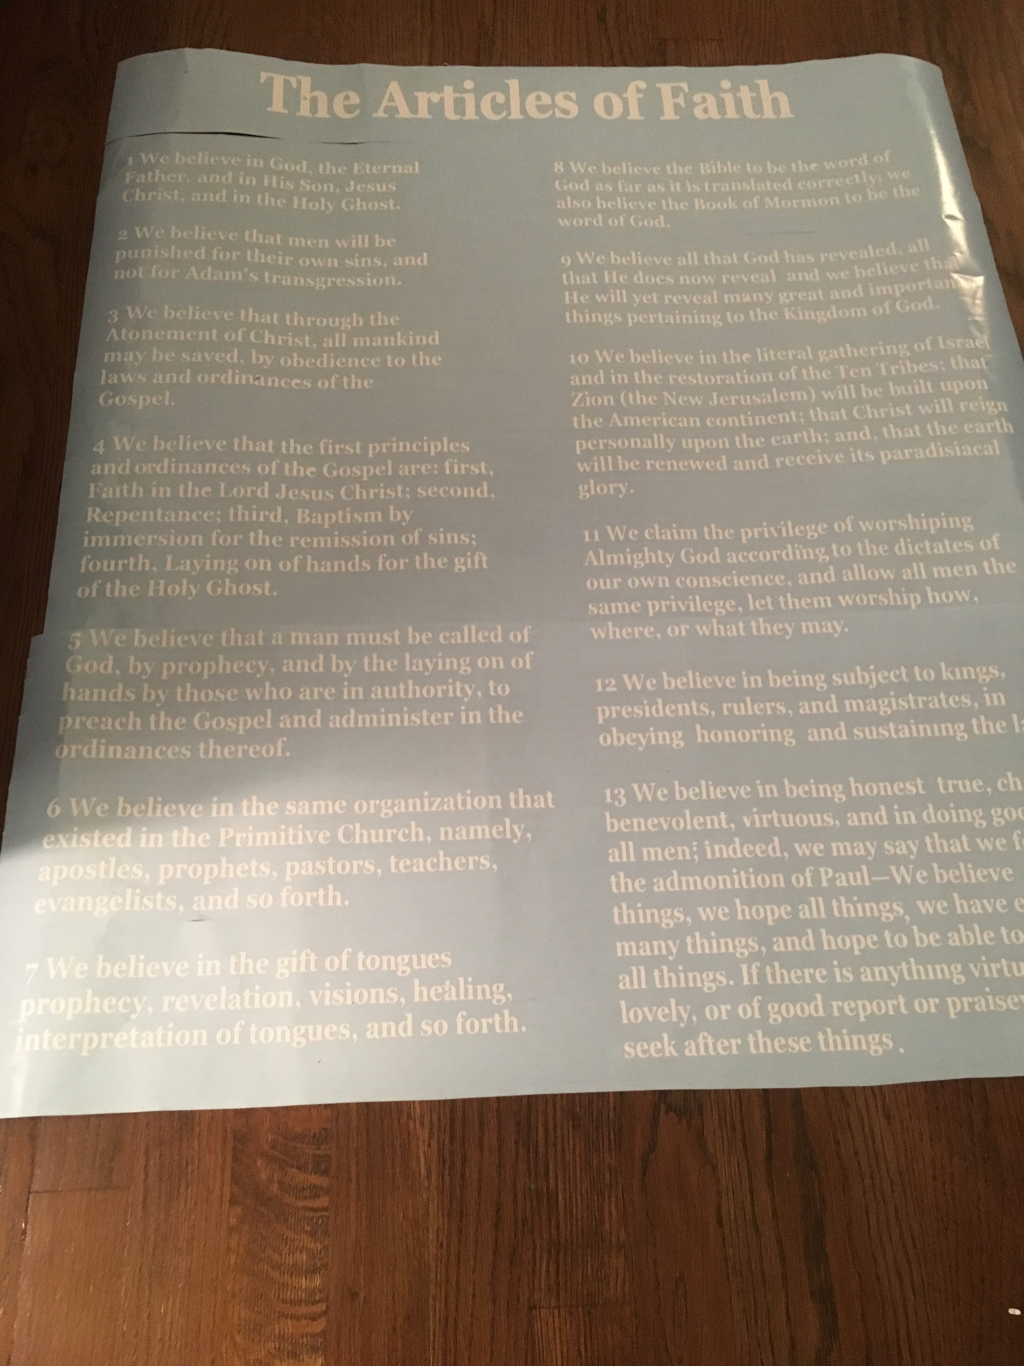
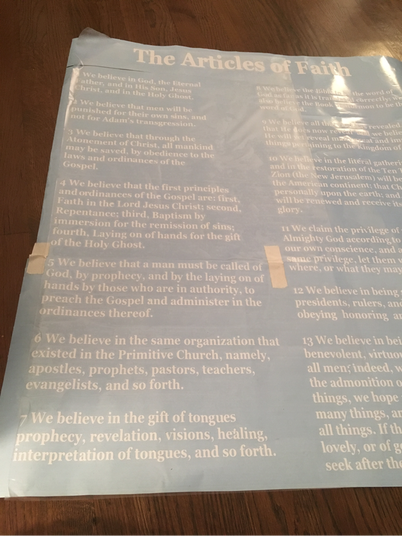
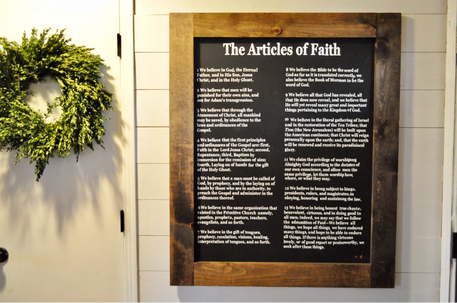
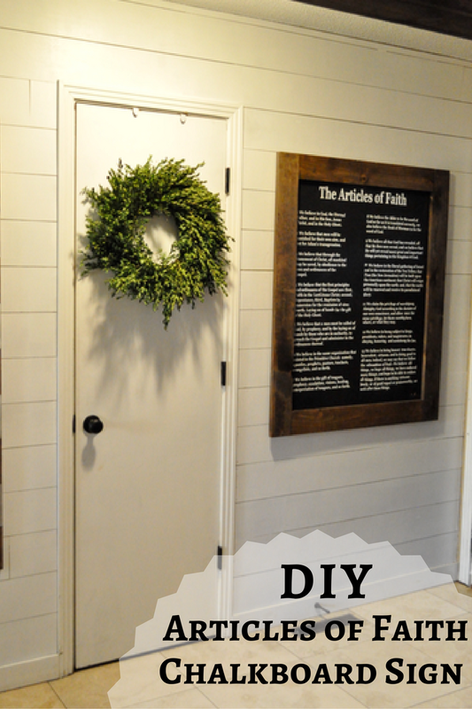
For those of you that are not familiar with the "Articles of Faith", they are 13 basic points of belief of The Church of Jesus Christ of Latter-day Saints. They are scripture and can be found in the Pearl of Great Price. As a young child I memorized all 13 and I've found them to be a great blessing in my life. I wanted my children to know the importance of them, so I figured having a massive sign hanging in my entry way would be a great start! (wink wink!)
|
Supplies
4x4 foot Underlayment that is 1/4" thick (if you're making more than one you can also buy this in a 4x8 sheet. If you ask a Home Depot employee very nicely, they'll cut it for you!) 2-1x4x8 Pine Boards Kreg Jig 1 1/4" pocket hole screws Power drill Saw (it's for a straight cut, I use my miter saw, but a hand saw will even work) Black Chalkpaint Paint brush Finishing Spray White Vinyl (you can buy this it through this link) wood kebob skewers Exacto blade or scalpel Varnish and varnishing supplies (Minwax Dark Walnut) Dt. Dirty Dr. Pepper Chocolate, any kind will do |
Cut List
1x4
2 @ 36.5" For the top/bottom of the frame.
2@ 37" For the side of the frame.4x4 foot underlayment
32"x38"
1x4
2 @ 36.5" For the top/bottom of the frame.
2@ 37" For the side of the frame.4x4 foot underlayment
32"x38"
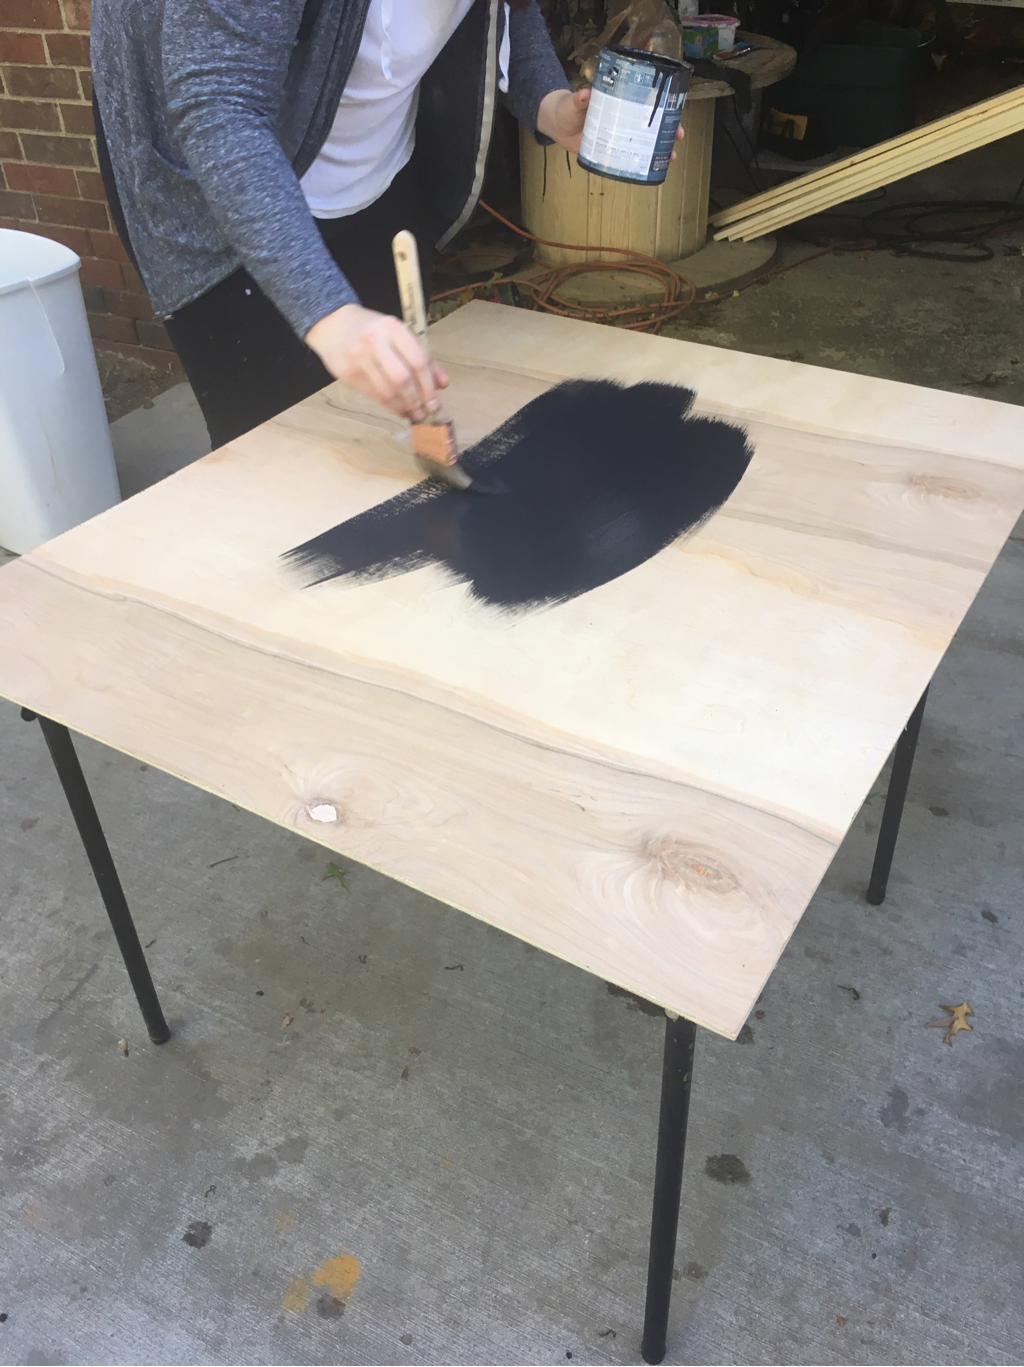
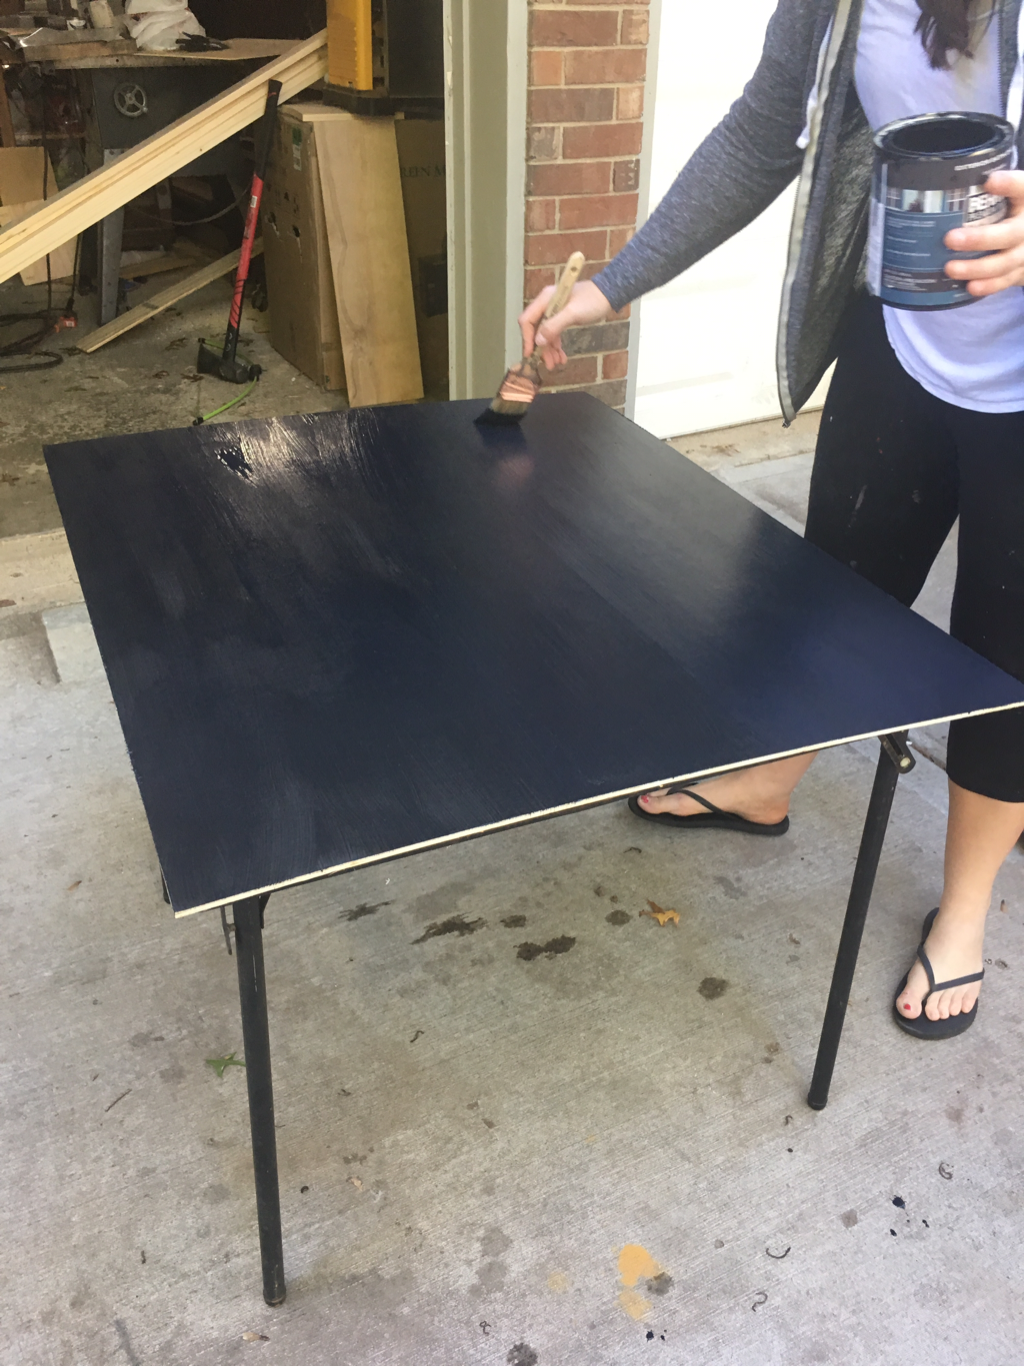
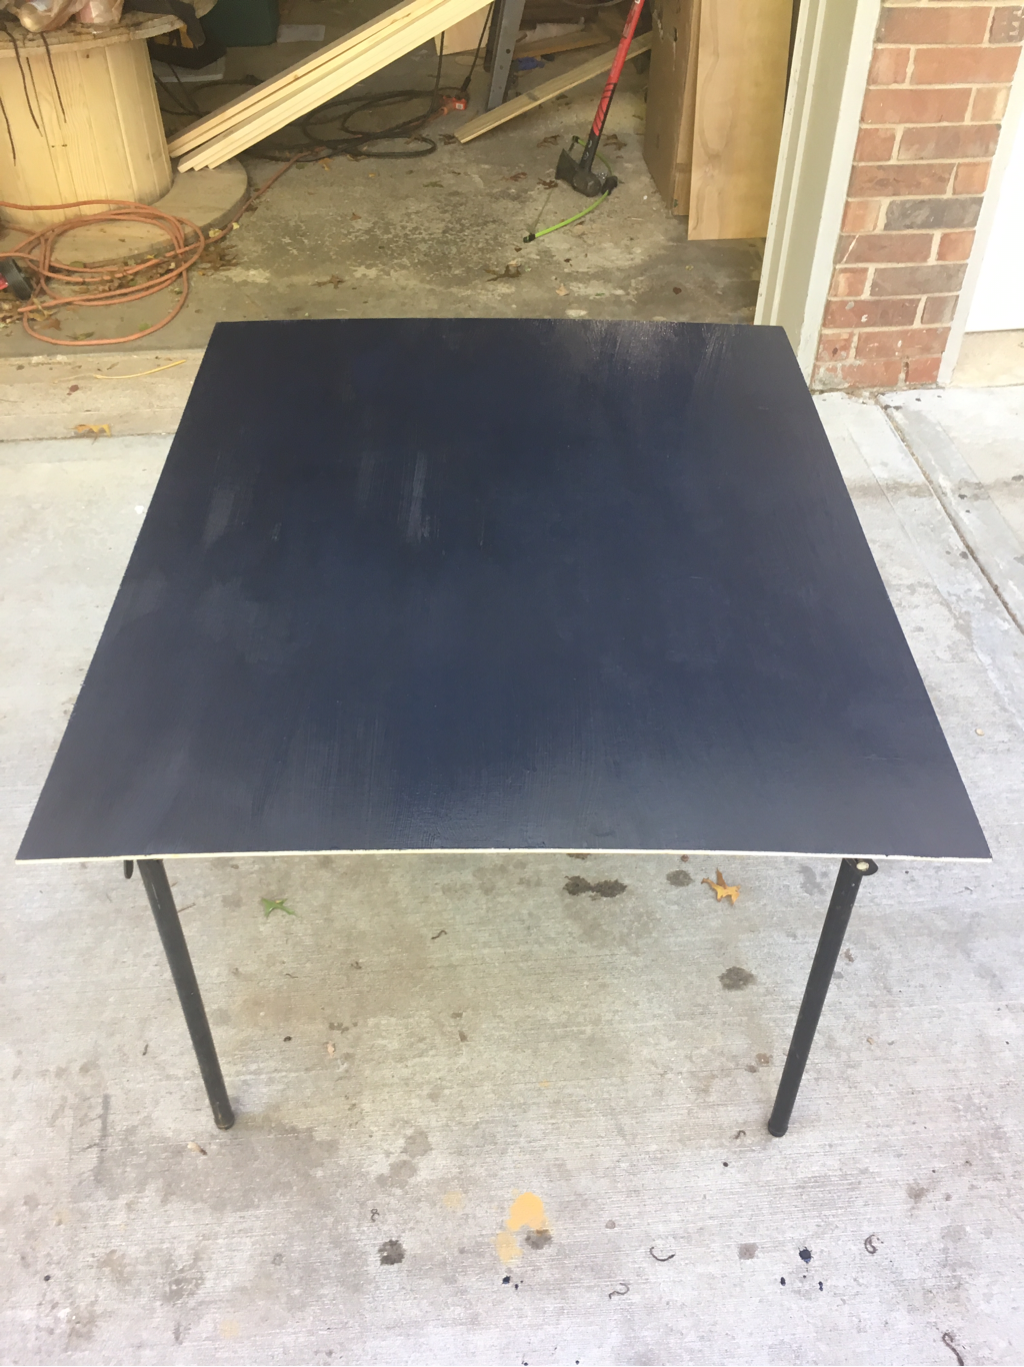
Cut your underlayment to 32"x38".

Paint it black. I wanted mine to look like a chalkboard so I made chalk paint. I have the details and link for the calcium carbonate at the bottom of the page!
 |
 |
 |
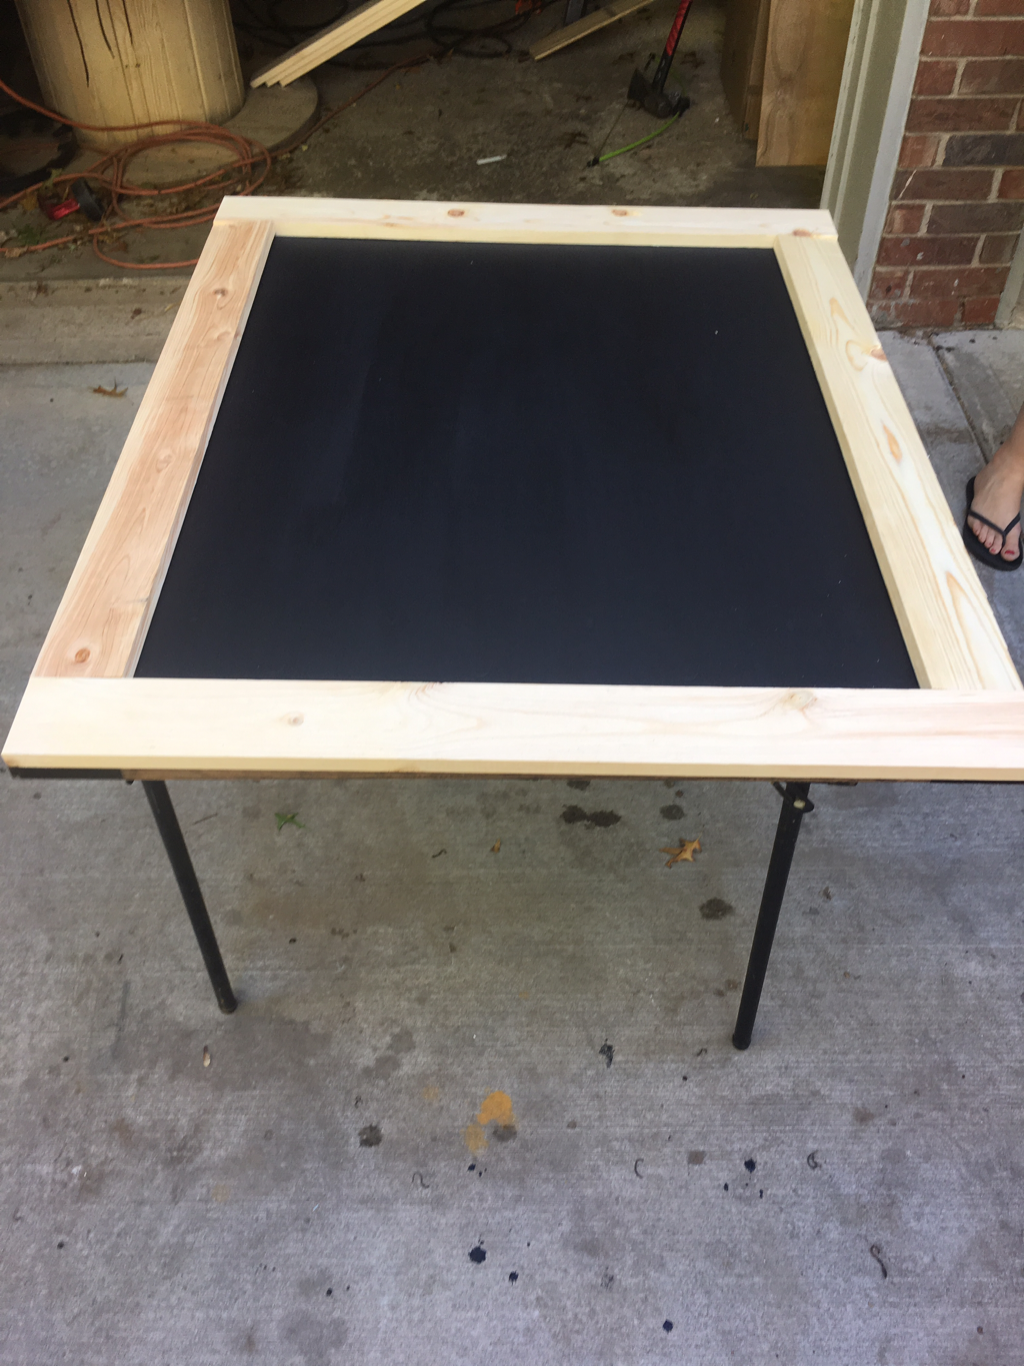
For the frame you'll cut 2 1x4's to 36.5" and 2 1x4's to 37". I laid mine out to make sure my cuts looked good. They were pretty much perfect! ?
 |
 |
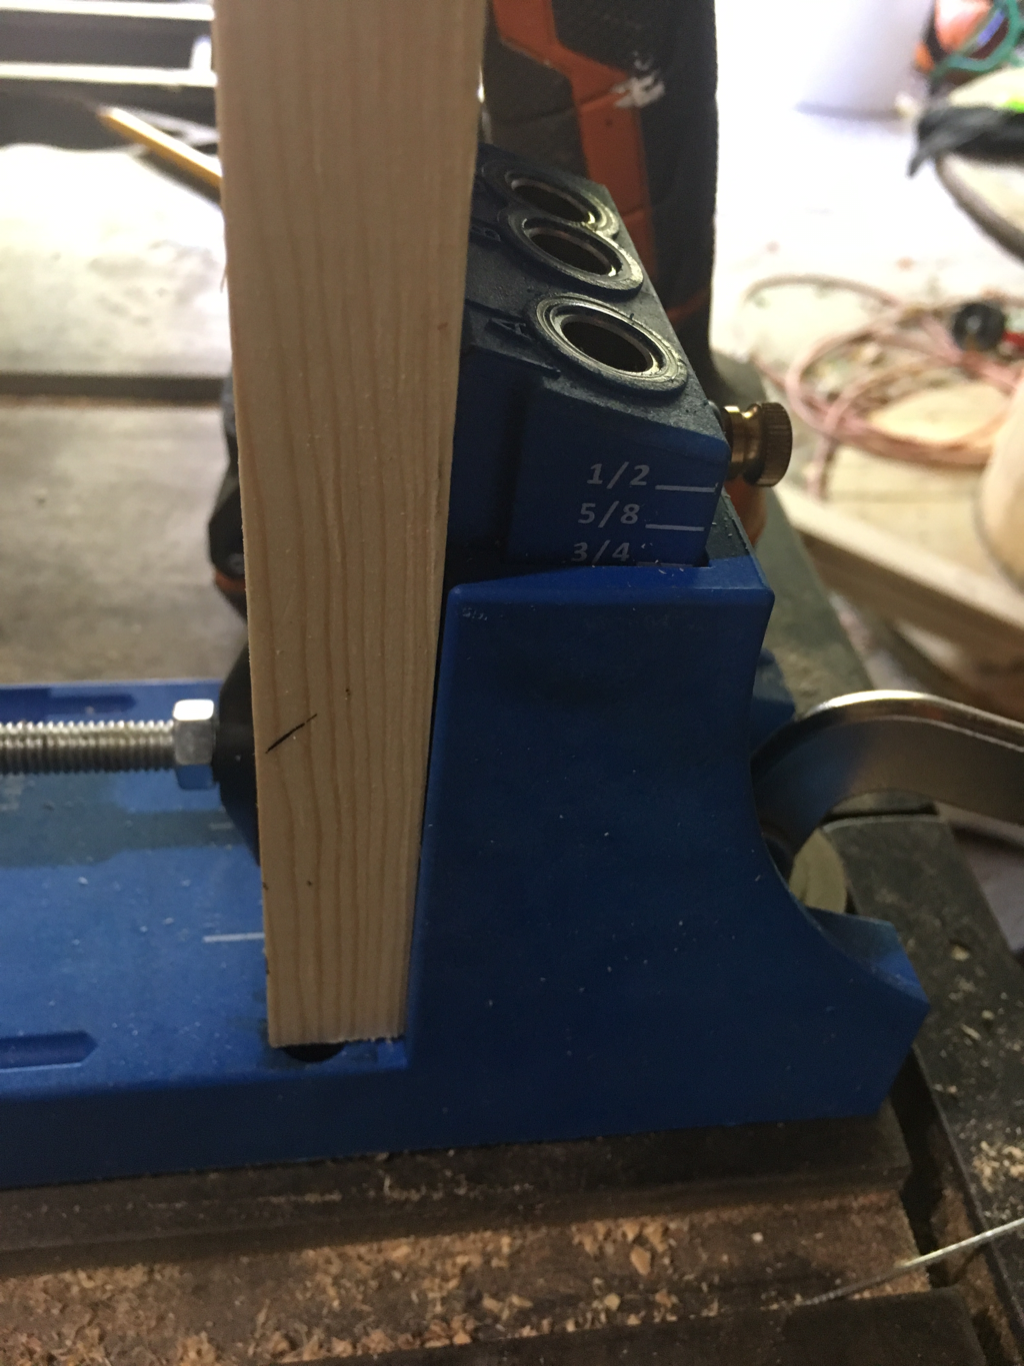
Next pull out your trusty kreg jig. I may be OBSESSED with mine. ? Seriously this thing is amazing! Basically you measure the thickness of your wood and set your drill bit and kreg jig to that number. For the frame I used a 1x4 but the wood isn't really an inch, it's 3/4". So that's what I set both of them to.
 |
 |
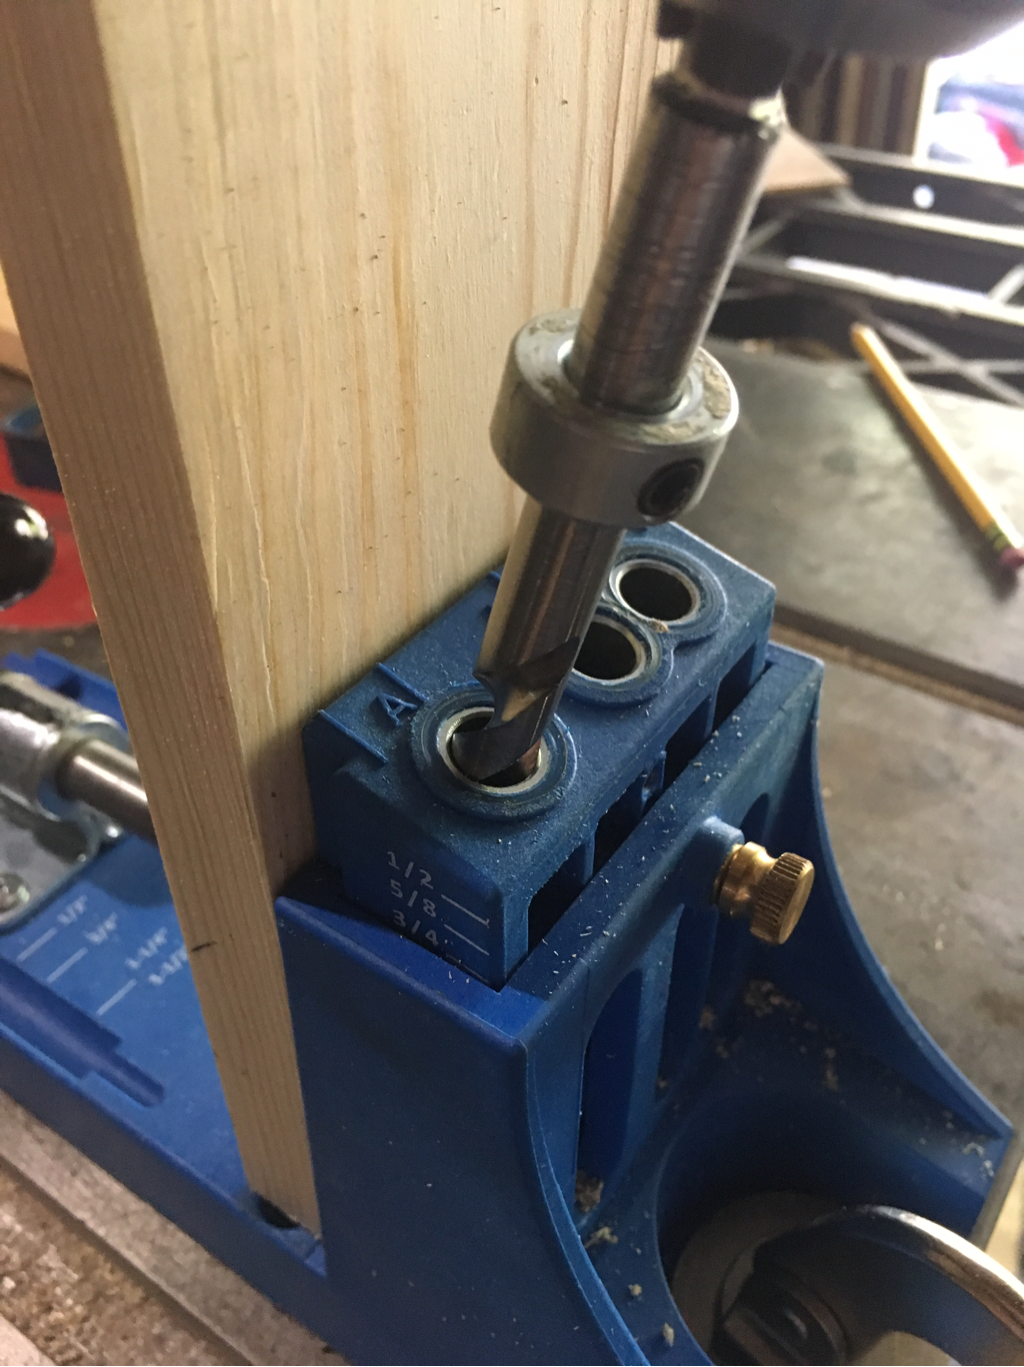
When you are ready to make your pocket holes, you are going to make two on each end of the side pieces. Here' s a video you can watch from Shanty 2 Chic. It was very helpful! Also practice on a scrap piece before doing it on the actual frame.
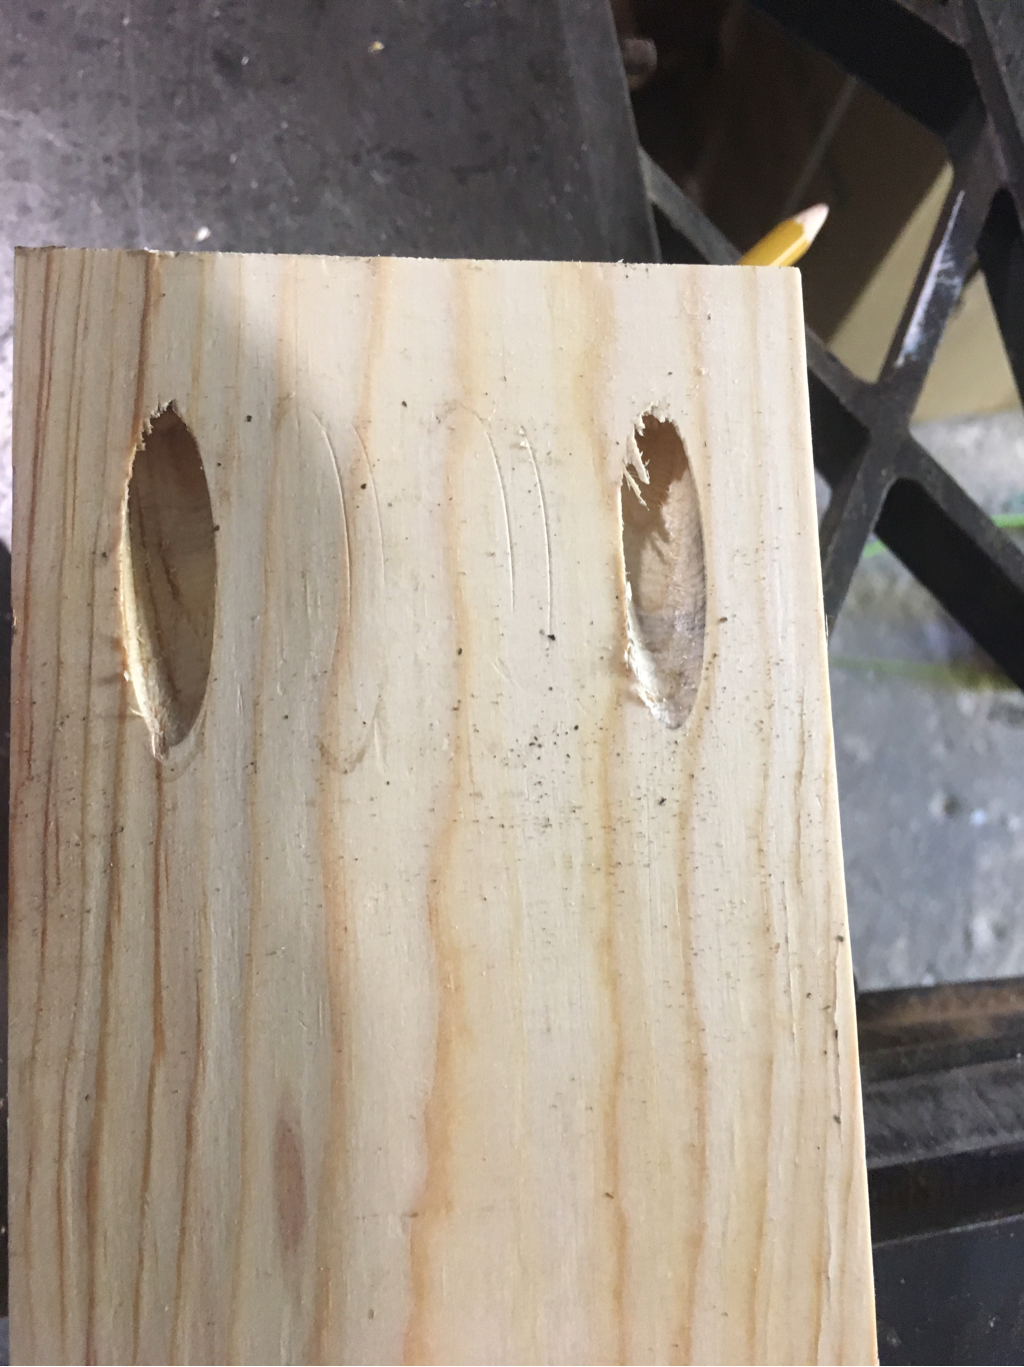
This shows the wood locked into place, the drill bit making the pocket hole, and what the finished hole should look like!
 |
 |
 |
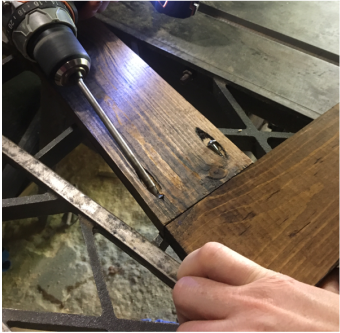
It's way easier to stain the wood at this point before you assemble it. Also I didn't have any shards of wood from the cuts and my wood was smooth, so I did not sand it. You may or may not need to sand. If you do, go ahead and do that before you stain it! After staining, using 1 1/4" pocket holes screws, attach frame pieces. My seams were tight so I did not fill them. If they drive you crazy...fill away. I used 1 1/4" pocket hole screws.
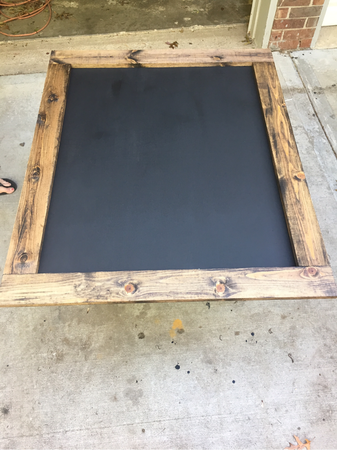
I did NOT attach the black board and the frame together at this point. I just took a picture of me double checking the size of the frame!
I originally cut a stencil on my sister-in-laws Silhouette but the 1,2,& 3 were crooked and made me twitch....so I ended up ordering white vinyl from The Vinyl Express, here's a direct link to the AofF vinyl.I chose to weed my own because it saved me $20. Hindsight---I should have paid the $20 to have it done. If you do it yourself I've got a couple tips. Hopefully you can learn from my mistakes!
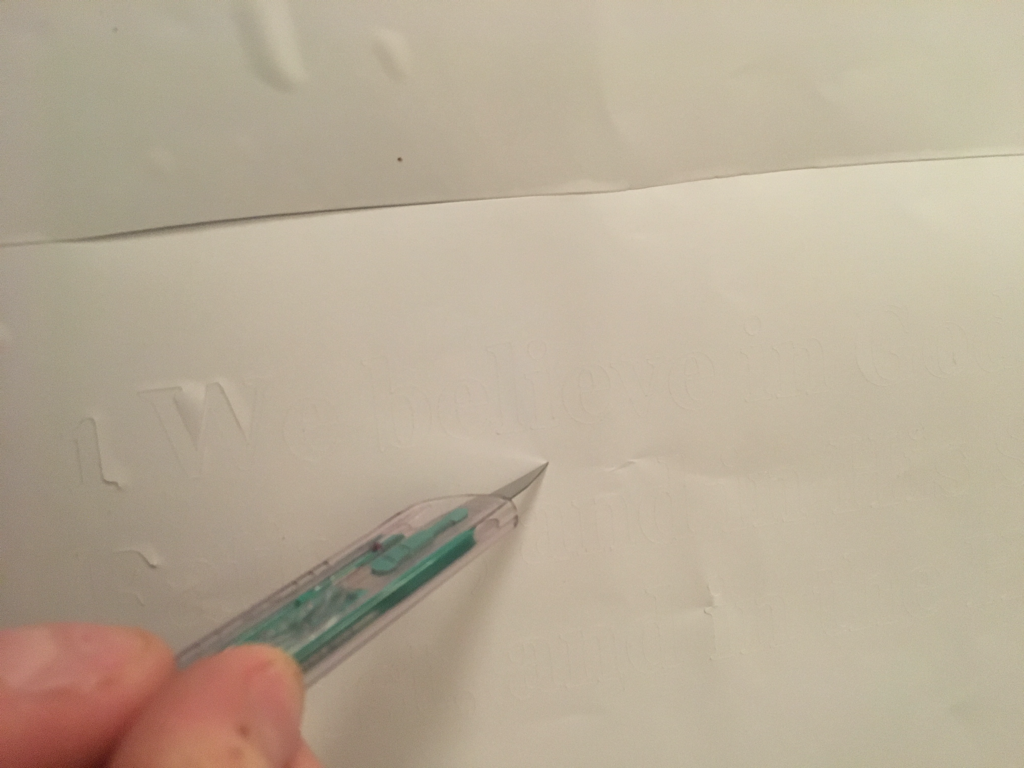
First, score the white vinyl with an exacto blade or a scalpel! ??
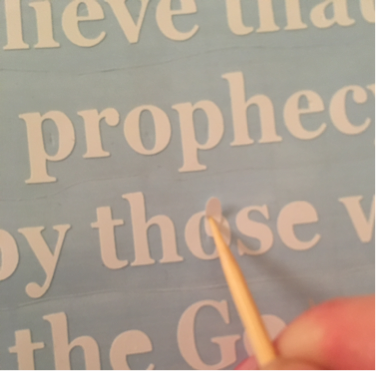
Second, begin pulling vinyl off leaving only the small white letters. I found it helpful to have a "kabob skewer" in hand to help with all the little letters that were having a hard time staying in place.
 |
 |
Third, once all the excess vinyl is gone you'll need to go back through and make sure all the letters are straight.
 |
 |
Last step is covering the vinyl with contact paper. This takes two people to ensure there are no bubbles. I clearly was too impatient to wait for Rex (poor guy is ALWAYS at work!) and that was a huge mistake. Train wreck mistake. WAIT FOR SOMEONE TO HELP YOU!
If you have the company weed the vinyl for you, this is where you'll start with the application. Start by removing the back of the vinyl. I found it easier (with all of the tiny letters) to tear off small pieces at a time.
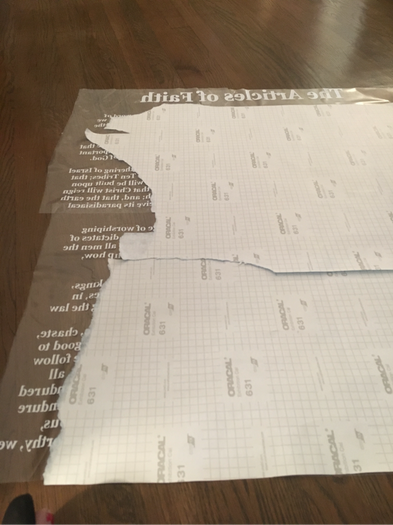
Once it's all removed place it on your black board, make sure you center it. Run a credit card or something similar over all the vinyl and carefully pull the contact paper off.Nail the underlayment the back of the frame with 16 gauge 3/4" nails. Attach your hanger piece on the back and admire your work of art for years to come!
Pin it!!
To get the chalkboard finish look, I used 2 parts paint, 1 part calcium carbonate, and a couple tablespoons of water.
This calcium Carbonate is a staple for DIYing!
This is the kreg jig I own, it was worth every penny!
Leave a Reply