
Hating your brick but don't want to spend buckets of money replacing it? Try giving it a lime wash with sanded grout. An easy how to on sanded grout brick.
This is Part 1 of my fireplace makeover! If I had my way I would have covered the fireplace completely! In the perfect world I wouldn't have a budget and the sky would be the limit- with that being said I am on a budget for a couple reasons! First, we don't want to get in over our heads and not get the return when we sell our house. Second, we live on a medical residents salary....which means we are poor! Hahah
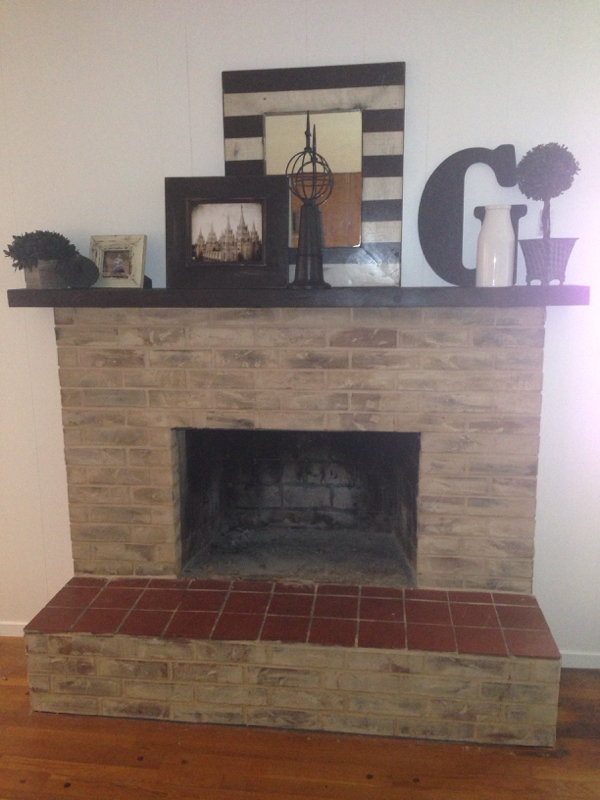
I was hoping to get that Old Chicago look, and I'm about there! I want to add in a little more white, so stay posted for my finished fireplace!
Let's get started:
Prep your area with plastic.
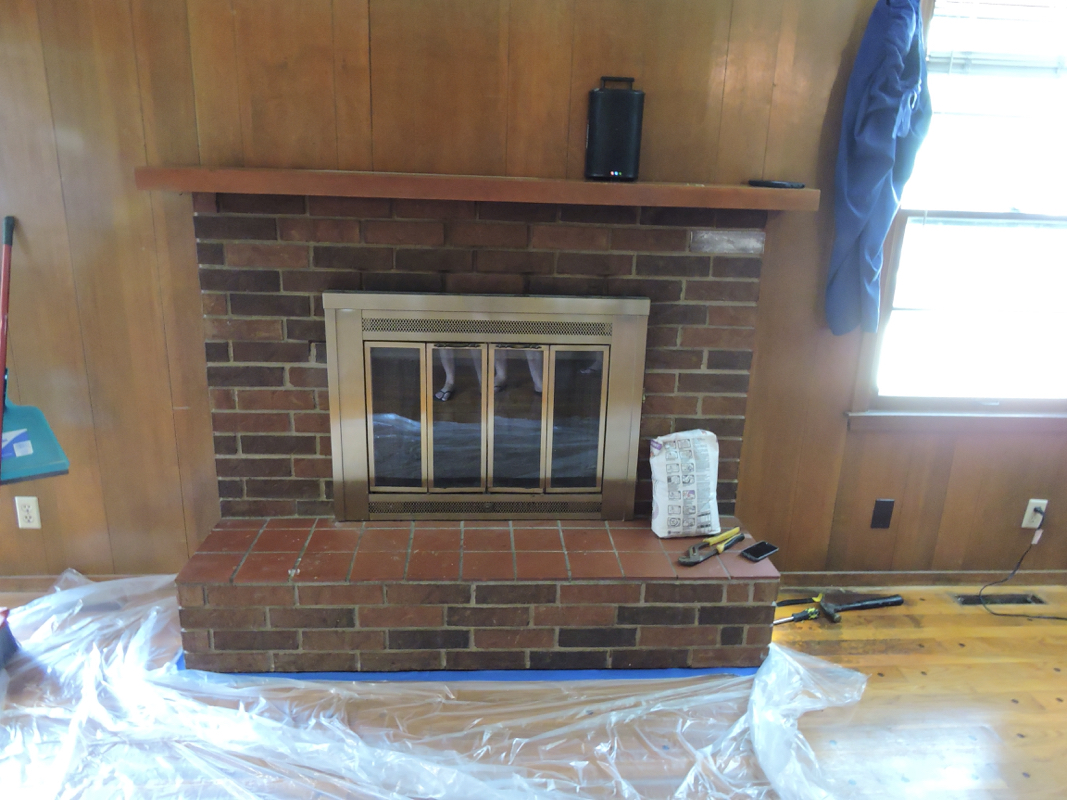
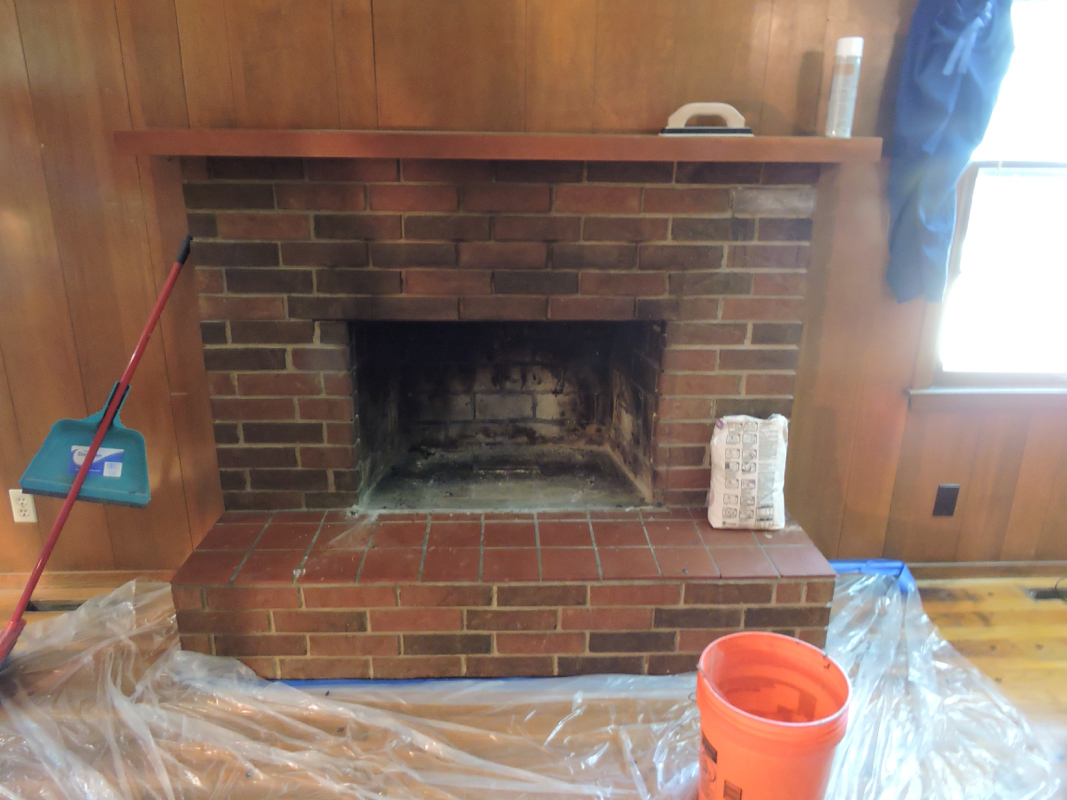
Remove Hardware and mantle piece.
 Mix up the sanded grout to desired consistency.
We found it was easier if it was on the runnier side BUT it was a bit more messy. With the trowel, apply the sanded grout to the brick. Let the grout dry for a few minutes.
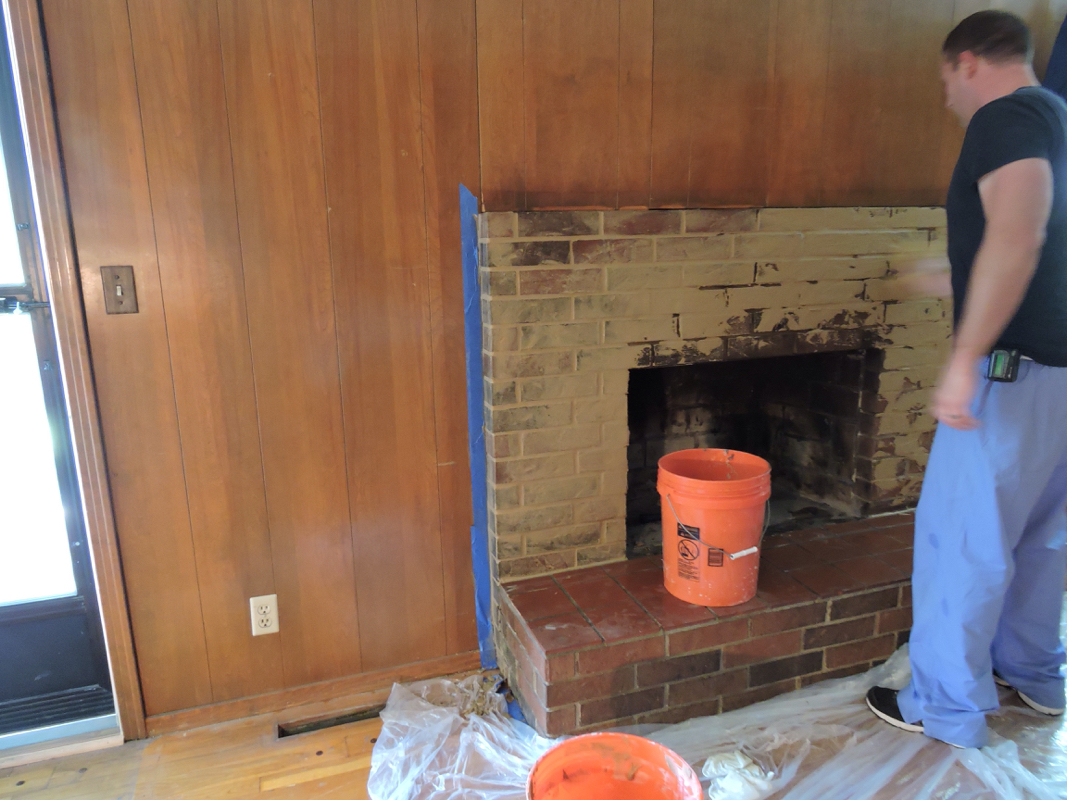
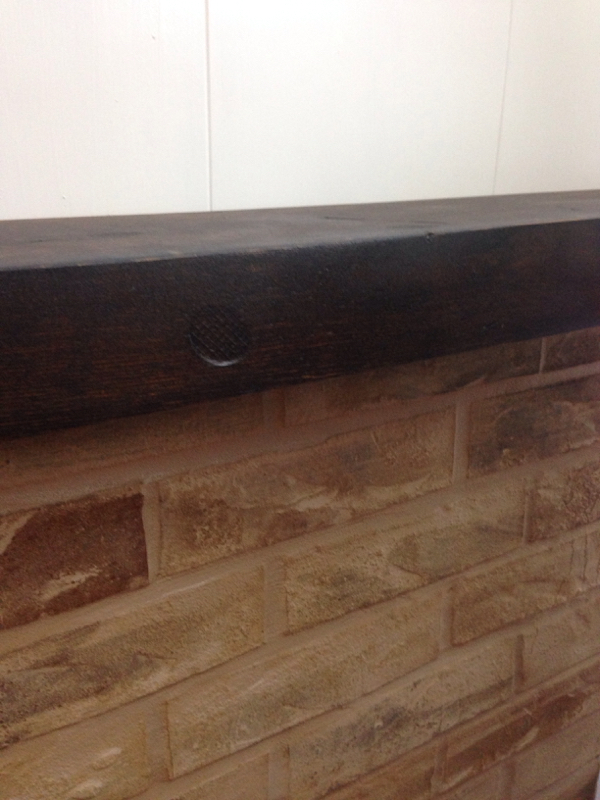
Take a yellow tile sponge and submerge in water (we used another Home Depot bucket) and wringe it out. Begin wiping away the bricks until you achieve the look you are going for! I like to have variation in the amount I wipe off. I am not going to an overall even pattern here.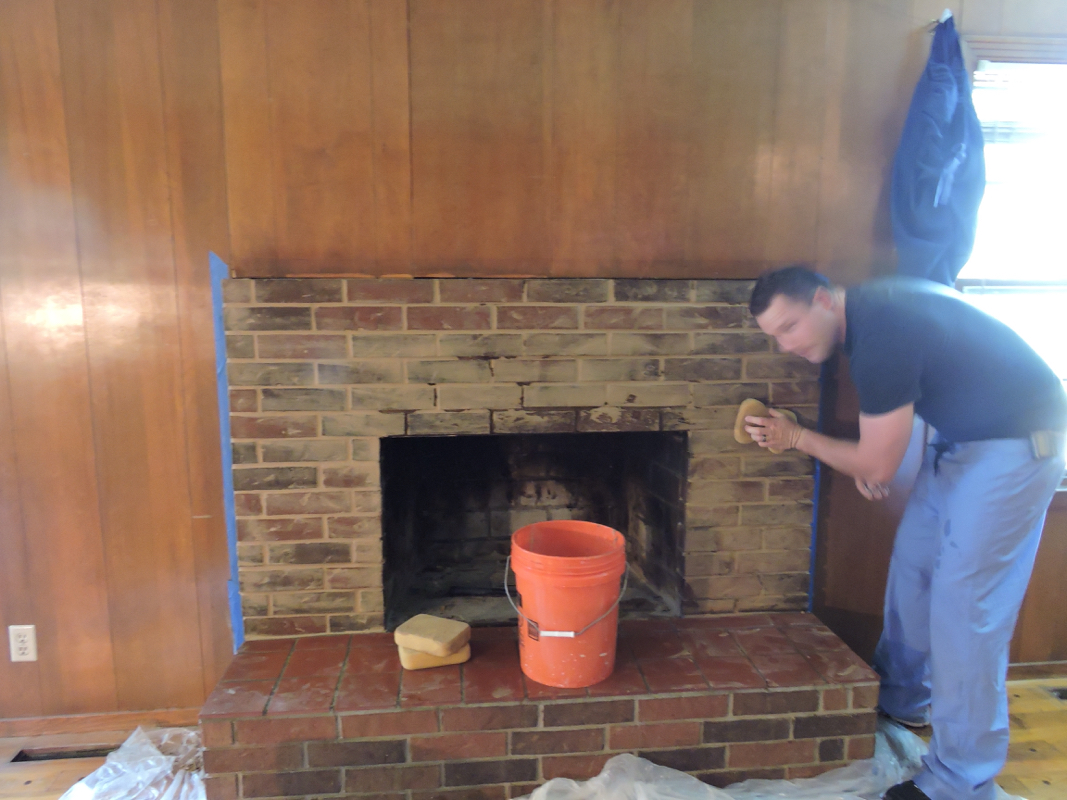 We refinished the wood mantle by sanding off the finish with 80 grit sandpaper, then I beat it up with a hammer, screw, and a chisel. Then I stained it with my favorite go to color- Dark Walnut that's made by minwax. I finished it up with a satin poly acrylic spray.
Throw some decorations on that bad boy and phase one is complete!!
Stay tuned for Phase 2- We'll be finishing up the hearth and cleaning the inside of the fireplace!
Leave a Reply