
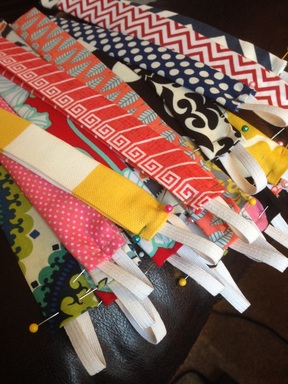
These little guys are super easy and inexpensive to make! I always make several for my sisters when they have babies, and they're a great little add on to any baby gift!
Materials Needed
Scrap fabric 4" by 10"
Elastic 1/4" by 5"
Thread
Cutting board/Pressing mat (link below)
suspenders clip (link below)
Iron
Scrap fabric 4" by 10"
Elastic 1/4" by 5"
Thread
Cutting board/Pressing mat (link below)
suspenders clip (link below)
Iron
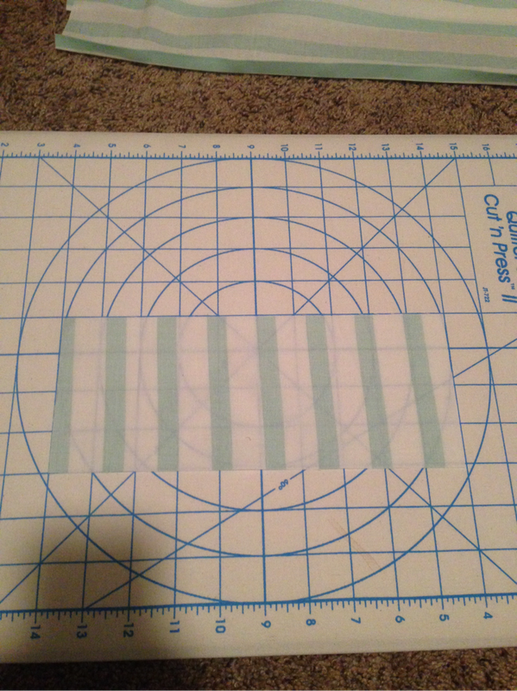
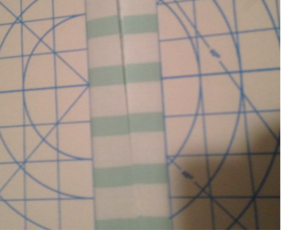
I always cut my scrap material to 4"x10" so I can make bow ties, or these binkie clips.So you'll start with your 4x10 piece of fabric facing the right side down (you'll be looking at the wrong side.) I'm obsessed with this ironing/cutting mat! You can find a link to the mat at the bottom of this post- it seriously is a great investment! I have a huge cutting mat, but I love the dual purpose of this one for small projects like the binkie clips and bow ties!
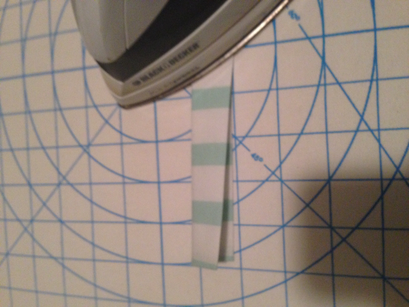
Next you'll iron the 4" sides over to the wrong side of the fabric, creating a finished edge.
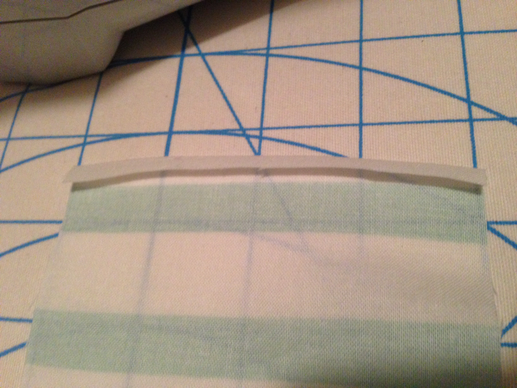
Do this to both 4" sides. I like to take the corners in a little more. Can you kind of see that little curve? It irons a lot better if you do this.
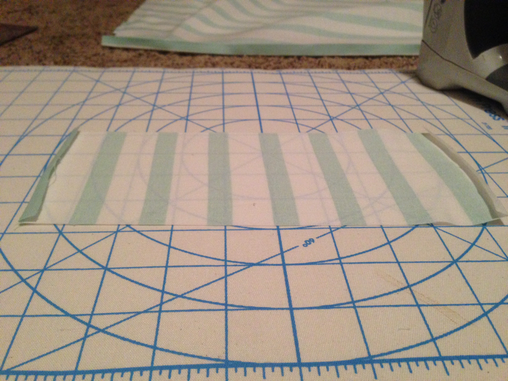
Next you'll follow the lines on the ironing board. You will fold the bottom fabric over 1", and press it. Then fold the top down 1", and press it, leaving you with a 2"x 9 3"4 piece of fabric.
Fold the 2" strip in half and press.
Cut a 5" piece of elastic, and tuck inside fabric strip, about an inch on each side.
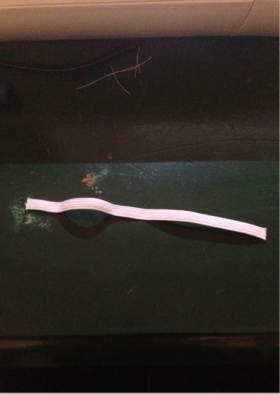
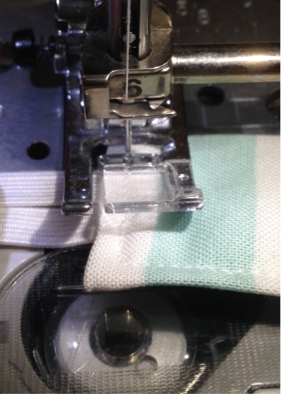
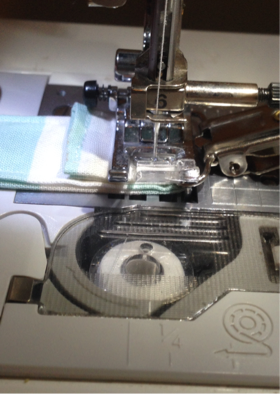
Pin and top stitch around the entire perimeter. I always go over the elastic side a few times to reinforce it.
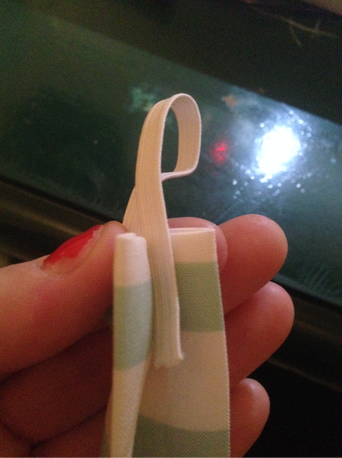
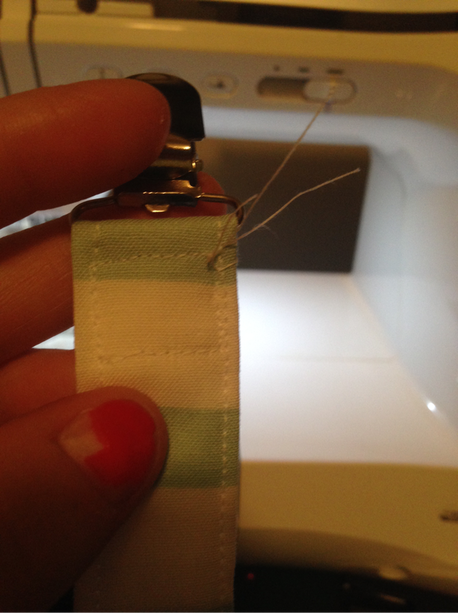
Pick the side you want to be the back, and lay it facing up.

Loop your fabric piece through the clip and sew a square. I don't have an exact measurement because I just eye ball it. This one is 3/4" that I pulled through.
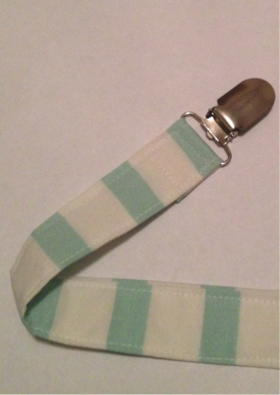
This is what you want it to look like. Then clip the little thread pieces and attach your binkie!
Attach this clip to your babe, and never find yourself frantically searching for your crying baby's binkie again!!!
|
|
|
|
|
Leave a Reply