
Painting kitchen cabinets can be quite daunting, don't let it be! Jump in and be brave, the results are worth it. Here's a peek at my basement kitchenette in my Kansas City house.
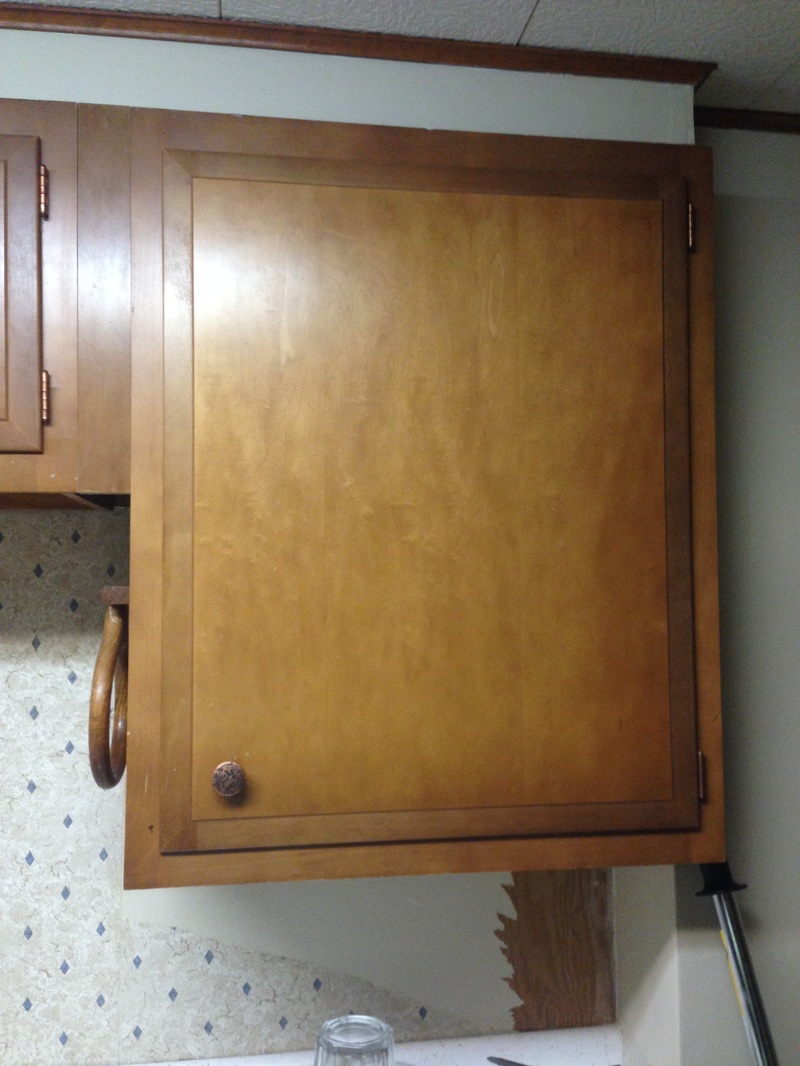
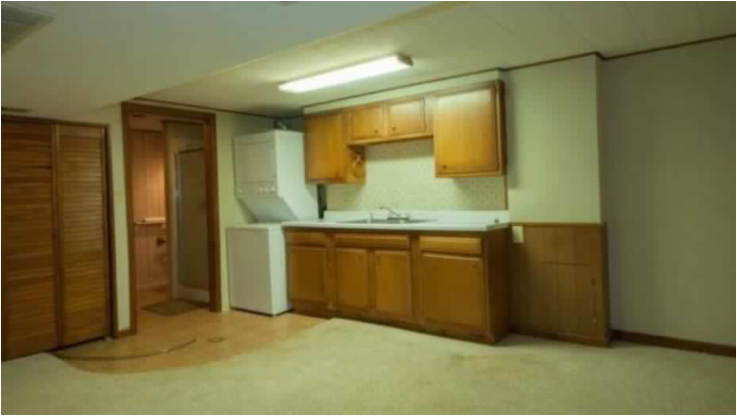 I know it's crazy, but I wasn't really digging this cabinet color down here. Painting is an inexpensive way to update older cabinets. I'll be honest, painting cabinets isn't really my favorite thing to do...at all!! It's definitely a labor of love, but worth all the pain. Let's delve into what steps to take when painting cabinets.
 First order of business...remove the hardware!
This part is probably my favorite, because it's easy. Grab a ziploc baggie or tupperware to save all of the hardware parts. Put it somewhere safe and don't forget where that place is...you'll need them again later!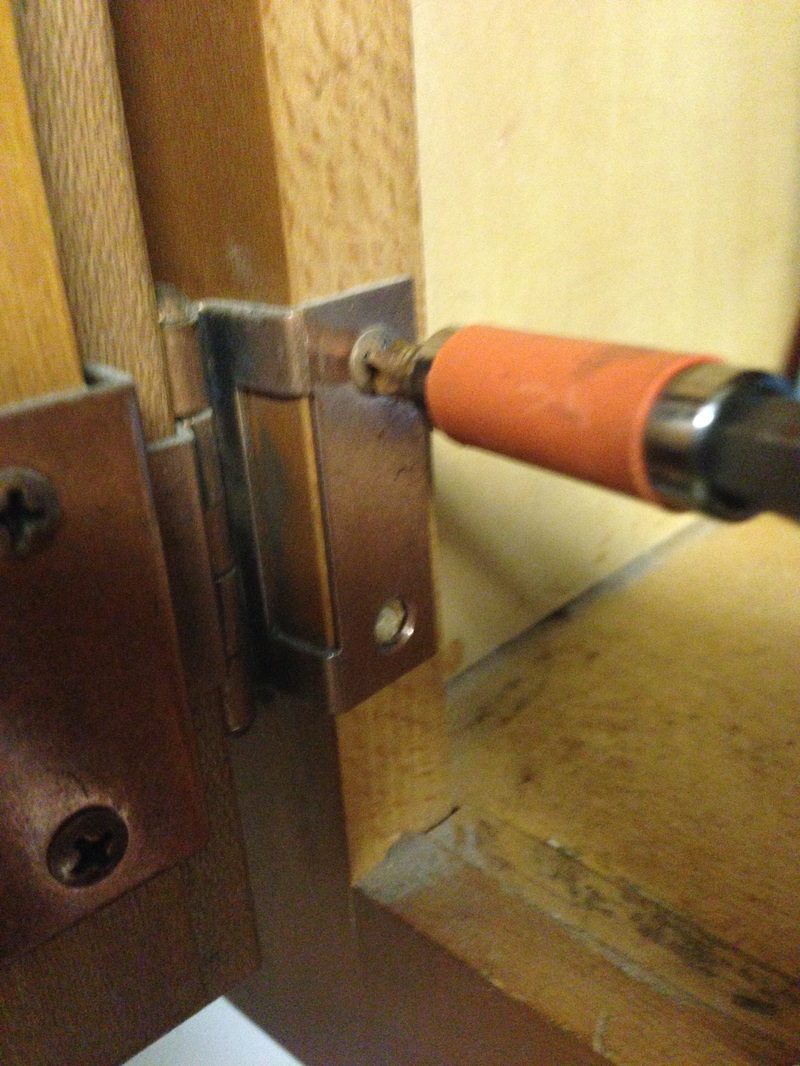
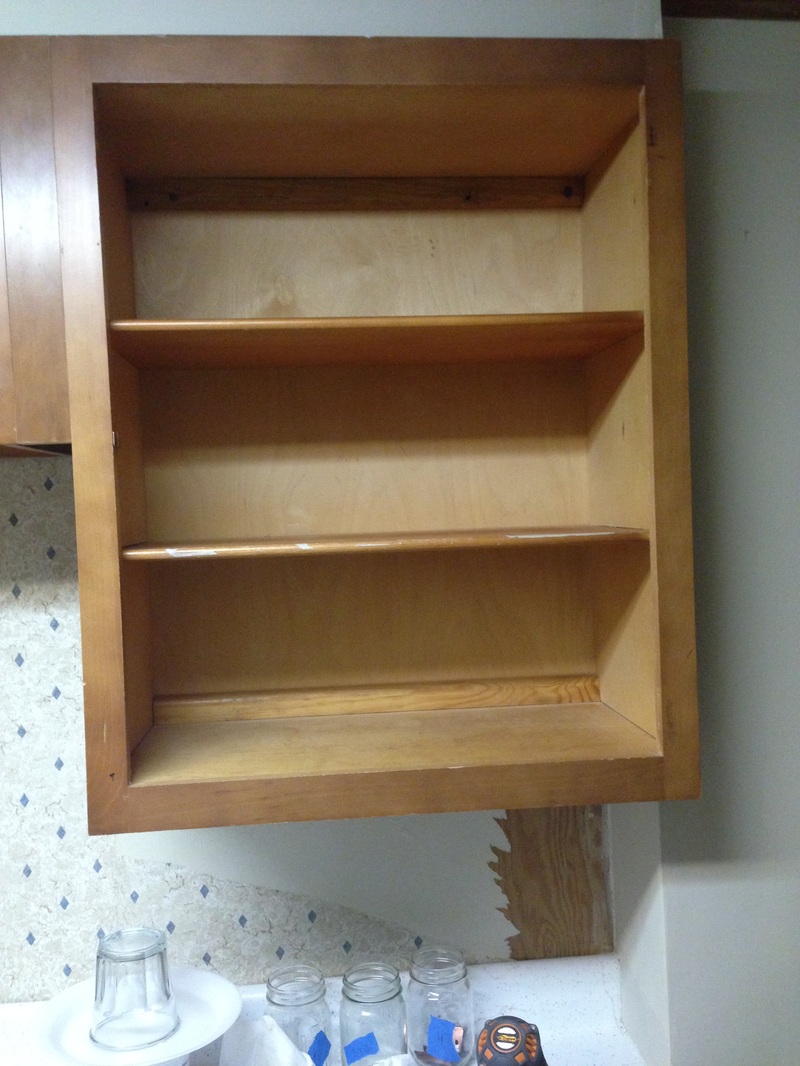 Next step is to sand the cabinets
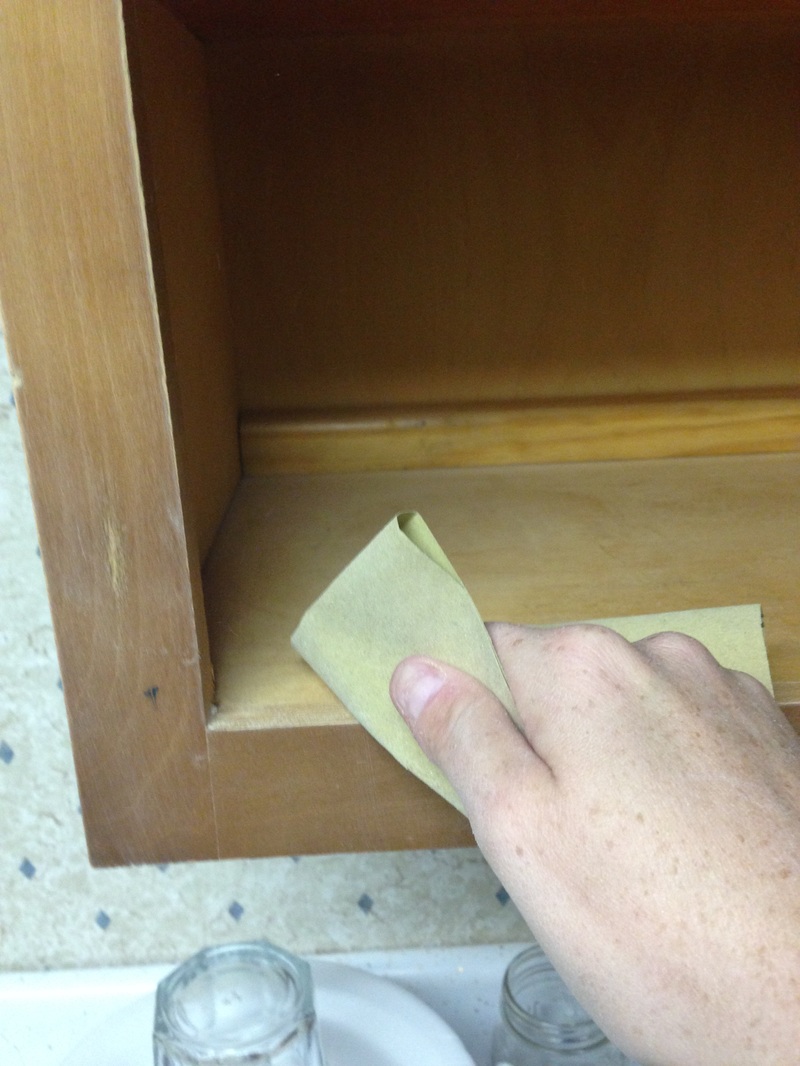 After sanding, wipe down and clean all cabinet surfaces.
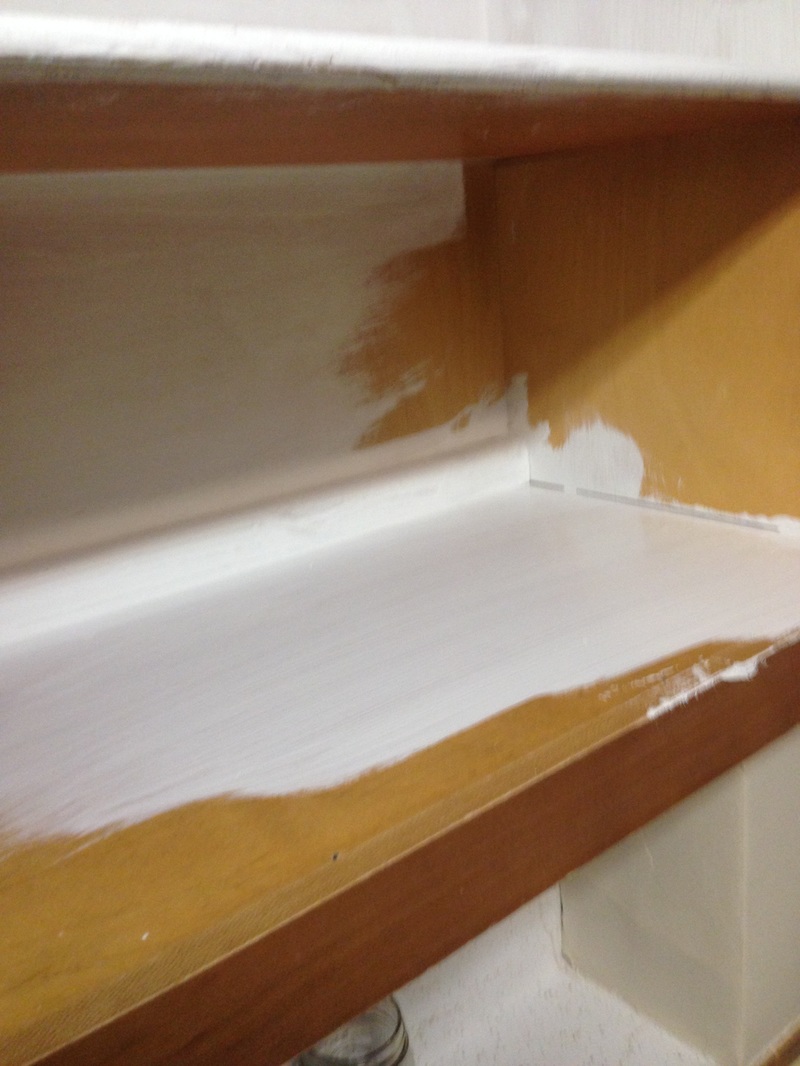 Once the primer is dry, paint with your regular paint. We use a latex based paint for cabinets, not chalk paint. This is all personal preference. Once that coat of paint is dry, do another coat if neededd. If not, coat your cabinets with a finished spray or wax to seal and protect.
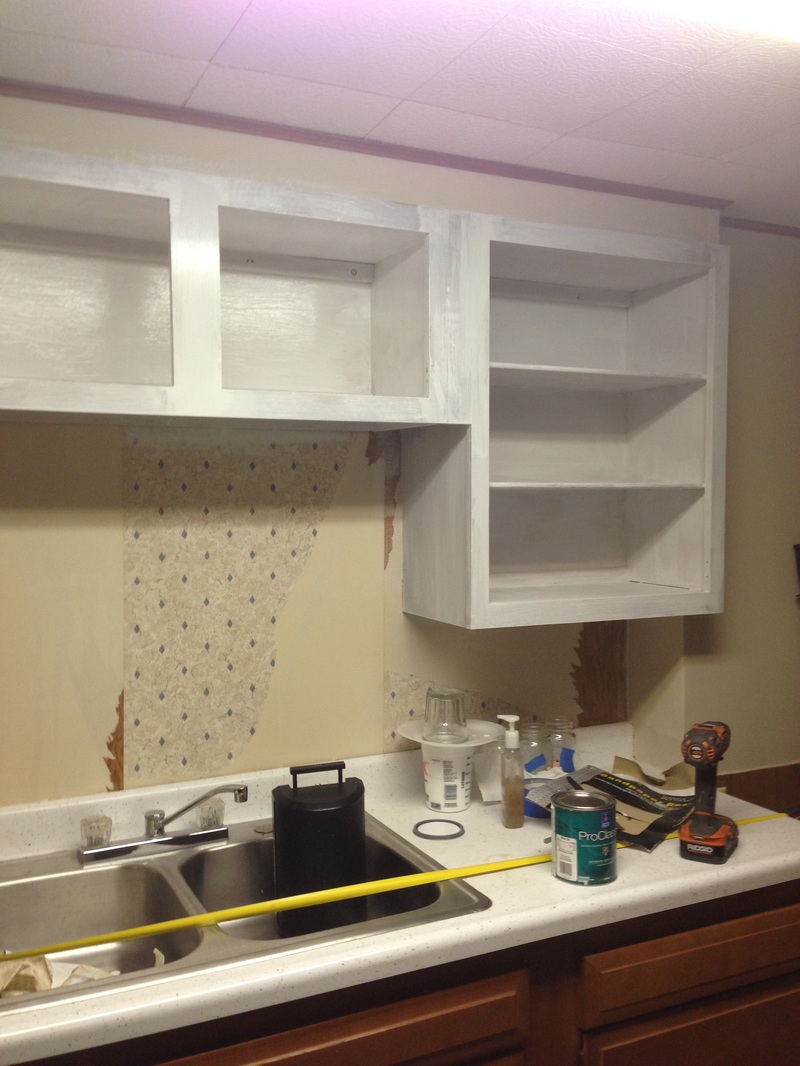
Painting Cabinets take time and patience!
Don't give up and don't judge the painting job until you are completely finished and all of the paint is dry!!
Coming up next: Cabinets get caulked (along the edges, so every seam), a light sanding, and then a coat of paint. We wait a day in between each coat of paint.
Leave a Reply