• Skip to primary navigation
  • Skip to main content
  • Skip to primary sidebar
  • Skip to footer
Clover Lane
  • Home
  • About Clover Lane
  • DIY
  • Home Decor
  • Recipe Box
    • Appetizers
    • Dessert
    • Drinks
    • Entrees
    • Sauces and Dressings
    • Side Dishes
  • Contact
  • Navigation Menu: Social Icons

    • Instagram
    • Twitter

Home » DIY Antique Baluster Candlesticks

DIY Antique Baluster Candlesticks

May 20, 2018 by Sadie Leave a Comment

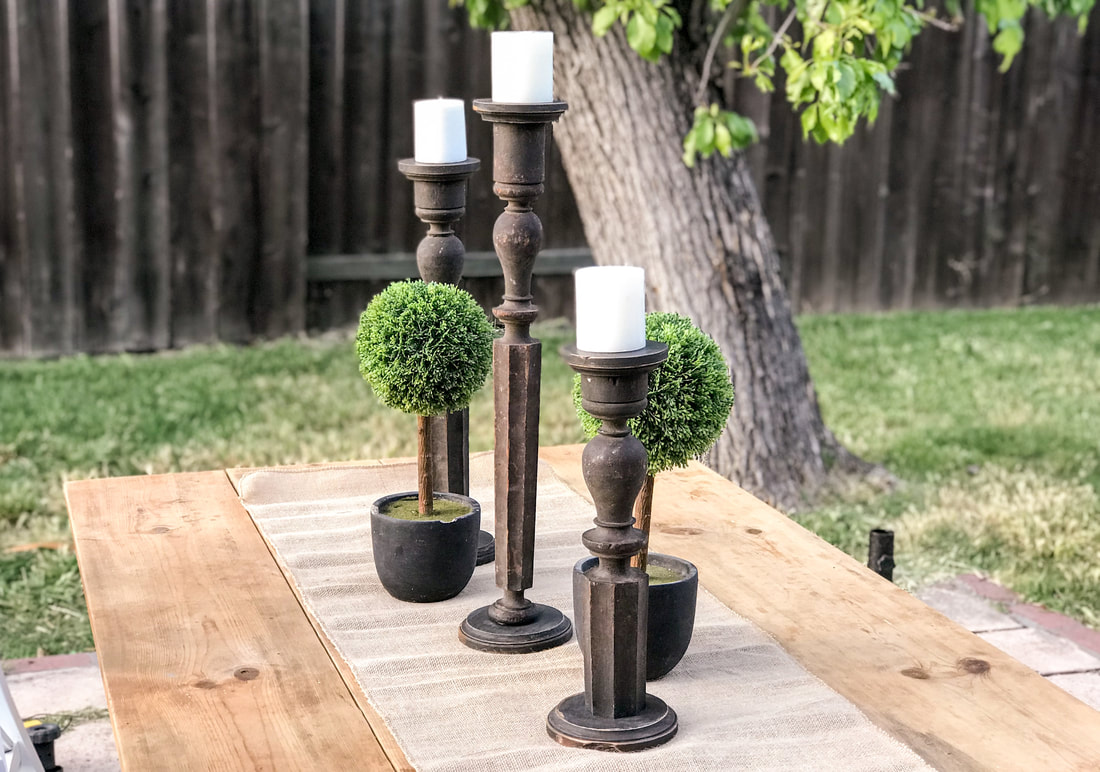
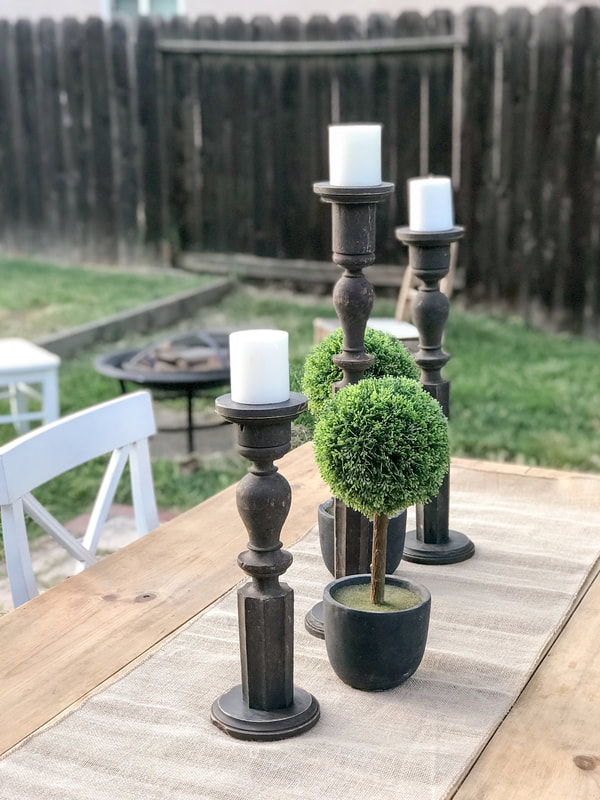
I am super excited to share this new DIY with you. Introducing antique balusters turned into candlesticks! This is an easy DIY and you won't even break a sweat make these baluster candlesticks!
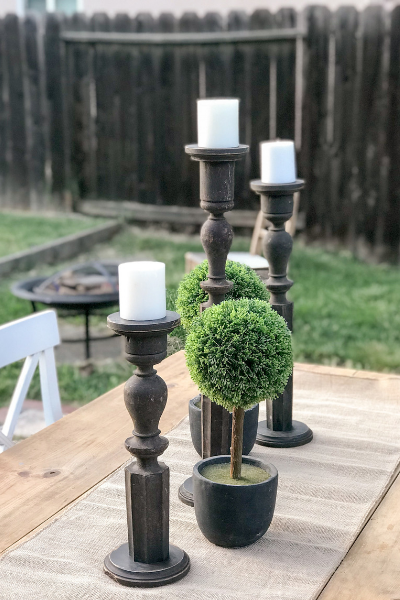
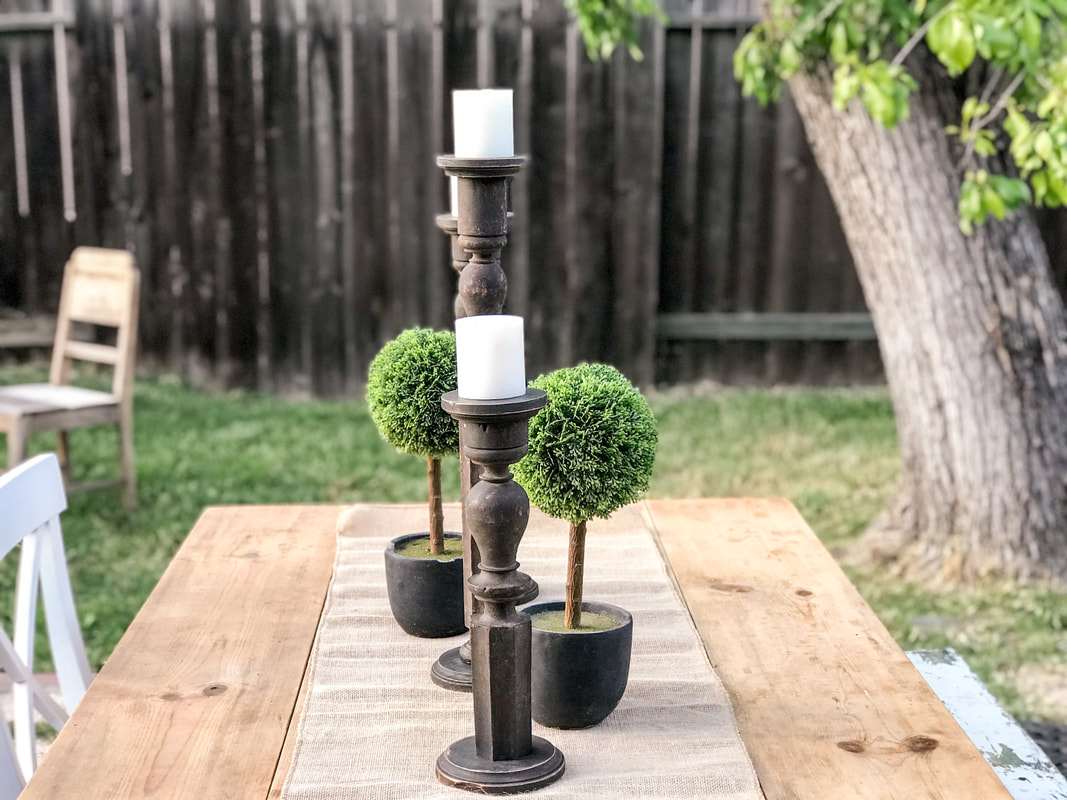
Dark distressed baluster candlesticks with white candles and a topiary on an outdoor table

DIY ANTIQUE BALUSTER CANDLESTICKS

Picture
First things first to make your own set of DIY ANTIQUE BALUSTER CANDLESTICKS-- Find some old balusters! I got mine at ReStore Habitat For Humanity in Independence, Missouri. If you prefer not to go the antique route, Home Depot carries them too!
 

You'll also need:

wood screws, 2" in length (2) per candlestick
pine circle plaques--found mine at Michael's (2) per candlestick- Online here.
sand paper
paint
​wood filler
saw--I used a miter saw

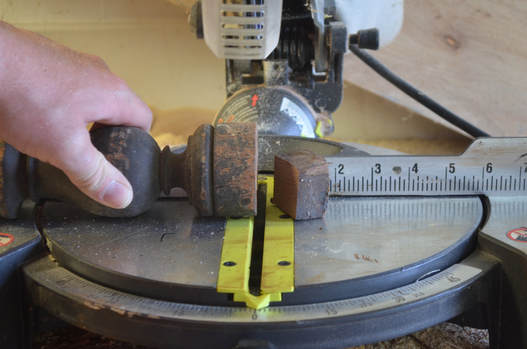
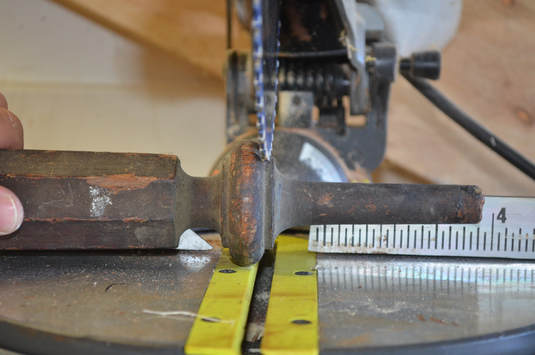
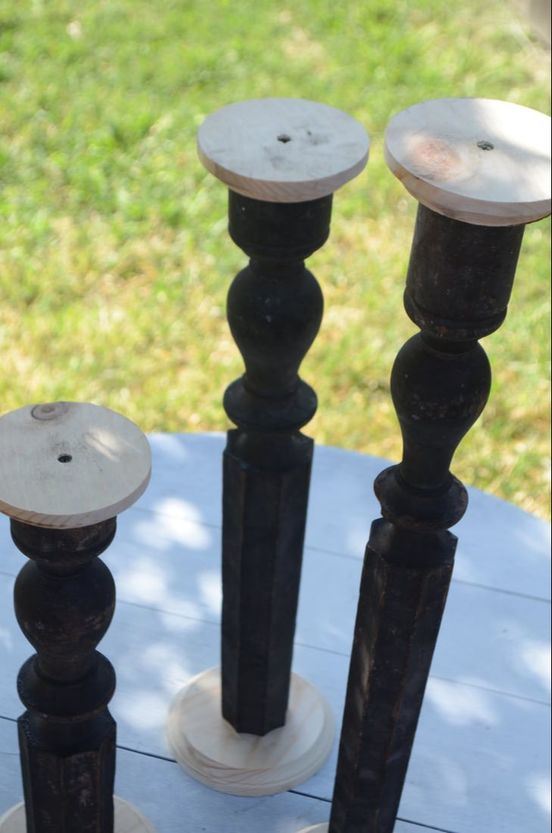
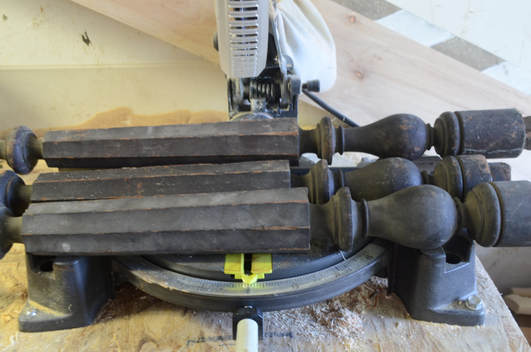
The first step after gathering your supplies is cutting down the balusters. Mine needed cut on both ends to give them a flat surface to attach the wooden plaque to.

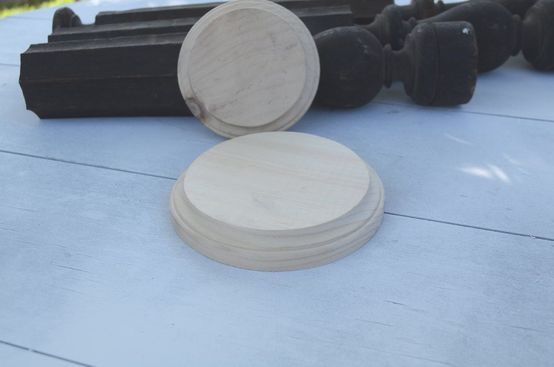
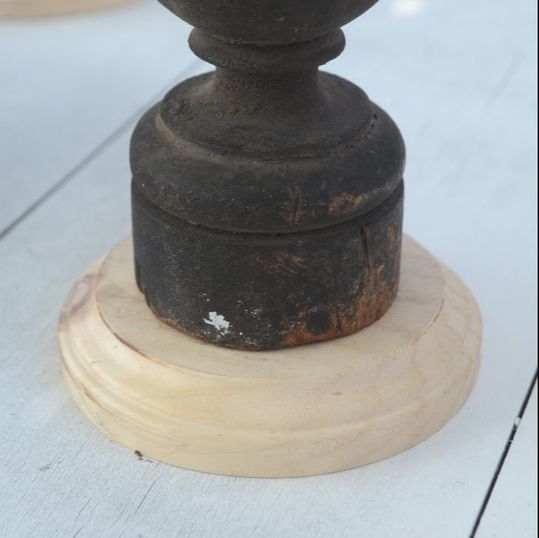
What do the wooden plaques do? One will act as a base to hold the candlestick up and the other will act as a base for the candle. **I used a slightly larger plaque for my bottom base because the balusters are top heavy. Highly recommended that you use a larger one too!

Decide the lengths you want each candlestick at and cut them down accordingly.
Picture

 
Picture

 
Picture
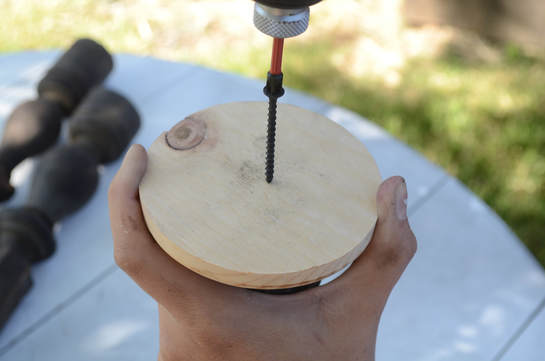
Now you will attach the plaques to each end of the candlestick. Measure or eyeball the center of your plaque with the candlestick in the center. Flip it over carefully, and drill one screw directly into the center. Hold the candlestick and plaque really tight as the candlestick wants to move during this process. If you have someone to help hold it still during this step, use them!
​
Picture

 
Picture

 
Picture

 
Picture

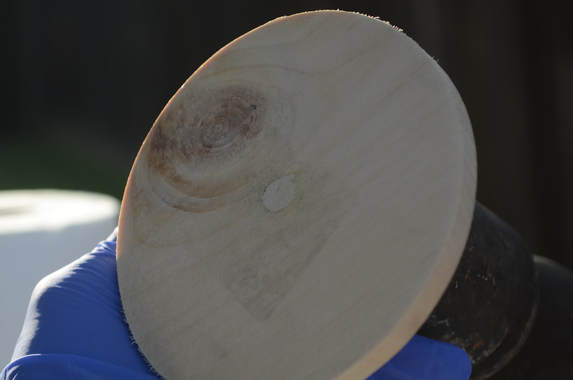
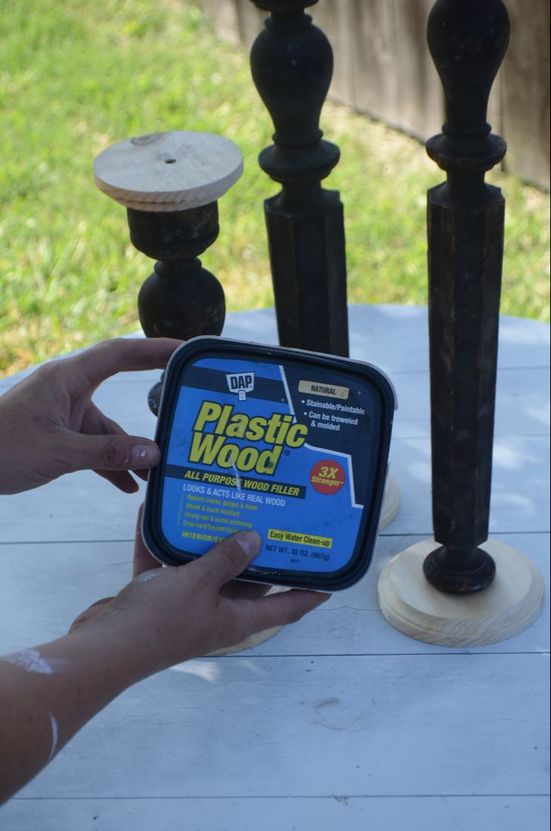
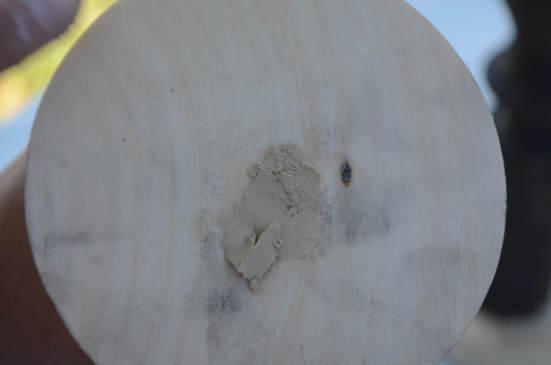
Once you've attached 2 plaques (one to each end of the candlestick), fill your screw holes with wood filler.
Picture

 
Picture

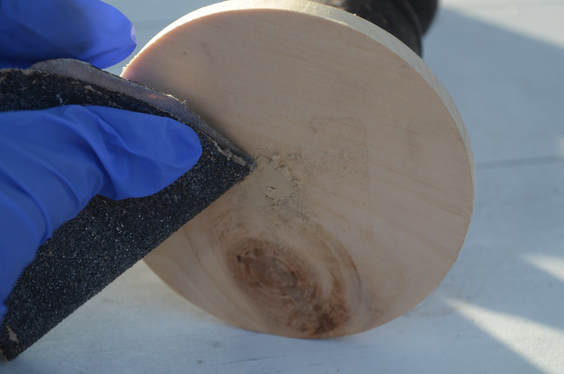
Allow it to dry and then gently sand off the excess so you are left with a smooth surface and no sign of the screw hole.
​
Picture

 
Picture
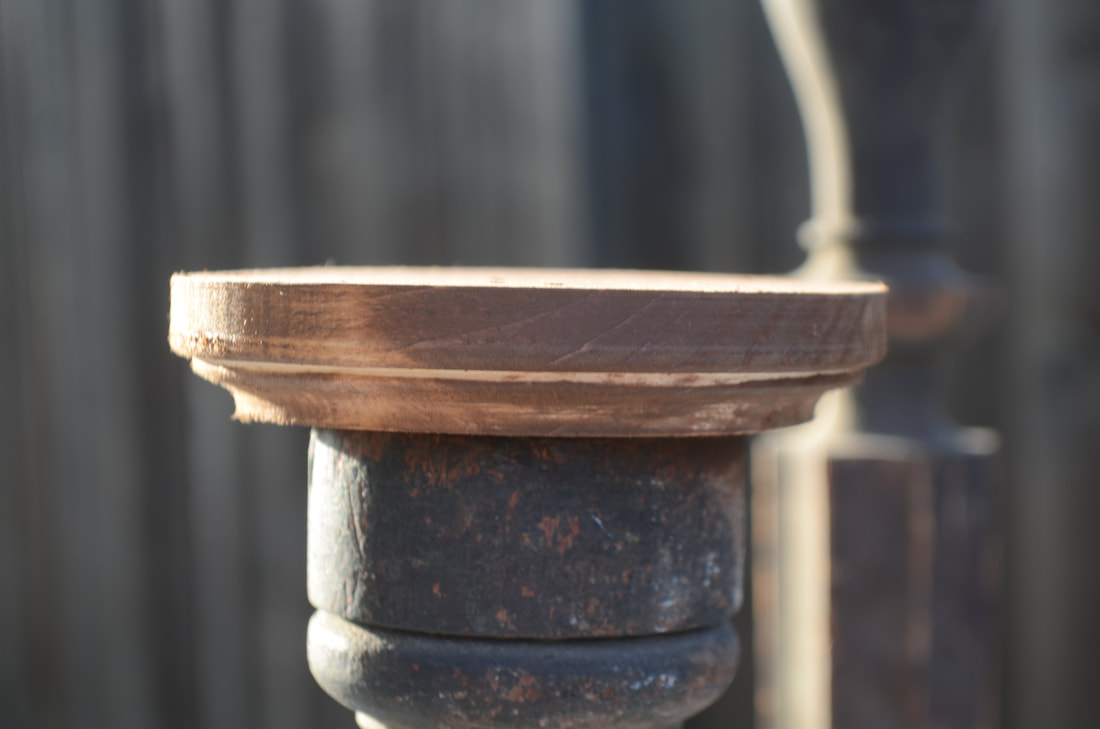
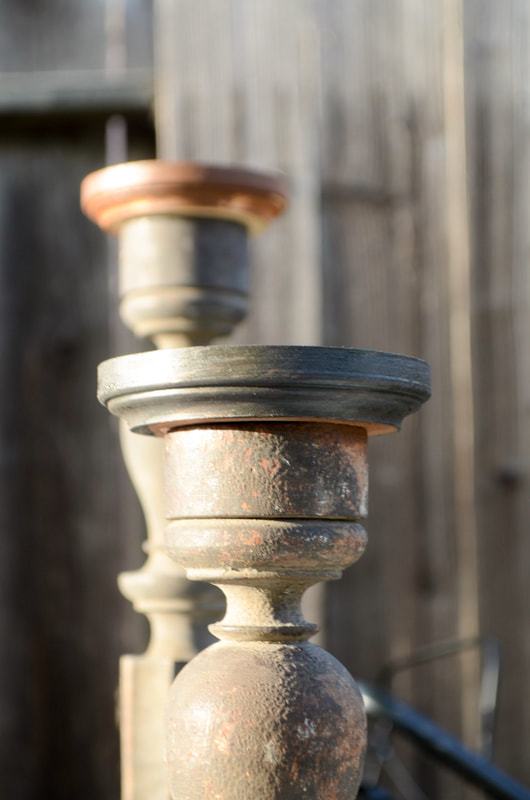
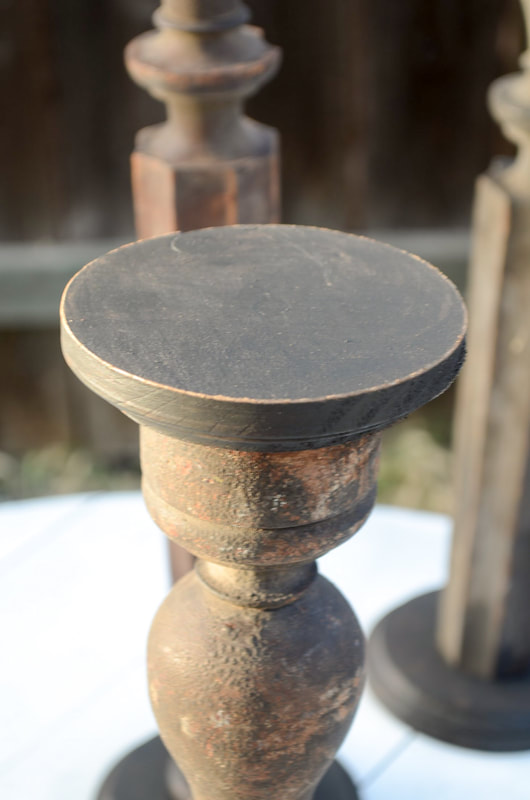
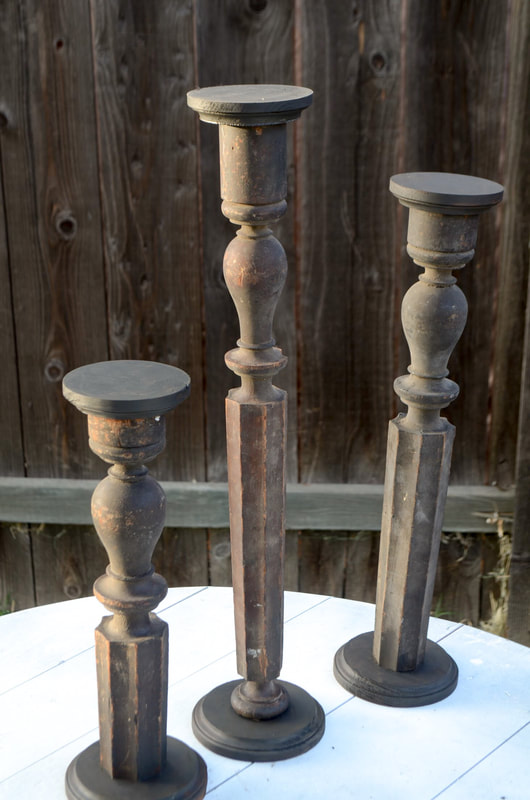
Now you will paint the plaques to match your candlesticks. I didn't want to take away from the gorgeous antique chippiness, so I tried my hardest to match the paint. It ended up working out and I am so pleased with the outcome.
​
Gloved hand rubbing stain onto the top of a baluster candlestick
Stained wood top on a dark painted baluster candlestick
Three baluster candlesticks with stained tops and bases on an outdoor table
Gloved hand brushing dark paint on a candlestick base
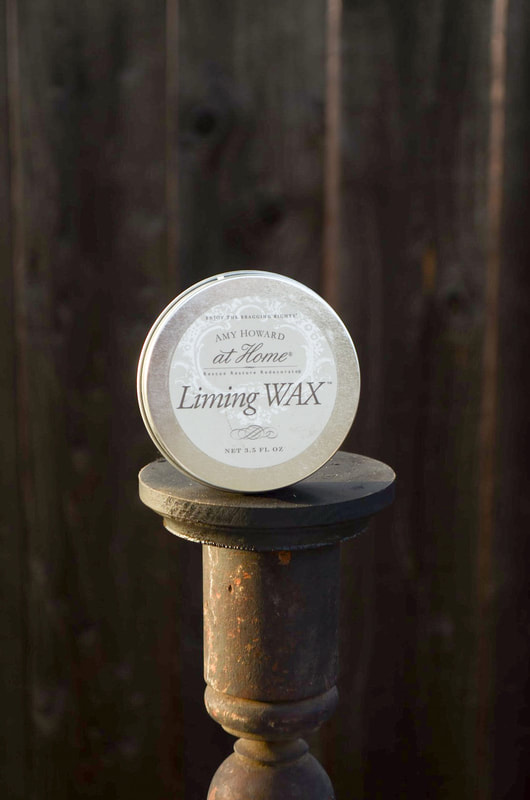
Tin of Amy Howard at Home Lining Wax on a baluster candlestick
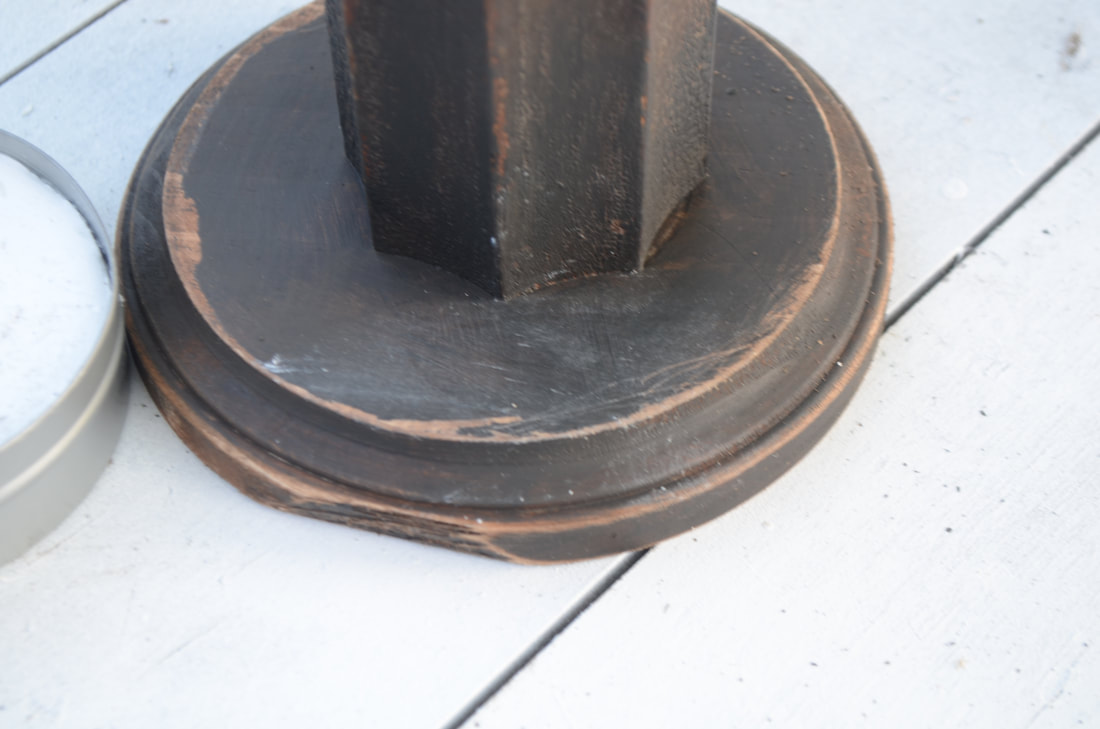
Close-up of a distressed dark painted candlestick base
Dark painted baluster candlesticks outdoors
Close-up of a dark waxed candlestick base
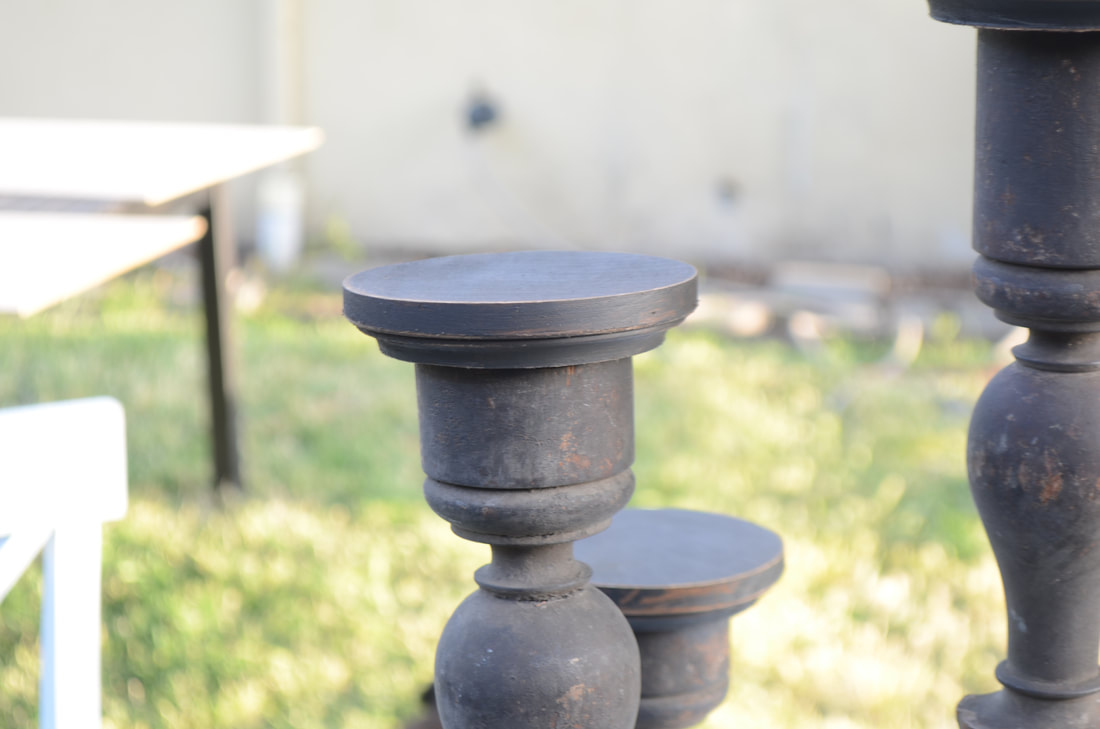
Distressed dark painted candlestick tops
Close-up of the distressed top of a dark baluster candlestick
Dark painted baluster candlestick on a round base
Three finished dark baluster candlesticks against a wood fence
 
Picture

 
Picture
Thanks for stopping by and don't forget to Pin It!!
Gorgeous one of a kind candlestick DIY made from antique balusters. This is so easy!!

 
Craft Lightning Wood graphic listing Country Chic Cottage, 30 Minute Crafts, and Pet Scribbles-
 

Filed Under: DIY

Pages

  • About Clover Lane
  • Contact
  • Legal Disclaimer
  • Privacy Policy
  • Recipe Box
  • Welcome to Clover Lane...we're happy you stopped by!

Reader Interactions

Leave a Reply Cancel reply

Your email address will not be published. Required fields are marked *

Recipe Rating


This site uses Akismet to reduce spam. Learn how your comment data is processed.

Primary Sidebar

About Us

Welcome to Clover Lane! We are Cassie and Sadie-- A sister DIY duo with serious "go get 'em" personalities. We take boring rooms and make them not-so-boring by knocking down walls and getting stuff done!! Oh, and we LIVE to eat.

Footer

Contact | Privacy Policy | Legal Disclaimer

Copyright © 2026 Clover Lane on the Foodie Pro Theme