
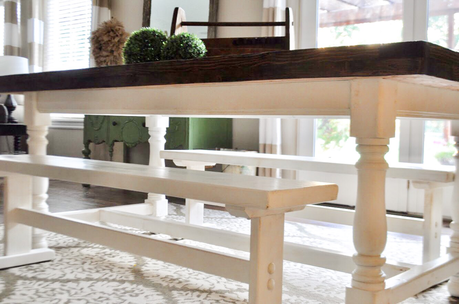
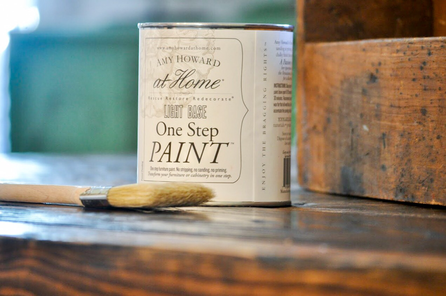
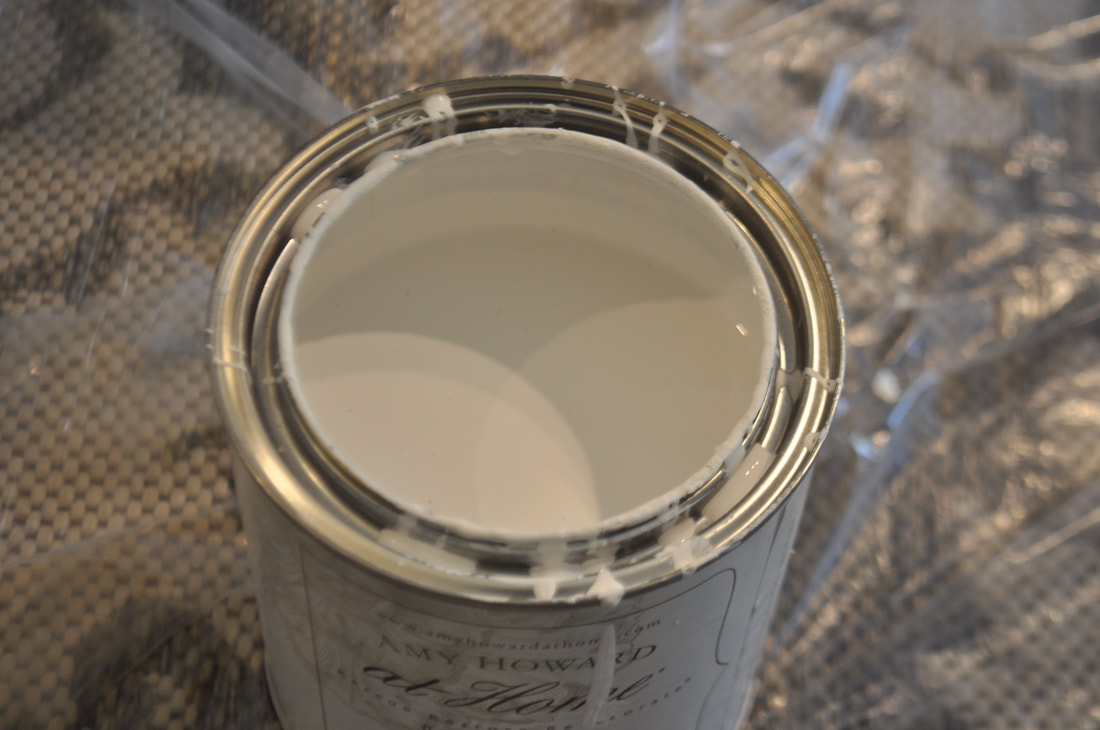
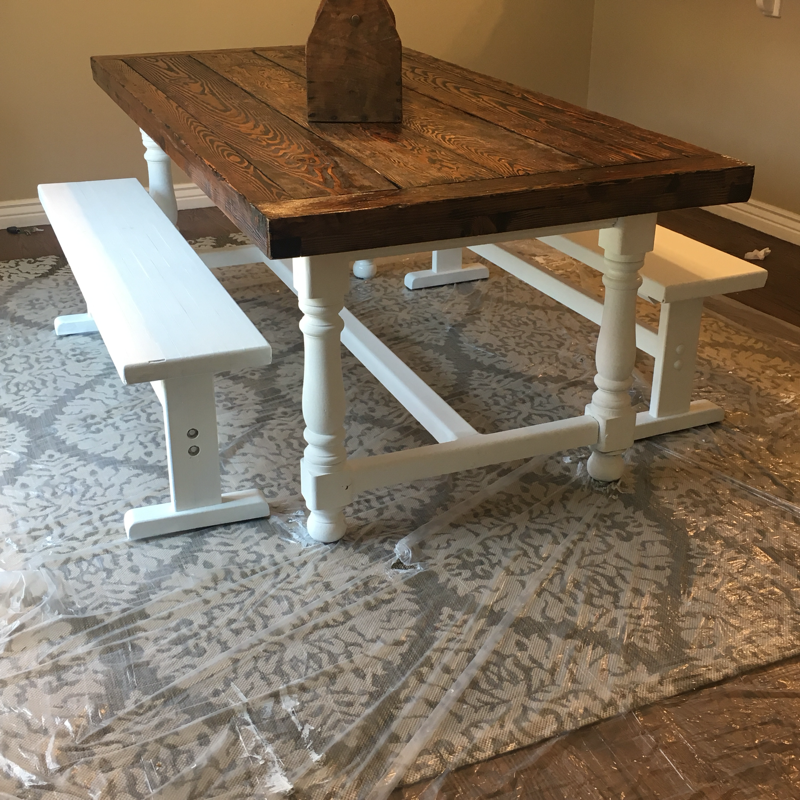
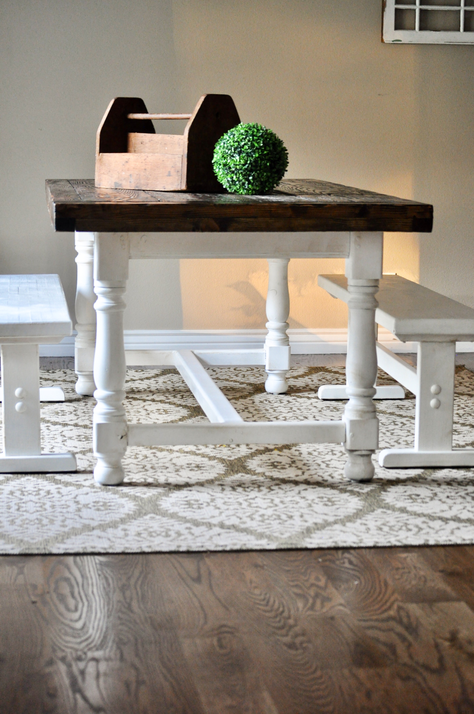
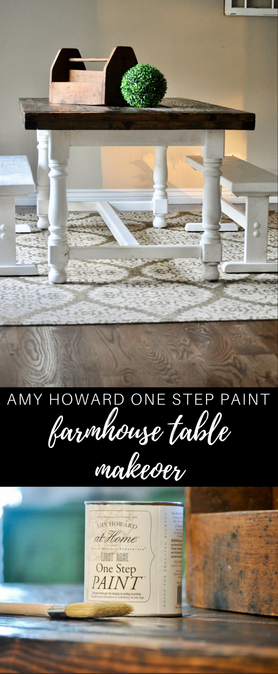
Our brother-in-law built this beautiful table! Our parents gave our sister Amanda some benches that our family used growing up. Prepare yourself...they are 25 years old and were long overdue for a little love!!!I decided on using the the "One Step Paint". This stuff is amazing and it's just that..... a simple "one step" chalk paint. The sky's the limit with colors! You can color match or pick your favorite shade to be made into the One Step Paint. You can purchase it at Ace Hardware, or by clicking any of our links below.
Simply clean your piece of furniture and paint away! That really is it! Also, something just needs to be said about this paint. It is NOT like traditional chalk paint. If you are not a fan of chalk paint, you have to give this a try. It goes on like butter, doesn't have a funky texture or feel, and it looks smooth (no brush strokes).

Supplies Needed:
Amy Howard One Step Paint
Amy Howard 2 inch Round Hog Hair Brush
Amy Howard 2.5 inch Flat Bristle Brush
Amy Howard Light Antiquing Wax
Amy Howard Dark Antiquing Wax
Amy Howard One Step Paint
Amy Howard 2 inch Round Hog Hair Brush
Amy Howard 2.5 inch Flat Bristle Brush
Amy Howard Light Antiquing Wax
Amy Howard Dark Antiquing Wax
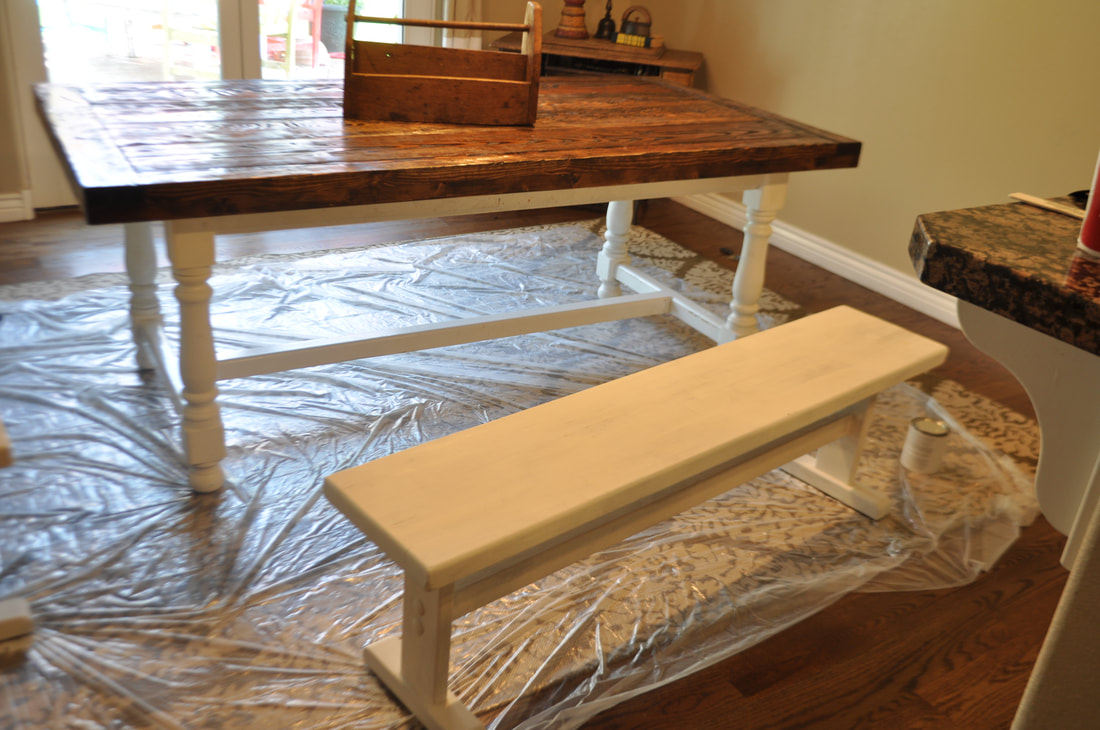
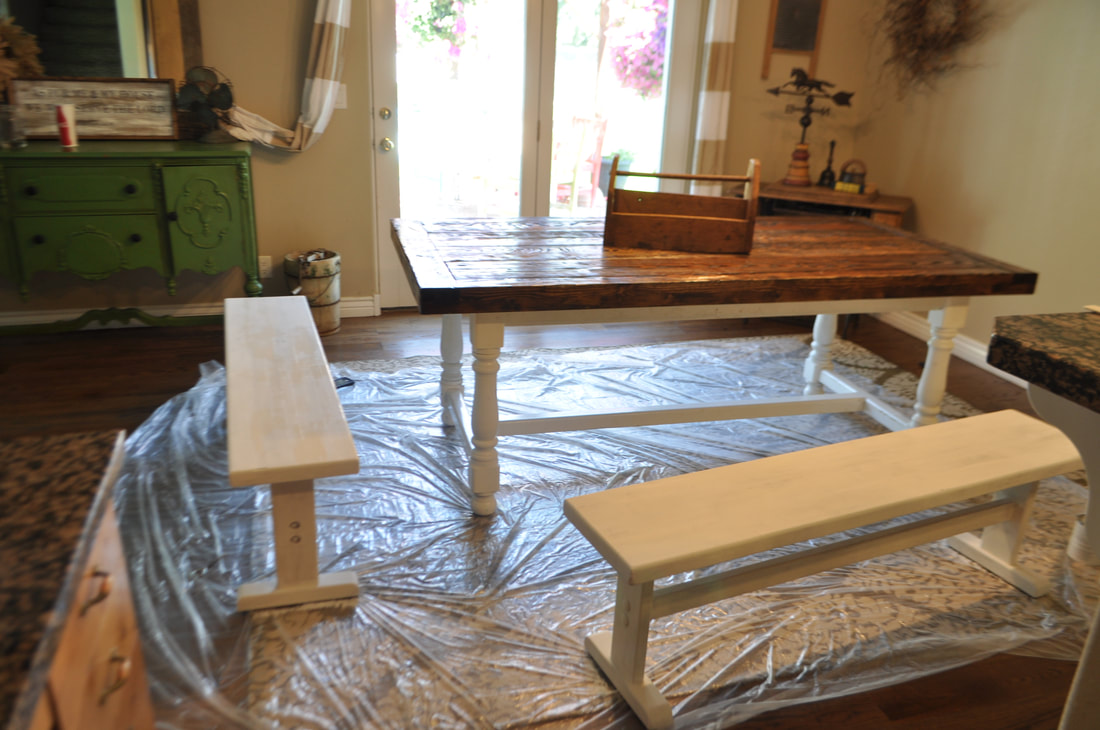
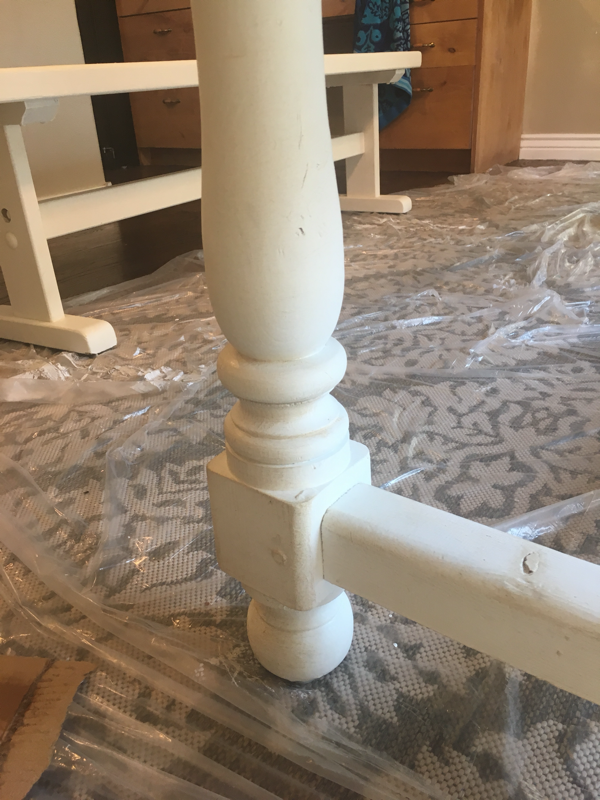
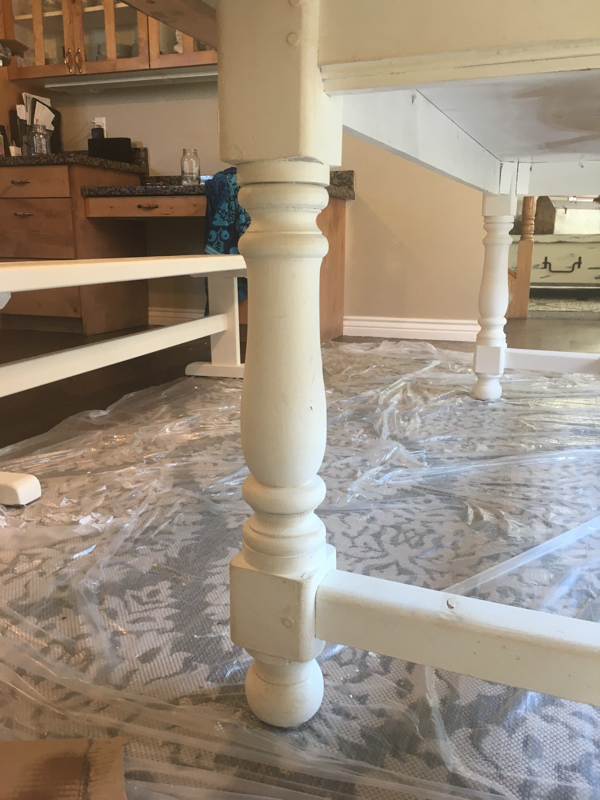
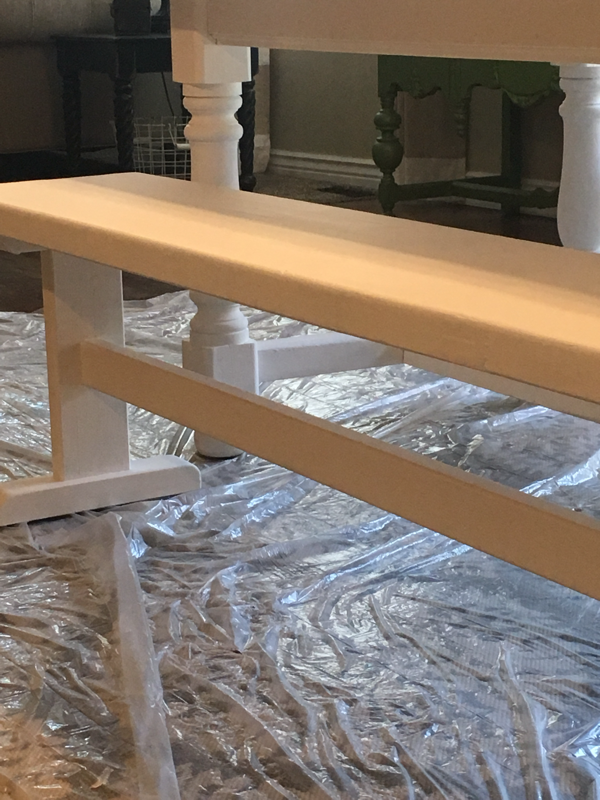
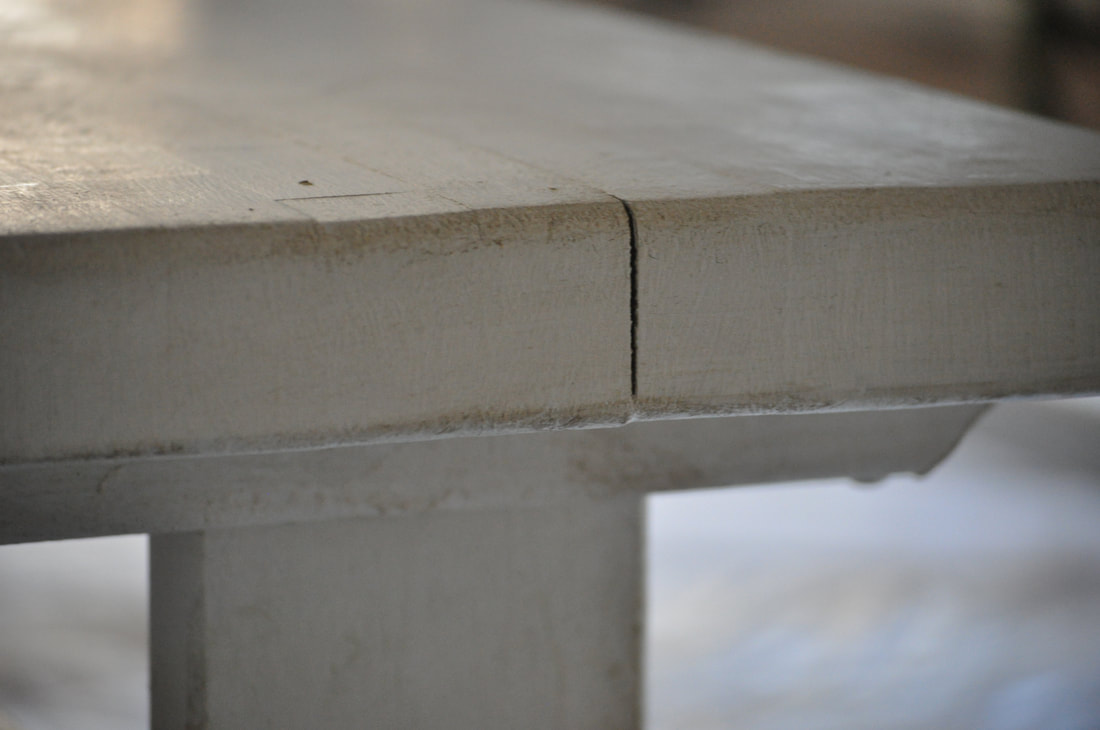
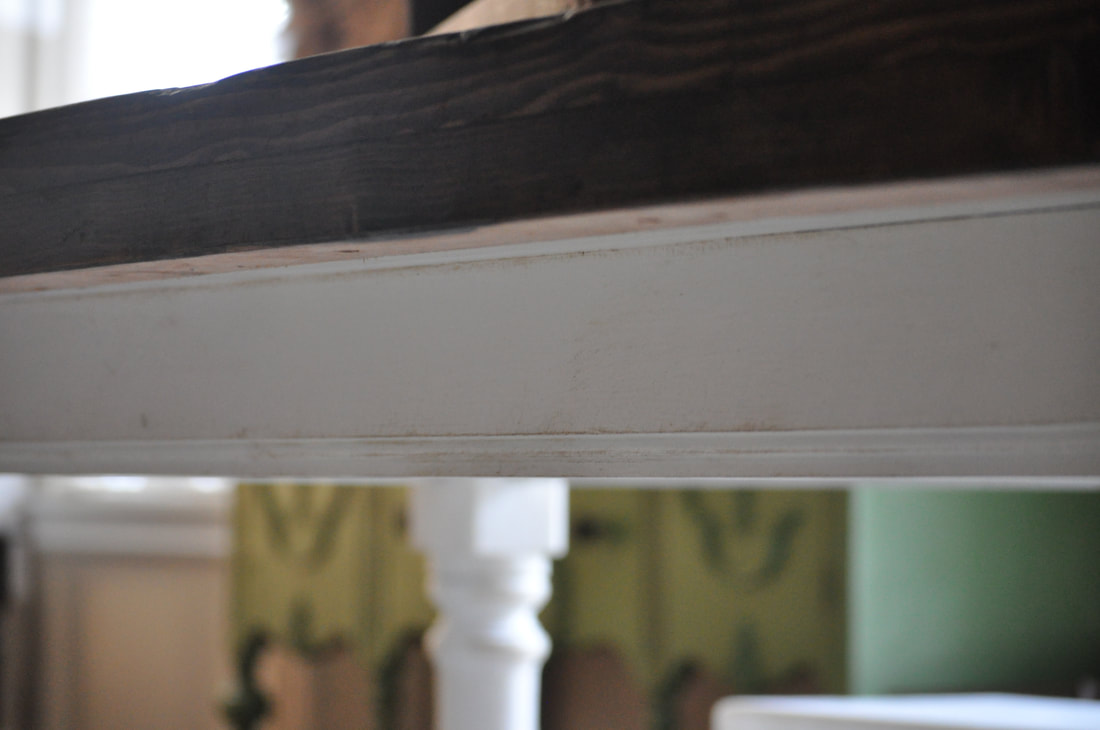
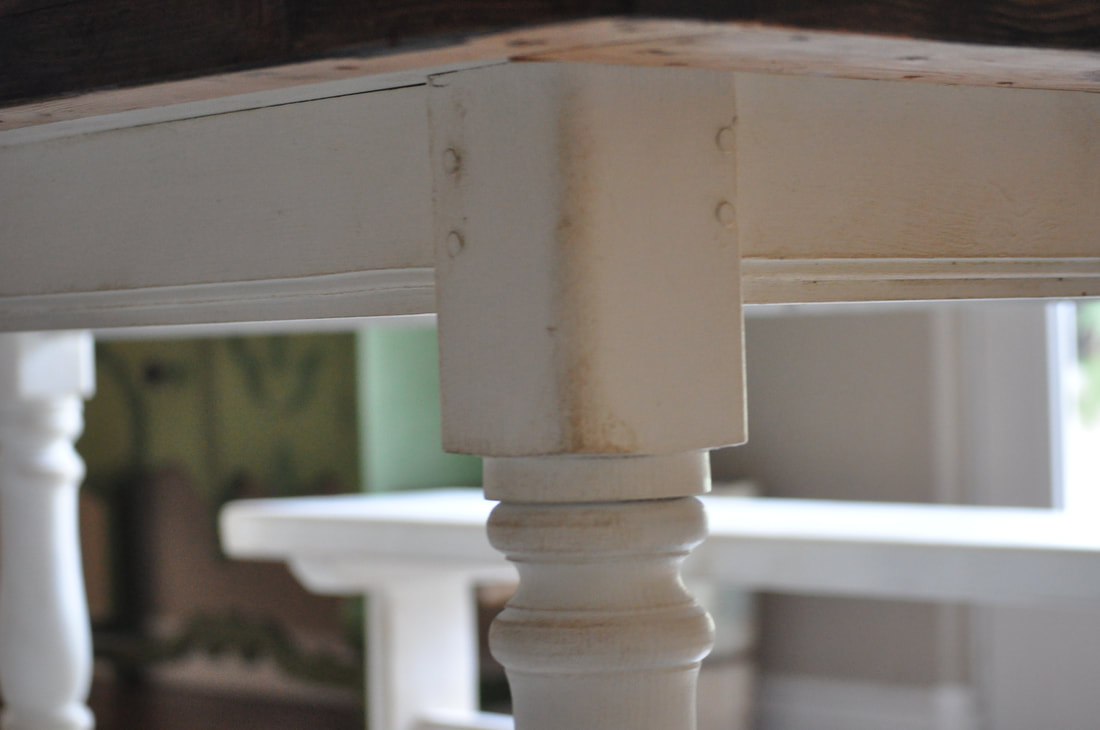
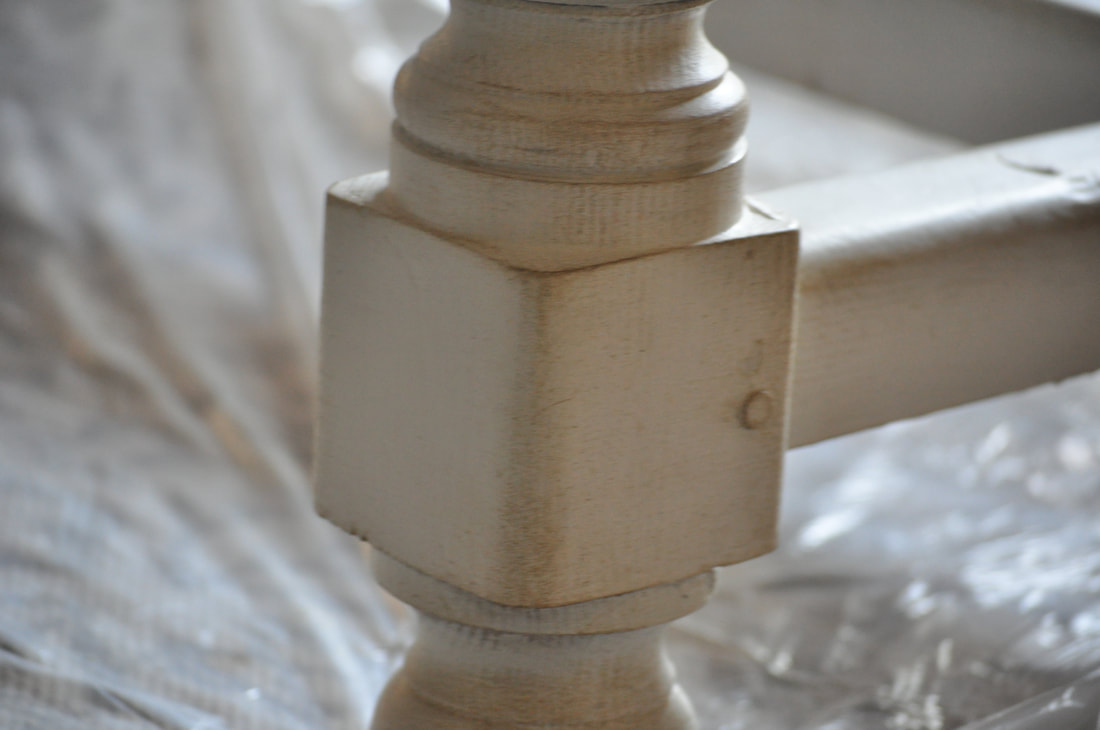
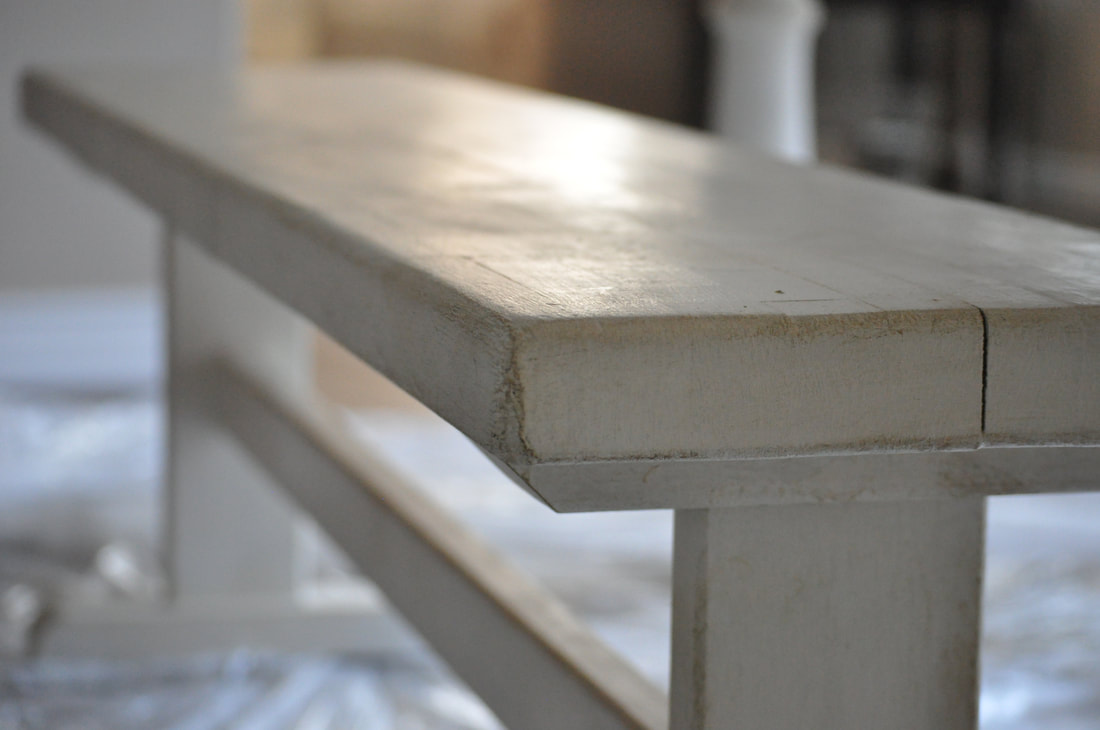
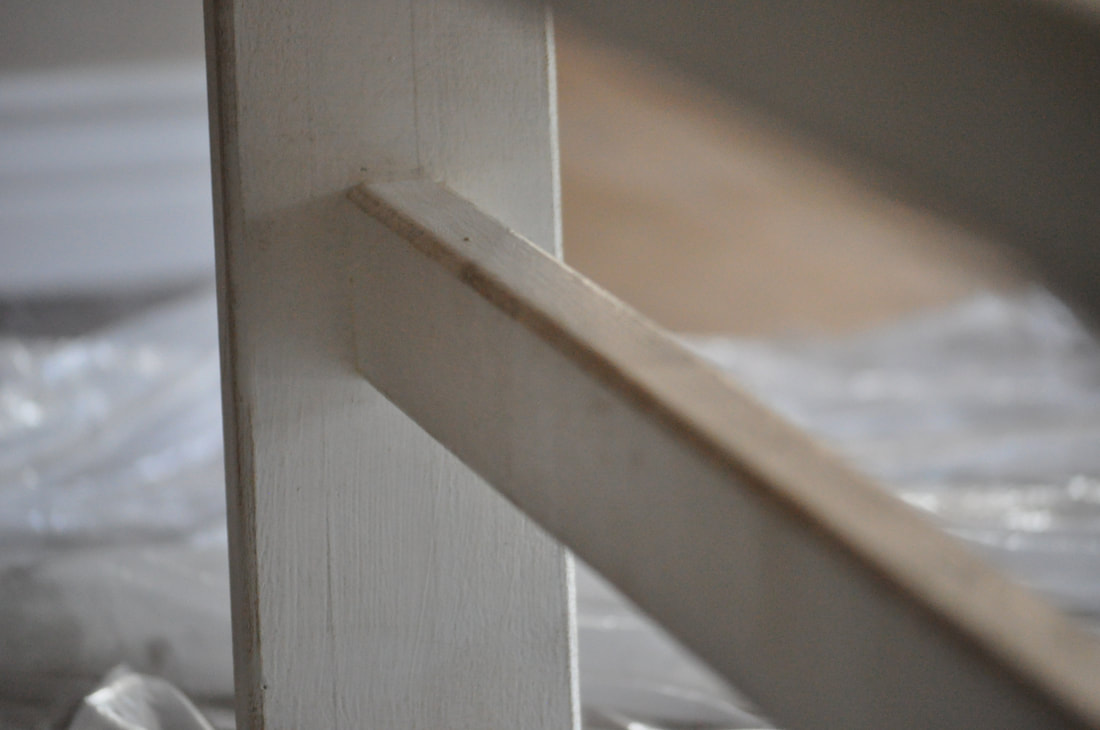
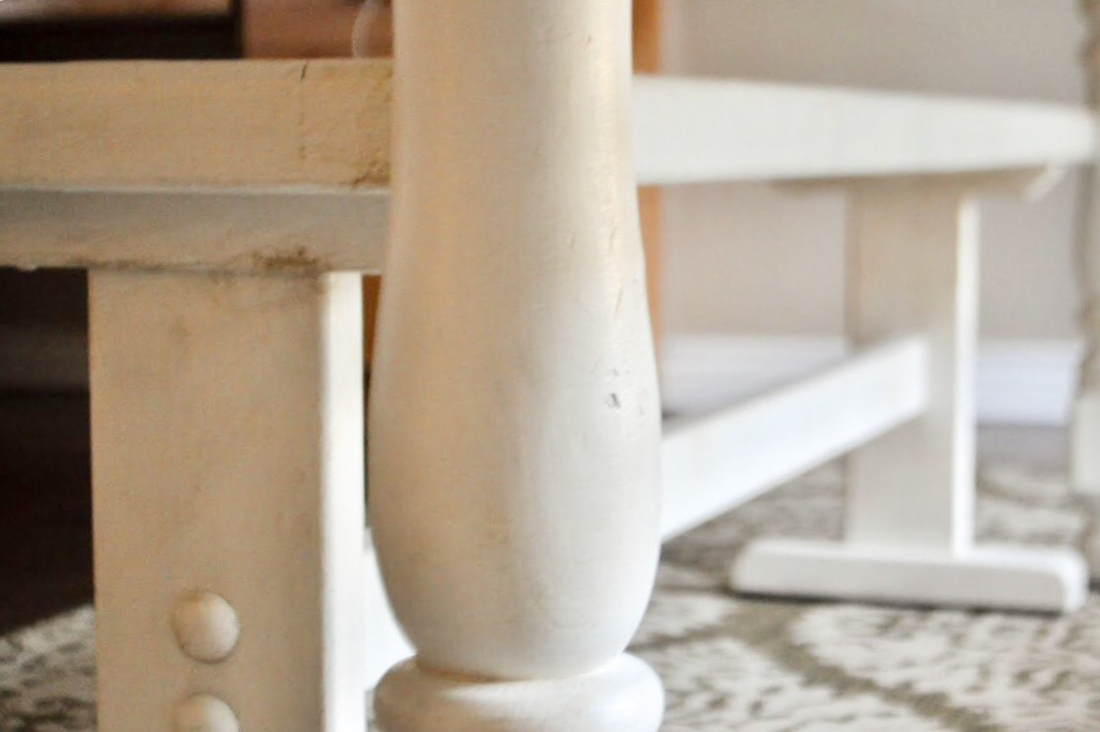
Like I mentioned earlier, our bro-in-law Will built this beauty...so the table was already white. I had the simple task of painting one coat of white on the table base and painting the benches.Here are the "Before" shots of the table and benches.
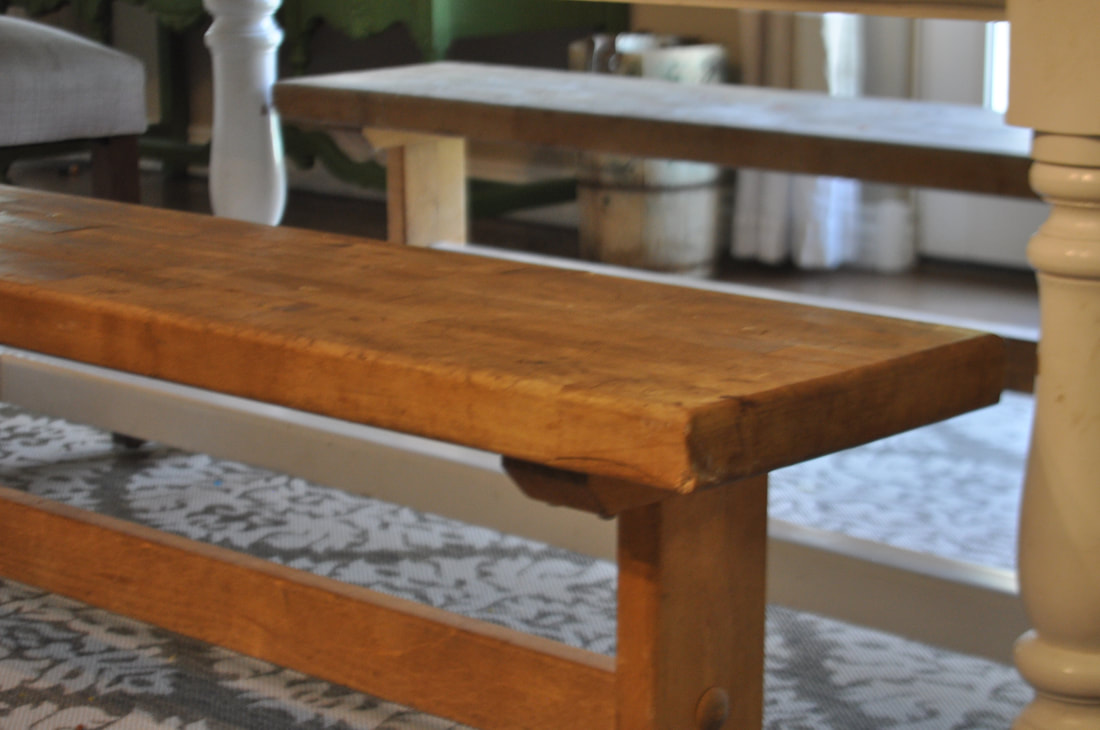

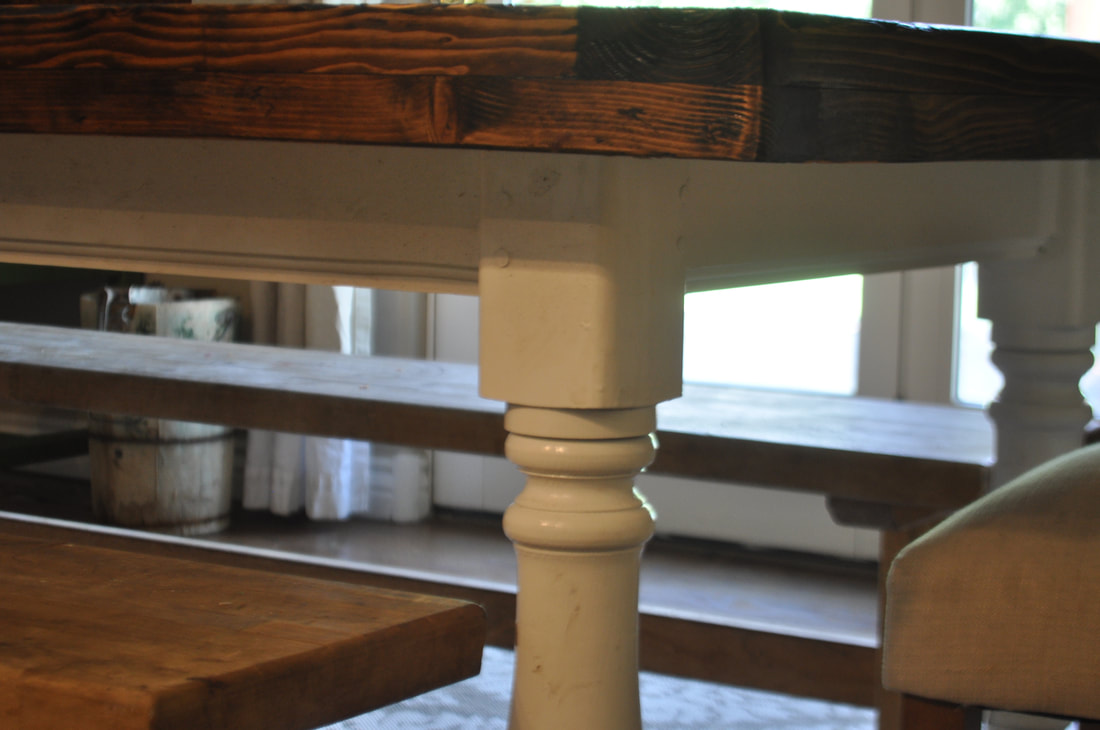
We wanted a "true" white so I had my new buddy at Ace Hardware shake me can of the Light Base One Step Milk Paint. I did a total of two coats on each of the benches and one coat on the base of the table. Here are a couple tips I hope you find helpful!
- Use your 2.5 inch flat bristle brush
- DO NOT overwork the chalk paint
- Be sure to allow the paint to dry completely before applying your second coat.
Using your 2 inch round hog hair brush or a 2.5 inch bristle brush, Firmly press into the light antiquing wax and the off load the wax on either a piece of cardboard or a paper plate, using an "X" motion apply the light wax to the entire surface. Allow to dry completely.
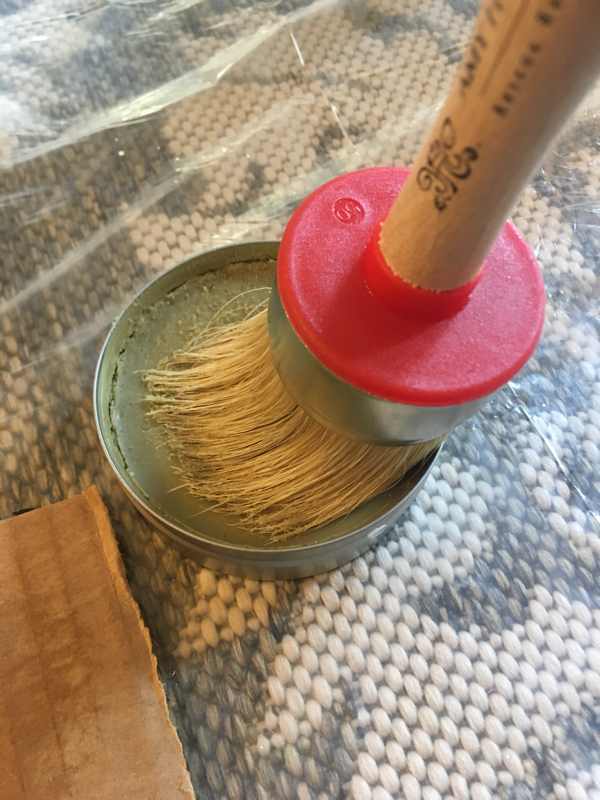
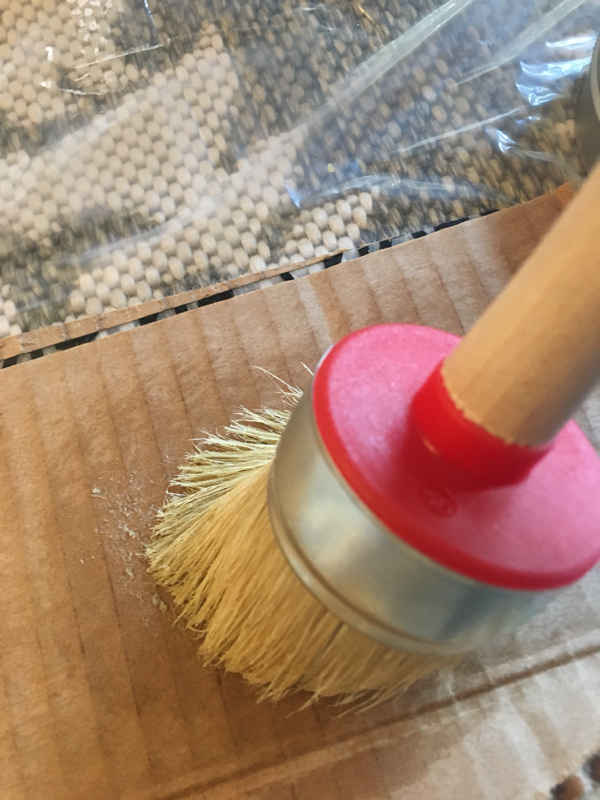

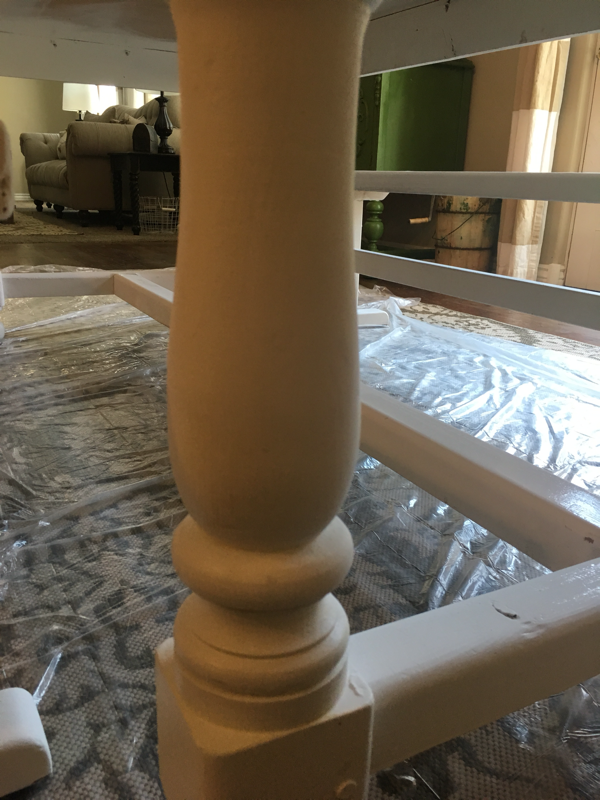
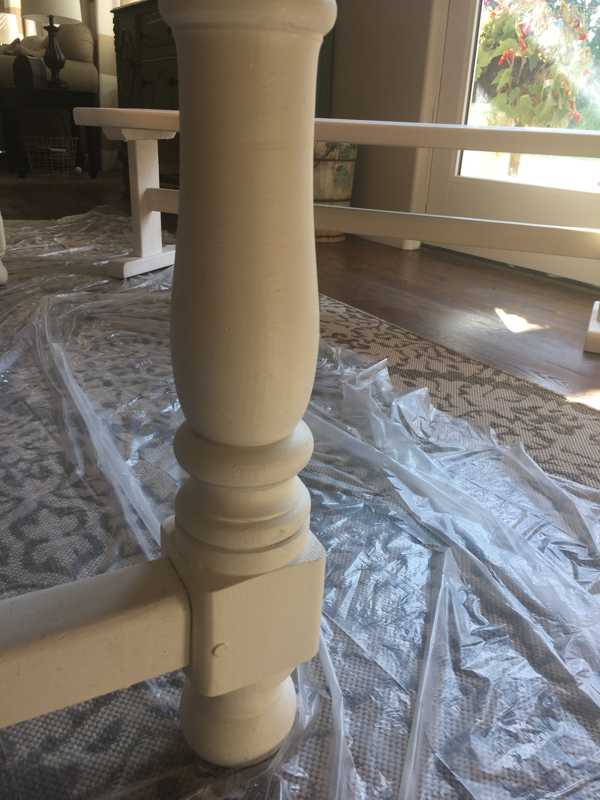
Using a 2.5 inch bristly brush firmly press brush into your Dark Antiquing Wax and off load onto your cardboard or plate the same way you did with your light wax. Apply the dark wax in areas you feel would naturally have wear and areas that you'd like to show off the different dimensions.
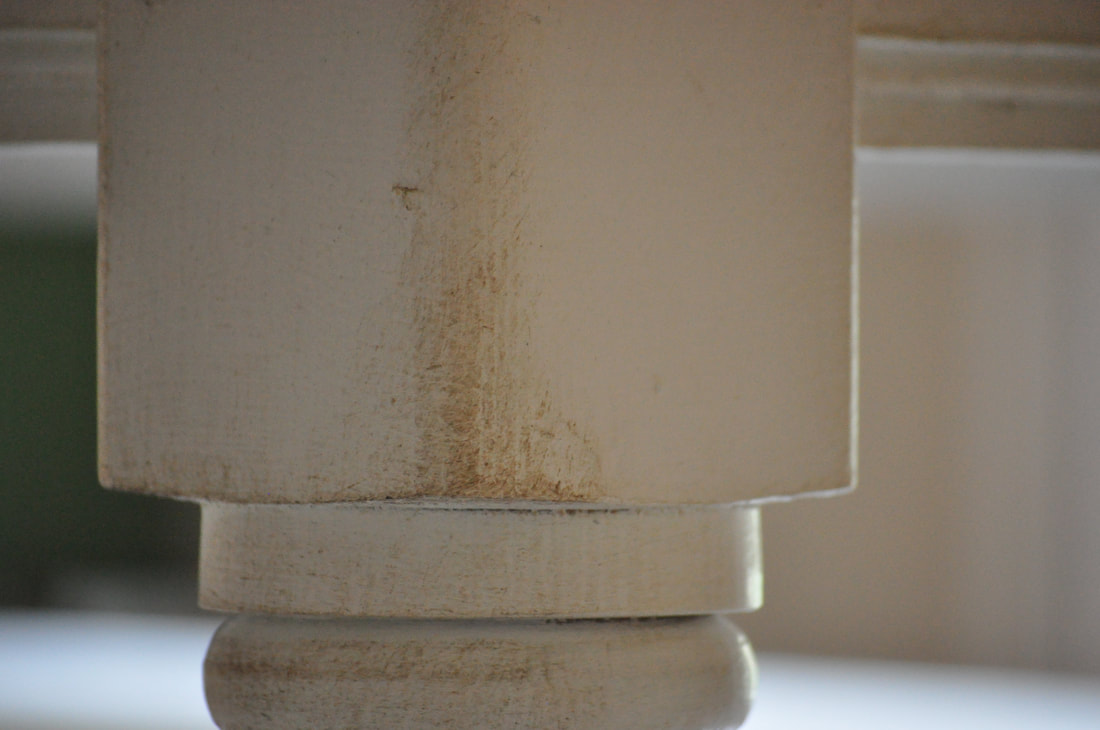
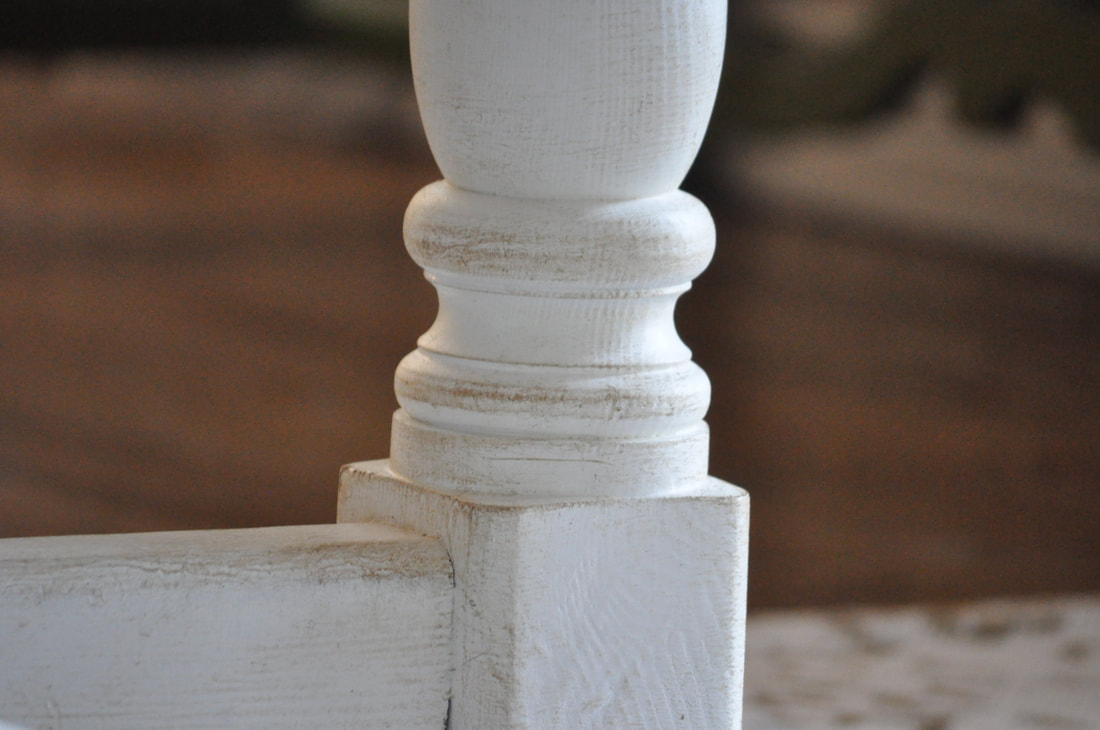
Once you've allowed the Dark Antiquing Wax to dry for 30 minutes, gently buff with a lint free rag.


I'm totally a visual learner so here's a quick and super helpful video!
Now sit back and admire your work!

Pin it!!
Leave a Reply