
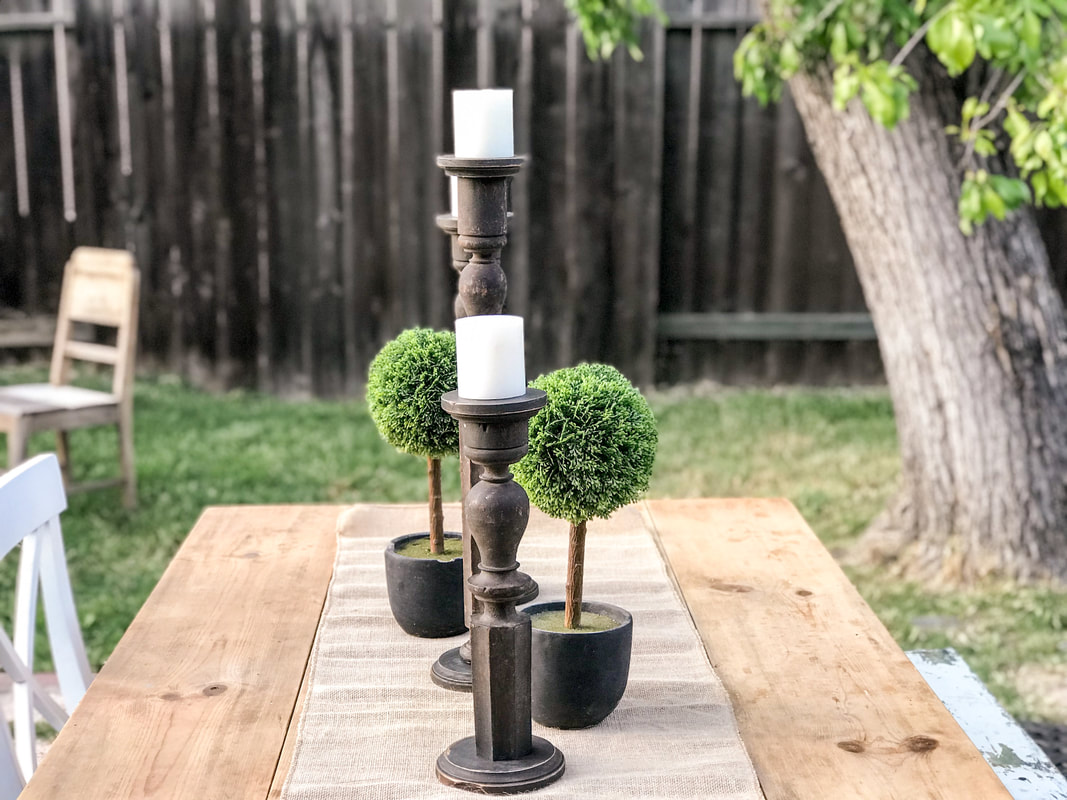
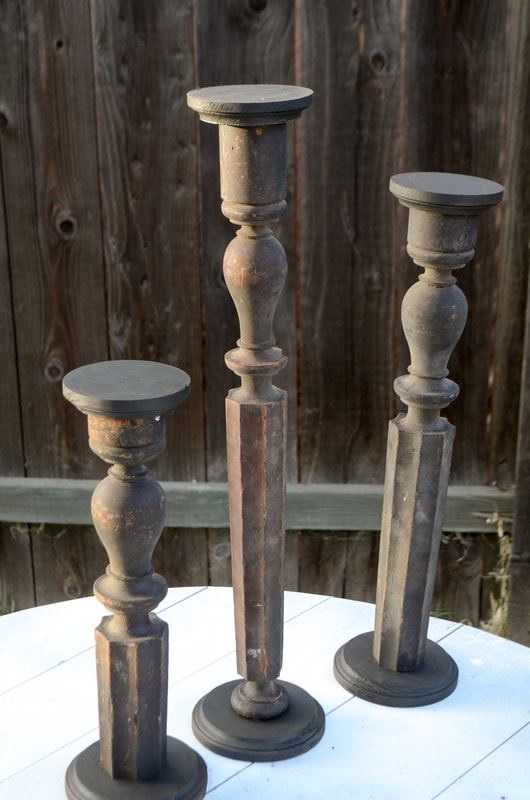
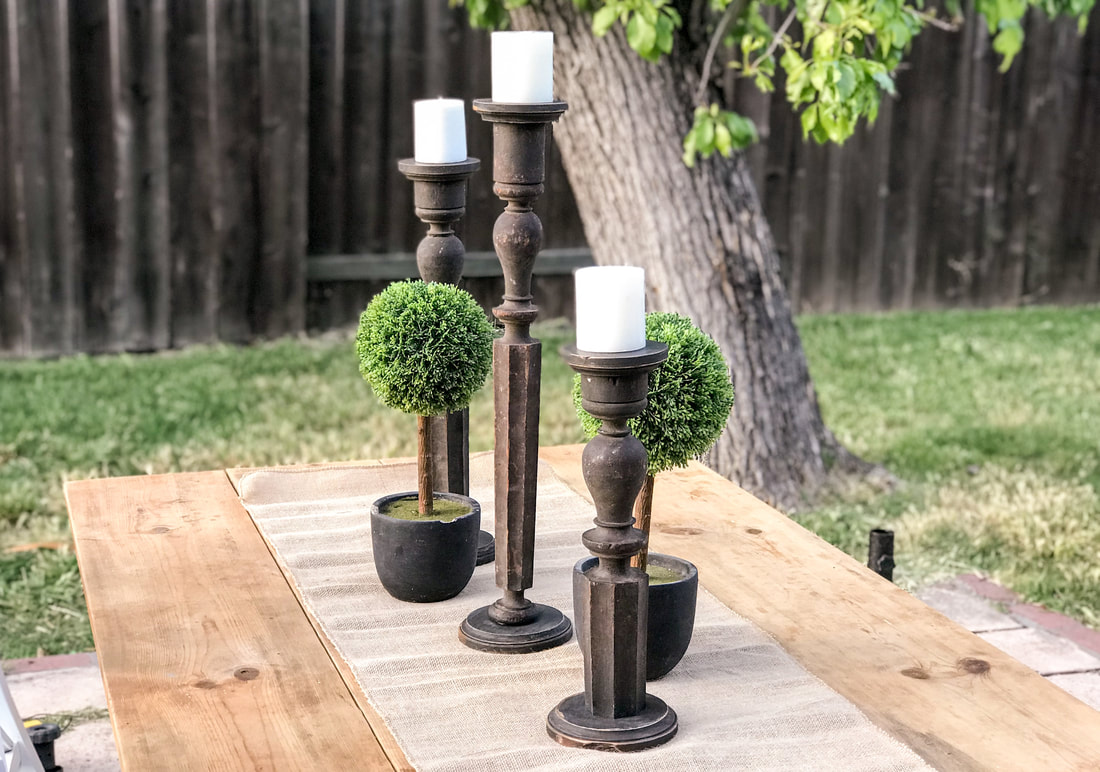
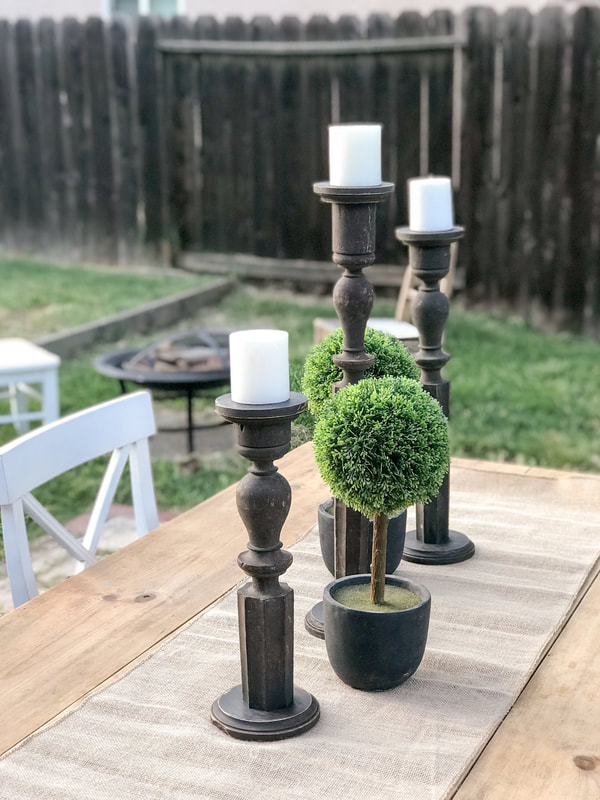
I am super excited to share this new DIY with you. Introducing antique balusters turned into candlesticks! This is an easy DIY and you won't even break a sweat make these baluster candlesticks!
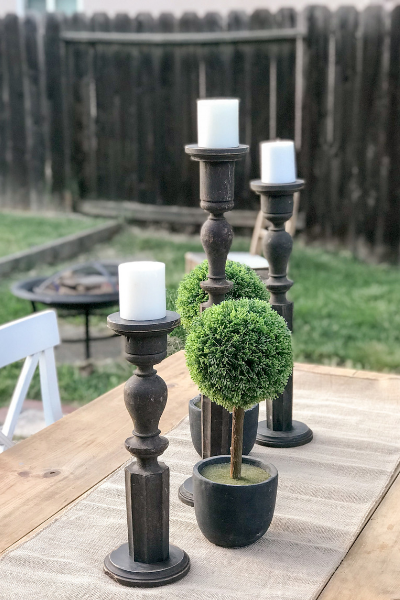
DIY ANTIQUE BALUSTER CANDLESTICKS
You'll also need:
wood screws, 2" in length (2) per candlestick
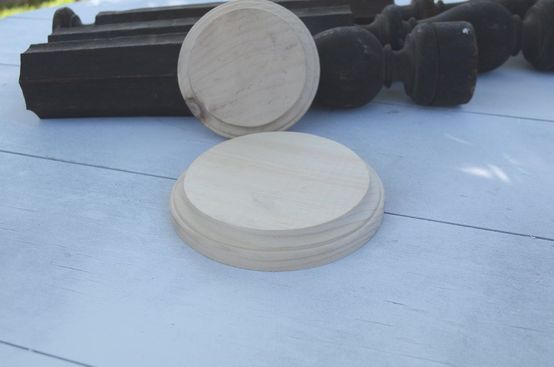
pine circle plaques--found mine at Michael's (2) per candlestick- Online here.
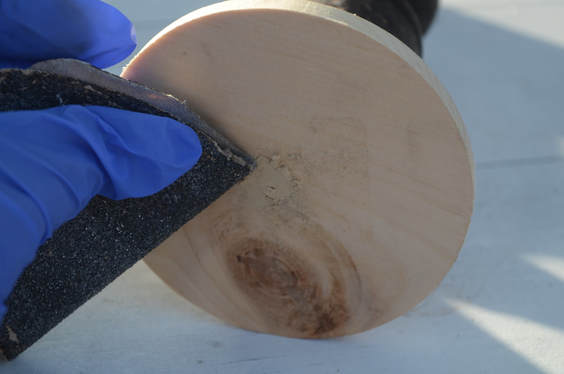
sand paper
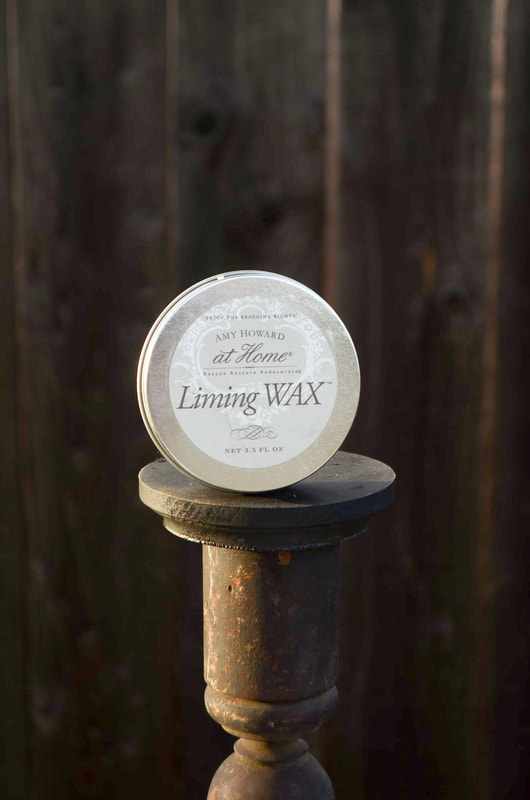
paint
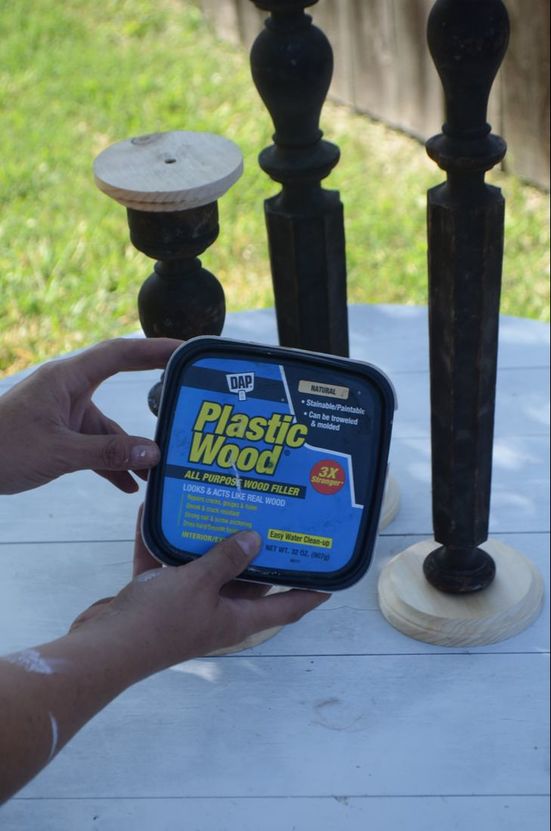
wood filler
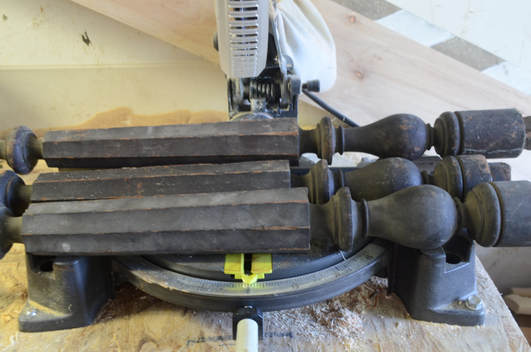
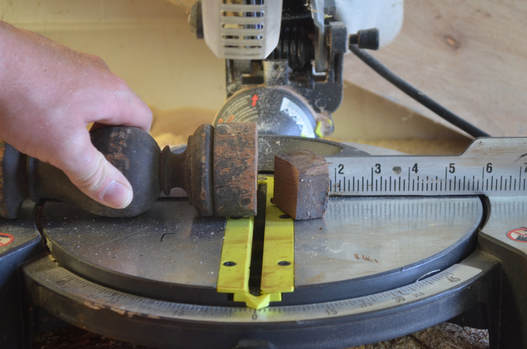
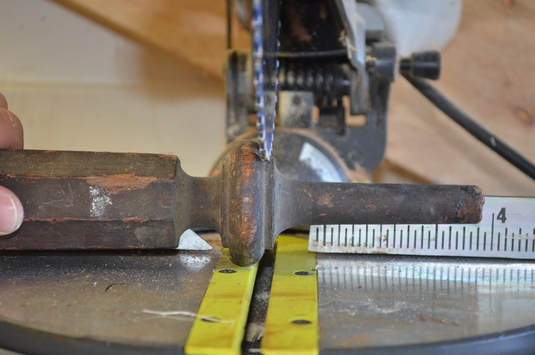
saw--I used a miter saw
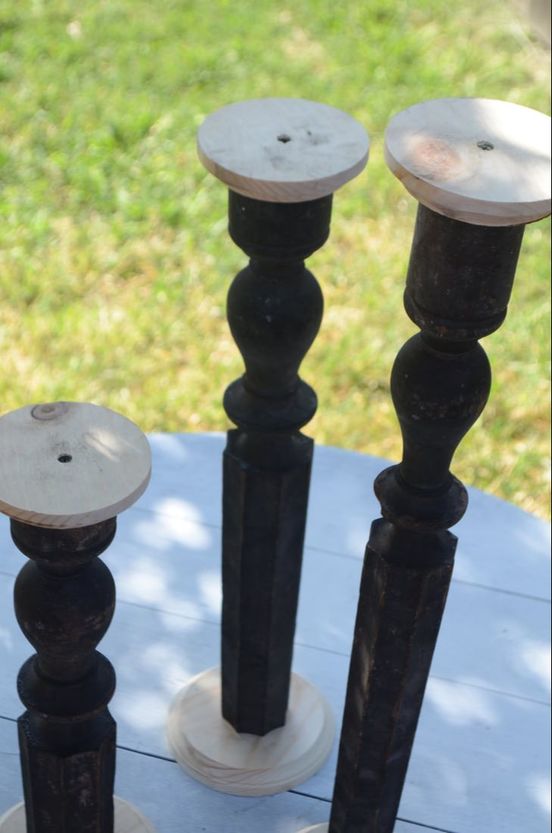
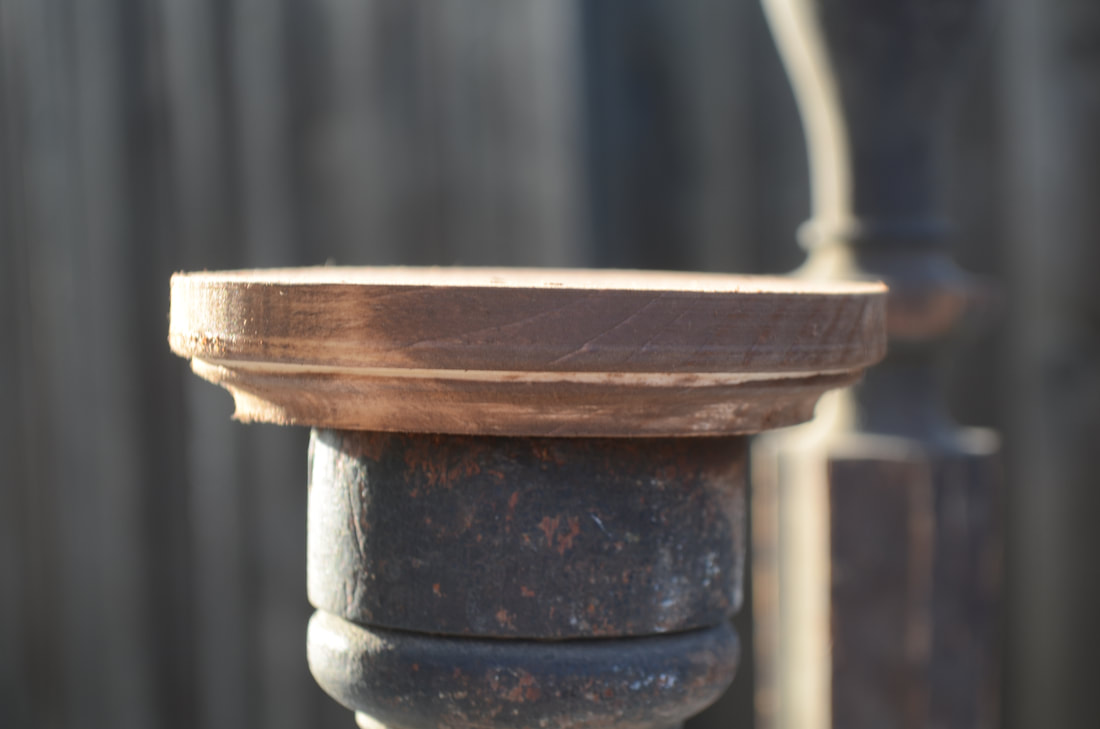
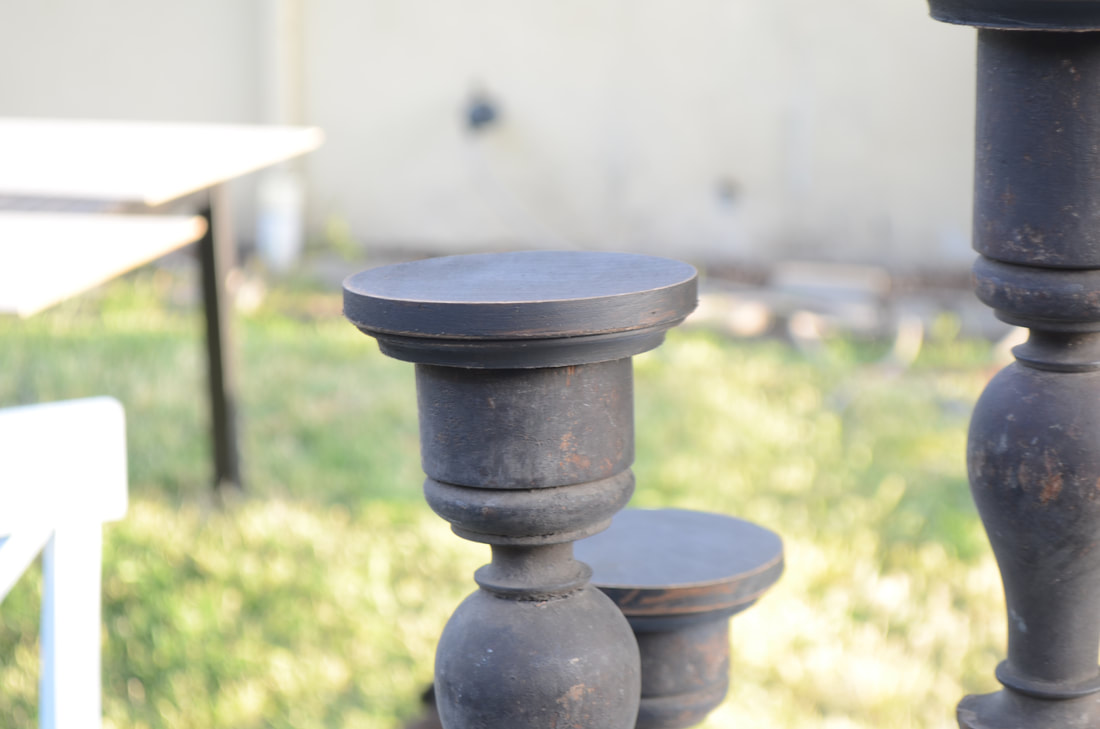
The first step after gathering your supplies is cutting down the balusters. Mine needed cut on both ends to give them a flat surface to attach the wooden plaque to.
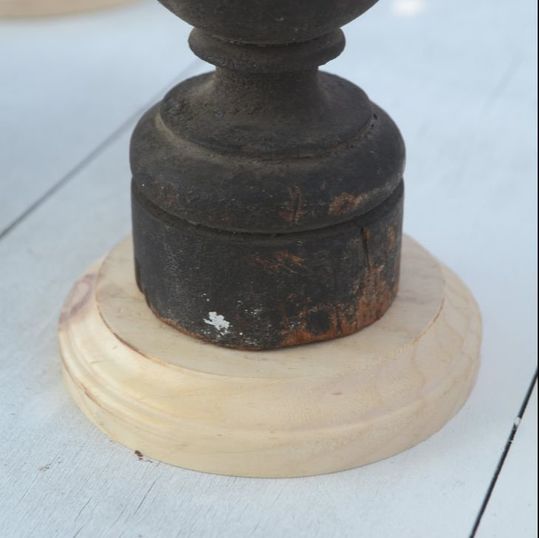
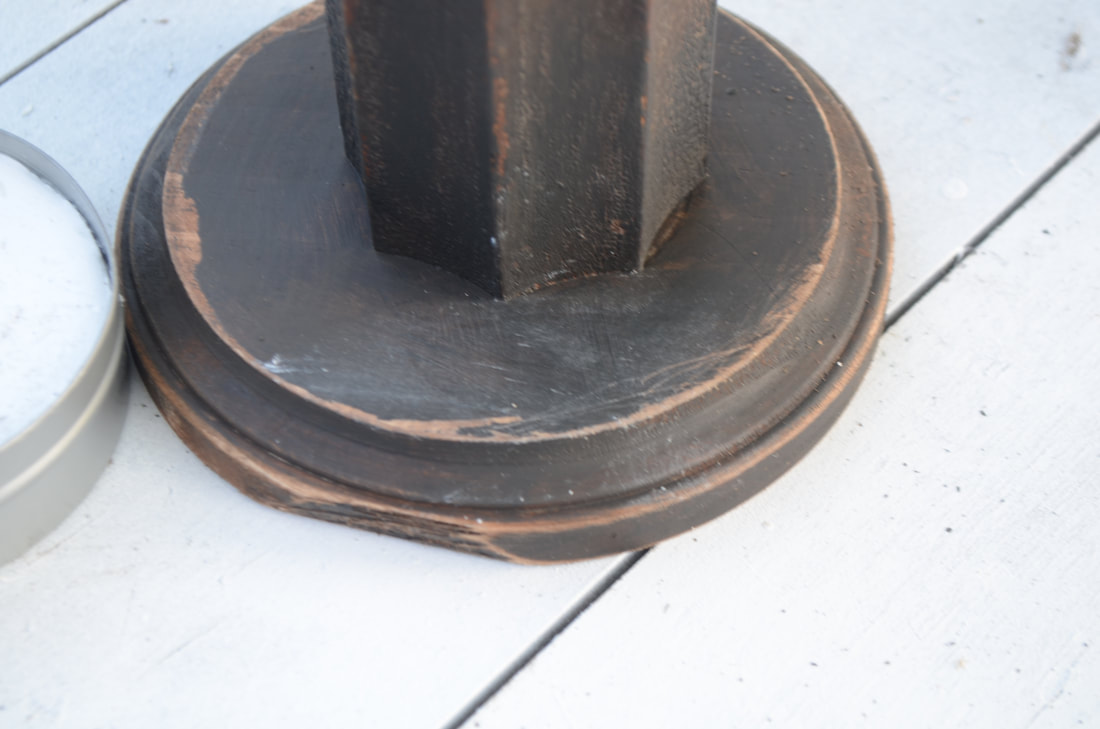
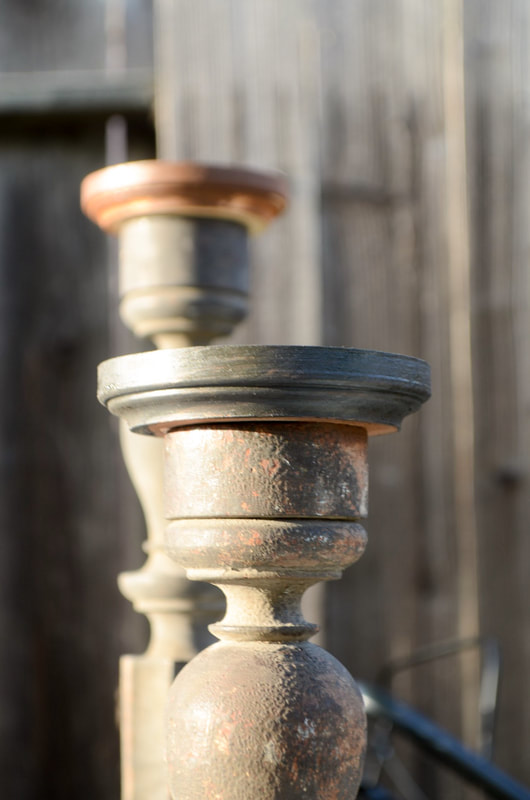
What do the wooden plaques do? One will act as a base to hold the candlestick up and the other will act as a base for the candle. **I used a slightly larger plaque for my bottom base because the balusters are top heavy. Highly recommended that you use a larger one too!
Decide the lengths you want each candlestick at and cut them down accordingly.
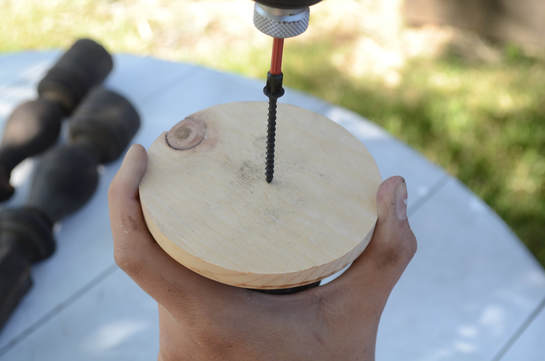
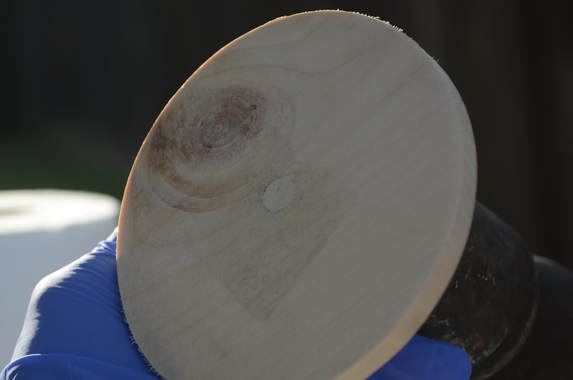
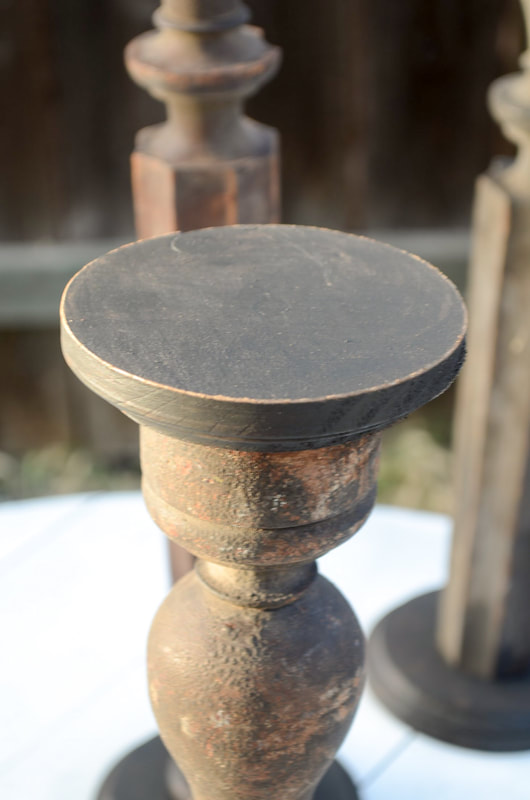
Once you've attached 2 plaques (one to each end of the candlestick), fill your screw holes with wood filler.
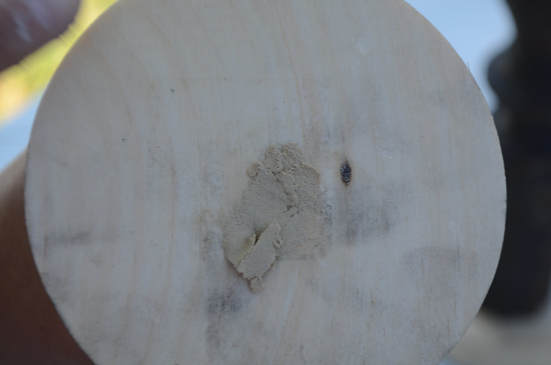
Allow it to dry and then gently sand off the excess so you are left with a smooth surface and no sign of the screw hole.


 -
-
Thanks a bunch for sharing this with all folks you really understand what you're speaking about! Bookmarked. Please also talk over with my web site =). We may have a link change arrangement between us!