
ever wanted to make a Burlap Strip Wreath? We love this wreath and it's great for any holiday!
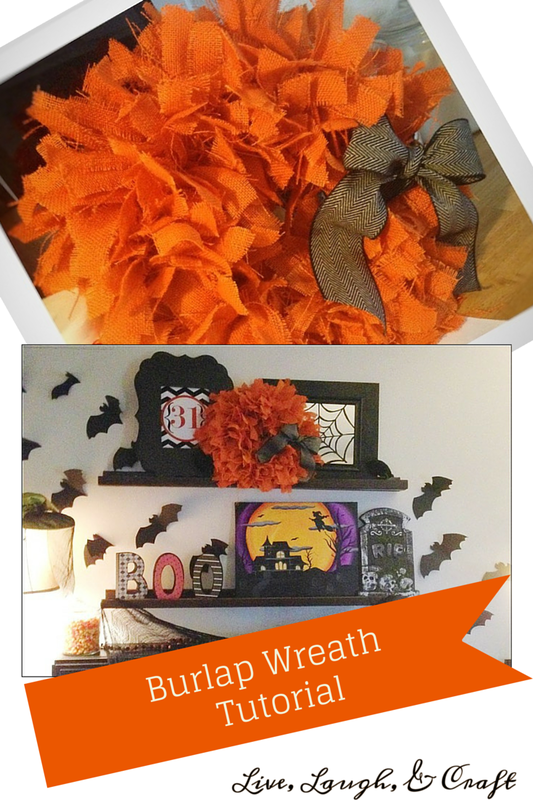
I have a total obsession with wreaths. I'm pretty sure I have one in every room!
This is a fun wreath I made for Halloween, but It can be done in any color- so many options!!!
Also this is a one stop project which is so nice- I'm not a super huge fan of taking my kids in and out of ten stores to gather my supplies. Hobby Lobby is your go to for this one! The only thing better than only going to one store, is that you can put on a good show once the kids are down, and go to town on this! Its super easy!!
Materials
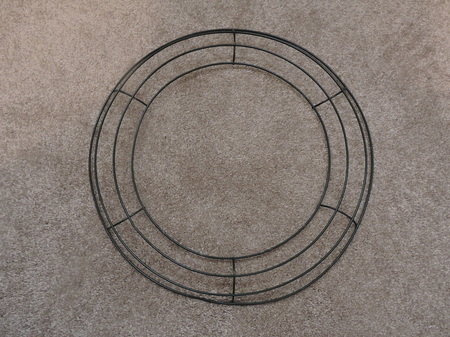
12' wire wreath form from Hobby Lobby
Burlap 1- 1 1/2 yds. from Hobby Lobby
Cutting Mat and Ruler Board
Scissors
Ribbon From Hobby Lobby
12' wire wreath form from Hobby Lobby
Burlap 1- 1 1/2 yds. from Hobby Lobby
Cutting Mat and Ruler Board
Scissors
Ribbon From Hobby Lobby
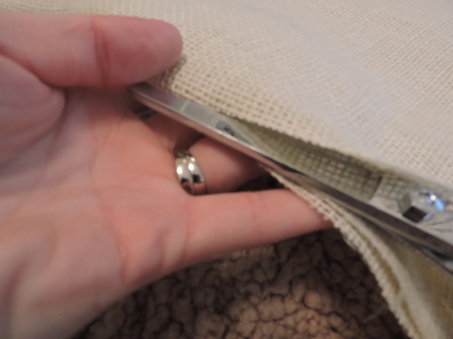
Lay your folded burlap on a flat surface and cut through the side that's folded over.
Lay on your cutting mat. My burlap was approximately 12" by the width that it came in.
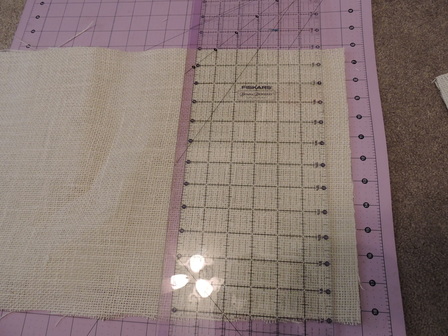
Cut strips 1" wide--giving you strips that are 1 inch by 12". Cut a ton! For this 14" wreath I cut over 200 strips.
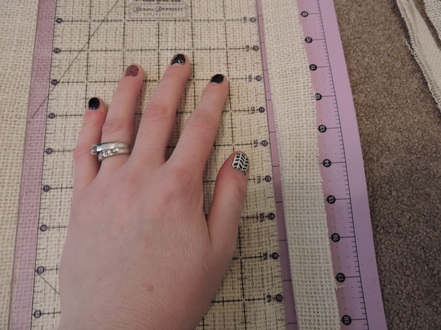
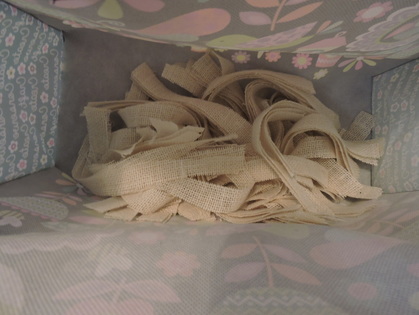
Put strips in a bag or bowl to keep them contained.
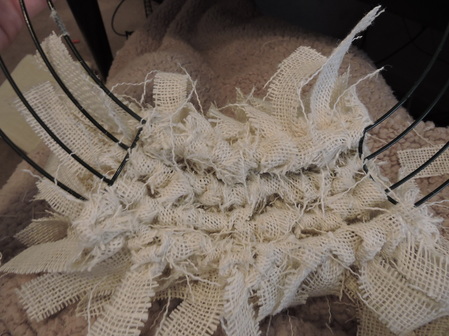
The wire wreath curves- the concave side is the backside.
Take the burlap strip and tie it around the wreath- the form has 4 rows so you'll be knotting it around one of those rows.
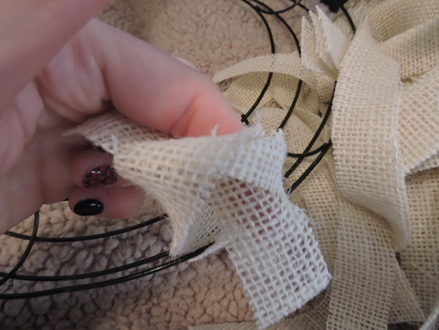
The tighter the knot the longer your strips will be. The closer the burlap strips are to each other will determine how dense your
wreath is.
wreath is.
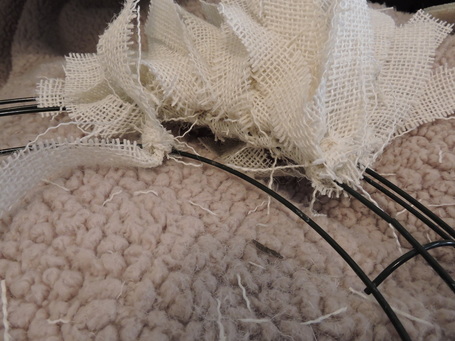
Continue this process- push the burlap knots close together and fill in the space as needed.
Switch out your ribbon for different seasons or holidays! This green ribbon was for St. Patrick's Day- it was a giveaway one of our readers won!
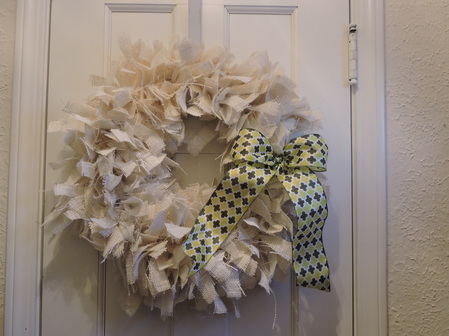
The red was a bunco gift I made.

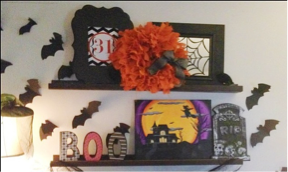
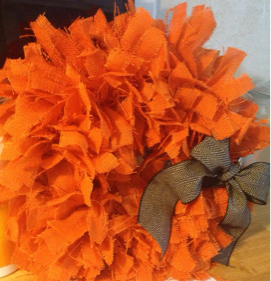
My favorite was the Orange one I made for Halloween! Let us know if you have any questions and Happy Crafting!!!!
https://waterfallmagazine.com
This is a very good tip especially to those fresh to the
blogosphere. Brief but very accurate info… Many thanks for sharing this one.
A must read article!