
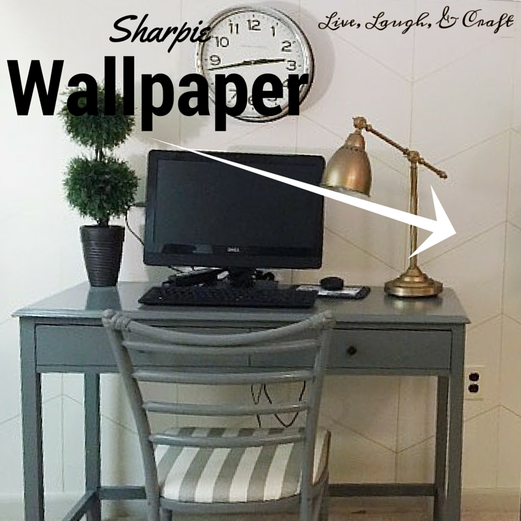
Sharpie Wallpaper Tutorial- Guest post by Avery
Hi Friends! Cassie asked me to share a really easy tutorial with you today.
This is so easy and cheap and can add a lot of pattern to an otherwise boring wall.
My house was built in 1954 and it is totally a fixer upper. We have lived in it for about 2.5 years and have slowly been updating the house. When we bought it, the basement looked liked this:
 Yes, you should hear stabbing noises playing in your head. It was bad. Fast-forward a year or two, and we painted all the wood paneling, but that back wall with the shelves was still bugging me. It was boring. I knew I wanted something like this wall paper:

But I would have to sell a kidney, so that was out. I stumbled upon several stenciling tutorials on Pinterest, so I decided to make my own herringbone wallpaper. I wanted my pattern to be more subtle, so I drew the lines on with a Sharpie. If you wanted a bolder pattern, you could tape off the pattern and paint it on.
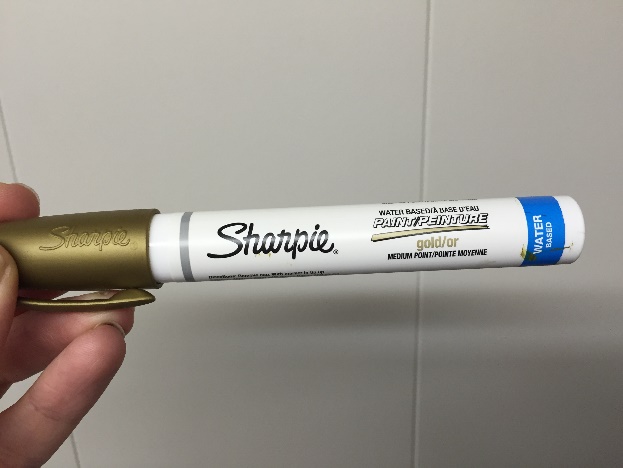
I used a water-based Sharpie paint pen. You can find them at any craft store.
I used a water-based Sharpie paint pen. You can find them at any craft store.
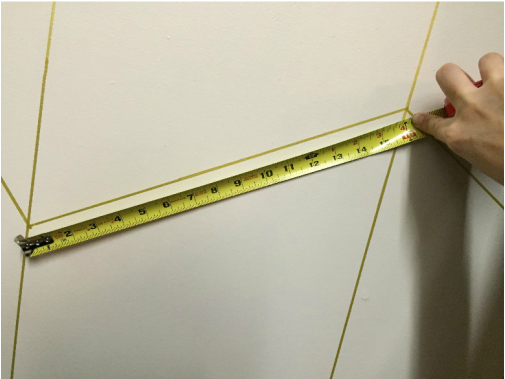
I started with the vertical lines. First, you need to decide how far apart you want your lines to be. Mine are 14 inches apart. If you want your herringbone pattern to be smaller, you would do them closer together. I used a straight edge from my rotary cutter and a level to make sure the lines are straight.
Once the vertical lines are drawn, you start drawing the slanted lines. I started in the middle of my wall. I took my measuring tape out to 16 inches and tipped it until it fit between my 14 inch lines. I made a dot on both sides and connected the dots.
Then, I measured 12 inches down, and drew my next slanted line, using the same method as before.
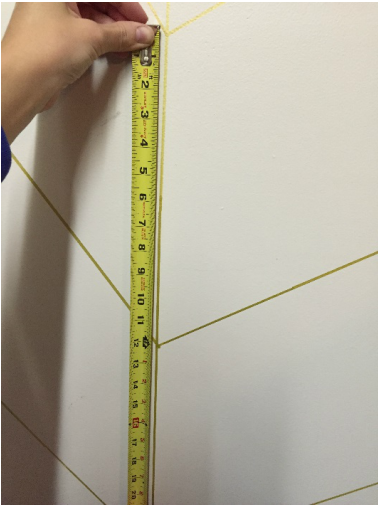
Keep going until your entire first column is done. Now move onto your next column, remembering to slant in the opposite direction.

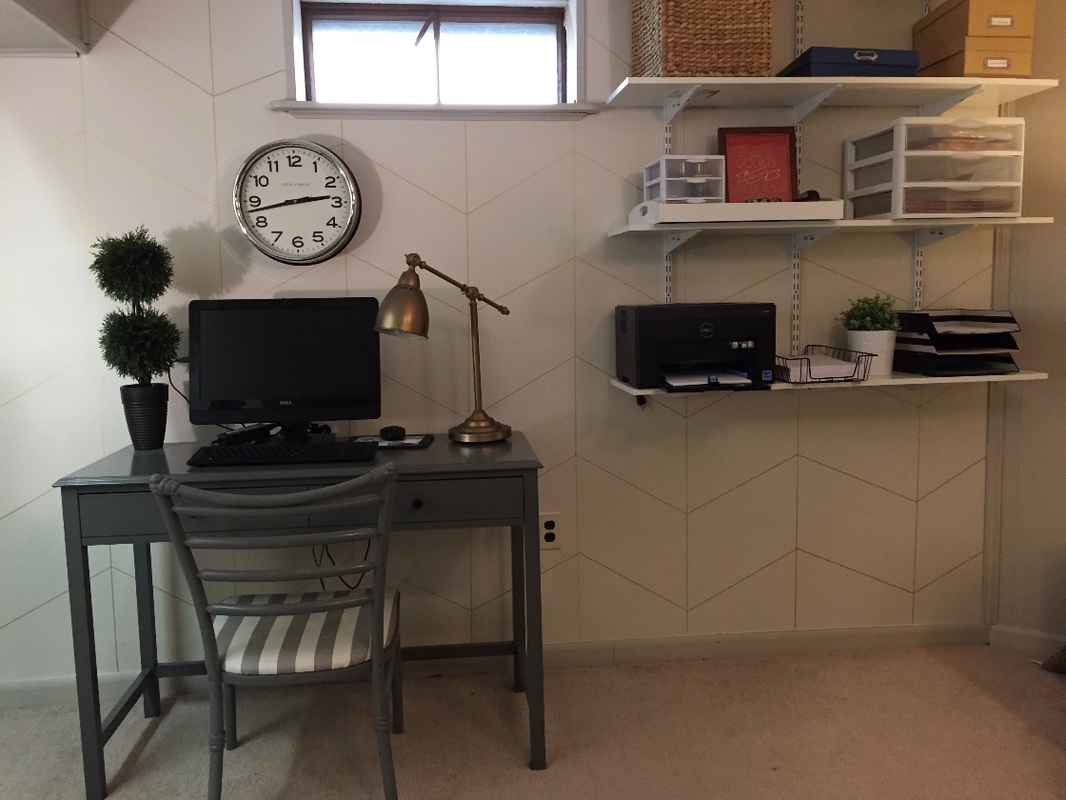
It’s very easy once you get the hang of it. My wall is pretty small and short, but it took me less than 2 hours and only one marker to do this project and I’m thrilled with how it turned out!
Leave a Reply