
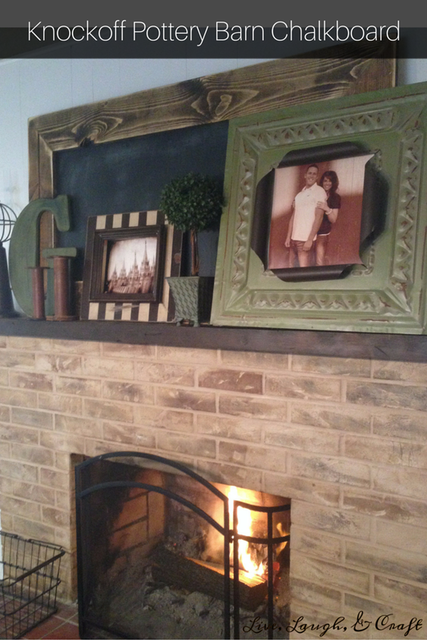
My sister Abbie filled me in on this little chalkboard gem from Home Depot- $10 for a 24"x 48" chalkboard- score!!
This tutorial is for 1 large chalkboard, but I've also had Home Depot cut me a board into 4 making them each 12"x 24". The small one is in a picture below! I'm planning on making a couple that are 24" x 24". These make great gifts, and are easy to make if you already have all the tools and supplies like I did!
Supplies
This is for the large chalkboard that measures 24" x 48"
3- 1x6x8 Pine Board (you'll have extra so adjust as you please)
1 chalkboard board (home depot $10)
miter saw
wood glue
nail gun
wood filler
sander
paint of choice
finishing sprayCut 2 pieces for the sides to 20" in length on the side, and two pieces at 44"- all four pieces at 45 degrees angles. Apply wood glue and nail a couple times at each corner- on the sides of the frame to hold the frame in place while the wood glue dries. Fill all seams and holes with filler. Once dry, sand the "filled" areas and any rough places. Wipe down and paint. I decided to stain mine with Dark Walnut made by Minwax. Once that dried I sanded the edges and the face of the frame to give it a distressed look. Spray with a finishing spray and nail the chalkboard to the frame. That's it!
Step-by-step
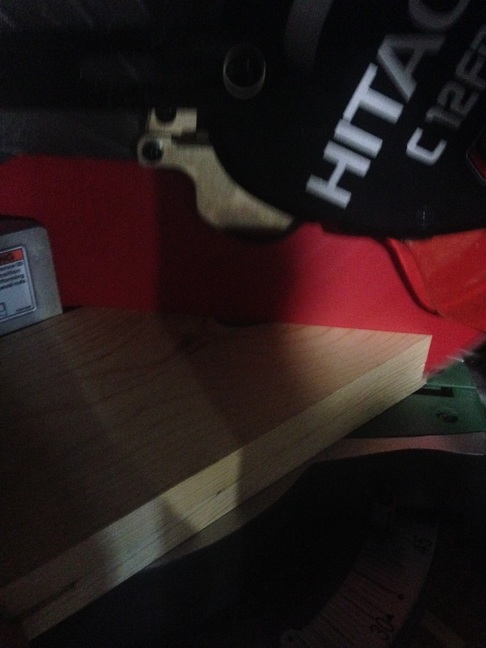
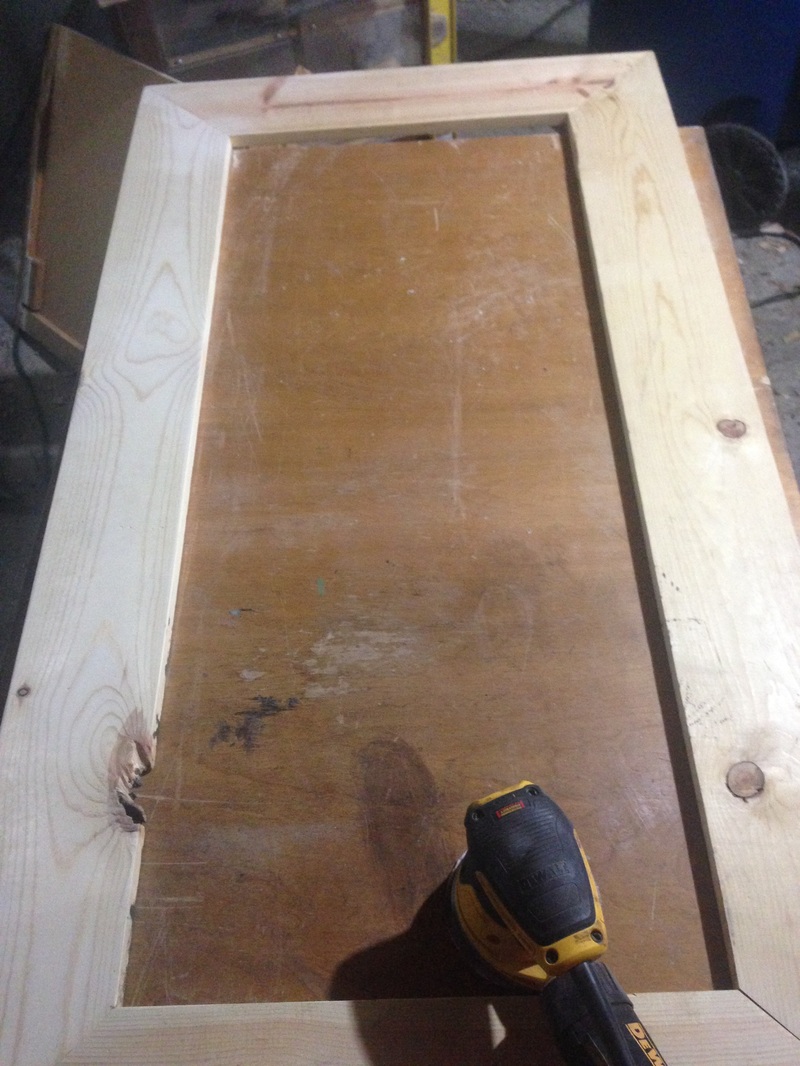
Cut 2 pieces for the sides to 20" in length on the side, and two pieces at 44"- all four pieces at 45 degrees angles.
Apply wood glue and nail a couple times at each corner to hold the frame in place while the wood glue dries.
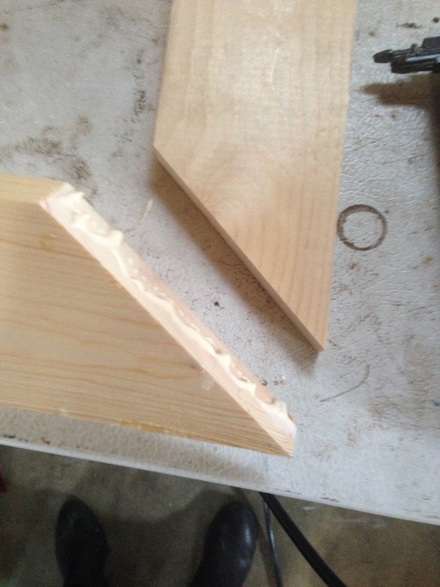
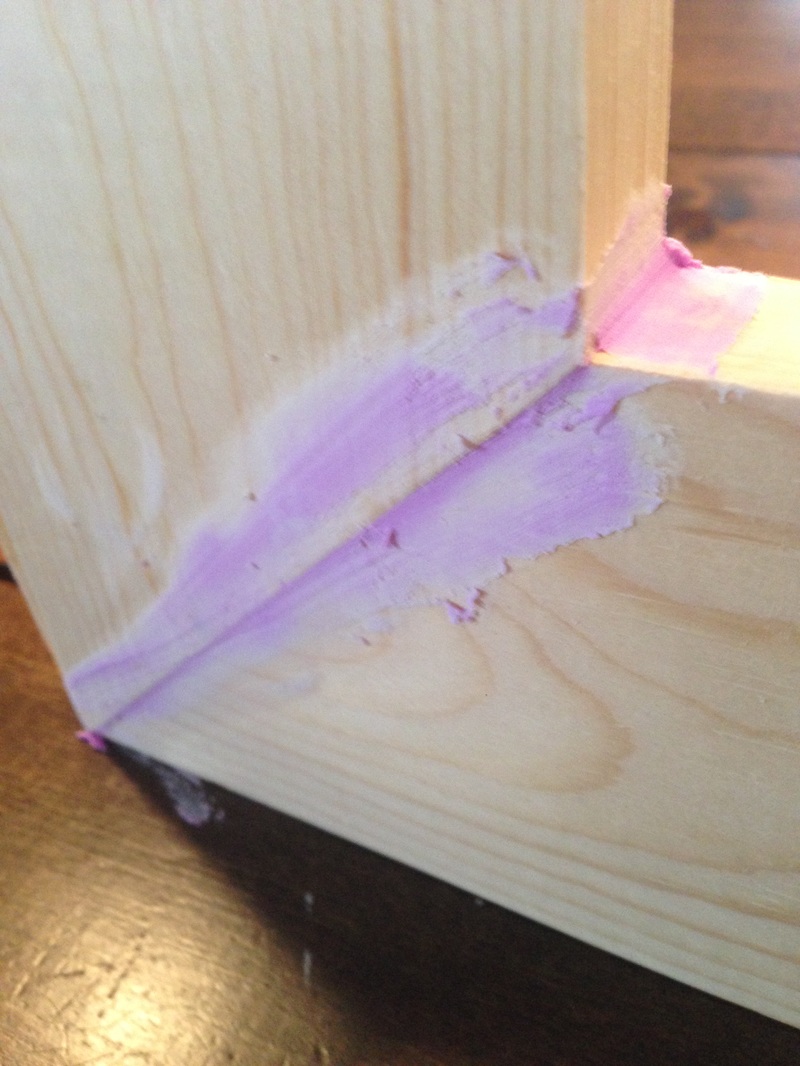
Fill all seams and holes with filler. Once dry, sand the "filled" areas and any rough places.
 |
 |
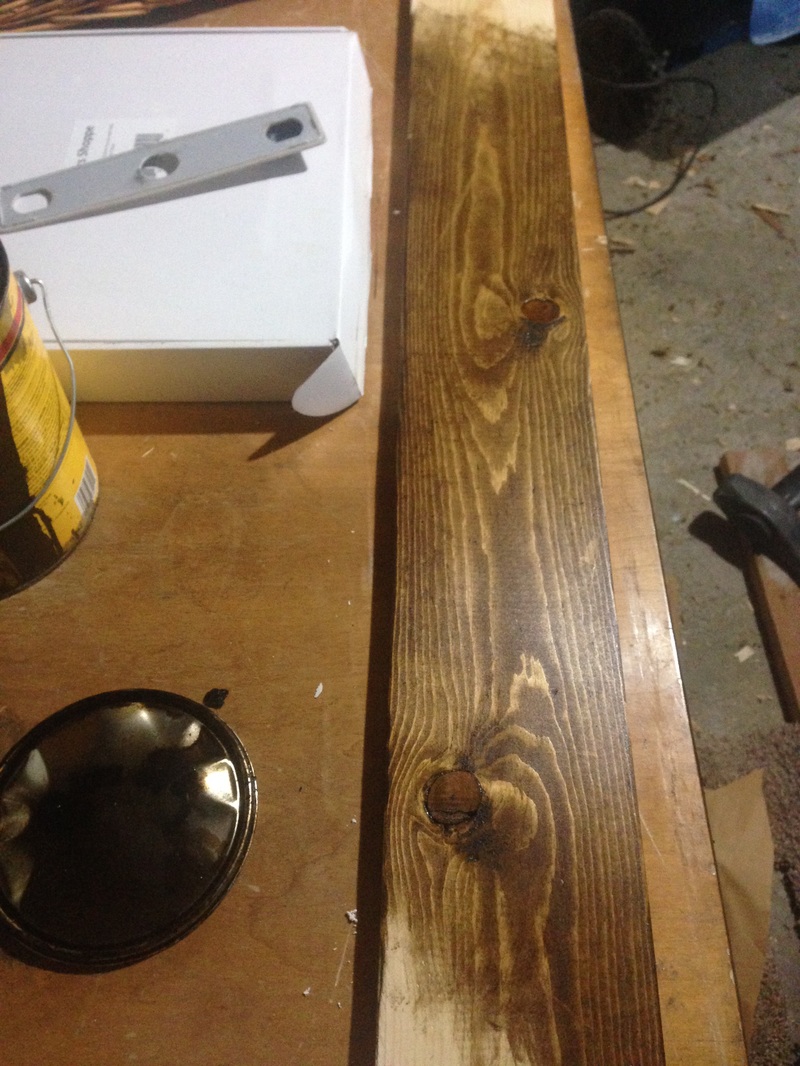
Wipe down and paint. I decided to stain mine with Dark Walnut made by Minwax. Once that dried I sanded the edges and the face of the frame to give it a distressed look.
 |
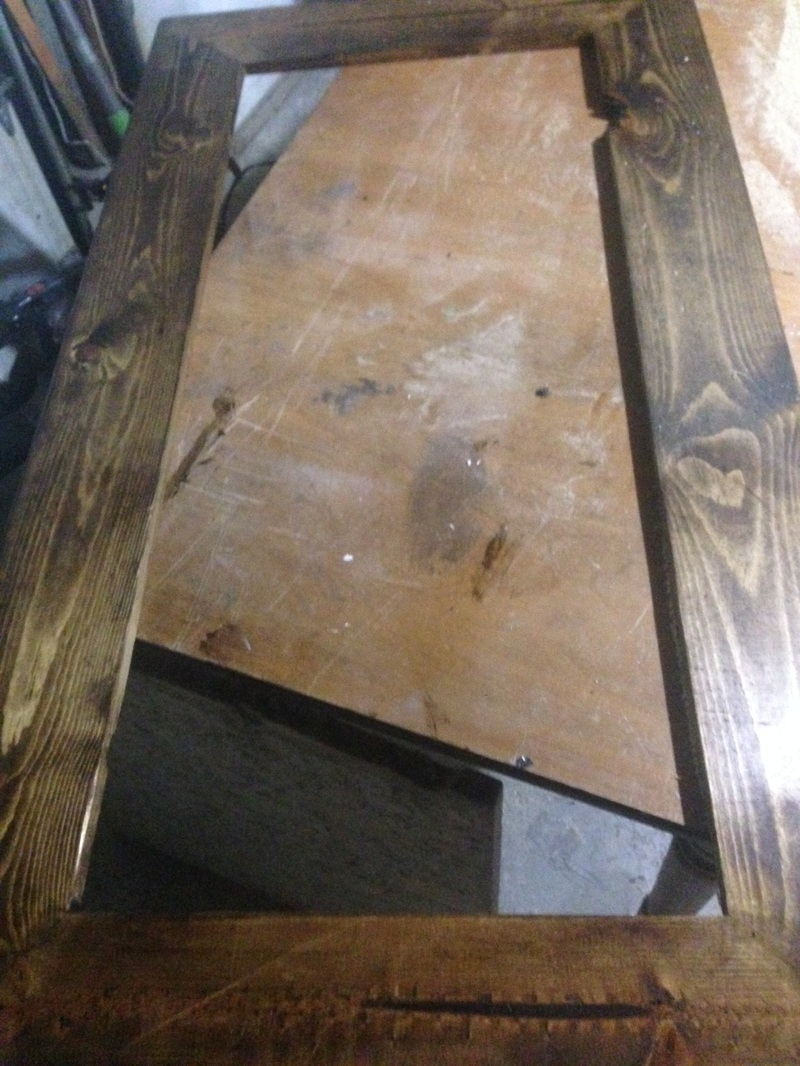 |
Spray with a finishing spray and nail the chalkboard to the frame.
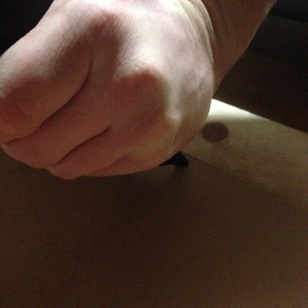
Listen I totally have man hands, but this is Rex nailing the chalkboard to the frame!
That's it!
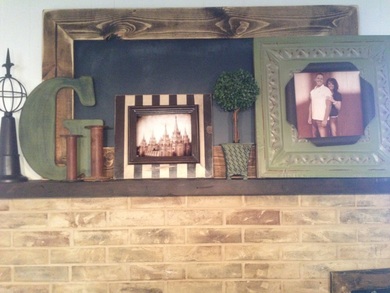
This is the small board that's 12" x 24", home depot cut the chalkboard for me. It will give you 4 this size and I used 1x4x8 pine.

Leave a Reply