
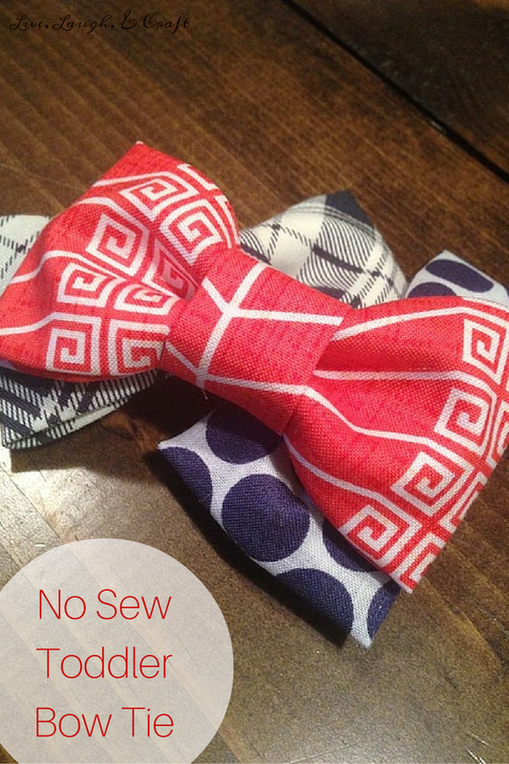
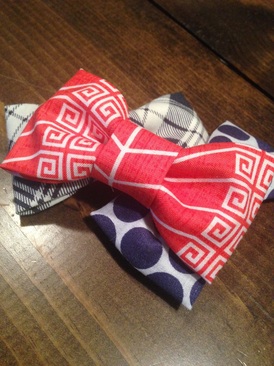
These no sew toddler bow ties are super easy and quick to throw together! I always cut my scrap material to 4"x 10" which makes this project even quicker!
New Sew Toddler Bow Tie
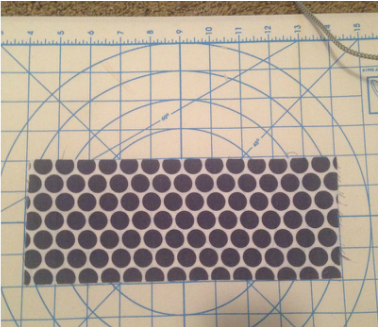
4 inch by 10 inch fabric
iron
glue gun
scissors
ironing board
alligator clip
4 inch by 10 inch fabric
iron
glue gun
scissors
ironing board
alligator clip
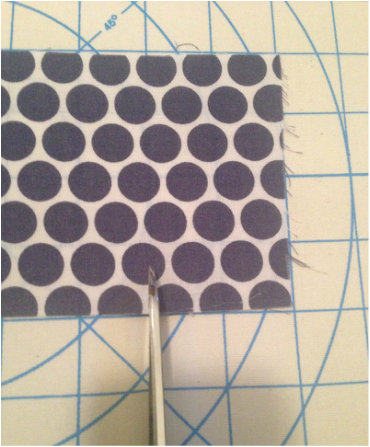
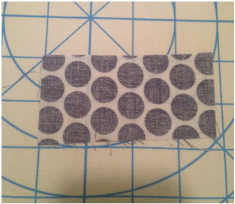
- Press your 4 x 10 inch material, then cut off a two inch piece, making your rectangle 4 x 8 inches.
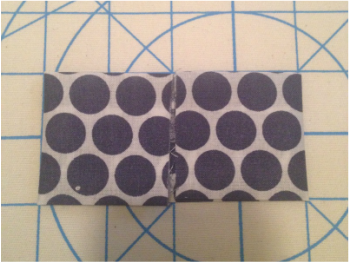
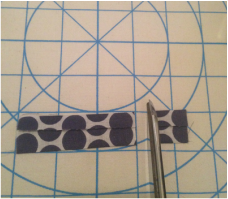
- Fold the 8 inch sides 1 inch into the middle and press.
- Fold the 2 inch sides in two inches and lightly press.
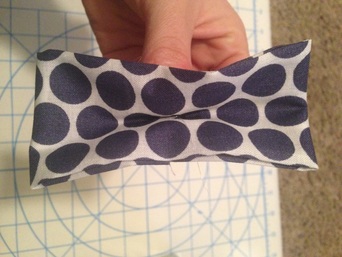
- Put a dot of hot glue on the side that is WITHOUT the raw edges and pinch.
- Turn to the backside and put two dots of glue on the back side and pinch until the glue has dried.
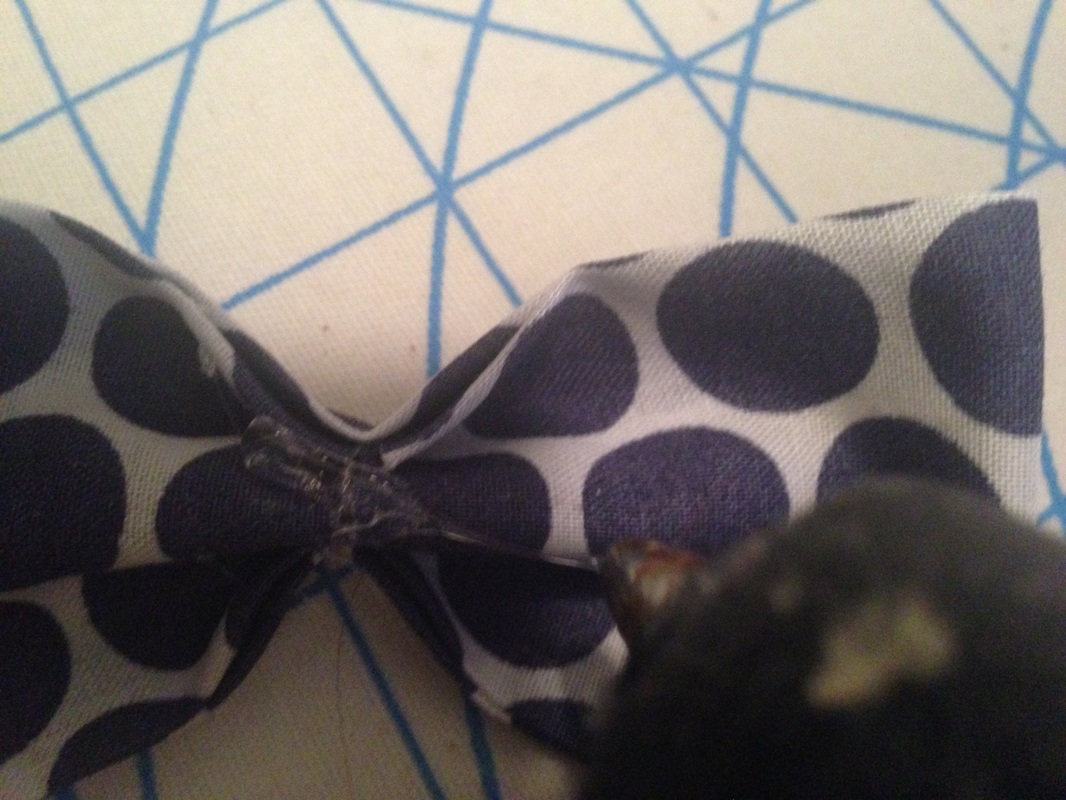
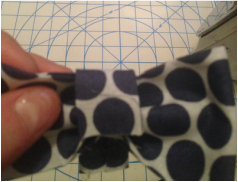
- Now take your 2 inch x 4 inch piece that you cut off and fold it twice creating the centerpiece of the bow tie.
- Once pressed cut 1 inch off.
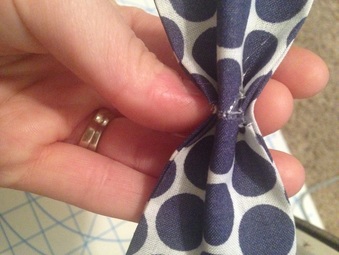
- Glue on the top of the back of the bow tie and wrap the center piece around and hot glue the other end to the bow tie.
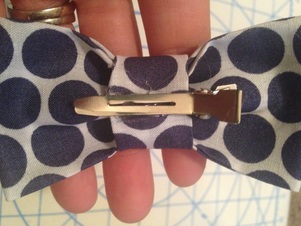
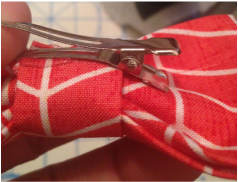
- With your hot glue gun, put a strip of glue down and stick your clip on.
- Keep the clip open until the glue has dried.
It's that easy!!
Step-by-step
Press your 4 x 10 inch material.
Press your 4 x 10 inch material.
Cut off a two inch piece, making your rectangle 4 x 8 inches.
Fold the 8 inch sides 1 inch into the middle and press.

Fold the 2 inch sides in two inches and lightly press.
Put a dot of hot glue on the side that is WITHOUT the raw edges and pinch.
Turn to the backside and put two dots of glue on the back side and pinch until the glue has dried.
Now take your 2 inch x 4 inch piece that you cut off and fold it twice creating the centerpiece of the bow tie. Once pressed cut 1 inch off.
 |
 |
Glue on the top of the back of the bow tie and wrap the center piece around and hot glue the other end to the bow tie.
 |
 |
With your hot glue gun, put a strip of glue down and stick your clip on. Keep the clip open until the glue has dried.
 |
 |
It's that easy!!
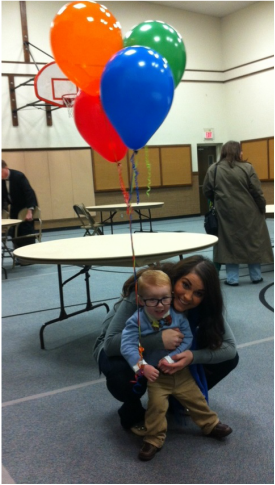
This is Hank dressed up as the little old man from the movie "UP." He looks adorable with that cute bow tie on!!!
Leave a Reply