

Christmas had been taken down and I felt sad that my house was so boring, so I loaded up the kids and off to Hobby Lobby we went!
I was on a serious mission to find Valentine's Day decorations. I left the store with way too many bags....and in those bags the only "Valentine's day things" were a heart shaped wreath and felt....that's it!
That was all I found on this great adventure (sigh).
I made the heart wreath with the same technique I used for this burlap wreath post, and I loved how it turned out!
I thought it needed something more, so that's when I had a moment of genius... a vision if you will!
I decided to use scrap wood and make an L, V, and E, and use my heart wreath as the O!
So it wasn't really that genius, but here are the steps you can take to make your own darling "LOVE" sign!!
Supplies
10 inch "heart" wreath form
1/2 yard Felt (I used red, but pink would be super cute too!)
Straight Pins
1x3 Furring strip wood (48" total)
L- 1 @ 14" and 1 @ 7" V- 2 @ 13 1/2"
1x2 Furring strip wood (33" total)
E- 1 @ 14", 2 @ 7", and 1 @ 5"
1 inch screws
Wood glue
Staple Gun
Staples
Miter Saw
Stain
Varnish
Step by Step Instructions
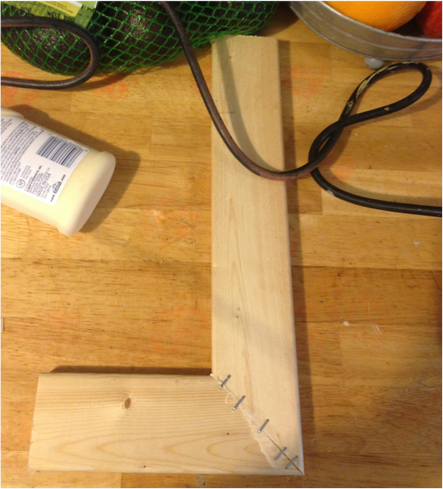

To make the "L", cut a 14" and 7" piece out of the 1x3 board. With your miter saw cut one end of each piece at a 45 degree angle. Flip the pieces over like above, apply wood glue and staple the back (you can also use a nail gun). Once the wood has dried fill in the seam on the front of the "L" with nail filler, as soon as that dries paint, sand, stain, and seal.

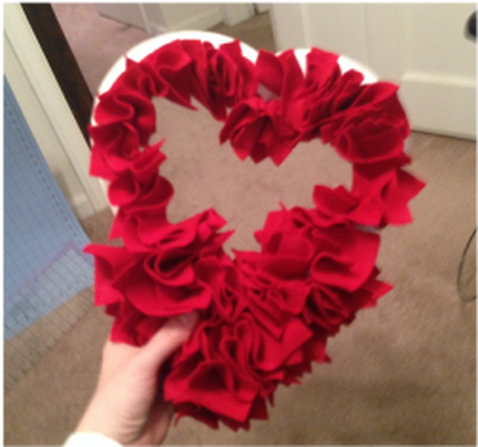
To make the "O" aka "heart wreath" cut the felt into 3x3 or 4x4 inch squares and fold various ways to give the wreath dimensions. You can refer to this tutorial from an earlier post for more details. Use a straight pin and stick it through the felt, into the wreath form. Continue until this little beauty is finished!
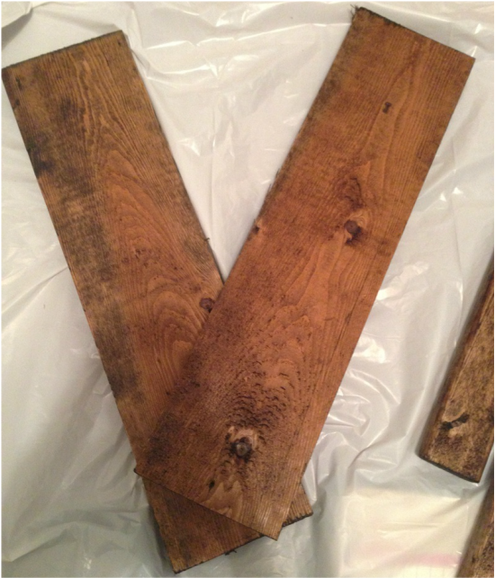

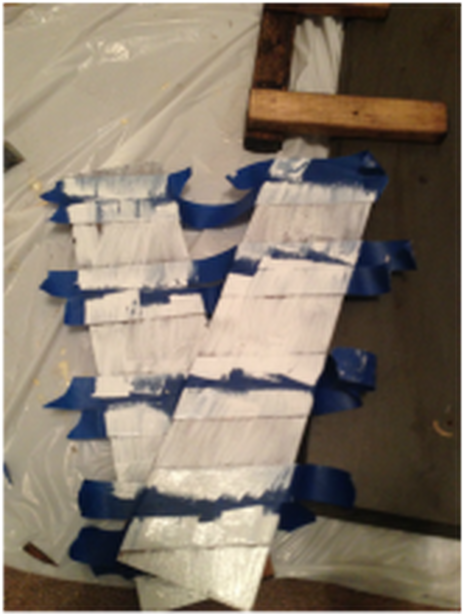
To make the "V" cut (2) 13 1/2" pieces, turn them over and overlap them a bit and screw in two screws to hold the v in place. I stained mine then painted the stripes on. Paint yours to your preference!
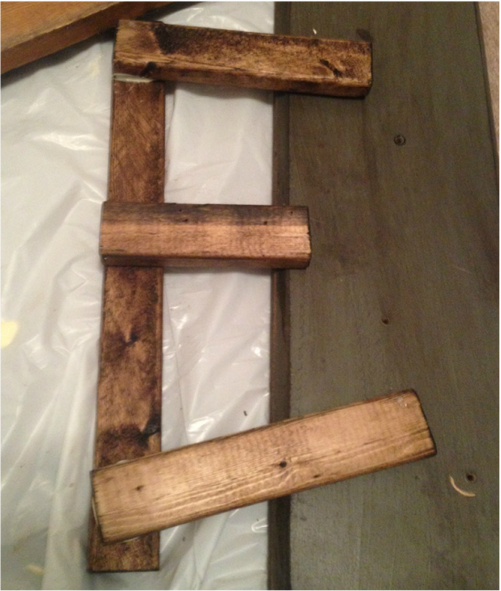
To make the "E" cut (1) 14" piece, (2) 7"piece, and (1) 5" piece. Flip over so you're looking at the back and put a screw through the 14" piece to the shorter pieces. I did a solid stain on mine, but again, do yours any way you like!
....and that's it!

Pin it!!!

Leave a Reply