
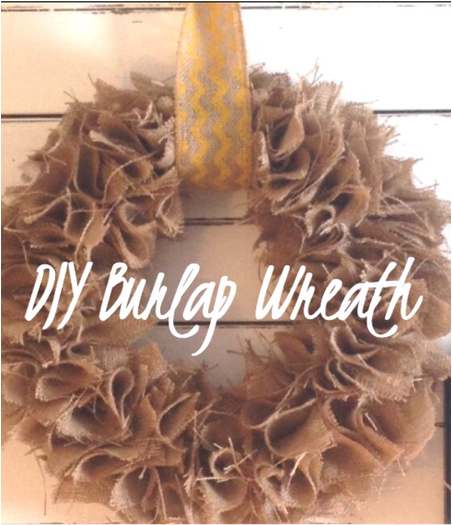
Burlap Wreath
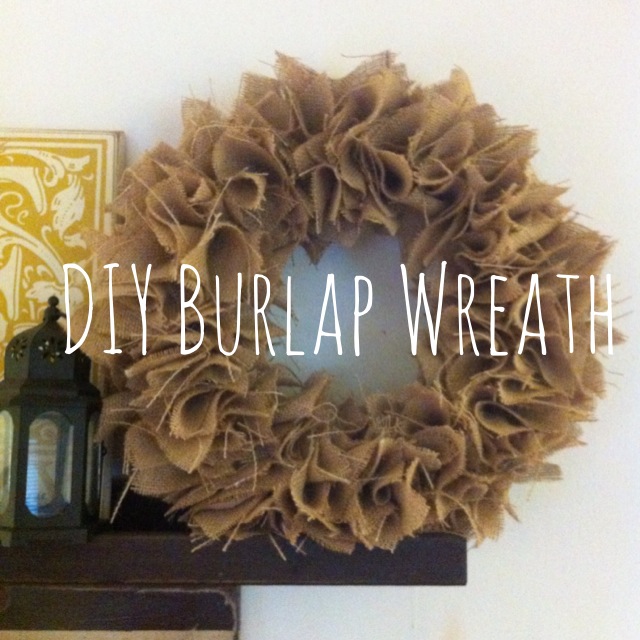
This wreath is so fast to put together and adds just the right touch to any area you're decorating! Follow these easy steps to create your own burlap wreath!
Burlap- any color! The amount will vary by the size of wreath you do and how tight you pin the wreath. If you put pins further apart you'll need less burlap if you pin them right next to each other/tight you'll need double the burlap:)
My wreath has a 10 inch diameter and ittook less then a yard of burlap material.
Wreath form straw or Styrofoam (do not make a wreath form from a pool noodle for this wreath. The weight ofthe burlap with contort the wreath.
Straight push pins (sewing section at Walmart or notions aisle at your fabric/craft store)
Scissors or cutting mat
Cutting Ruler
Rotary Cutter
Wreath form straw or Styrofoam (do not make a wreath form from a pool noodle for this wreath. The weight ofthe burlap with contort the wreath.
Straight push pins (sewing section at Walmart or notions aisle at your fabric/craft store)
Scissors or cutting mat
Cutting Ruler
Rotary Cutter
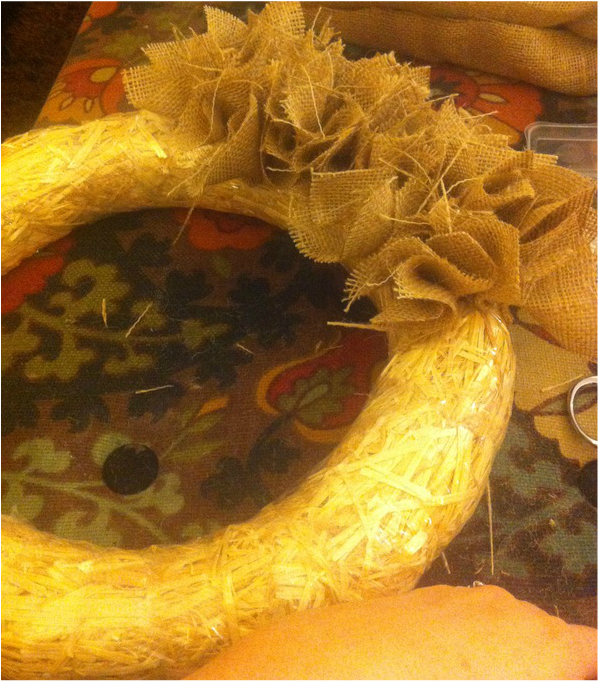
Begin by cutting your burlap into squares - you can either use a cutting mat or free hand it. If you use a mat you'll need the mat, a straight edge ruler, and a cutting roller. I did mine free hand and cut them any range from 3 inches to 4 inches and aim to get them square. If the aren't don't worry it will still look amazing!
Time to assemble your wreath! I love projects like this....easy! This way I can catch up on my favorite TV series while I work on it!
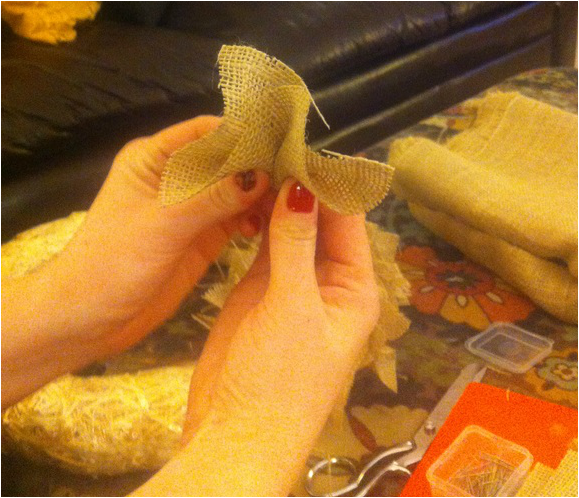
Take the pieces of burlap and fold in half to create a two point triangle
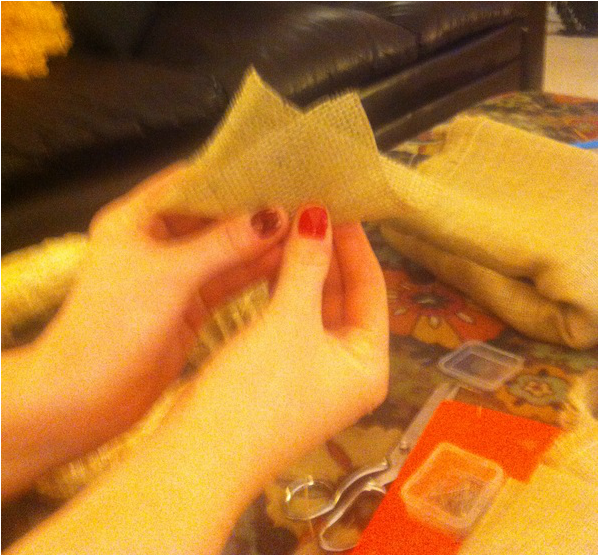 Then fold that triangle in half.
Put the push pin in the corner- make sure it goes through all the layers.
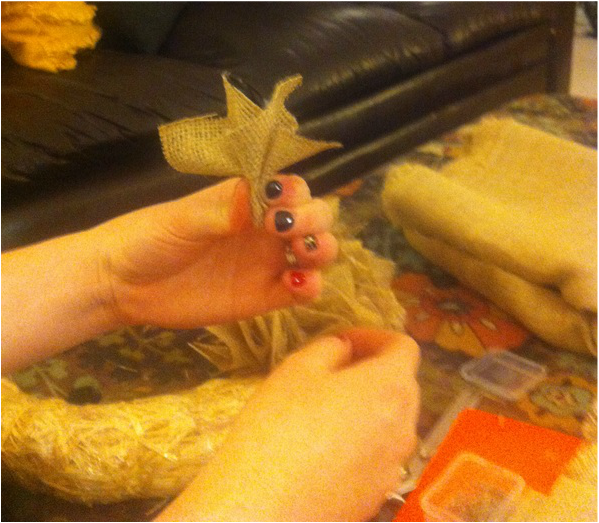
Push it into the wreath and keep on going! Occasionally I'll fold the burlap square in half and pin it just like that. There's no right or wrong way! Play around with it, you'll figure out really quick what you like!
A few hours later you're finished!
This is where I put mine. The wreath worked great for this area and added just what I wanted! I'm so happy with the way it turned out!

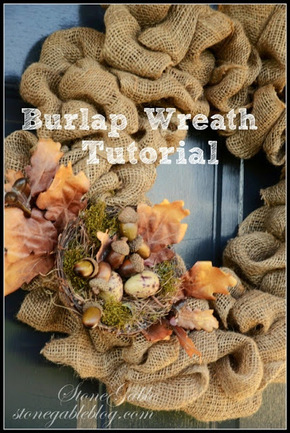
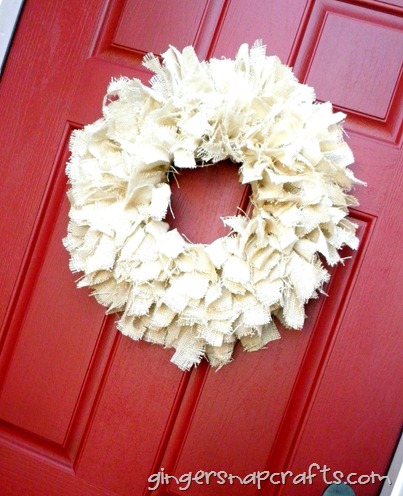
Below are some other burlap wreath tutorials you can read and get ideas from! Both are super cute!
|
|
**Joann's App will always have a bar code coupon that they'll scan for you!
**Hobby Lobby always has a 40% off one regular priced item so this is a great way to snag a wreath!
Leave a Reply