
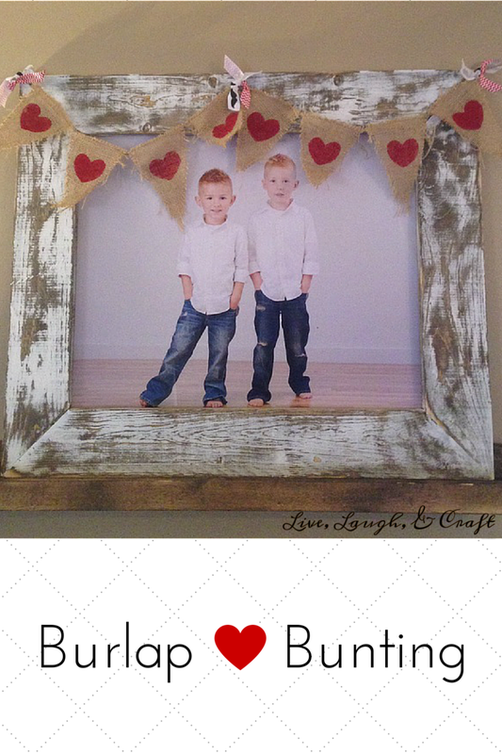
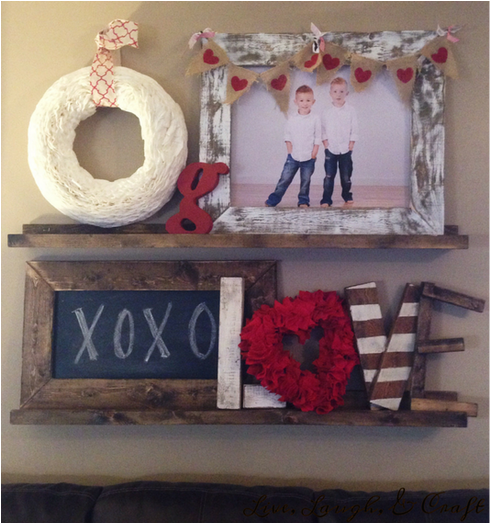
This project is basically free! It's a great way to clean up some scrap fabric and add a little character to any party! And it makes for great holiday decorating!
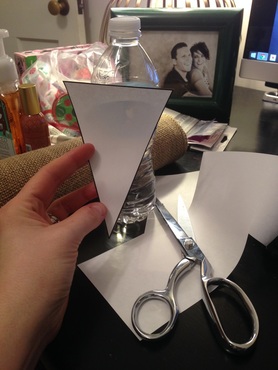
Below I've attached a template. If you are wanting bigger, just make a larger triangle!
Burlap Bunting
Triangle Template
Scissors
Sewing machine (I top stitched around the edge of my triangles so the wouldn't fray. This is not necessary if you aren't planning on using this year after year)
Jute Rope
Burlap
Ribbon
Paint or vinyl
Stencil (heart stencil is attached below)
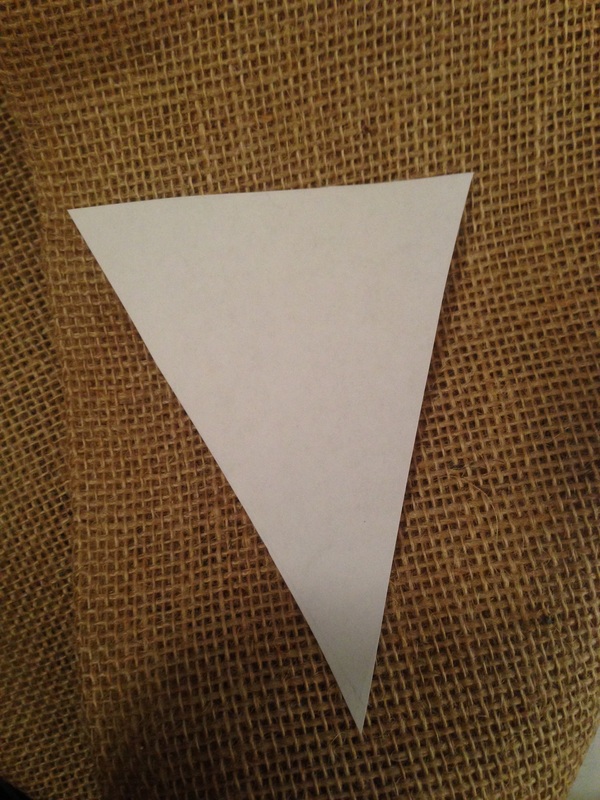
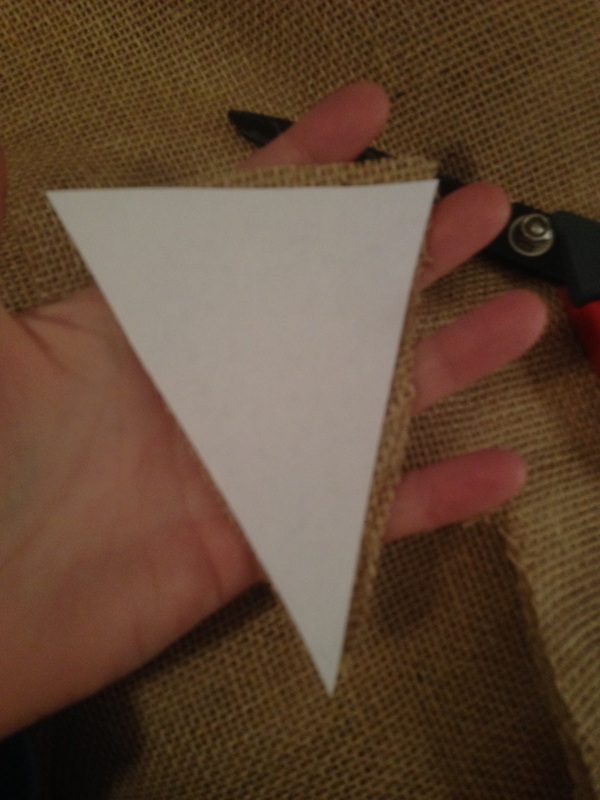
- Cut your triangle template out.
- Then place on burlap and cut as many as you need.
- Top stitch along the perimeter using a 1/4' seam allowance.
- Trim excess thread.
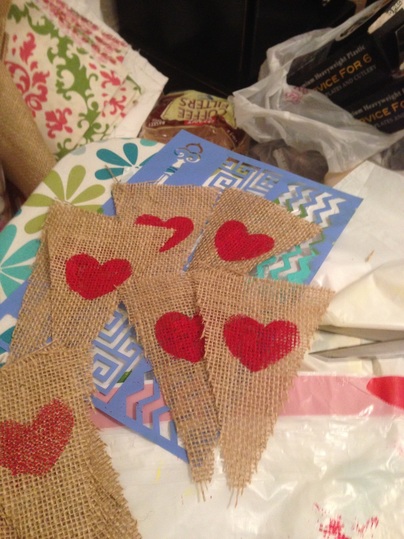
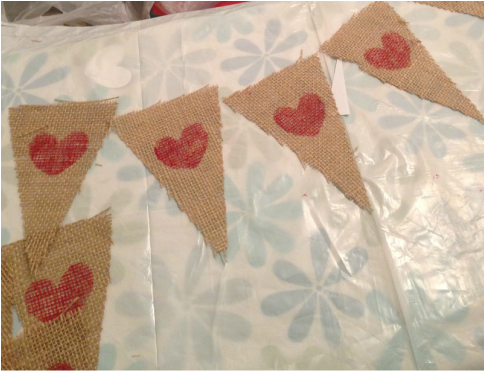
- Place your stencil on the burlap or place the vinyl on.
- If using paint, lay triangle on plastic because the paint will bleed through the back of the burlap.
- Lightly dab paint on the stencil.
- When completed, set aside to dry completely.
- Next you'll measure out the needed amount of jute twine and knot each end leaving a couple inch over hang.
- Hot glue the back of the triangle along the top and push the jute rope into the glue.
- Add ribbons if you desire. That's it!!
Step-by-step
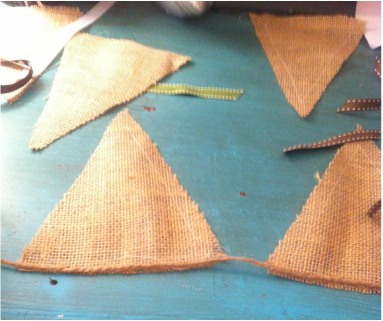
Cut your triangle template out. Then place on burlap and cut as many as you need. Top stitch along the perimeter using a 1/4' seam allowance. Trim excess thread.
 |
 |
 |
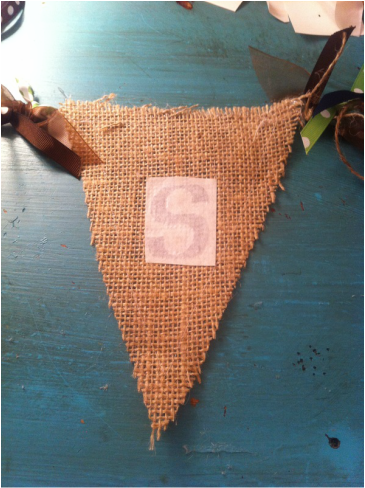
Place your stencil on the burlap or place the vinyl on. If using paint, lay triangle on plastic because the paint will bleed through the back of the burlap. Lightly dab paint on the stencil. When completed, set aside to dry completely.
 |
 |
 |
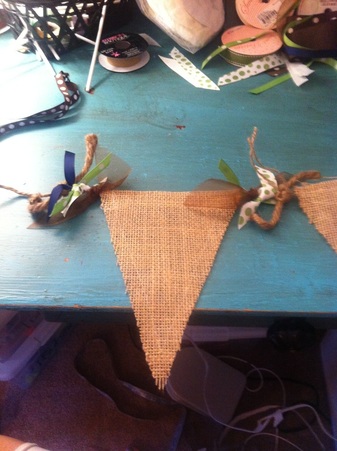
Next you'll measure out the needed amount of jute twine and knot each end leaving a couple inch over hang.
Hot glue the back of the triangle along the top and push the jute rope into the glue.
Add ribbons if you desire. That's it!!
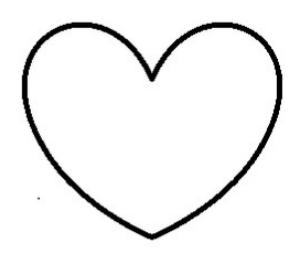
Heart Template
| valentine_bunting__1_.pdf |
Triangle Piece
| triangle_bunting.pdf |
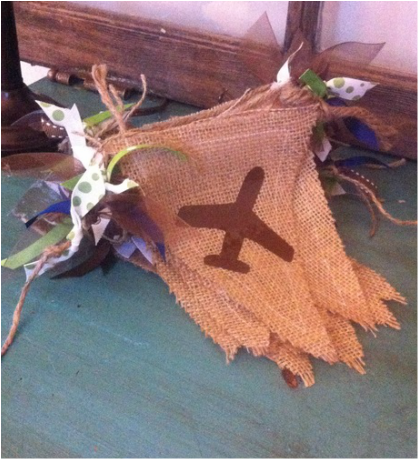
This is a "Precious Cargo" banner I made for a baby shower. I used vinyl, its super easy! Follow the above steps until you get to the painting point. Simply stick your vinyl words to the burlap banner, it's that simple!!!
 |
|
|
I tied ribbon between each letter on this banner and I love the way it turned out!
Leave a Reply